JEEP WRANGLER 2015 Owners Manual
WRANGLER 2015
JEEP
JEEP
https://www.carmanualsonline.info/img/16/56054/w960_56054-0.png
JEEP WRANGLER 2015 Owners Manual
Trending: lights, jump cable, maintenance schedule, fold seats, transmission oil, lock, service schedule
Page 161 of 693
WARNING!(Continued)
Driving a vehicle with the head restraints improperly
adjusted or removed could cause serious injury or
death in the event of a collision.
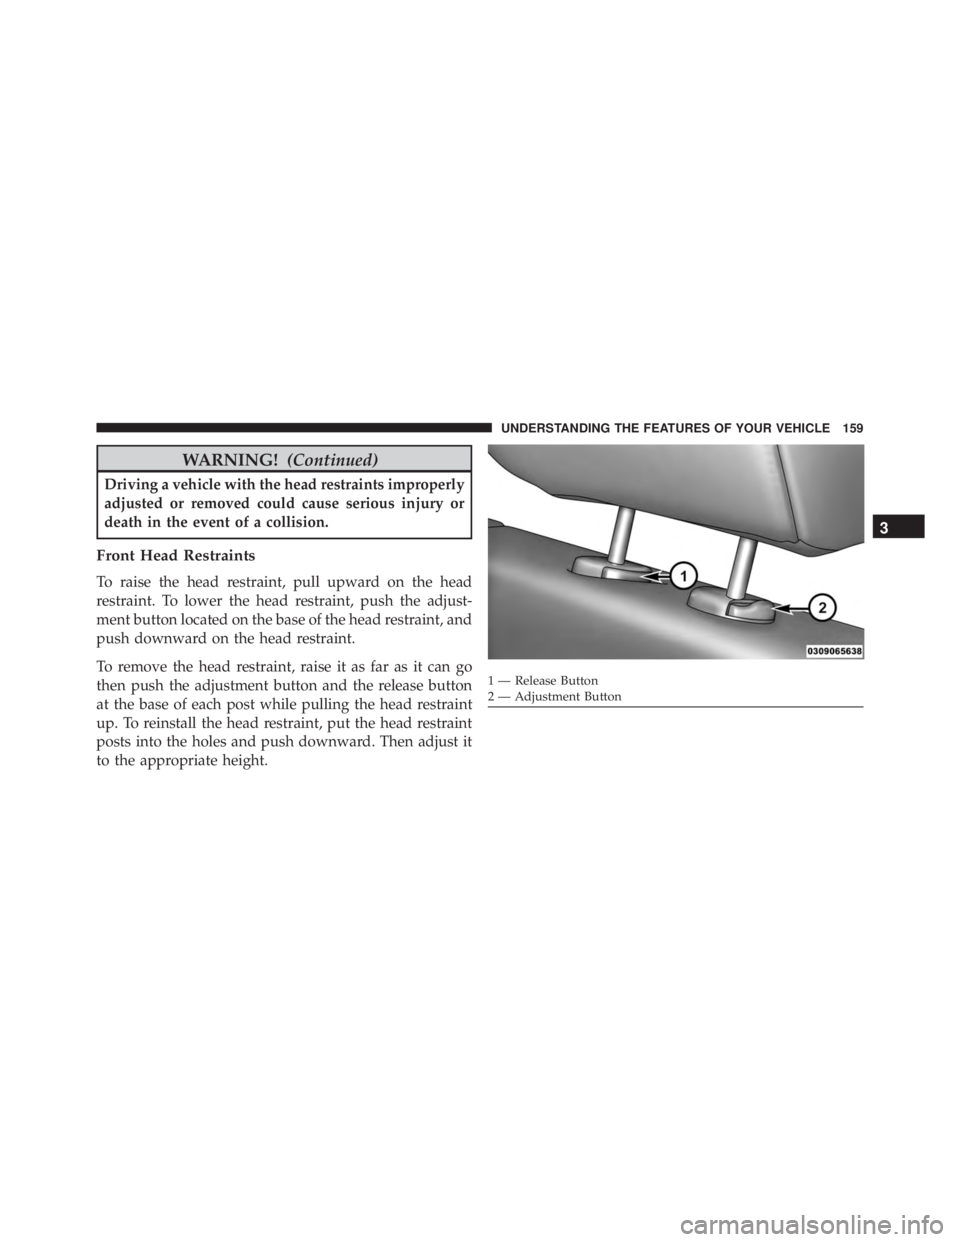
Front Head Restraints
To raise the head restraint, pull upward on the head
restraint. To lower the head restraint, push the adjust-
ment button located on the base of the head restraint, and
push downward on the head restraint.
To remove the head restraint, raise it as far as it can go
then push the adjustment button and the release button
at the base of each post while pulling the head restraint
up. To reinstall the head restraint, put the head restraint
posts into the holes and push downward. Then adjust it
to the appropriate height.
Page 162 of 693
WARNING!
•A loose head restraint thrown forward in a colli-
sion or hard stop could cause serious injury or
death to occupants of the vehicle. Always securely
stow removed head restraints in a location outside
the occupant compartment.
• ALL the head restraints MUST be reinstalled in the
vehicle to properly protect the occupants. Follow
the re-installation instructions above prior to oper-
ating the vehicle or occupying a seat.
NOTE: Do not reposition the head restraint 180 degrees
to the incorrect position in an attempt to gain additional
clearance to the back of the head.
Rear Head Restraints — 2 Door Model
The rear seat head restraints are not adjustable. They can
be removed to make it easier to take out the rear seat. To
remove the head restraint, push the button on each of the two head restraint guides and pull upward on the head
restraint. Replace the head restraint before driving the
vehicle with passengers in the rear seat. To replace the
head restraint, insert the head restraint rods into the
guides and push downward on the head restraint until
locked. Refer to “Occupant Restraints” in “Things to
Know Before Starting Your Vehicle” for information on
child seat tether routing.
Page 163 of 693
WARNING!(Continued)
stow removed head restraints in a location outside
the occupant compartment.
• ALL the head restraints MUST be reinstalled in the
vehicle to properly protect the occupants. Follow
the re-installation instructions above prior to oper-
ating the vehicle or occupying a seat.
NOTE: Do not reposition the head restraint 180 degrees
to the incorrect position in an attempt to gain additional
clearance to the back of the head.
Rear Head Restraints — 4 Door Model
The rear seat is equipped with nonadjustable head re-
straints. Refer to “Occupant Restraints” in “Things to
Know Before Starting Your Vehicle” for information on
child seat tether routing.
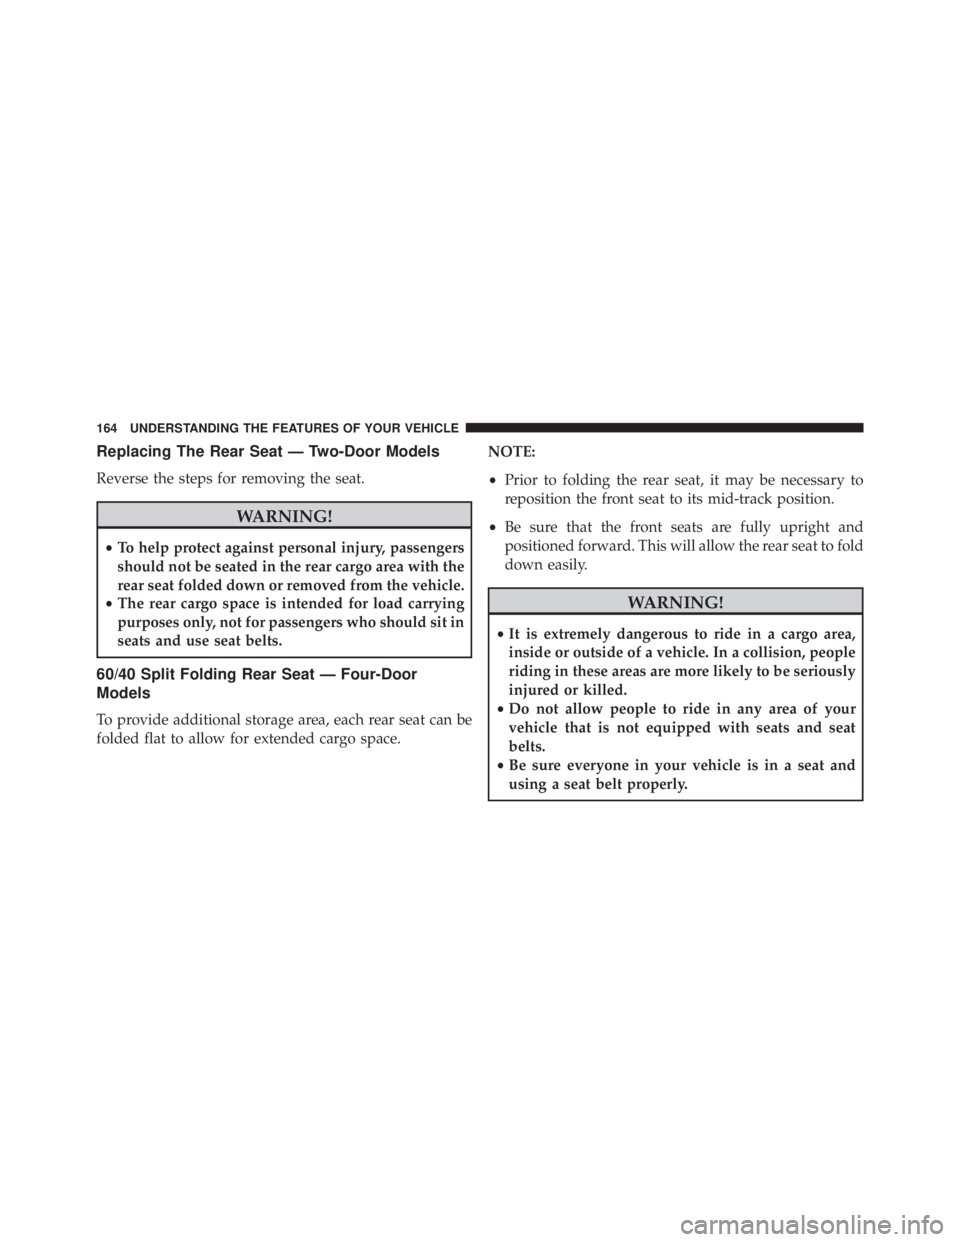
Removing the Rear Seat — Two-Door Models
NOTE:
• Prior to folding the rear seat, it may be necessary to
reposition the front seats.
• Be sure that the front seats are fully upright and
positioned forward. This will allow the rear seat to fold
down easily.
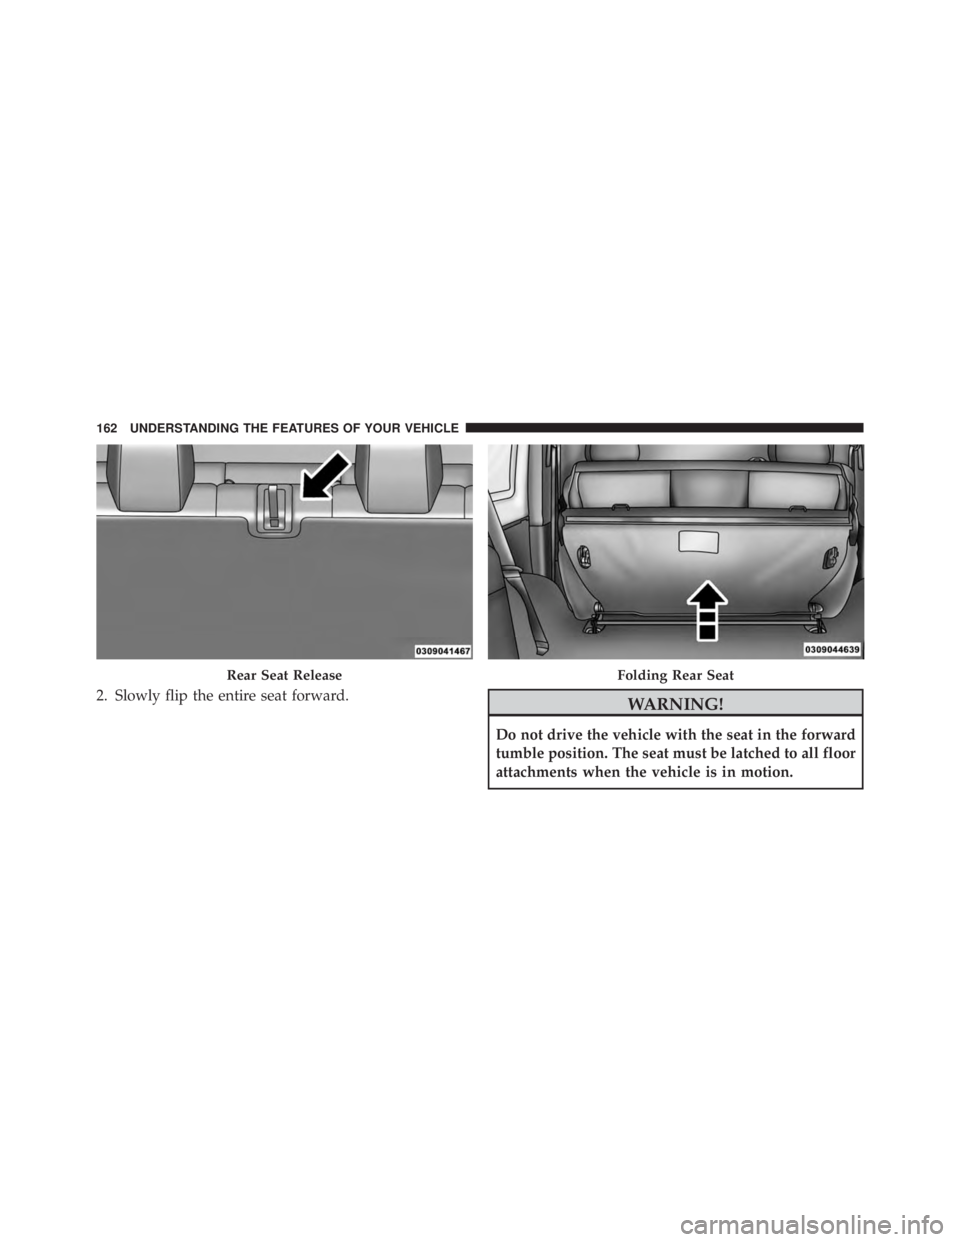
1. Lift the seatback release lever and fold the seatback forward.
3
UNDERSTANDING THE FEATURES OF YOUR VEHICLE 161
Page 164 of 693
2. Slowly flip the entire seat forward.
Page 165 of 693
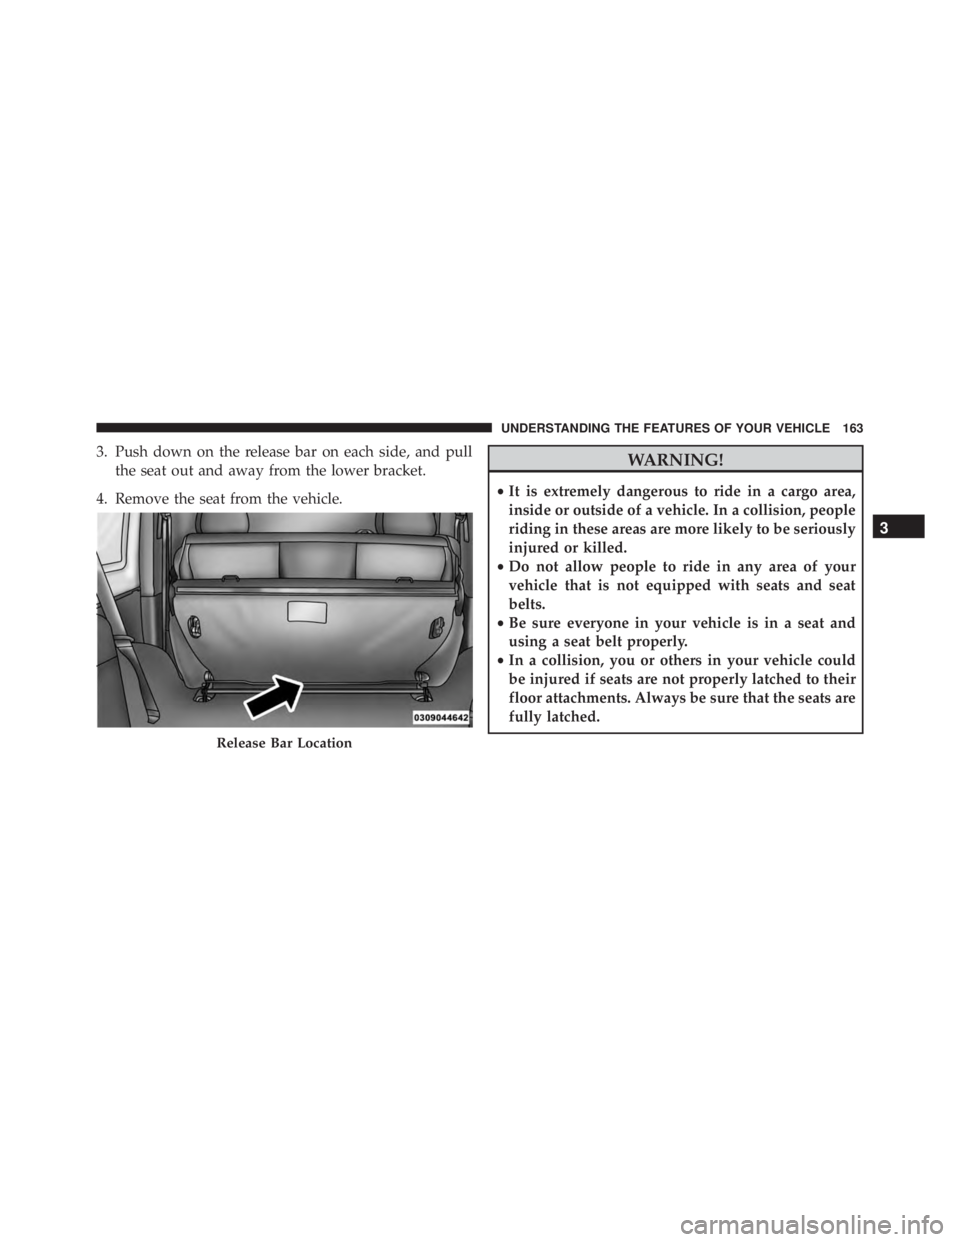
3. Push down on the release bar on each side, and pullthe seat out and away from the lower bracket.
4. Remove the seat from the vehicle.
Page 166 of 693
Replacing The Rear Seat — Two-Door Models
Reverse the steps for removing the seat.
Page 167 of 693
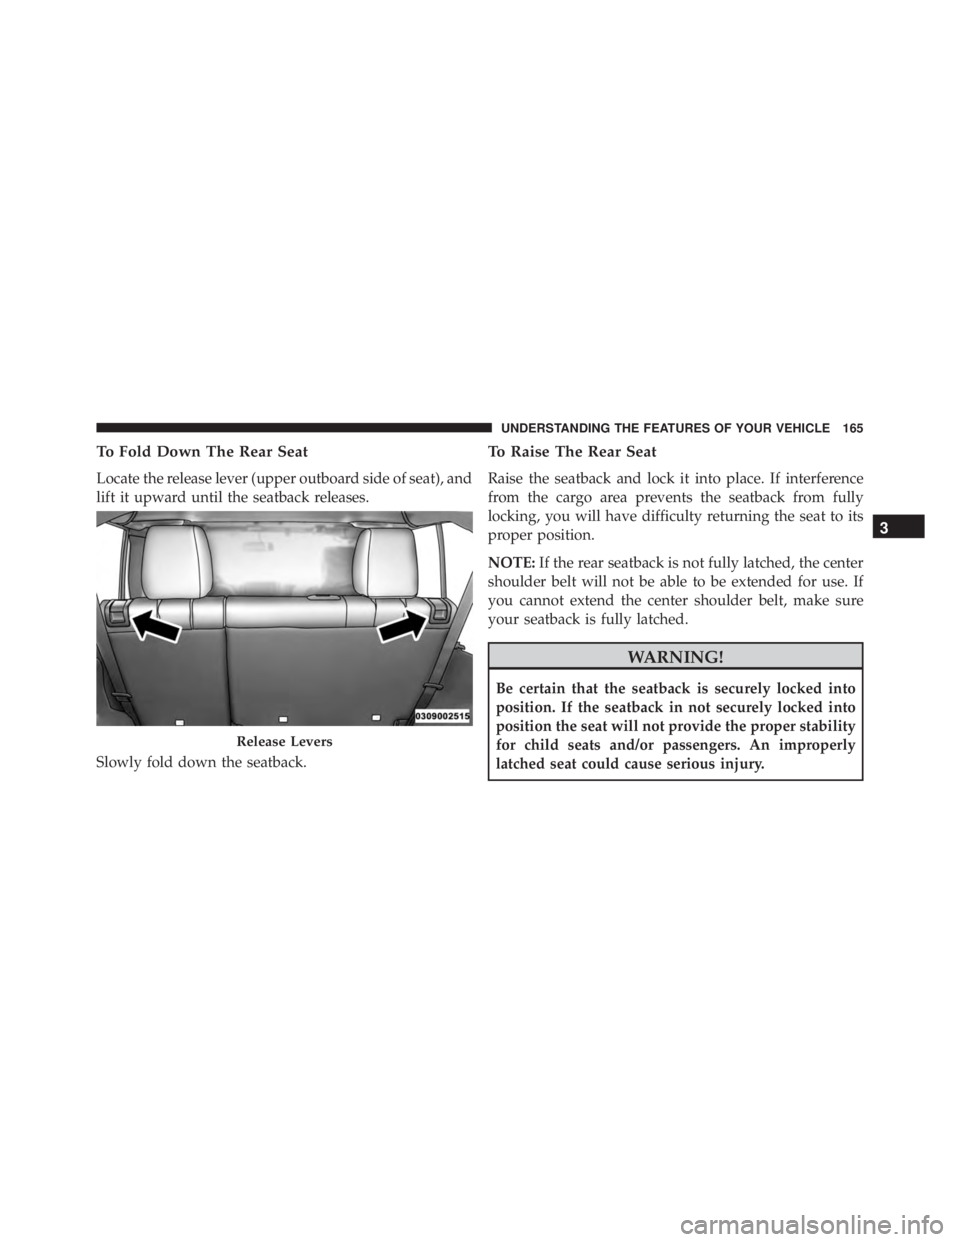
To Fold Down The Rear Seat
Locate the release lever (upper outboard side of seat), and
lift it upward until the seatback releases.
Slowly fold down the seatback.
To Raise The Rear Seat
Raise the seatback and lock it into place. If interference
from the cargo area prevents the seatback from fully
locking, you will have difficulty returning the seat to its
proper position.
NOTE:If the rear seatback is not fully latched, the center
shoulder belt will not be able to be extended for use. If
you cannot extend the center shoulder belt, make sure
your seatback is fully latched.
Page 168 of 693
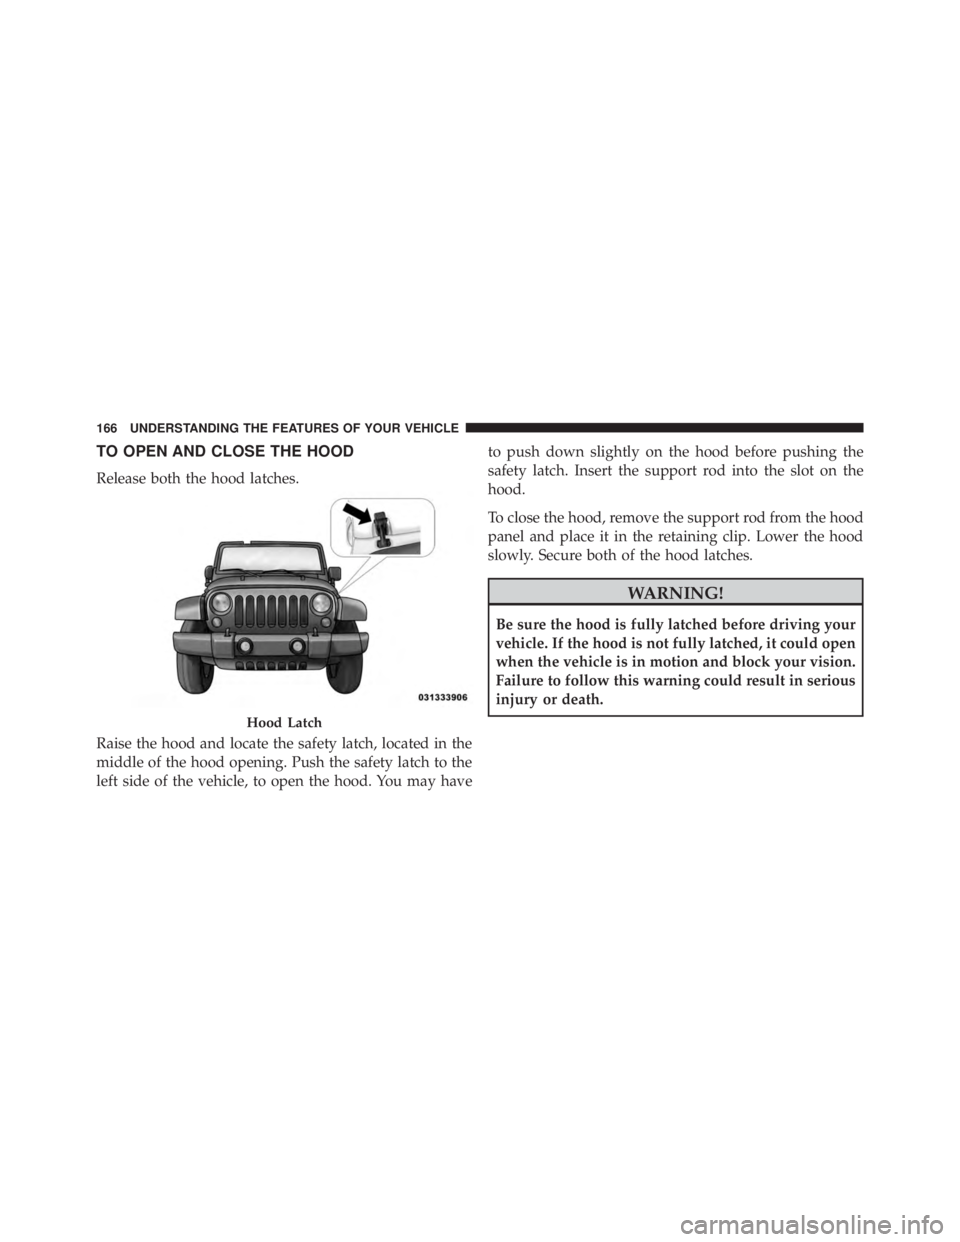
TO OPEN AND CLOSE THE HOOD
Release both the hood latches.
Raise the hood and locate the safety latch, located in the
middle of the hood opening. Push the safety latch to the
left side of the vehicle, to open the hood. You may haveto push down slightly on the hood before pushing the
safety latch. Insert the support rod into the slot on the
hood.
To close the hood, remove the support rod from the hood
panel and place it in the retaining clip. Lower the hood
slowly. Secure both of the hood latches.
Page 169 of 693
Page 170 of 693
Trending: octane, ECU, tow bar, suspension, high beam, transmission fluid, key battery
