door lock JEEP WRANGLER 2015 Owners Manual
[x] Cancel search | Manufacturer: JEEP, Model Year: 2015, Model line: WRANGLER, Model: JEEP WRANGLER 2015Pages: 693, PDF Size: 5.13 MB
Page 41 of 693
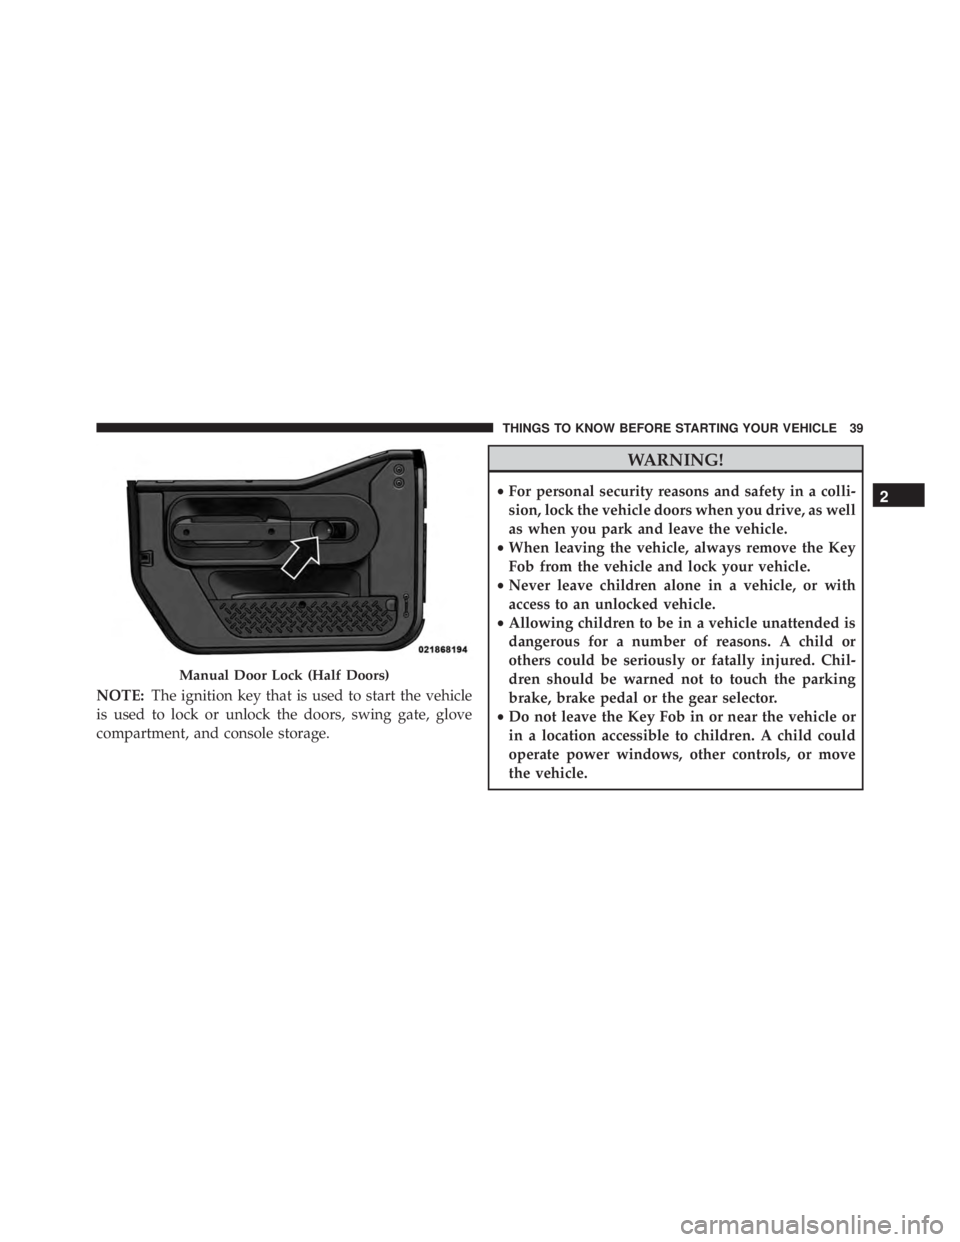
NOTE:The ignition key that is used to start the vehicle
is used to lock or unlock the doors, swing gate, glove
compartment, and console storage.
Page 42 of 693
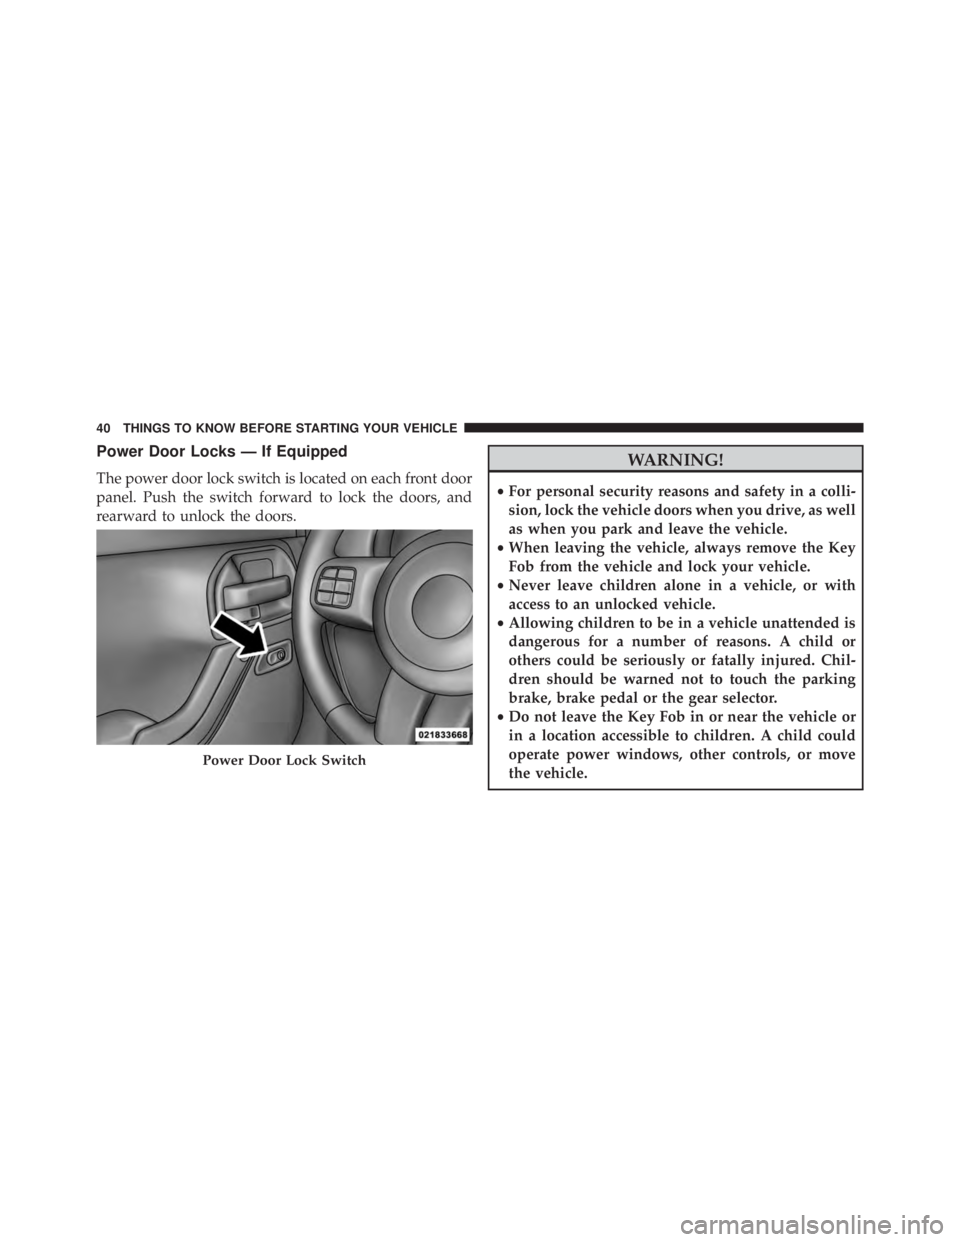
Power Door Locks — If Equipped
The power door lock switch is located on each front door
panel. Push the switch forward to lock the doors, and
rearward to unlock the doors.
Page 44 of 693
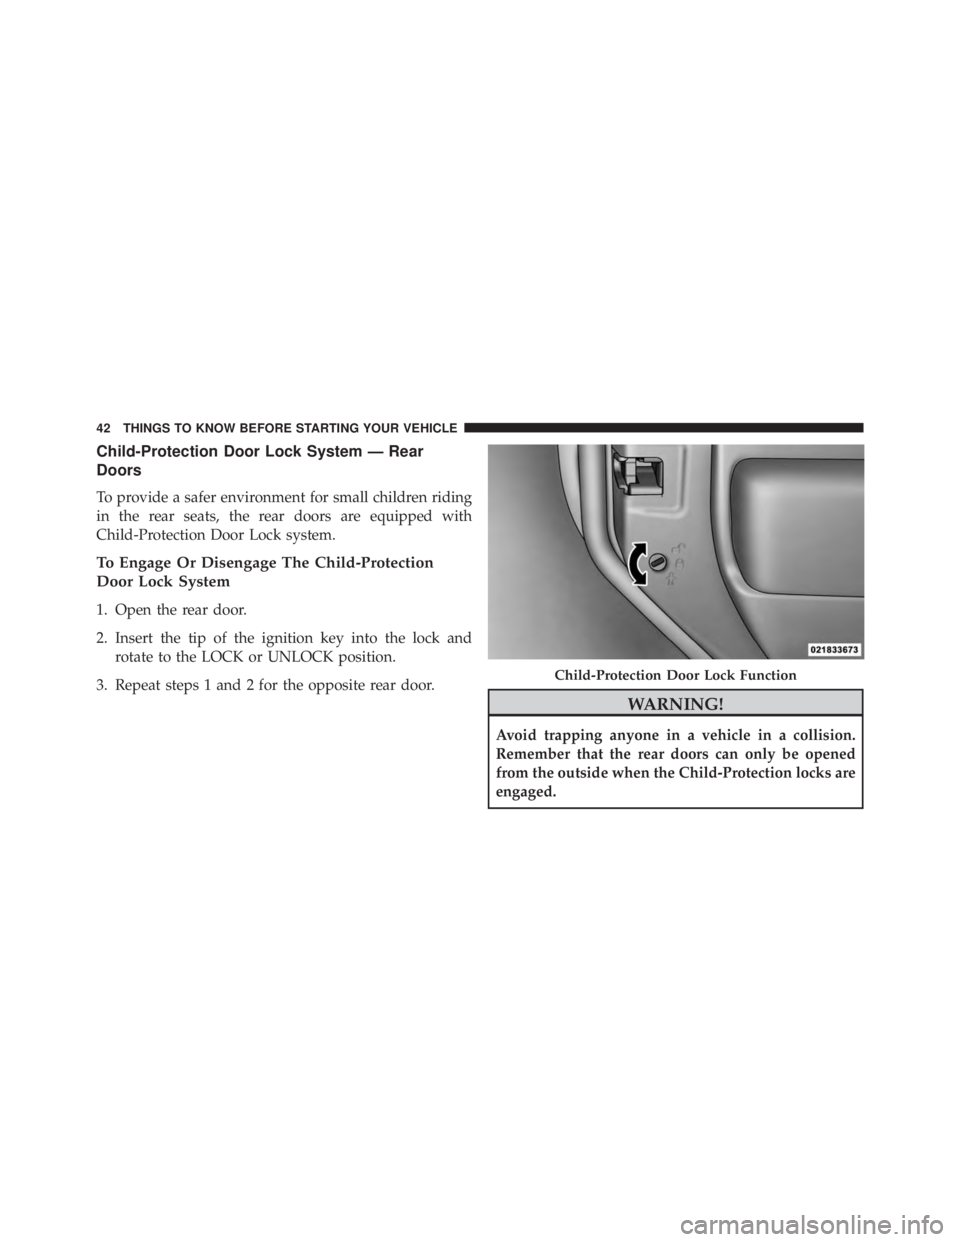
Child-Protection Door Lock System — Rear
Doors
To provide a safer environment for small children riding
in the rear seats, the rear doors are equipped with
Child-Protection Door Lock system.
To Engage Or Disengage The Child-Protection
Door Lock System
1. Open the rear door.
2. Insert the tip of the ignition key into the lock androtate to the LOCK or UNLOCK position.
3. Repeat steps 1 and 2 for the opposite rear door.
Page 73 of 693
WARNING!
Deployed air bags and seat belt pretensioners cannot
protect you in another collision. Have the air bags,
seat belt pretensioners, and the seat belt retractor
assemblies replaced by an authorized dealer imme-
diately. Also, have the Occupant Restraint Controller
System serviced as well.
NOTE:
• Air bag covers may not be obvious in the interior trim,
but they will open during air bag deployment.
• After any collision, the vehicle should be taken to an
authorized dealer immediately.
Enhanced Accident Response System
In the event of an impact, if the communication network
remains intact, and the power remains intact, depending on the nature of the event, the ORC will determine
whether to have the Enhanced Accident Response Sys-
tem perform the following functions:
•
Cut off fuel to the engine.
• Flash hazard lights as long as the battery has power or
until the ignition is placed in the “OFF” position.
• Turn on the interior lights, which remain on as long as
the battery has power or until the ignition is placed in
the “OFF” position.
• Unlock the doors automatically.
System Reset Procedure
In order to reset the Enhanced Accident Response System
functions after an event, the ignition must be changed
from ignition START or ON/RUN to ignition OFF.
2
THINGS TO KNOW BEFORE STARTING YOUR VEHICLE 71
Page 104 of 693
WARNING!(Continued)
•Always make sure that objects cannot fall into the
driver footwell while the vehicle is moving. Ob-
jects can become trapped under the brake pedal
and accelerator pedal causing a loss of vehicle
control.
• If required, mounting posts must be properly in-
stalled, if not equipped from the factory.
Failure to properly follow floor mat installation or
mounting can cause interference with the brake
pedal and accelerator pedal operation causing loss of
control of the vehicle.
Periodic Safety Checks You Should Make Outside
The Vehicle
Tires
Examine tires for excessive tread wear and uneven wear
patterns. Check for stones, nails, glass, or other objects lodged in the tread or sidewall. Inspect the tread for cuts
and cracks. Inspect sidewalls for cuts, cracks, and bulges.
Check the wheel nuts for tightness. Check the tires
(including spare) for proper cold inflation pressure.
Lights
Have someone observe the operation of brake lights and
exterior lights while you work the controls. Check turn
signal and high beam indicator lights on the instrument
panel.
Door Latches
Check for proper closing, latching, and locking.
Fluid Leaks
Check area under vehicle after overnight parking for fuel,
engine coolant, oil, or other fluid leaks. Also, if gasoline
fumes are detected or if fuel, power steering fluid (if
equipped), or brake fluid leaks are suspected, the cause
should be located and corrected immediately.
102 THINGS TO KNOW BEFORE STARTING YOUR VEHICLE
Page 162 of 693
WARNING!
•A loose head restraint thrown forward in a colli-
sion or hard stop could cause serious injury or
death to occupants of the vehicle. Always securely
stow removed head restraints in a location outside
the occupant compartment.
• ALL the head restraints MUST be reinstalled in the
vehicle to properly protect the occupants. Follow
the re-installation instructions above prior to oper-
ating the vehicle or occupying a seat.
NOTE: Do not reposition the head restraint 180 degrees
to the incorrect position in an attempt to gain additional
clearance to the back of the head.
Rear Head Restraints — 2 Door Model
The rear seat head restraints are not adjustable. They can
be removed to make it easier to take out the rear seat. To
remove the head restraint, push the button on each of the two head restraint guides and pull upward on the head
restraint. Replace the head restraint before driving the
vehicle with passengers in the rear seat. To replace the
head restraint, insert the head restraint rods into the
guides and push downward on the head restraint until
locked. Refer to “Occupant Restraints” in “Things to
Know Before Starting Your Vehicle” for information on
child seat tether routing.