tow JEEP WRANGLER 2016 JK / 3.G User Guide
[x] Cancel search | Manufacturer: JEEP, Model Year: 2016, Model line: WRANGLER, Model: JEEP WRANGLER 2016 JK / 3.GPages: 705, PDF Size: 5.5 MB
Page 147 of 705
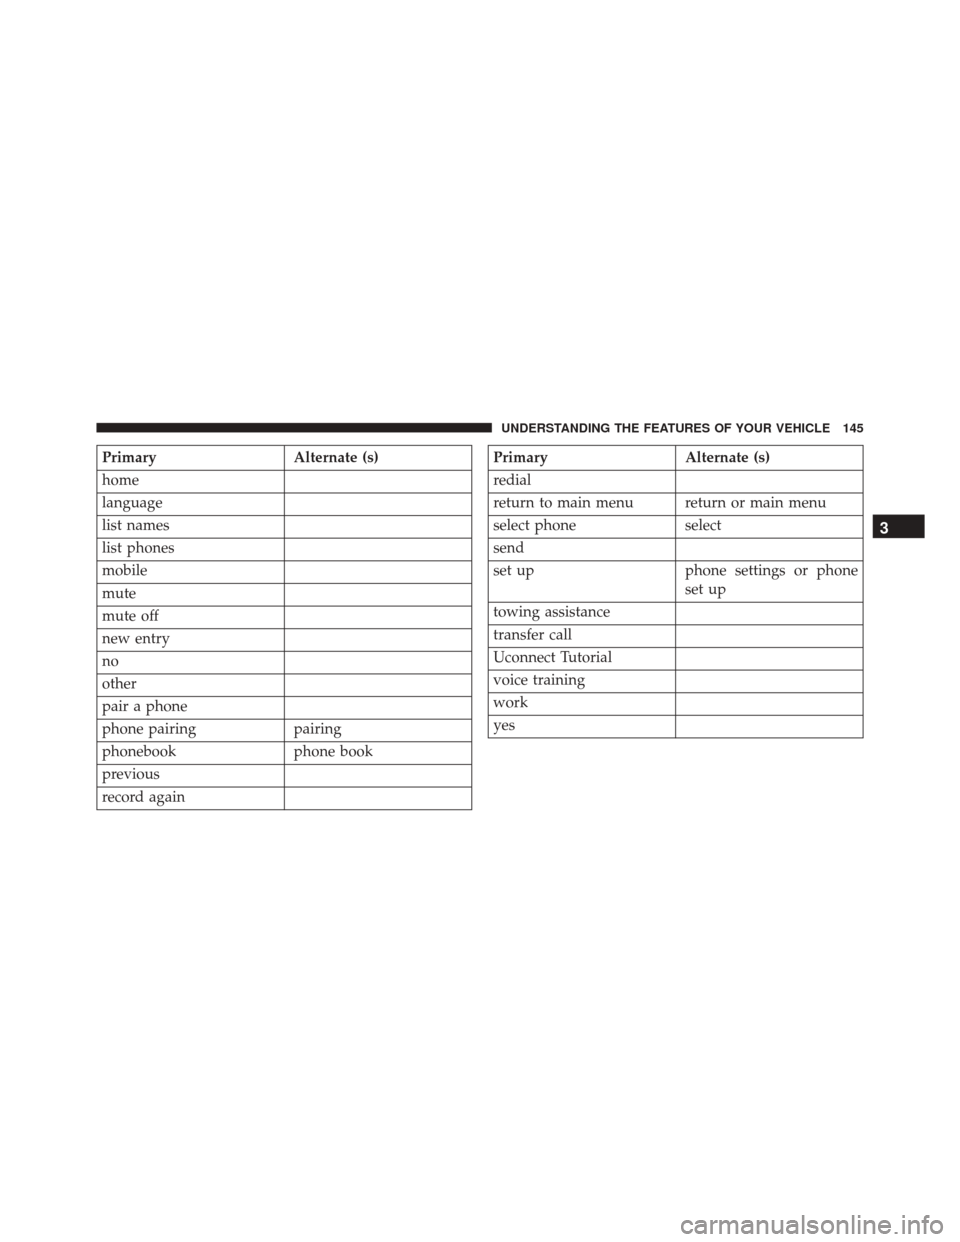
PrimaryAlternate (s)
home
language
list names
list phones
mobile
mute
mute off
new entry
no
other
pair a phone
phone pairing pairing
phonebook phone book
previous
record againPrimary Alternate (s)
redial
return to main menu return or main menu
select phone select
send
set up phone settings or phone
set up
towing assistance
transfer call
Uconnect Tutorial
voice training
work
yes
3
UNDERSTANDING THE FEATURES OF YOUR VEHICLE 145
Page 157 of 705
WARNING!
Do not ride with the seatback reclined so that the
shoulder belt is no longer resting against your chest.
In a collision you could slide under the seat belt,
which could result in serious injury or death.
Front Passenger Easy Entry Seat — Two-Door
Models
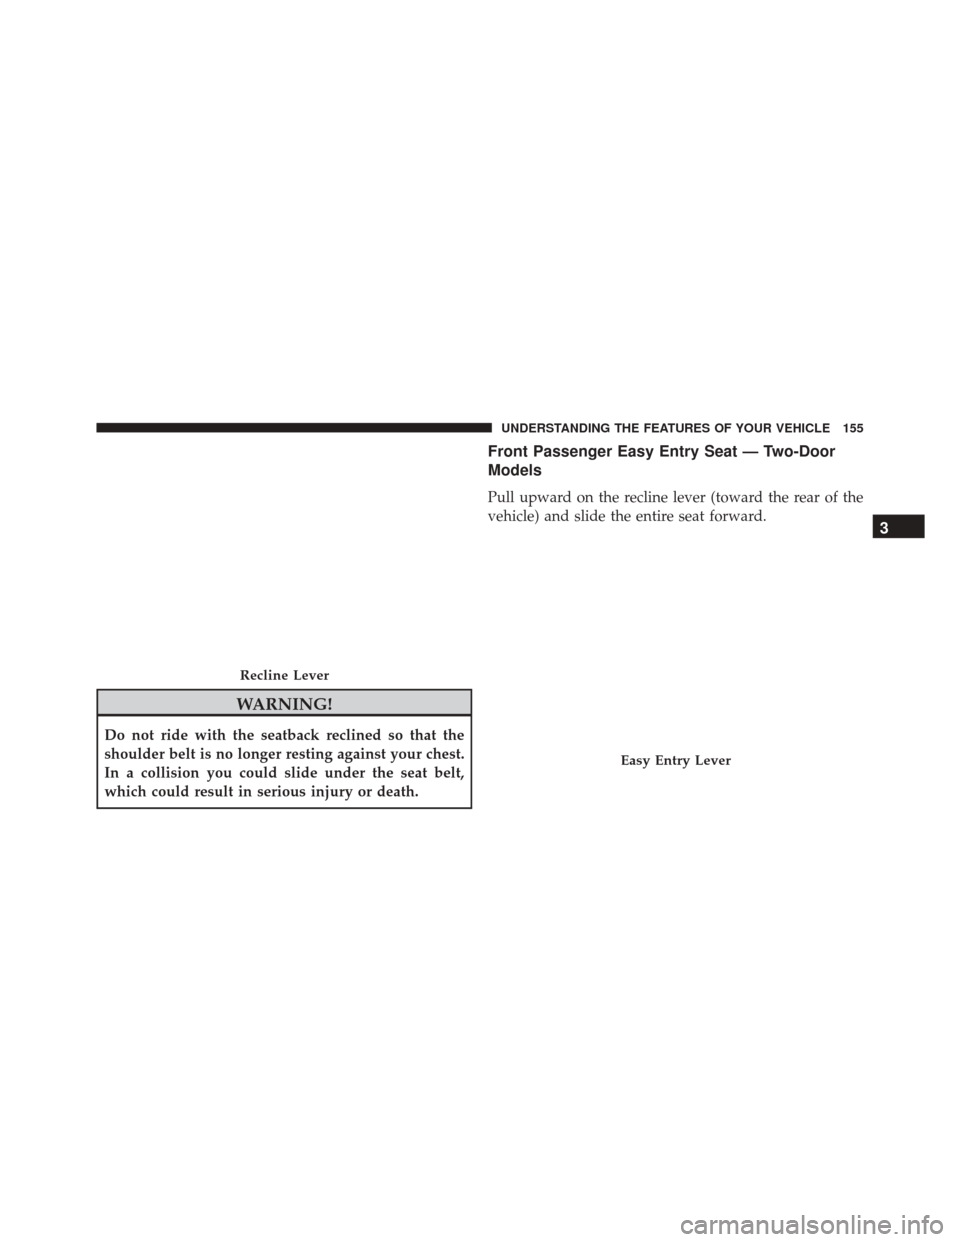
Pull upward on the recline lever (toward the rear of the
vehicle) and slide the entire seat forward.
Recline Lever
Easy Entry Lever
3
UNDERSTANDING THE FEATURES OF YOUR VEHICLE 155
Page 158 of 705
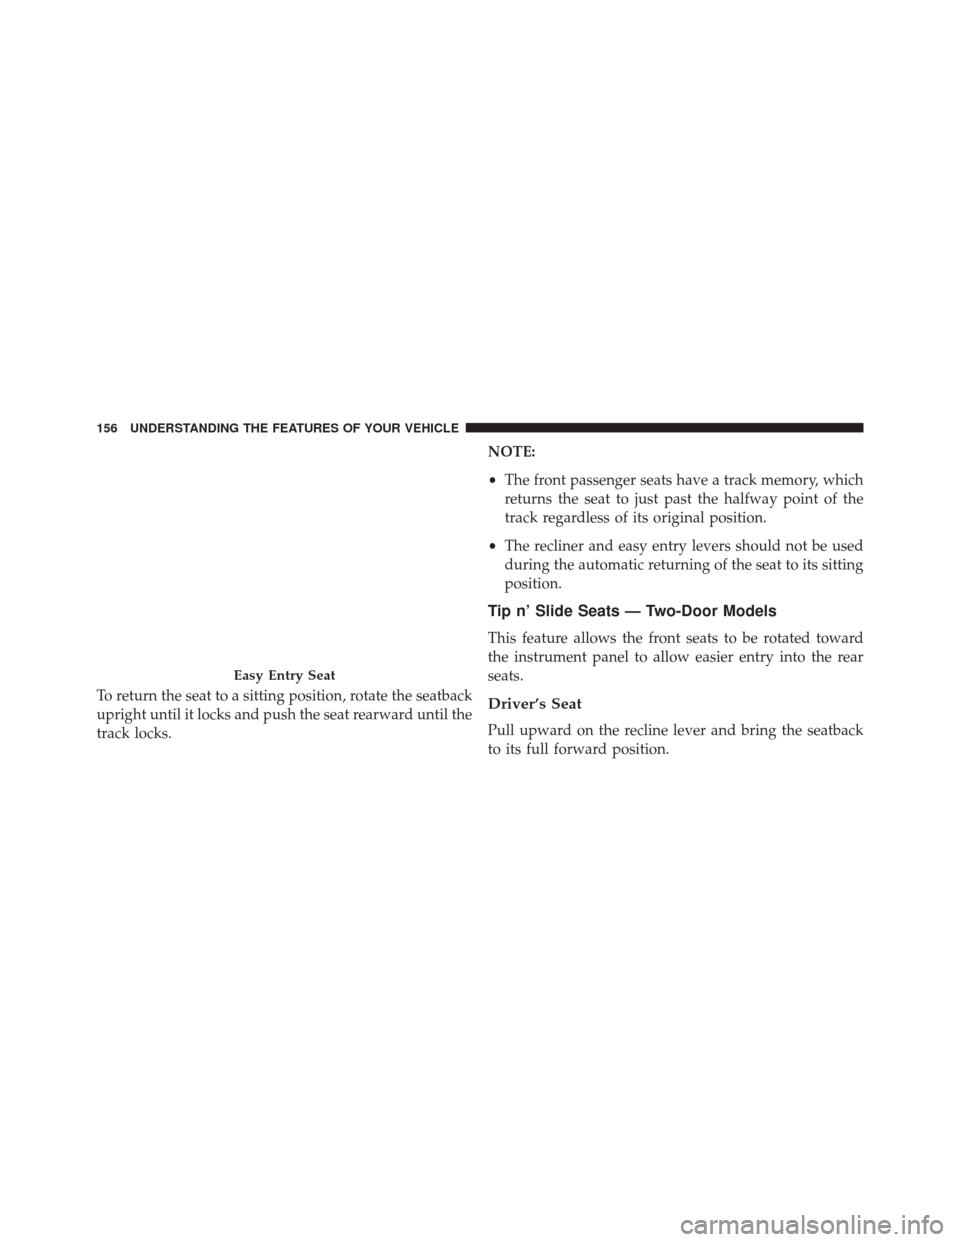
To return the seat to a sitting position, rotate the seatback
upright until it locks and push the seat rearward until the
track locks.NOTE:
•
The front passenger seats have a track memory, which
returns the seat to just past the halfway point of the
track regardless of its original position.
• The recliner and easy entry levers should not be used
during the automatic returning of the seat to its sitting
position.
Tip n’ Slide Seats — Two-Door Models
This feature allows the front seats to be rotated toward
the instrument panel to allow easier entry into the rear
seats.
Driver’s Seat
Pull upward on the recline lever and bring the seatback
to its full forward position.
Easy Entry Seat
156 UNDERSTANDING THE FEATURES OF YOUR VEHICLE
Page 159 of 705
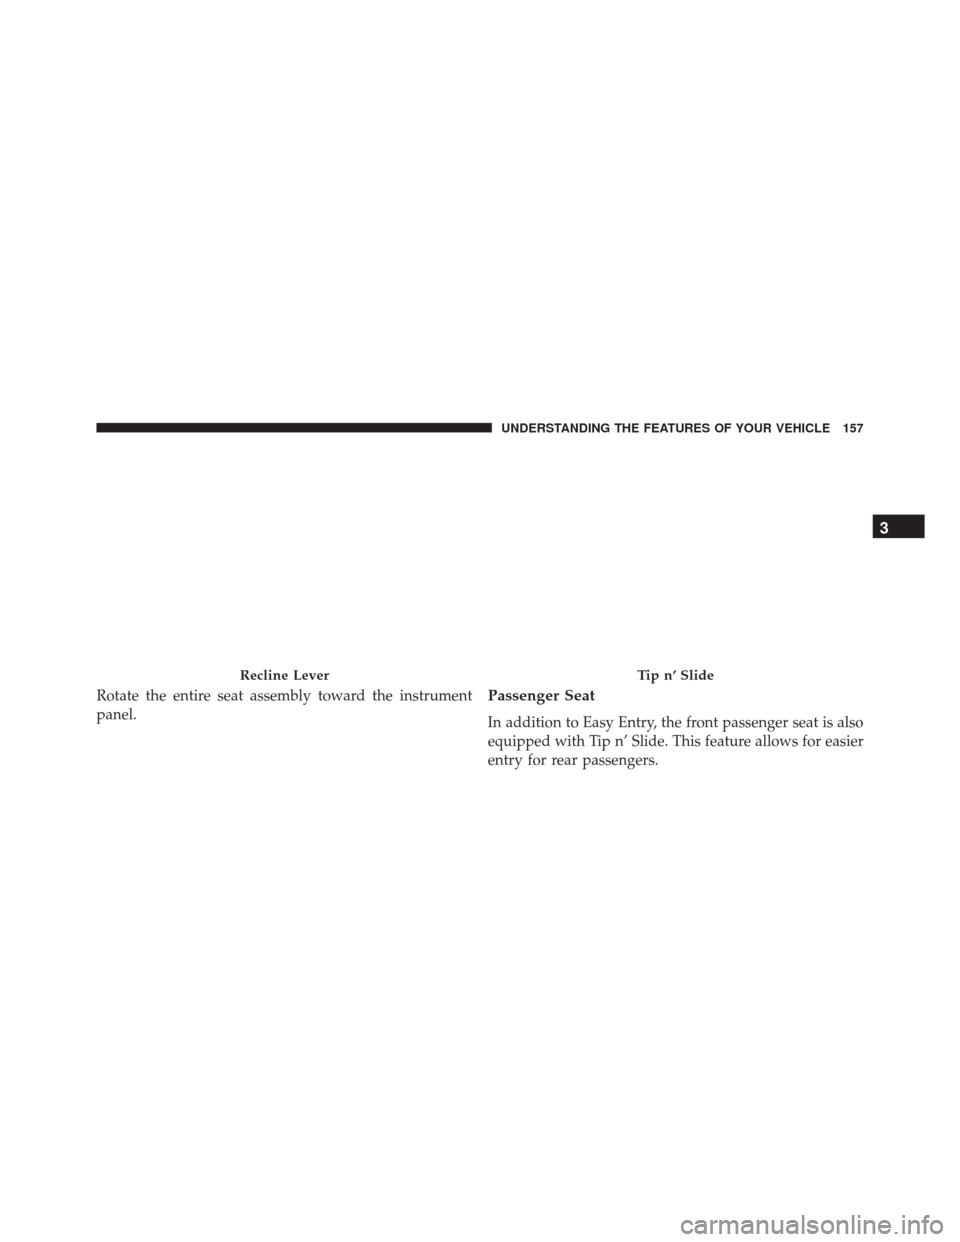
Rotate the entire seat assembly toward the instrument
panel.Passenger Seat
In addition to Easy Entry, the front passenger seat is also
equipped with Tip n’ Slide. This feature allows for easier
entry for rear passengers.
Recline LeverTip n’ Slide
3
UNDERSTANDING THE FEATURES OF YOUR VEHICLE 157
Page 160 of 705
Pull upward on the recline lever and slide the entire seat
forward (Easy Entry).With the seat forward, pull the entire seat assembly
toward the instrument panel.
Easy Entry LeverTip n’ Slide
158 UNDERSTANDING THE FEATURES OF YOUR VEHICLE
Page 163 of 705
up. To reinstall the head restraint, put the head restraint
posts into the holes and push downward. Then adjust it
to the appropriate height.WARNING!
•A loose head restraint thrown forward in a colli-
sion or hard stop could cause serious injury or
death to occupants of the vehicle. Always securely
stow removed head restraints in a location outside
the occupant compartment.
• ALL the head restraints MUST be reinstalled in the
vehicle to properly protect the occupants. Follow
the re-installation instructions above prior to oper-
ating the vehicle or occupying a seat.
NOTE: Do not reposition the head restraint 180 degrees
to the incorrect position in an attempt to gain additional
clearance to the back of the head.
Rear Head Restraints — 2 Door Model
The rear seat head restraints are not adjustable. They can
be removed to make it easier to take out the rear seat. To
remove the head restraint, push the button on each of the
1 — Release Button
2 — Adjustment Button
3
UNDERSTANDING THE FEATURES OF YOUR VEHICLE 161
Page 164 of 705
two head restraint guides and pull upward on the head
restraint. Replace the head restraint before driving the
vehicle with passengers in the rear seat. To replace the
head restraint, insert the head restraint rods into the
guides and push downward on the head restraint until
locked. Refer to “Occupant Restraints” in “Things to
Know Before Starting Your Vehicle” for information on
child seat tether routing.
WARNING!
•Do not drive the vehicle without the rear seat head
restraints installed while passengers are occupying
the rear seat. In a collision, people riding in this
area without the head restraints installed are more
likely to be seriously injured or killed.
• A loose head restraint thrown forward in a colli-
sion or hard stop could cause serious injury or
(Continued)
WARNING! (Continued)
death to occupants of the vehicle. Always securely
stow removed head restraints in a location outside
the occupant compartment.
• ALL the head restraints MUST be reinstalled in the
vehicle to properly protect the occupants. Follow
the re-installation instructions above prior to oper-
ating the vehicle or occupying a seat.
NOTE: Do not reposition the head restraint 180 degrees
to the incorrect position in an attempt to gain additional
clearance to the back of the head.
Rear Head Restraints — 4 Door Model
The rear seat is equipped with nonadjustable head re-
straints. Refer to “Occupant Restraints” in “Things to
Know Before Starting Your Vehicle” for information on
child seat tether routing.
162 UNDERSTANDING THE FEATURES OF YOUR VEHICLE
Page 173 of 705
NOTE:
•If either light remains on and does not flash, or there is
a very fast flash rate, check for a defective outside light
bulb. If an indicator fails to light when the lever is
moved, it would suggest that the indicator bulb is
defective.
• A tone will chime if the turn signals are left on for more
than 1 mile (2 km).
Lane Change Assist
Tap the lever up or down once, without moving beyond
the detent, and the turn signal (right or left) will flash
three times then automatically turn off.
Lights-On Reminder
If the headlights or parking lights are left on after the
ignition is turned OFF, a chime will sound to alert the
driver when the driver’s door is opened.
High/Low Beam Switch
Push the multifunction lever away from you to switch
the headlights to high beam. Pull the lever toward you, to
switch the headlights back to low beam.
Flash-To-Pass
You can signal another vehicle with your headlights by
lightly pulling the multifunction lever toward you. This
will turn on the high beams headlights until the lever is
released.
Front Fog Lights
The front fog light switch is located on the multi-
function lever. To activate the front fog lights, turn
on the parking or low beam headlights and pull out the
end of the lever.
3
UNDERSTANDING THE FEATURES OF YOUR VEHICLE 171
Page 181 of 705
Windshield Washers
To use the washer, pull the lever toward you and hold
while spray is desired. If the lever is pulled while in the
delay range, the wiper will start and continue to operate for
two or three wipe cycles after the lever is released, and then
resume the intermittent interval previously selected.
If the lever is pulled while in the off position, the wipers
will operate for two or three wipe cycles and then turn off.
WARNING!
Sudden loss of visibility through the windshield
could lead to a collision. You might not see other
vehicles or other obstacles. To avoid sudden icing of
the windshield during freezing weather, warm the
windshield with defroster before and during wind-
shield washer use.
Mist Feature
Push down on the wiper lever to activate a single wipe to
clear off road mist or spray from a passing vehicle. As
long as the lever is held down, the wipers will continue
to operate.
NOTE:The mist feature does not activate the washer
pump; therefore, no washer fluid will be sprayed on the
windshield. The wash function must be used in order to
spray the windshield with washer fluid.
3
UNDERSTANDING THE FEATURES OF YOUR VEHICLE 179
Page 221 of 705
Door Frame Removal
1. Unscrew and remove the door frame attachmentknobs (two per door).
WARNING!
Use both hands to remove the door frames. The door
frames will fold and could cause injury if both hands
are not used.
2. Place one hand on the upper rear and one hand on the front of the door frame.
3. Pull the frame toward you with your rearward hand to remove the frame from the vehicle.
3
UNDERSTANDING THE FEATURES OF YOUR VEHICLE 219