window JEEP WRANGLER 2016 JK / 3.G Manual PDF
[x] Cancel search | Manufacturer: JEEP, Model Year: 2016, Model line: WRANGLER, Model: JEEP WRANGLER 2016 JK / 3.GPages: 705, PDF Size: 5.5 MB
Page 290 of 705

the Velcro along the top and rear of the window.
Repeat this step for the opposite side.
288 UNDERSTANDING THE FEATURES OF YOUR VEHICLE
Page 291 of 705
15. Locate the black swing gate bar. Slide the swing gatebar over the receiver at the bottom inside of the rear
window. The spongy part of the seal should be down
and pointed outward to seal with the swing gate
when closed. 16. Install the rear window by starting both zipper ends
at the lower left corner of the rear window opening.
Ensure that the zippers are properly started and
aligned before zipping to prevent damage.
17. Run the first zipper fully around to the right side of the window.
3
UNDERSTANDING THE FEATURES OF YOUR VEHICLE 289
Page 292 of 705
18. Grasp the swing gate bar and position it into theswing gate brackets. 19. Insert the rear window retainer into the swing gate
bracket on both the left and right sides.
290 UNDERSTANDING THE FEATURES OF YOUR VEHICLE
Page 293 of 705
20. Complete the installation of the sail panel by insert-ing the rest of the retainer into the body channel.
21. Close the header latches and return the sun visors to their secured position.SUNRIDER (FOUR-DOOR MODELS) — IF
EQUIPPED
CAUTION!
Operating the top, opening a door or lowering a
window while the top is wet may allow water to drip
into the vehicle’s interior.
NOTE: If you are going to be driving faster than 40 mph
(64 km/h) with the Sunrider feature open, it is recom-
mended that you remove the rear window of the vehicle.3
UNDERSTANDING THE FEATURES OF YOUR VEHICLE 291
Page 303 of 705
5. Install the lower windshield plates with the six blackround-headed Torx head screws (using a #40 Torx
head driver) on each side of the base of the wind-
shield.
6. Reinstall the wiper arms.REAR WINDOW FEATURES — HARD TOP ONLY
Rear Window Wiper/Washer — If Equipped
A rotary switch on the center portion of the control lever
(located on the right side of the steering column) controls
the operation of the rear wiper/washer function.
Rear Wiper/Washer Control
3
UNDERSTANDING THE FEATURES OF YOUR VEHICLE 301
Page 304 of 705
Rotate the switch upward to the first detent
position for rear wiper operation.Rotate the switch upward past the first detent
to activate the rear washer. The washer pump
and the wiper will continue to operate as long
as the switch is held. Upon release, the wiper
will cycle two to three times before returning to the set
position.
If the rear wiper is operating when the ignition is turned
to the LOCK position, the wiper will automatically return
to the “Park” position. When the vehicle is restarted, the
wiper will resume function at whichever position the
switch is set at.Rear Window Defroster — If Equipped
The rear window defroster button is located on
the climate controls mode control knob. Push the
button to turn on the rear window defroster. An indicator
in the button will illuminate when the rear window
defroster is on. The rear window defroster automatically
turns off after approximately 10 minutes. For an addi-
tional five minutes of operation, push the button a
second time.
NOTE: To prevent excessive battery drain, use the rear
window defroster only when the engine is operating.
302 UNDERSTANDING THE FEATURES OF YOUR VEHICLE
Page 305 of 705
CAUTION!
Failure to follow these cautions can cause damage to
the heating elements:
•Use care when washing the inside of the rear
window. Do not use abrasive window cleaners on
the interior surface of the window. Use a soft cloth
and a mild washing solution, wiping parallel to the
heating elements. Labels can be peeled off after
soaking with warm water.
• Do not use scrapers, sharp instruments, or abrasive
window cleaners on the interior surface of the
window.
• Keep all objects a safe distance from the window.
3
UNDERSTANDING THE FEATURES OF YOUR VEHICLE 303
Page 311 of 705
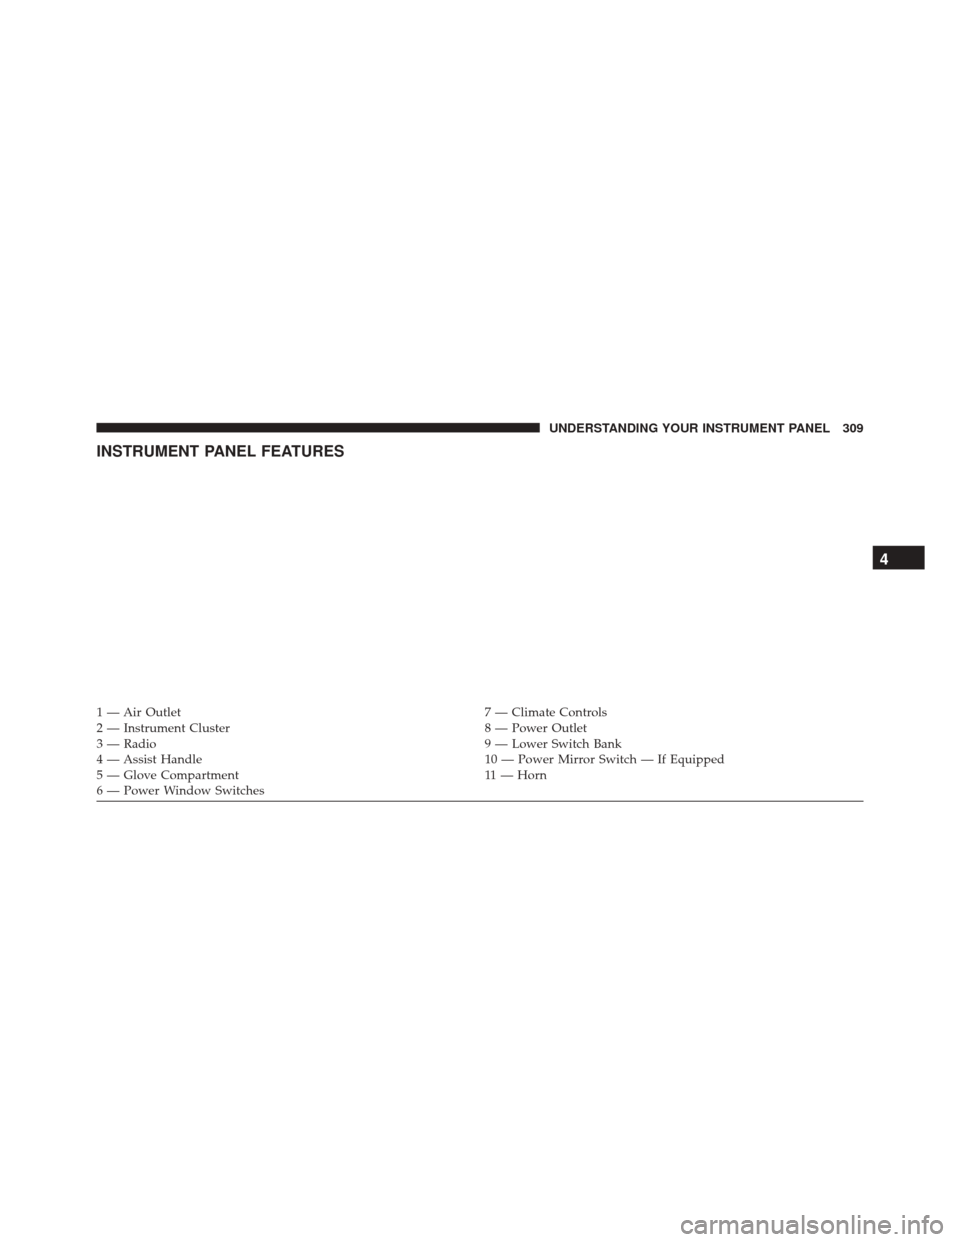
INSTRUMENT PANEL FEATURES
1 — Air Outlet7 — Climate Controls
2 — Instrument Cluster 8 — Power Outlet
3 — Radio 9 — Lower Switch Bank
4 — Assist Handle 10 — Power Mirror Switch — If Equipped
5 — Glove Compartment 11 — Horn
6 — Power Window Switches
4
UNDERSTANDING YOUR INSTRUMENT PANEL 309
Page 358 of 705
Headlamps with Wipers (Available with Auto
Headlights Only)
When on is selected, and the headlight switch is in the
AUTO position, the headlights will turn on approxi-
mately 10 seconds after the wipers are turned on. If the
headlights were turned on by this feature, they will also
turn off when the wipers are turned off. To make your
selection, push and release theRIGHTarrow button
until “ON” or “OFF” appears.
NOTE: Turning the headlights on during the daytime
causes the instrument panel lights to dim. To increase the
brightness, refer to “Lights” in “Understanding The
Features Of Your Vehicle.”
Key Off Power Delay
When this feature is selected, the power window
switches, radio, hands–free system (if equipped), DVD
video system (if equipped), power sunroof (if equipped),
and power outlets will remain active for up to 10 minutes after the ignition switch is turned to the LOCK position.
Opening either front vehicle door will cancel this feature.
To make your selection, push and release the RIGHT
button until “Off,” “45 sec.,” “5 min.,” or “10 min.”
appears.
Illumin. Approach
When this feature is selected, the headlights will activate
and remain on for up to 90 seconds when the doors are
unlocked with the RKE transmitter. To make your selec-
tion, push and hold the RIGHT button until “Off,” “30
sec,” “60 sec,” or “90 sec” appears.
Hill Start Assist (HSA) — If Equipped
When “On” is selected, the HSA system is active. Refer to
“Electronic Brake Control System” in “Starting And
Operating” for system function and operating informa-
tion. To make your selection, push and release the
RIGHT
arrow button until “On” or “Off” appears.
356 UNDERSTANDING YOUR INSTRUMENT PANEL
Page 362 of 705
Push the rotary TUNE/SCROLL control knob a second
time and MID will display. Turn the TUNE/SCROLL
control knob to the right or left to increase or decrease the
mid-range tones.
Push the rotary TUNE/SCROLL control knob a third
time and TREBLE will display. Turn the TUNE/SCROLL
control knob to the right or left to increase or decrease the
treble tones.
Push the rotary TUNE/SCROLL control knob a fourth
time and BALANCE will display. Turn the TUNE/
SCROLL control knob to the right or left to adjust the
sound level from the right or left side speakers.
Push the rotary TUNE/SCROLL control knob a fifth time
and FADE will display. Turn the TUNE/SCROLL control
knob to the left or right to adjust the sound level between
the front and rear speakers.Push the rotary TUNE/SCROLL control knob again to
exit setting tone, balance, and fade.
AM/FM Button
Push the buttons to select either AM or FM mode.
SET/RND Button — To Set The Pushbutton
Memory
When you are receiving a station that you wish to
commit to pushbutton memory, push the SET/RND
button. The symbol SET 1 will now show in the display
window. Select the button (1 to 6) you wish to lock onto
this station and push and release that button. If a button
is not selected within five seconds after pushing the
SET/RND button, the station will continue to play but
will not be stored into pushbutton memory.
You may add a second station to each pushbutton by
repeating the above procedure with this exception: Push
the SET/RND button twice and SET 2 will show in the
360 UNDERSTANDING YOUR INSTRUMENT PANEL