radio JEEP WRANGLER 2016 JK / 3.G Owner's Manual
[x] Cancel search | Manufacturer: JEEP, Model Year: 2016, Model line: WRANGLER, Model: JEEP WRANGLER 2016 JK / 3.GPages: 156, PDF Size: 8.82 MB
Page 73 of 156
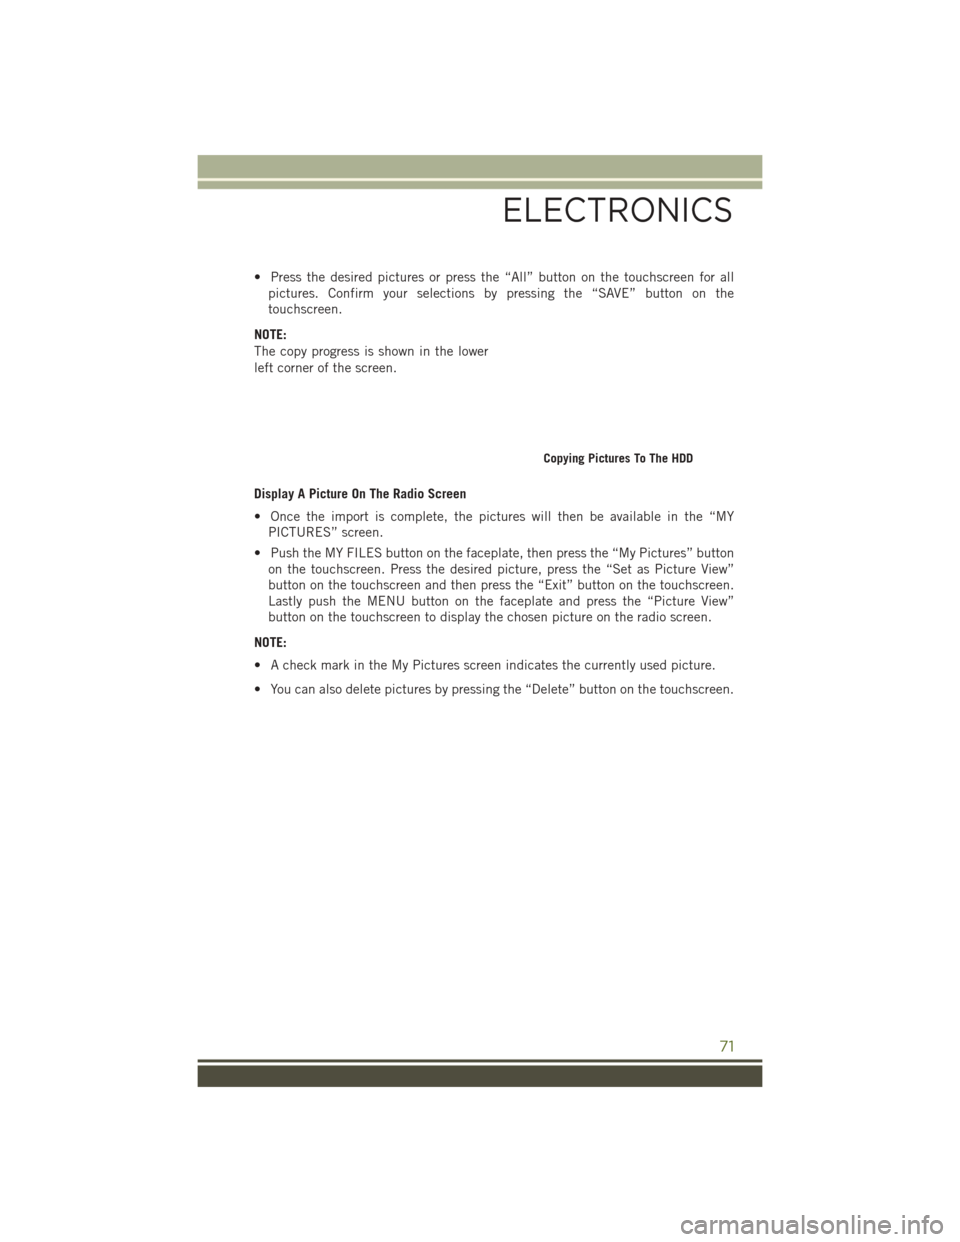
• Press the desired pictures or press the “All” button on the touchscreen for allpictures. Confirm your selections by pressing the “SAVE” button on the
touchscreen.
NOTE:
The copy progress is shown in the lower
left corner of the screen.
Display A Picture On The Radio Screen
• Once the import is complete, the pictures will then be available in the “MY PICTURES” screen.
• Push the MY FILES button on the faceplate, then press the “My Pictures” button on the touchscreen. Press the desired picture, press the “Set as Picture View”
button on the touchscreen and then press the “Exit” button on the touchscreen.
Lastly push the MENU button on the faceplate and press the “Picture View”
button on the touchscreen to display the chosen picture on the radio screen.
NOTE:
• A check mark in the My Pictures screen indicates the currently used picture.
• You can also delete pictures by pressing the “Delete” button on the touchscreen.
Copying Pictures To The HDD
ELECTRONICS
71
Page 74 of 156
Playing Music From The HDD
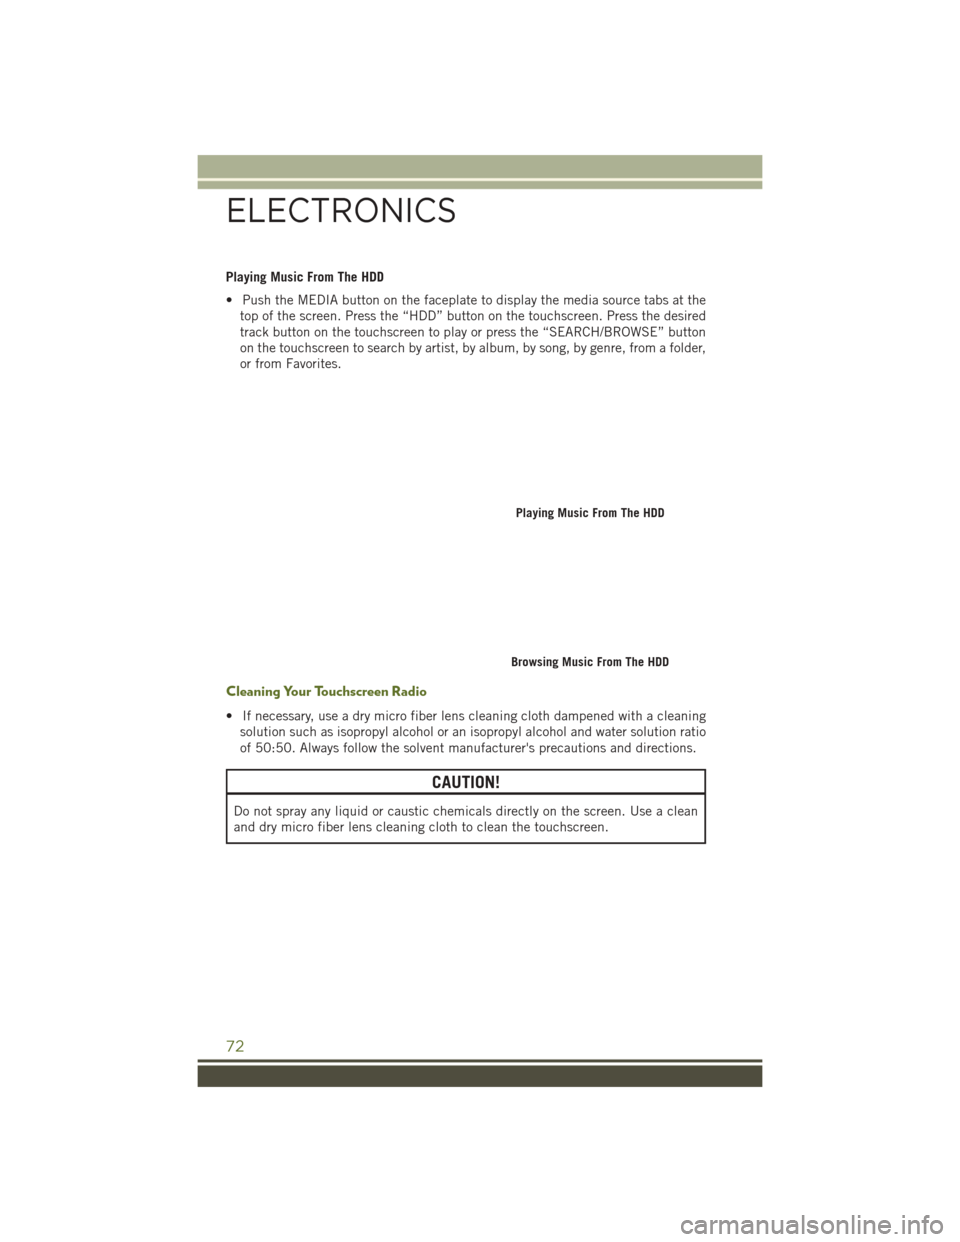
• Push the MEDIA button on the faceplate to display the media source tabs at thetop of the screen. Press the “HDD” button on the touchscreen. Press the desired
track button on the touchscreen to play or press the “SEARCH/BROWSE” button
on the touchscreen to search by artist, by album, by song, by genre, from a folder,
or from Favorites.
Cleaning Your Touchscreen Radio
• If necessary, use a dry micro fiber lens cleaning cloth dampened with a cleaningsolution such as isopropyl alcohol or an isopropyl alcohol and water solution ratio
of 50:50. Always follow the solvent manufacturer's precautions and directions.
CAUTION!
Do not spray any liquid or caustic chemicals directly on the screen. Use a clean
and dry micro fiber lens cleaning cloth to clean the touchscreen.
Playing Music From The HDD
Browsing Music From The HDD
ELECTRONICS
72
Page 78 of 156
Taking A Detour
To take a detour you must be navigating a route.
• Press the “back arrow” icon button on the touchscreen multiple times to return tothe Main Navigation menu.
• Press the “Detour” button on the touchscreen.
NOTE:
If the route you are currently taking is the only reasonable option, the device might
not calculate a detour.
Acquiring Satellites
The GPS Satellite strength bars indicate the strength of your satellite reception.
• Acquiring satellite signals can take a few minutes. When at least one of the bars is green, your device has acquired satellite signals.
• You may experience delays receiving satellite signals when in areas with an obstructed view to the sky, such as garages, tunnels, or large cities with tall
buildings.
SiriusXM SATELLITE RADIO/TRAVEL LINK
• SiriusXM Travel Link requires a subscription, sold separately after the five (5) yeartrial subscription included with your vehicle purchase.
• SiriusXM Travel Link is only available in the United States.
• The following describes features that are available when in SiriusXM Satellite Radio mode.
• To access SiriusXM Satellite Radio, push the RADIO/MEDIA or RADIO button on the faceplate, then press the “SAT” button on the touchscreen.
Info
• Press the “i” button on the touchscreen to view detailed information about the current Sirius XM Satellite channel.
SiriusXM Parental Controls
• SiriusXM offers the option to permanently block selected channels. Call 1-888-539-7474 and request the Family Package.
• Uconnect 430/430N: Push the “MENU” button on the faceplate while in SiriusXM
Satellite Radio Mode, then press the “Channel Lock” to enable and/or disable
desired channels. The SEEK and SCAN function will then only display channels
without Channel lock.
ELECTRONICS
76
Page 79 of 156
Search/Browse
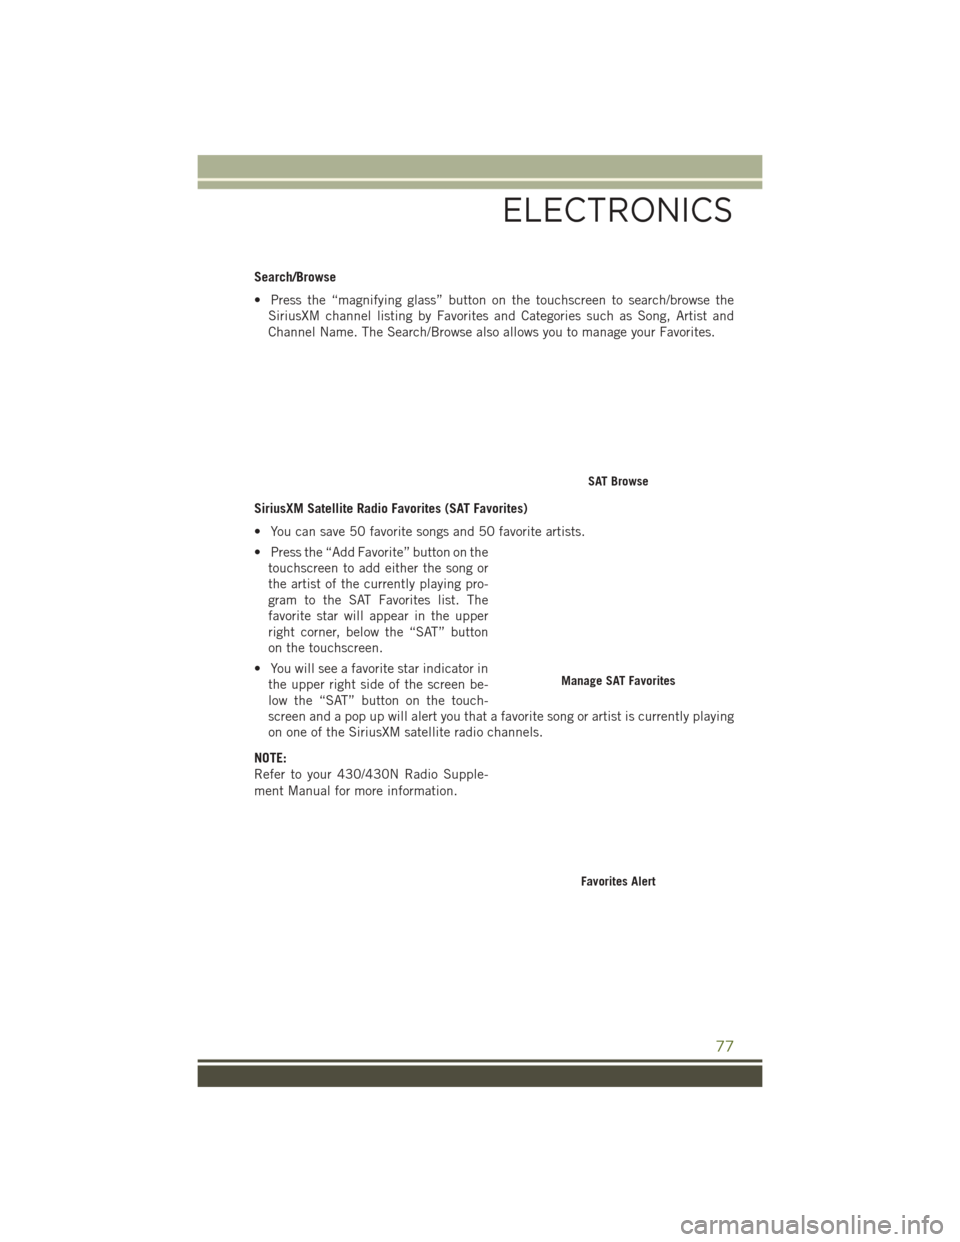
• Press the “magnifying glass” button on the touchscreen to search/browse theSiriusXM channel listing by Favorites and Categories such as Song, Artist and
Channel Name. The Search/Browse also allows you to manage your Favorites.
SiriusXM Satellite Radio Favorites (SAT Favorites)
• You can save 50 favorite songs and 50 favorite artists.
• Press the “Add Favorite” button on the touchscreen to add either the song or
the artist of the currently playing pro-
gram to the SAT Favorites list. The
favorite star will appear in the upper
right corner, below the “SAT” button
on the touchscreen.
• You will see a favorite star indicator in the upper right side of the screen be-
low the “SAT” button on the touch-
screen and a pop up will alert you that a favorite song or artist is currently playing
on one of the SiriusXM satellite radio channels.
NOTE:
Refer to your 430/430N Radio Supple-
ment Manual for more information.
SAT Browse
Manage SAT Favorites
Favorites Alert
ELECTRONICS
77
Page 81 of 156
Replay Option Option Description
Replay Time Displays the amount of time in the upper center of the screen bywhich your content lags the live channel.
Live Resumes playback of live content at any time while replaying re- wound content.
STEERING WHEEL AUDIO CONTROLS
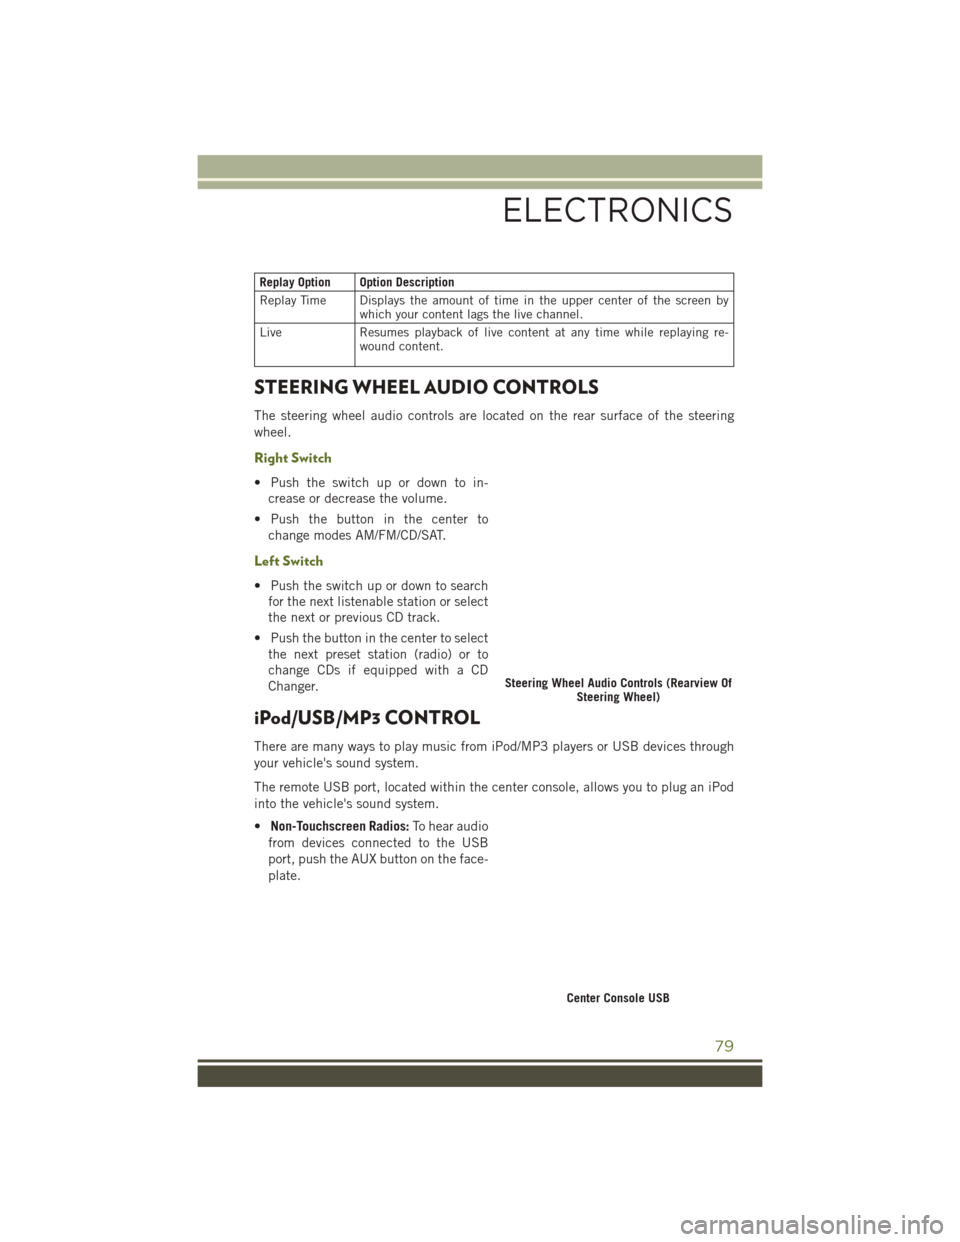
The steering wheel audio controls are located on the rear surface of the steering
wheel.
Right Switch
• Push the switch up or down to in-
crease or decrease the volume.
• Push the button in the center to change modes AM/FM/CD/SAT.
Left Switch
• Push the switch up or down to searchfor the next listenable station or select
the next or previous CD track.
• Push the button in the center to select the next preset station (radio) or to
change CDs if equipped with a CD
Changer.
iPod/USB/MP3 CONTROL
There are many ways to play music from iPod/MP3 players or USB devices through
your vehicle's sound system.
The remote USB port, located within the center console, allows you to plug an iPod
into the vehicle's sound system.
• Non-Touchscreen Radios: To hear audio
from devices connected to the USB
port, push the AUX button on the face-
plate.
Steering Wheel Audio Controls (Rearview Of Steering Wheel)
Center Console USB
ELECTRONICS
79
Page 82 of 156
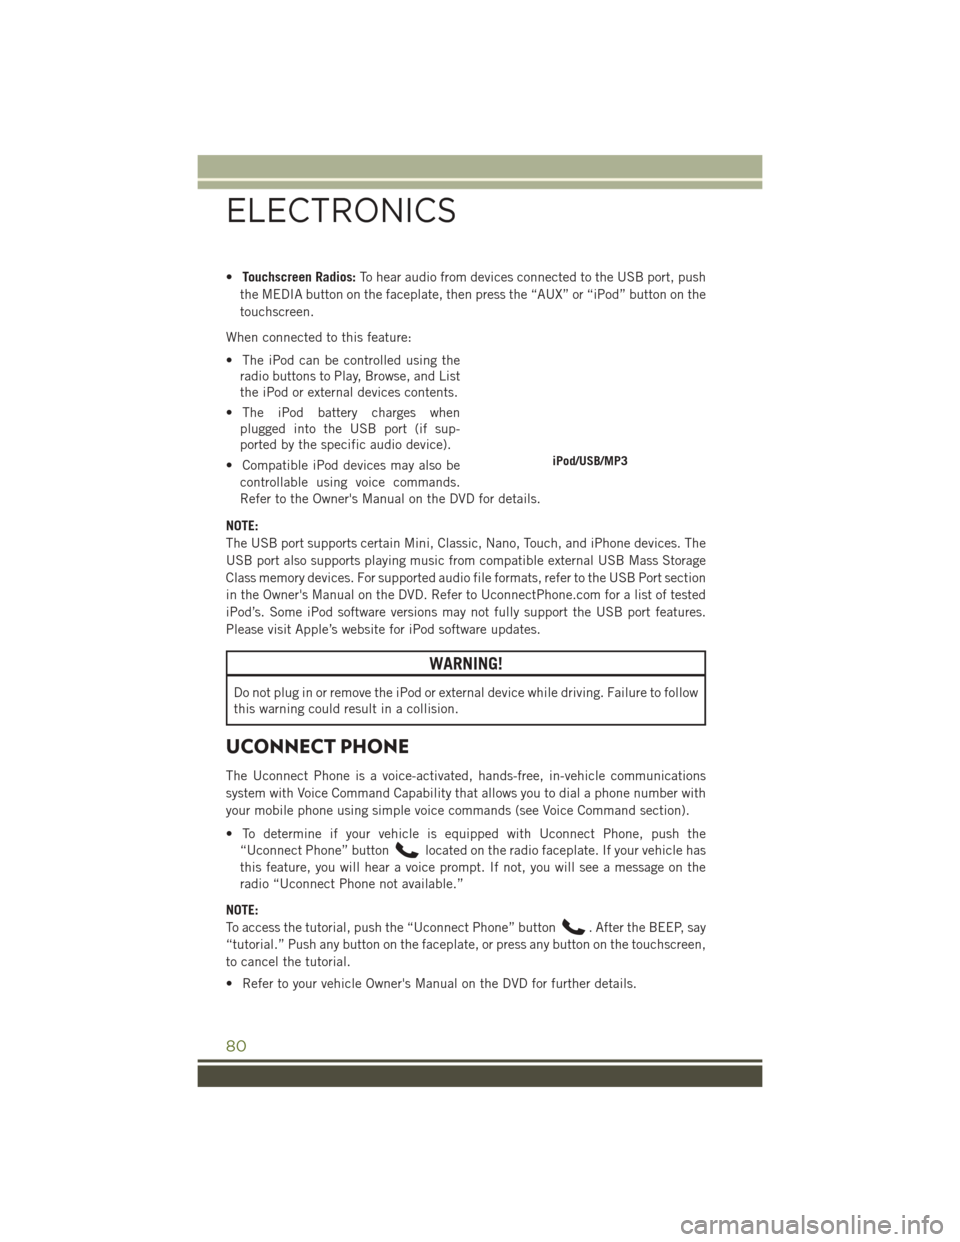
•Touchscreen Radios: To hear audio from devices connected to the USB port, push
the MEDIA button on the faceplate, then press the “AUX” or “iPod” button on the
touchscreen.
When connected to this feature:
• The iPod can be controlled using the radio buttons to Play, Browse, and List
the iPod or external devices contents.
• The iPod battery charges when plugged into the USB port (if sup-
ported by the specific audio device).
• Compatible iPod devices may also be controllable using voice commands.
Refer to the Owner's Manual on the DVD for details.
NOTE:
The USB port supports certain Mini, Classic, Nano, Touch, and iPhone devices. The
USB port also supports playing music from compatible external USB Mass Storage
Class memory devices. For supported audio file formats, refer to the USB Port section
in the Owner's Manual on the DVD. Refer to UconnectPhone.com for a list of tested
iPod’s. Some iPod software versions may not fully support the USB port features.
Please visit Apple’s website for iPod software updates.
WARNING!
Do not plug in or remove the iPod or external device while driving. Failure to follow
this warning could result in a collision.
UCONNECT PHONE
The Uconnect Phone is a voice-activated, hands-free, in-vehicle communications
system with Voice Command Capability that allows you to dial a phone number with
your mobile phone using simple voice commands (see Voice Command section).
• To determine if your vehicle is equipped with Uconnect Phone, push the “Uconnect Phone” button
located on the radio faceplate. If your vehicle has
this feature, you will hear a voice prompt. If not, you will see a message on the
radio “Uconnect Phone not available.”
NOTE:
To access the tutorial, push the “Uconnect Phone” button
. After the BEEP, say
“tutorial.” Push any button on the faceplate, or press any button on the touchscreen,
to cancel the tutorial.
• Refer to your vehicle Owner's Manual on the DVD for further details.
iPod/USB/MP3
ELECTRONICS
80
Page 85 of 156
Transfer Ongoing Call Between Handset And Vehicle
• During a call, push the “Voice Command” button.
• After the BEEP, say “transfer call.”
Changing The Volume
• Start a dialogue by pushing the “Phone” button, then adjust the volume
during a normal call.
• Use the radio ON/OFF VOLUME rotary knob to adjust the volume to a comfortable level while the Uconnect system is speaking. Please note the volume setting for
Uconnect is different than the audio system.
WARNING!
• Any voice commanded system should be used only in safe driving conditions following applicable laws regarding phone use. Your attention should be
focused on safely operating the vehicle. Failure to do so may result in a
collision causing you and others to be severely injured or killed.
• In an emergency, to use Uconnect Phone, your mobile phone must be:
• turned on
• paired to Uconnect Phone
• have network coverage
UCONNECT VOICE COMMAND
Voice Command Operation
The Uconnect Voice Command system allows you to control your AM, FM radio,
satellite radio, disc player, HDD, Uconnect Phone, a memo recorder, and supported
portable media devices.
• When you push the “Voice Command” button
located on the radio faceplate
or steering wheel, you will hear a beep. The beep is your signal to give a command.
If you do not say a command within a few seconds, the system will present you with
a list of options. If you ever want to interrupt the system while it lists options, push
the “Voice Command” button
, listen for the BEEP, and say your command.
NOTE:
U.S. residents visit driveuconnect.com for more info on which voice command
features apply to your vehicle. Canadian residents visit driveuconnect.ca for more
info on which voice command features apply to your vehicle.
• Start a dialogue by pushing the “Voice Command” button
, you will hear a
beep. The beep is your signal to give a command. Below are a list of voice
commands for each of the different modes:
ELECTRONICS
83
Page 86 of 156
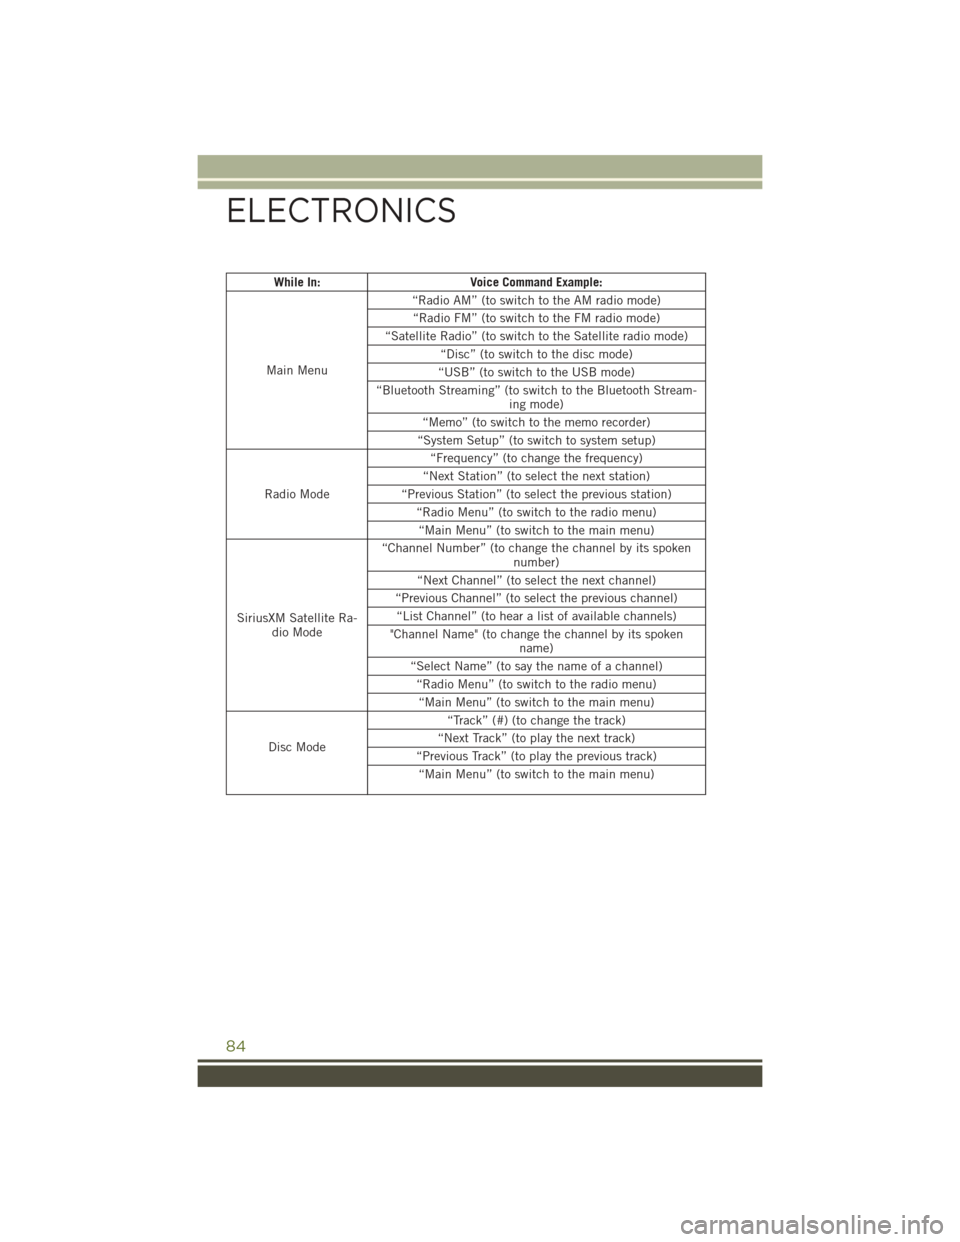
While In:Voice Command Example:
Main Menu “Radio AM” (to switch to the AM radio mode)
“Radio FM” (to switch to the FM radio mode)
“Satellite Radio” (to switch to the Satellite radio mode) “Disc” (to switch to the disc mode)
“USB” (to switch to the USB mode)
“Bluetooth Streaming” (to switch to the Bluetooth Stream- ing mode)
“Memo” (to switch to the memo recorder)
“System Setup” (to switch to system setup)
Radio Mode “Frequency” (to change the frequency)
“Next Station” (to select the next station)
“Previous Station” (to select the previous station) “Radio Menu” (to switch to the radio menu)“Main Menu” (to switch to the main menu)
SiriusXM Satellite Ra- dio Mode “Channel Number” (to change the channel by its spoken
number)
“Next Channel” (to select the next channel)
“Previous Channel” (to select the previous channel) “List Channel” (to hear a list of available channels)
"Channel Name" (to change the channel by its spoken name)
“Select Name” (to say the name of a channel) “Radio Menu” (to switch to the radio menu)“Main Menu” (to switch to the main menu)
Disc Mode “Track” (#) (to change the track)
“Next Track” (to play the next track)
“Previous Track” (to play the previous track) “Main Menu” (to switch to the main menu)
ELECTRONICS
84
Page 87 of 156
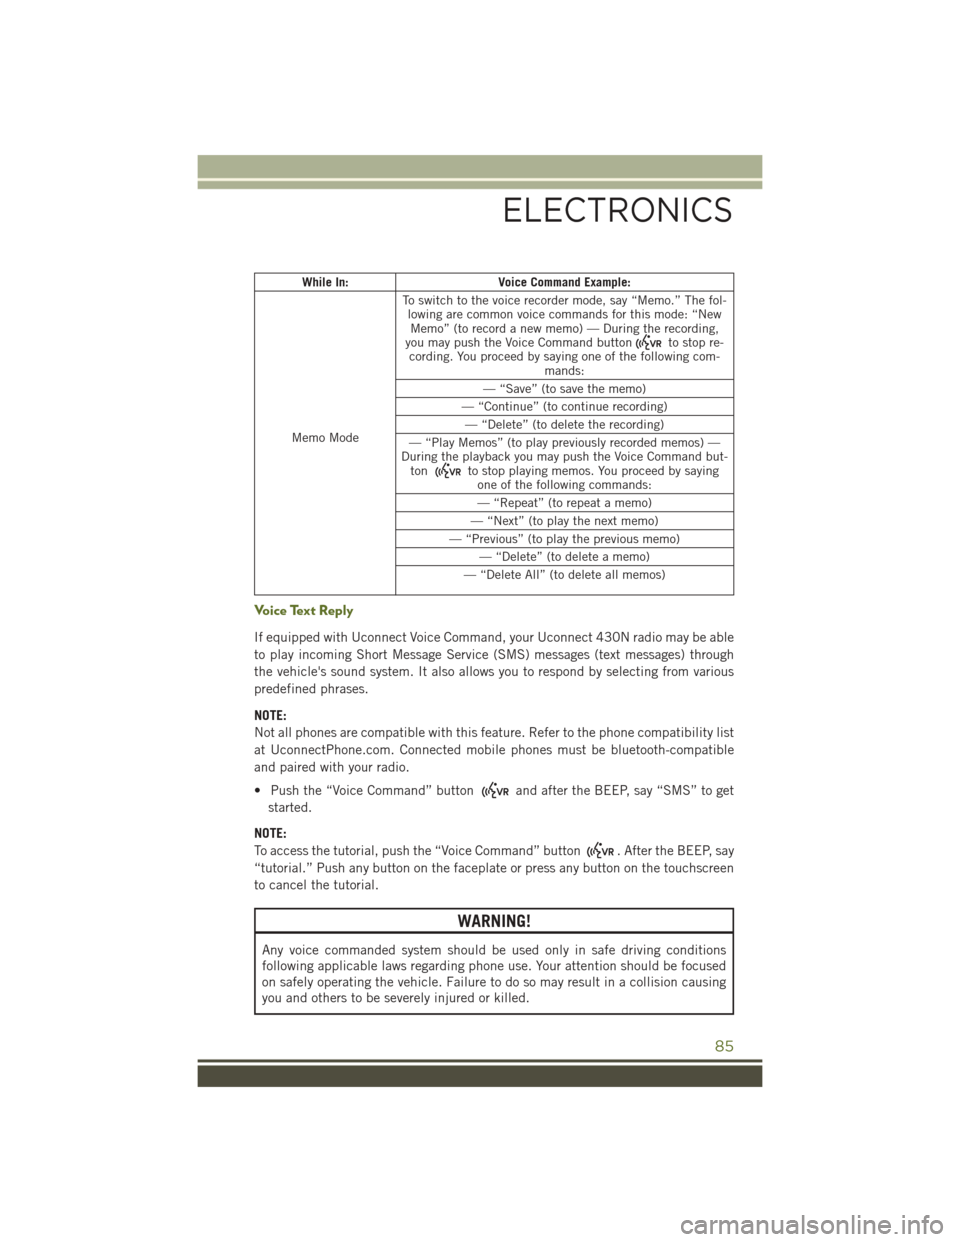
While In:Voice Command Example:
Memo Mode To switch to the voice recorder mode, say “Memo.” The fol-
lowing are common voice commands for this mode: “NewMemo” (to record a new memo) — During the recording,
you may push the Voice Command button
to stop re-
cording. You proceed by saying one of the following com- mands:
— “Save” (to save the memo)
— “Continue” (to continue recording) — “Delete” (to delete the recording)
— “Play Memos” (to play previously recorded memos) —
During the playback you may push the Voice Command but- ton
to stop playing memos. You proceed by saying one of the following commands:
— “Repeat” (to repeat a memo)
— “Next” (to play the next memo)
— “Previous” (to play the previous memo) — “Delete” (to delete a memo)
— “Delete All” (to delete all memos)
Voice Text Reply
If equipped with Uconnect Voice Command, your Uconnect 430N radio may be able
to play incoming Short Message Service (SMS) messages (text messages) through
the vehicle's sound system. It also allows you to respond by selecting from various
predefined phrases.
NOTE:
Not all phones are compatible with this feature. Refer to the phone compatibility list
at UconnectPhone.com. Connected mobile phones must be bluetooth-compatible
and paired with your radio.
• Push the “Voice Command” button
and after the BEEP, say “SMS” to get
started.
NOTE:
To access the tutorial, push the “Voice Command” button
. After the BEEP, say
“tutorial.” Push any button on the faceplate or press any button on the touchscreen
to cancel the tutorial.
WARNING!
Any voice commanded system should be used only in safe driving conditions
following applicable laws regarding phone use. Your attention should be focused
on safely operating the vehicle. Failure to do so may result in a collision causing
you and others to be severely injured or killed.
ELECTRONICS
85
Page 88 of 156
BLUETOOTH STREAMING AUDIO
If equipped with Uconnect Voice Command, your Bluetooth-equipped iPod devices,
cell phones or other media players, may also be able to stream music to your vehicles
speakers. Your connected device must be Bluetooth-compatible, and paired with
your radio (see UconnectPhone.com for pairing instructions).
Non-Touchscreen Radios:Push the AUX
button on the faceplate until "BT" or
“Audio Streaming” is displayed on the
radio screen.
Touchscreen-Radios: Push the RADIO/
MEDIA or MEDIA button on the faceplate
and then press the “AUX” button on the
touchscreen.
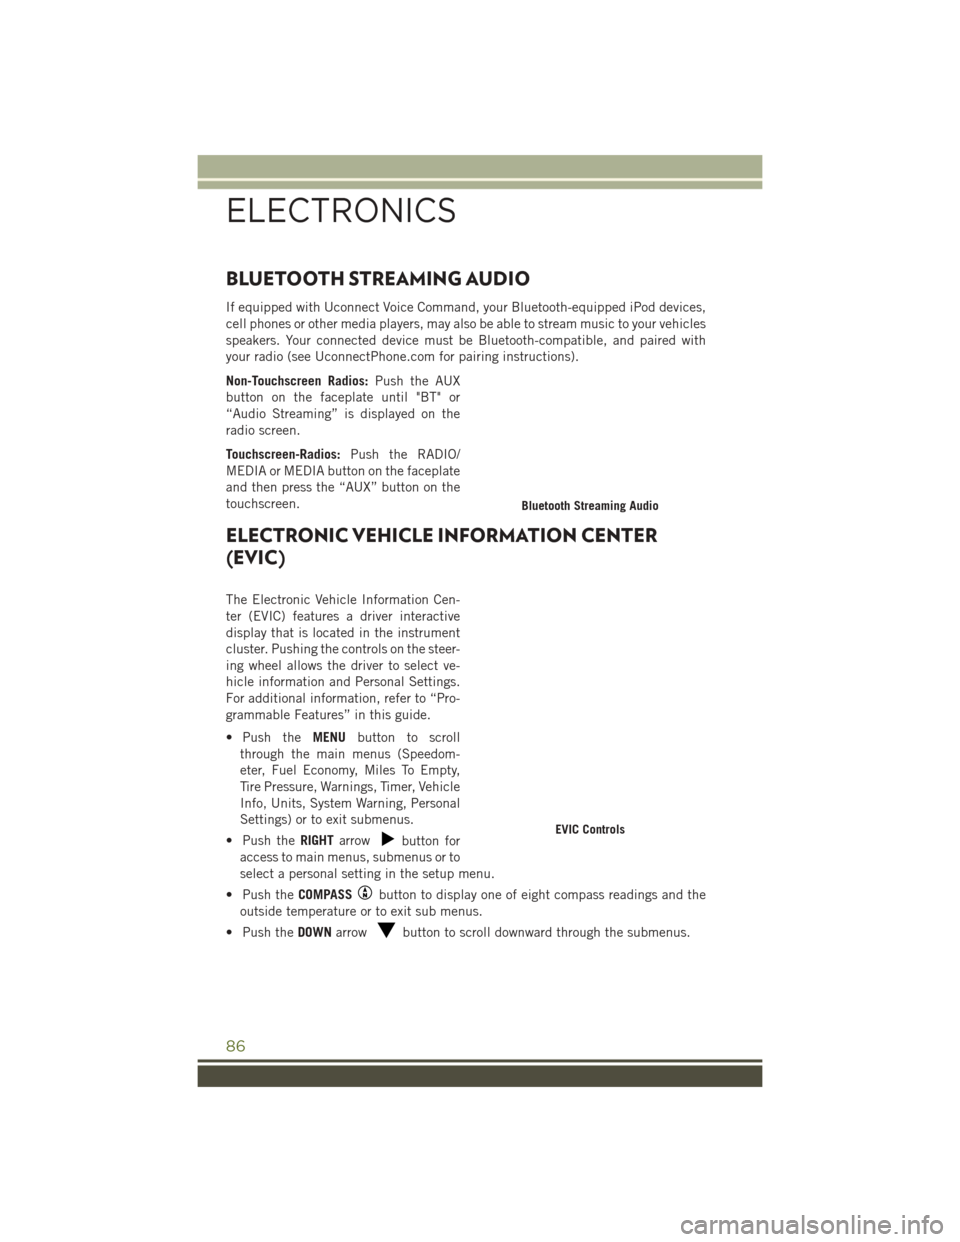
ELECTRONIC VEHICLE INFORMATION CENTER
(EVIC)
The Electronic Vehicle Information Cen-
ter (EVIC) features a driver interactive
display that is located in the instrument
cluster. Pushing the controls on the steer-
ing wheel allows the driver to select ve-
hicle information and Personal Settings.
For additional information, refer to “Pro-
grammable Features” in this guide.
• Push the MENUbutton to scroll
through the main menus (Speedom-
eter, Fuel Economy, Miles To Empty,
Tire Pressure, Warnings, Timer, Vehicle
Info, Units, System Warning, Personal
Settings) or to exit submenus.
• Push the RIGHTarrow
button for
access to main menus, submenus or to
select a personal setting in the setup menu.
• Push the COMPASS
button to display one of eight compass readings and the
outside temperature or to exit sub menus.
• Push the DOWNarrow
button to scroll downward through the submenus.
Bluetooth Streaming Audio
EVIC Controls
ELECTRONICS
86