horn JEEP WRANGLER 2016 JK / 3.G User Guide
[x] Cancel search | Manufacturer: JEEP, Model Year: 2016, Model line: WRANGLER, Model: JEEP WRANGLER 2016 JK / 3.GPages: 156, PDF Size: 8.82 MB
Page 13 of 156

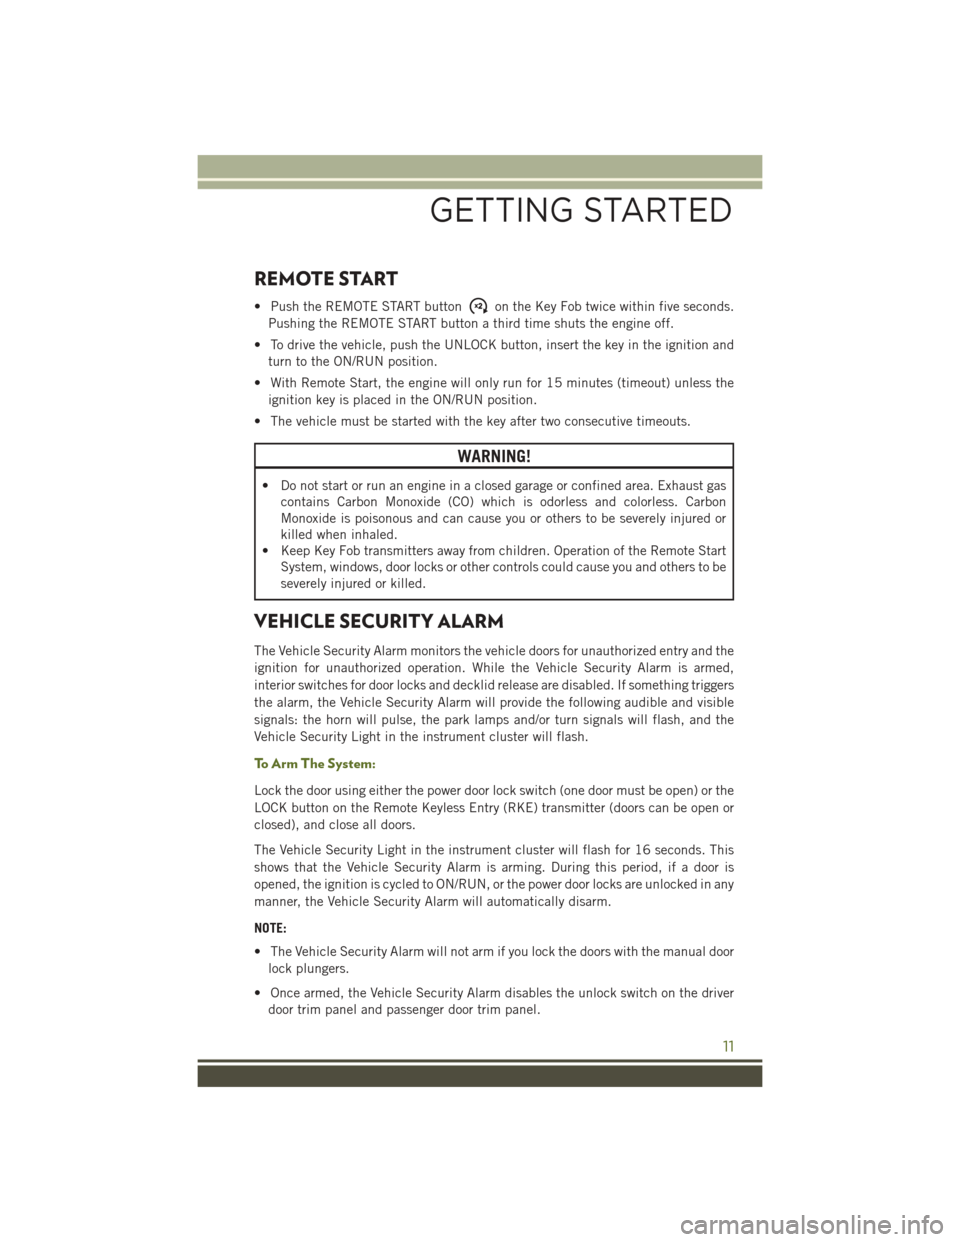
REMOTE START
• Push the REMOTE START buttonon the Key Fob twice within five seconds.
Pushing the REMOTE START button a third time shuts the engine off.
• To drive the vehicle, push the UNLOCK button, insert the key in the ignition and turn to the ON/RUN position.
• With Remote Start, the engine will only run for 15 minutes (timeout) unless the ignition key is placed in the ON/RUN position.
• The vehicle must be started with the key after two consecutive timeouts.
WARNING!
• Do not start or run an engine in a closed garage or confined area. Exhaust gas contains Carbon Monoxide (CO) which is odorless and colorless. Carbon
Monoxide is poisonous and can cause you or others to be severely injured or
killed when inhaled.
• Keep Key Fob transmitters away from children. Operation of the Remote Start
System, windows, door locks or other controls could cause you and others to be
severely injured or killed.
VEHICLE SECURITY ALARM
The Vehicle Security Alarm monitors the vehicle doors for unauthorized entry and the
ignition for unauthorized operation. While the Vehicle Security Alarm is armed,
interior switches for door locks and decklid release are disabled. If something triggers
the alarm, the Vehicle Security Alarm will provide the following audible and visible
signals: the horn will pulse, the park lamps and/or turn signals will flash, and the
Vehicle Security Light in the instrument cluster will flash.
To Arm The System:
Lock the door using either the power door lock switch (one door must be open) or the
LOCK button on the Remote Keyless Entry (RKE) transmitter (doors can be open or
closed), and close all doors.
The Vehicle Security Light in the instrument cluster will flash for 16 seconds. This
shows that the Vehicle Security Alarm is arming. During this period, if a door is
opened, the ignition is cycled to ON/RUN, or the power door locks are unlocked in any
manner, the Vehicle Security Alarm will automatically disarm.
NOTE:
• The Vehicle Security Alarm will not arm if you lock the doors with the manual door
lock plungers.
• Once armed, the Vehicle Security Alarm disables the unlock switch on the driver door trim panel and passenger door trim panel.
GETTING STARTED
11
Page 14 of 156

To Disarm The System:
Push the Key Fob UNLOCK button or cycle the ignition to the ON/RUN position.
The Vehicle Security Alarm is designed to protect your vehicle. However, you can
create conditions where the Vehicle Security Alarm will give you a false alarm. If one
of the previously described arming sequences has occurred, the Vehicle Security
Alarm will arm regardless of whether you are in the vehicle or not. If you remain in the
vehicle and open a door, the alarm will sound. If this occurs, disarm the Vehicle
Security Alarm.
If the Vehicle Security Alarm is armed and the battery becomes disconnected, the
Vehicle Security Alarm will remain armed when the battery is reconnected. The
exterior lights will flash, and the horn will sound. If this occurs, disarm the Vehicle
Security Alarm.
SEAT BELT SYSTEMS
Lap/Shoulder Belts
• All seating positions in your vehicle are equipped with lap/shoulder belts.
• Be sure everyone in your vehicle is in a seat and using a seat belt properly.
• Position the lap belt so that it is snug and lies low across your hips, below yourabdomen. To remove slack in the lap belt portion, pull up on the shoulder belt. To
loosen the lap belt if it is too tight, tilt the latch plate and pull on the lap belt. A
snug seat belt reduces the risk of sliding under the seat belt in a collision.
• Position the shoulder belt across the shoulder and chest with minimal, if any slack so that it is comfortable and not resting on your neck. The retractor will withdraw
any slack in the shoulder belt.
Seat Belt Pretensioner
• The front seat belt system is equipped with pretensioning devices that aredesigned to remove slack from the seat belt in the event of a collision.
• A deployed pretensioner or a deployed air bag must be replaced immediately.
GETTING STARTED
12
Page 90 of 156

PROGRAMMABLE FEATURES
Electronic Vehicle Information Center (EVIC)
The EVIC can be used to program the following Personal Settings. Push theMENU
button until Personal Settings displays, then push the DOWNarrow button
to
scroll through the settings. Push the RIGHTarrow button
to change the setting.
• Language • Illumin Approach
• Auto UNLK On Exit • Hill Start Assist (HSA)
• RKE Unlock • Display Units of Measure In
• Sound Horn With RKE Lock • Nav – Turn by Turn
• Flash Lamp With Lock • Display Fuel Saver
• Headlamp Off Delay • Compass Variance
• Headlamps With Wipers • Calibrate Compass
• Key-Off Power Delay
Key Fob Programmable Features
The following features may also be programmed by using the Key Fob transmitter or
the ignition and driver's door lock switch. Refer to “Uconnect Settings” in “Under-
standing Your Instrument Panel” in the Owner’s Manual on the DVD for further
information.
NOTE:
Pushing the LOCK button while you are inside the vehicle will activate the Vehicle
Security Alarm. Opening a door with the Vehicle Security Alarm activated will cause
the alarm to sound. Push the UNLOCK button to deactivate the Vehicle Security
Alarm.
Flashing Lamps With Lock
The turn signal lights flashing, when the doors are locked or unlocked, feature can be
turned on or off. To turn this feature on or off:
• Push and hold the UNLOCK button for at least 4 seconds, but no longer than 10 seconds. Then, push and hold the LOCK button while still holding the UNLOCK
button.
• Release both buttons at the same time.
ELECTRONICS
88
Page 136 of 156

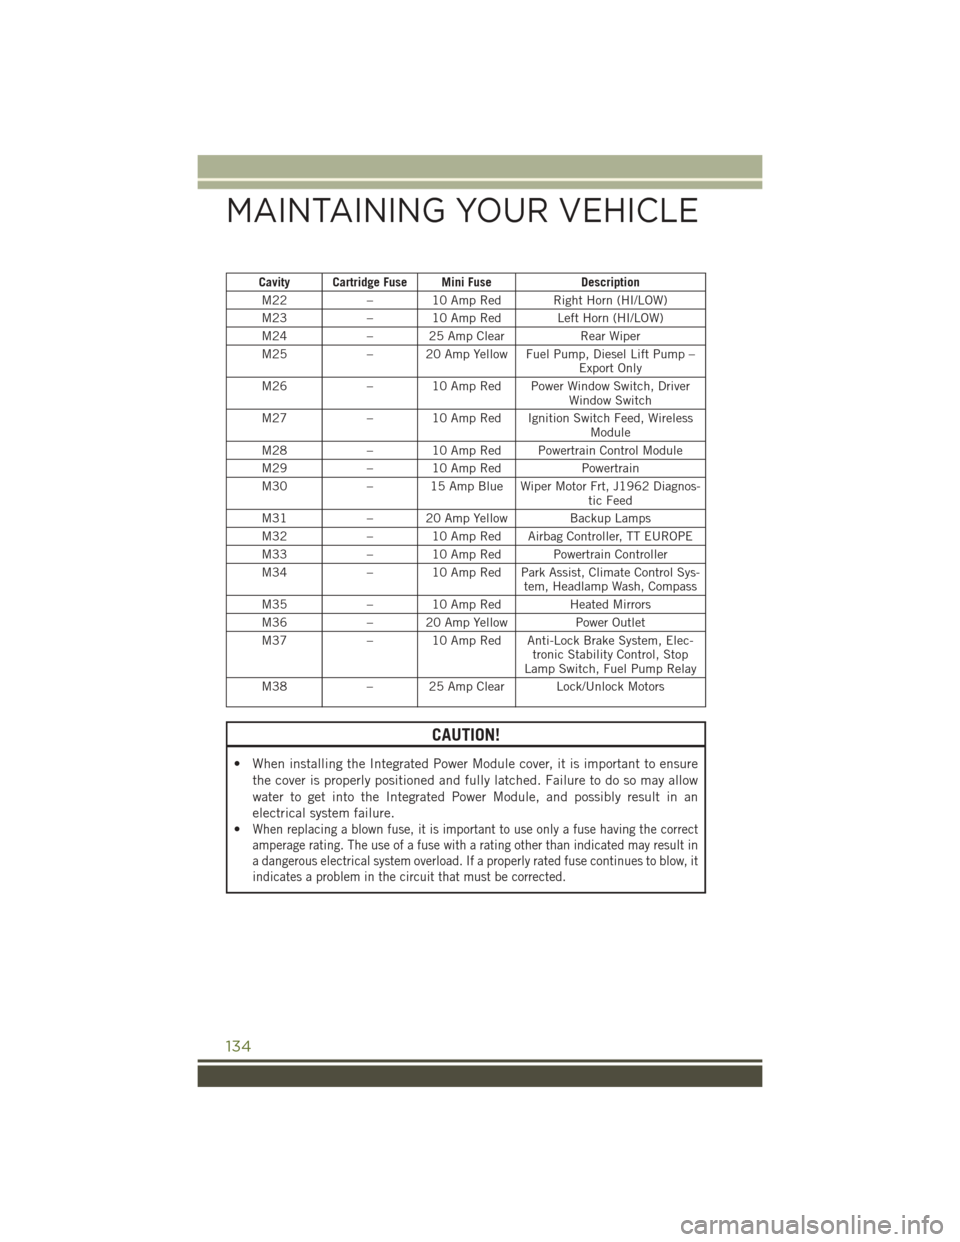
Cavity Cartridge Fuse Mini FuseDescription
M22 – 10 Amp Red Right Horn (HI/LOW)
M23 – 10 Amp Red Left Horn (HI/LOW)
M24 – 25 Amp Clear Rear Wiper
M25 – 20 Amp Yellow Fuel Pump, Diesel Lift Pump –
Export Only
M26 – 10 Amp Red Power Window Switch, Driver
Window Switch
M27 – 10 Amp Red Ignition Switch Feed, Wireless
Module
M28 – 10 Amp Red Powertrain Control Module
M29 – 10 Amp Red Powertrain
M30 – 15 Amp Blue Wiper Motor Frt, J1962 Diagnos-
tic Feed
M31 – 20 Amp Yellow Backup Lamps
M32 – 10 Amp Red Airbag Controller, TT EUROPE
M33 – 10 Amp Red Powertrain Controller
M34 – 10 Amp Red Park Assist, Climate Control Sys-
tem, Headlamp Wash, Compass
M35 – 10 Amp Red Heated Mirrors
M36 – 20 Amp Yellow Power Outlet
M37 – 10 Amp Red Anti-Lock Brake System, Elec-
tronic Stability Control, Stop
Lamp Switch, Fuel Pump Relay
M38 – 25 Amp Clear Lock/Unlock Motors
CAUTION!
• When installing the Integrated Power Module cover, it is important to ensure
the cover is properly positioned and fully latched. Failure to do so may allow
water to get into the Integrated Power Module, and possibly result in an
electrical system failure.
•
When replacing a blown fuse, it is important to use only a fuse having the correct
amperage rating. The use of a fuse with a rating other than indicated may result in
a dangerous electrical system overload. If a properly rated fuse continues to blow, it
indicates a problem in the circuit that must be corrected.
MAINTAINING YOUR VEHICLE
134