interior lights JEEP WRANGLER 2016 JK / 3.G User Guide
[x] Cancel search | Manufacturer: JEEP, Model Year: 2016, Model line: WRANGLER, Model: JEEP WRANGLER 2016 JK / 3.GPages: 156, PDF Size: 8.82 MB
Page 17 of 156
Supplemental Side Air Bags
• This vehicle is equipped with Supplemental Seat-Mounted Side Air Bags (SABs)that are located in the outboard side of the front seats. The SABs are marked with
a SRS AIRBAG or AIRBAG label sewn into the outboard side of the seats.
• SABs are designed to activate in certain side impacts. The Occupant Restraint Controller (“ORC”) determines whether the deployment of the SAB in a particular
impact event is appropriate, based on the severity and type of collision. Vehicle
damage by itself is not a good indicator of whether or not SABs should have
deployed.
WARNING!
• SABs need room to inflate. Do not lean against the door or window. Sit upright in the center of the seat.
• Being too close to the SABs during deployment could cause you to be severely
injured or killed.
• Relying on the SABs alone could lead to more severe injuries in a collision. The
SABs work with your seat belt to restrain you properly. In some collisions, SABs
won’t deploy at all. Always wear your seat belt even though you have SABs.
• Do not use accessory seat covers or place objects between you and the SABs;
the performance could be adversely affected and/or objects could be pushed
into you, causing serious injury.
Enhanced Accident Response System
In the event of an impact, if the communication network remains intact, and the
power remains intact, depending on the nature of the event, the ORC will determine
whether to have the Enhanced Accident Response System perform the following
functions:
• Cut off fuel to the engine.
• Flash hazard lights as long as the battery has power or until the hazard light button
is pushed. The hazard lights can be deactivated by pushing the hazard light
button.
• Turn on the interior lights, which remain on as long as the battery has power.
• Unlock the power door locks.
Enhanced Accident Response System Reset Procedure
In order to reset the Enhanced Accident Response System functions after an event,
the ignition switch must be changed from ignition START or ON/RUN to ignition OFF.
Carefully check the vehicle for fuel leaks in the engine compartment and on the
ground near the engine compartment and fuel tank before resetting the system and
starting the engine.
GETTING STARTED
15
Page 30 of 156
ENGINE BREAK-IN RECOMMENDATIONS
A long break-in period is not required for the engine and drivetrain (transmission and
axle) in your vehicle.
Drive moderately during the first 300 miles (500 km). After the initial 60 miles
(100 km), speeds up to 50 or 55 mph (80 or 90 km/h) are desirable.
While cruising, brief full-throttle acceleration within the limits of local traffic laws
contributes to a good break-in. Wide-open throttle acceleration in low gear can be
detrimental and should be avoided.
The engine oil installed in the engine at the factory is a high-quality energy
conserving type lubricant. Oil changes should be consistent with anticipated climate
conditions under which vehicle operations will occur. Refer to “Maintaining Your
Vehicle,” for the recommended viscosity and quality grades.
NOTE:
A new engine may consume some oil during its first few thousand miles (kilometers)
of operation. This should be considered a normal part of the break-in and not
interpreted as an indication of an engine problem or malfunction.
CAUTION!
Never use Non-Detergent Oil or Straight Mineral Oil in the engine or damage may
result.
TURN SIGNAL/LIGHTS LEVER
Headlights And Parking Lights
Turn the end of the multifunction lever to
the first detent for parking light opera-
tion. Turn to the second detent for head-
light operation.
Instrument Panel Dimmer
• Rotate the center portion of the leverto the extreme bottom position to fully
dim the instrument panel lights and
prevent the interior lights from illumi-
nating when a door is opened.
• Rotate the center portion of the lever up to increase the brightness of the
instrument panel lights when the park-
ing lights or headlights are on.
Multifunction Lever
OPERATING YOUR VEHICLE
28
Page 31 of 156
• Rotate the center portion of the lever upward to the next detent position tobrighten the odometer and radio controls when the parking lights or headlights are
on.
• Rotate the center portion of the lever upward to the last detent to turn on the interior lighting.
Flash-To-Pass
You can signal another vehicle with your headlights by lightly pulling the multifunc-
tion lever toward you. This will turn on the high beams headlights until the lever is
released.
High/Low Beam Switch
Push the multifunction lever away from you to switch the headlights to high beam.
Pull the lever toward you, to switch the headlights back to low beam.
Front Fog Lights
The front fog light switch is located on the multifunction lever. To activate the front
fog lights, turn on the parking or low beam headlights and pull out the end of the
lever.
NOTE:
The fog lights will only operate with the parking lights or the headlights on low beam.
Selecting high beam headlights will turn off the fog lights.
Turn Signals
Move the multifunction lever up or down and the arrows on each side of the
instrument cluster flash to show proper operation of the front and rear turn signal
lights.
NOTE:
• If either light remains on and does not flash, or there is a very fast flash rate, checkfor a defective outside light bulb. If an indicator fails to light when the lever is
moved, it would suggest that the indicator bulb is defective.
• A tone will chime if the turn signals are left on for more than 1 mile (2 km).
Lane Change Assist
Tap the lever up or down once, without moving beyond the detent, and the turn signal
(right or left) will flash three times then automatically turn off.
OPERATING YOUR VEHICLE
29
Page 129 of 156
Once A Month Or Before A Long Trip:
• Check engine oil level
• Check windshield washer fluid level
• Check the tire inflation pressures and look for unusual wear or damage
• Check the fluid levels of the coolant reservoir, brake master cylinder, powersteering and automatic transmission, and fill as needed
• Check function of all interior and exterior lights
Required Maintenance Intervals
Refer to the maintenance schedules on the following page for the required mainte-
nance intervals.
At Every Oil Change Interval As Indicated By Oil Change Indicator System:
• Change oil and filter
• Rotate the tires. Rotate at the first sign of irregular wear, even if it occurs before the oil
indicator system turns on.
• Inspect battery and clean and tighten terminals as required
• Inspect automatic transmission fluid if equipped with dipstick
• Inspect brake pads, shoes, rotors, drums, hoses and park brake
• Inspect engine cooling system protection and hoses
• Inspect exhaust system
• Inspect engine air cleaner if using in dusty or off-road conditions
• Inspect all door latches for presence of grease, reapply if necessary.
MAINTAINING YOUR VEHICLE
127
Page 143 of 156
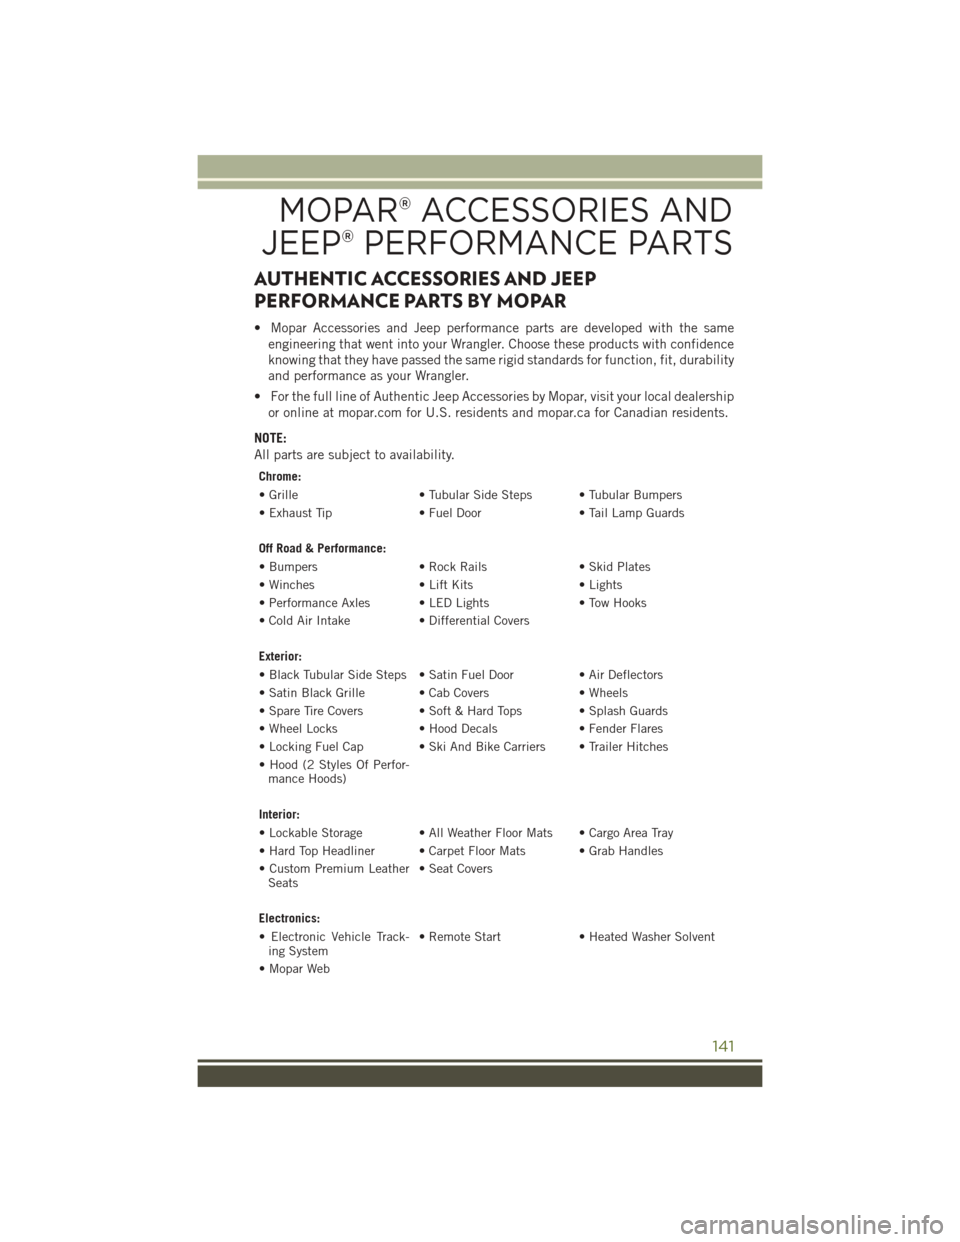
AUTHENTIC ACCESSORIES AND JEEP
PERFORMANCE PARTS BY MOPAR
• Mopar Accessories and Jeep performance parts are developed with the sameengineering that went into your Wrangler. Choose these products with confidence
knowing that they have passed the same rigid standards for function, fit, durability
and performance as your Wrangler.
• For the full line of Authentic Jeep Accessories by Mopar, visit your local dealership or online at mopar.com for U.S. residents and mopar.ca for Canadian residents.
NOTE:
All parts are subject to availability.
Chrome:
• Grille • Tubular Side Steps • Tubular Bumpers
• Exhaust Tip • Fuel Door• Tail Lamp Guards
Off Road & Performance:
• Bumpers • Rock Rails• Skid Plates
• Winches • Lift Kits• Lights
• Performance Axles • LED Lights • Tow Hooks
• Cold Air Intake • Differential Covers
Exterior:
• Black Tubular Side Steps • Satin Fuel Door • Air Deflectors
• Satin Black Grille • Cab Covers • Wheels
• Spare Tire Covers • Soft & Hard Tops • Splash Guards
• Wheel Locks • Hood Decals• Fender Flares
• Locking Fuel Cap • Ski And Bike Carriers • Trailer Hitches
• Hood (2 Styles Of Perfor- mance Hoods)
Interior:
• Lockable Storage • All Weather Floor Mats • Cargo Area Tray
• Hard Top Headliner • Carpet Floor Mats • Grab Handles
• Custom Premium Leather Seats • Seat Covers
Electronics:
• Electronic Vehicle Track- ing System • Remote Start
• Heated Washer Solvent
• Mopar Web
MOPAR® ACCESSORIES AND
JEEP® PERFORMANCE PARTS
141
Page 148 of 156
HighBeam .............29
High Beam/Low Beam Select
Switch...............29
Passing ...............29
Switch ...............28
Head Restraints ............22
Heated Seats ..............27
High Beam Indicator .........106
Hood Release .............121
Installing A Child Restraint WithALR...............20
Installing Child Restraints Using The LATCH Lower Anchorages .....19
Instrument Cluster ............8
Instrument Cluster Warning Lights................101
Instrument Panel Cover .......126
Instrument Panel Lens Cleaning . .126
Integrated Power Module (Fuses) . .132
Interior And Instrument Lights .....7
Interior Appearance Care .......126
Intermittent Wipers (Delay Wipers) . .30
Introduction Canada ................3
Inverter Outlet (115V) .........89
Inverter, Power .............89
iPod/USB/MP3 Control ........79
Bluetooth Streaming Audio ....86
Jacking Instructions .........110
Jack Location .............108
Jack Operation .........108, 110
Jump Starting .............113
KeyFob.................10 Arm The Alarm ...........11
Disarm The Alarm .........12
Key Fob Programmable Features . . .88
Lane Change Assist ..........29
Lap/Shoulder Belts ...........12
Left Switch Steering Wheel Audio Controls . .79
LightBulbs ..............138
Lights AirBag ...............16
Engine Temperature Warning . .103 Fog ..............29,106
Four-Wheel Drive Indicator . . .106
Headlights
.............28
Headlight Switch .........28
High Beam Indicator ......106
Instrument Cluster ........28
Passing ...............29
Security Alarm ..........106
Tire Pressure Monitoring
(TPMS) ..............101
TurnSignal .............29
Lubrication, Body ...........126
Maintaining Your Vehicle .......121
Maintenance .............121
Maintenance Free Battery ......126
Maintenance, General .....121, 126
Maintenance Procedures .......126
Maintenance Record .........131
Maintenance Schedule ........126
Malfunction Indicator Light (Check Engine)...............104
Manual Transmission Lubricant Selection .......125
Master
Cylinder (Brakes) .......126
MediaCenterRadio........61,64
Navigation ................73
Navigation System (Uconnect GPS) .................73
Navigation Voice Prompt Volume . . .73
New Vehicle Break-In Period .....28
Octane Rating, Gasoline (Fuel) . . .124
Off-Road Driving (Off-Pavement) . .106
Oil Change Indicator .........105
Oil Change Indicator, Reset .....105
Oil,Engine ........... 124, 126
Capacity ..............124
Change Interval .........126
Checking .............126
Disposal ..............126
Filter ............ 124, 126
Filter Disposal ..........126
Materials Added To .......126
Recommendation .....124, 126
Viscosity .......... 124, 126
Oil Filter, Selection ..........126
INDEX
146