lock JEEP WRANGLER 2016 Owner's Manual
[x] Cancel search | Manufacturer: JEEP, Model Year: 2016, Model line: WRANGLER, Model: JEEP WRANGLER 2016Pages: 721, PDF Size: 5.1 MB
Page 464 of 721
WARNING!(Continued)
the parking brake. The transfer case NEUTRAL (N)
position disengages both the front and rear drive
shaft from the powertrain, and will allow the vehicle
to roll, even if the automatic transmission is in PARK
(or manual transmission is in gear). The parking
brake should always be applied when the driver is
not in the vehicle.
Shift Positions
For additional information on the appropriate use of each
4WD system mode position, see the information below:
2H Position
This range is used for normal street and highway driving
on hard-surfaced roads.
4H Position
This range locks the front and rear driveshafts together,
forcing the front and rear wheels to rotate at the same
speed. This range (4H) provides additional traction for
loose, slippery road surfaces and should not be used on
dry pavement.
The “4WD Indicator Light” (located in the instrument
cluster) will illuminate when the transfer case is shifted
into the 4H position.
N (Neutral) Position
This range disengages the front and rear driveshafts from
the powertrain. It is to be used for flat towing behind
another vehicle. Refer to “Recreational Towing” in “Start-
ing And Operating” for further information.
462 STARTING AND OPERATING
Page 470 of 721
NOTE:The stabilizer/sway bar may be torque locked due
to left and right suspension height differences. This condi-
tion is due to driving surface differences or vehicle loading.
In order for the stabilizer/sway bar to disconnect/reconnect,
the right and left halves of the bar must be aligned. This
alignment may require that the vehicle be driven onto level
ground or rocked from side to side.
To return to on-road mode, push the SWAY BAR switch
again.
Page 479 of 721
Driving Downhill
Before driving down a steep hill, you need to determine
if it is too steep for a safe descent. What is the surface
traction? Is the grade too steep to maintain a slow,
controlled descent? Are there obstacles? Is it a straight
descent? Is there plenty of distance at the base of the hill
to regain control if the vehicle descends to fast? If you feel
confident in your ability to proceed, then make sure you
are in 4L (Low) and proceed with caution. Allow engine
braking to control the descent and apply your brakes, if
necessary, but do not allow the tires to lock.
Page 480 of 721
engine braking to control the descent and apply your
brakes, if necessary, but do not allow the tires to lock.
Page 491 of 721
WARNING!(Continued)
•The capabilities of an ABS equipped vehicle must
never be exploited in a reckless or dangerous
manner that could jeopardize the user ’s safety or
the safety of others.
ABS is designed to function with the OEM tires. Modifi-
cation may result in degraded ABS performance.
Anti-Lock Brake Warning Light
The amber “Anti-Lock Brake Warning Light” will turn on
when the ignition switch is turned to the ON position
and may stay on for as long as four seconds.
If the “Anti-Lock Brake Warning Light” remains on or
comes on while driving, it indicates that the anti-lock
portion of the brake system is not functioning and that
service is required. However, the conventional brake
system will continue to operate normally if the “Brake
System Warning Light” is not on. If the “Anti-Lock Brake Warning Light” is on, the brake
system should be serviced as soon as possible to restore
the benefits of anti-lock brakes. If the “Anti-Lock Brake
Warning Light” does not come on when the ignition
switch is turned to the ON position, have the light
repaired as soon as possible.
Brake Assist System (BAS)
The BAS is designed to optimize the vehicle’s braking
capability during emergency braking maneuvers. The
system detects an emergency braking situation by sens-
ing the rate and amount of brake application and then
applies optimum pressure to the brakes. This can help
reduce braking distances. The BAS complements the
anti-lock brake system (ABS). Applying the brakes very
quickly results in the best BAS assistance. To receive the
benefit of the system, you must apply continuous brak-
ing pressure during the stopping sequence, (do not
“pump” the brakes). Do not reduce brake pedal pressure5
STARTING AND OPERATING 489
Page 587 of 721
Spare Tire Removal
To remove the spare tire from the carrier, remove the tire
cover, if equipped, and remove the lug nuts with the lug
wrench turning them counterclockwise.
NOTE:If you have added aftermarket accessories to the
spare tire mounted carrier, it cannot exceed a gross
weight of 85 lbs (38.5 kg) including the weight of the
spare tire.
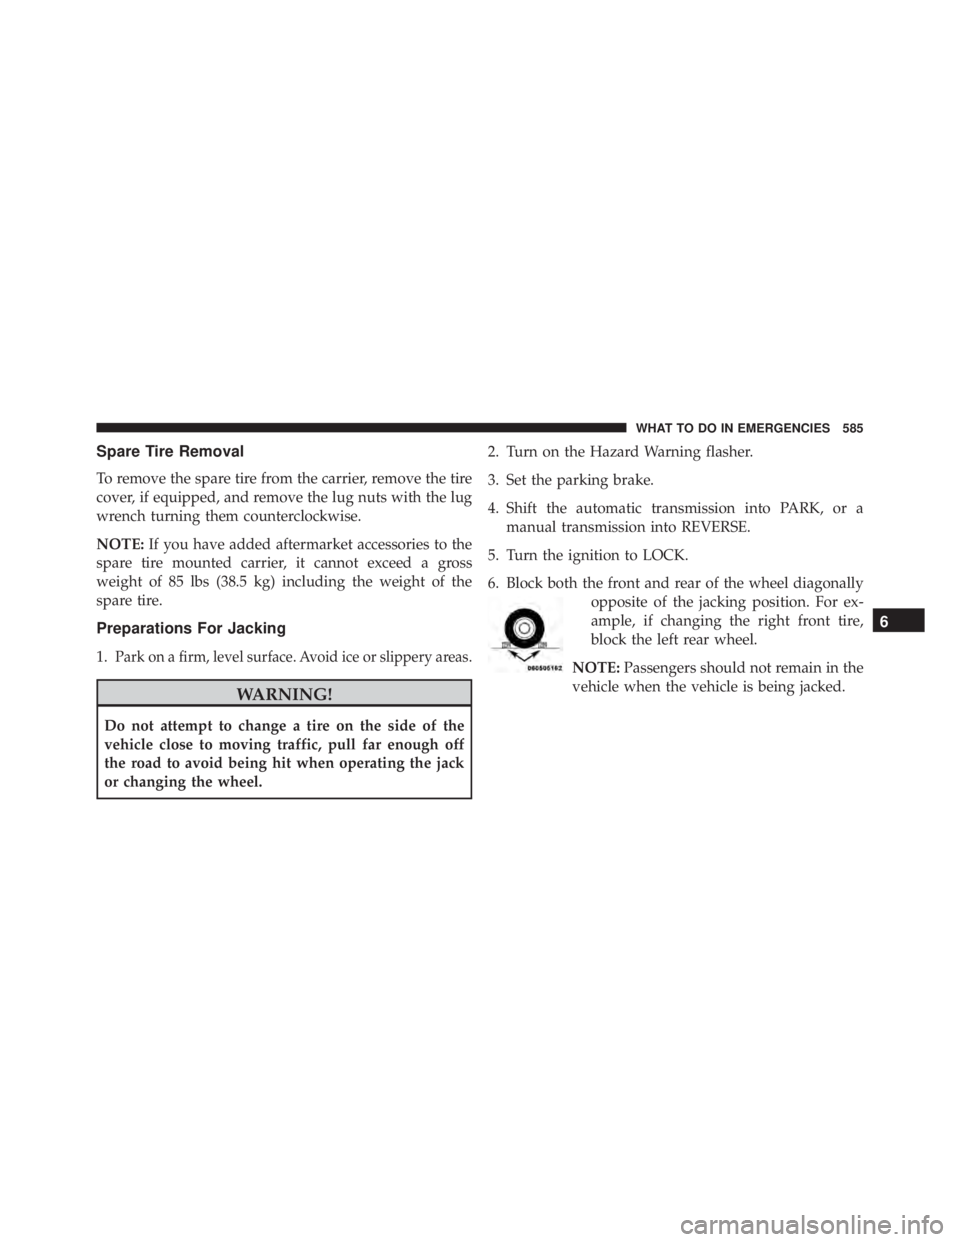
Preparations For Jacking
1.Park on a firm, level surface. Avoid ice or slippery areas.
6
WHAT TO DO IN EMERGENCIES 585
Page 591 of 721
WARNING!
Raising the vehicle higher than necessary can make
the vehicle less stable. It could slip off the jack and
hurt someone near it. Raise the vehicle only enough
to remove the tire.
6. Remove the lug nuts and wheel.
7. Position the spare wheel/tire on the vehicle and install the lug nuts with the cone-shaped end toward the
wheel. Lightly tighten the lug nuts clockwise.
Page 594 of 721
WARNING!
•Take care to avoid the radiator cooling fan when-
ever the hood is raised. It can start anytime the
ignition switch is ON. You can be injured by
moving fan blades.
• Remove any metal jewelry such as rings, watch
bands and bracelets that could make an inadvertent
electrical contact. You could be seriously injured.
• Batteries contain sulfuric acid that can burn your
skin or eyes and generate hydrogen gas which is
flammable and explosive. Keep open flames or
sparks away from the battery.
1. Set the parking brake, shift the automatic transmission into PARK (manual transmission in NEUTRAL) and
turn the ignition to LOCK.
2. Turn off the heater, radio, and all unnecessary electri- cal accessories. 3. If using another vehicle to jump-start the battery, park
the vehicle within the jumper cables reach, set the
parking brake and make sure the ignition is OFF.