oil pressure JEEP WRANGLER 2017 JK / 3.G Owners Manual
[x] Cancel search | Manufacturer: JEEP, Model Year: 2017, Model line: WRANGLER, Model: JEEP WRANGLER 2017 JK / 3.GPages: 527, PDF Size: 5.34 MB
Page 186 of 527
5.Odometer / Trip Odometer Display Area
• The odometer display shows the total distance the
vehicle has been driven. The trip odometer shows
individual trip mileage. Refer to “Odometer/Trip
Odometer/ECO (Fuel Saver Indicator) Button” for
further information.
• U.S. Federal regulations require that upon transfer of
vehicle ownership, the seller certify to the purchaser
the correct mileage that the vehicle has been driven. If
your odometer needs to be repaired or serviced, the
repair technician should leave the odometer reading
the same as it was before the repair or service. If they
cannot do so, then the odometer must be set at zero,
and a sticker must be placed in the door jamb stating
what the mileage was before the repair or service. It is
a good idea for you to make a record of the odometer
reading before the repair/service, so that you can be
sure that it is properly reset, or that the door jamb
sticker is accurate if the odometer must be reset at zero.
Vehicle Odometer Messages
All messages will display in the instrument cluster display,
if equipped. Refer to “Instrument Cluster Display— If
Equipped” in this section for further information. When the appropriate conditions exist, the following
odometer messages will display:
•ECO — Fuel Saver Indicator
• door — Door Open
• gATE — Swing Gate Open
• LoW tirE — Low Tire Pressure
• HOTOIL — Oil Temperature Above Normal Limits
• gASCAP — Fuel Cap Fault
• noFUSE — Fuse Fault
• CHAngE OIL — Oil Change Required
6. Software Telltales
• Hard and Soft Telltales (Symbols) appear based on
specific behaviors.
7.
Instrument Cluster Display / Compass Mini-Trip Com-
puter Display — If Equipped
• When the appropriate conditions exist, this display
shows the instrument cluster display messages. Refer
to “Instrument Cluster Display” in “Getting To Know
Your Instrument Panel” for further information.
•
When the appropriate conditions exist, this display
shows the Mini-Trip Computer messages. Refer to “Mini-
Trip Computer” in “Getting To Know Your Instrument
Panel” for further information.
184 GETTING TO KNOW YOUR INSTRUMENT PANEL
Page 196 of 527
System Warnings
Displays “SYSTEM OK” if there are no active Warning
Messages stored. Pushing and releasing thedownarrow
button when “SYSTEM OK” is displayed will do nothing.
Displays “SYSTEM WARNINGS PRESENT” if there are
active Warning Messages stored. Pushing and releasing the
down arrow button when “SYSTEM WARNINGS PRES-
ENT” is displayed will display each stored warning for
each button push. Push and release the MENUbutton to
return to the Main Menu.
Tire Pressure — If Equipped
Push and release the MENUbutton until “Tire PSI/kpa:”
displays in the instrument cluster display. It shows a
graphic of the vehicle with a tire pressure value at each
corner of the graphic.
Vehicle Information
Push and release the MENUbutton until “Vehicle Infor-
mation” displays in the instrument cluster display. Then,
push the downarrow button to display any one of the
following choices:
• Coolant Temperature
Shows the actual coolant temperature.
• Oil Pressure
Shows the actual oil pressure.
• Transmission Temperature — Automatic Transmission
Only
Shows the actual transmission fluid temperature.
• Oil Life Remaining (Automatic Oil Change Indicator)
— If Equipped
Shows the oil life measured in percentage.
194 GETTING TO KNOW YOUR INSTRUMENT PANEL
Page 202 of 527
Electronic Throttle Control (ETC) Warning Light
Red TelltaleLight What It Means
Electronic Throttle Control (ETC) Warning Light
This light informs you of a problem with the Electronic Throttle Control (ETC) system. If a prob-
lem is detected while the engine is running, the light will either stay on or flash depending on
the nature of the problem. Cycle the ignition when the vehicle is safely and completely stopped
and the transmission is placed in the PARK position. The light should turn off. If the light re-
mains on with the vehicle under power, your vehicle will usually be drivable; however, see an
authorized dealer for service as soon as possible.
If the light continues to flash when the engine vehicle under power, immediate service is re-
quired and you may experience reduced performance, and your vehicle may require towing. The
light will come on when the ignition is placed in the ON/RUN position and remain on briefly as
a bulb check. If the light does not come on during starting, have the system checked by an au-
thorized dealer.
Oil Pressure Warning Light
Red Telltale
Light What It Means
Oil Pressure Warning Light
This light indicates low engine oil pressure. If the light turns on while driving, stop the vehicle
and shut off the engine as soon as possible. A chime will sound when this light turns on.
Do not operate the vehicle until the cause is corrected. This light does not indicate how much oil
is in the engine. The engine oil level must be checked under the hood.
200 GETTING TO KNOW YOUR INSTRUMENT PANEL
Page 284 of 527
WARNING!(Continued)
•ALWAYS make sure objects cannot fall or slide into
the driver ’s side floor area when the vehicle is
moving. Objects can become trapped under accelera-
tor, brake, or clutch pedals and could cause a loss of
vehicle control.
• NEVER place any objects under the floor mat (e.g.,
towels, keys, etc.). These objects could change the
position of the floor mat and may cause interference
with the accelerator, brake, or clutch pedals.
• If the vehicle carpet has been removed and re-
installed, always properly attach carpet to the floor
and check the floor mat fasteners are secure to the
vehicle carpet. Fully depress each pedal to check for
interference with the accelerator, brake, or clutch
pedals then re-install the floor mats.
• It is recommended to only use mild soap and water
to clean your floor mats. After cleaning, always check
your floor mat has been properly installed and is
secured to your vehicle using the floor mat fasteners
by lightly pulling mat.
Periodic Safety Checks You Should Make Outside
The Vehicle
Tires
Examine tires for excessive tread wear and uneven wear
patterns. Check for stones, nails, glass, or other objects
lodged in the tread or sidewall. Inspect the tread for cuts
and cracks. Inspect sidewalls for cuts, cracks, and bulges.
Check the wheel nuts for tightness. Check the tires (includ-
ing spare) for proper cold inflation pressure.
Lights
Have someone observe the operation of brake lights and
exterior lights while you work the controls. Check turn
signal and high beam indicator lights on the instrument
panel.
Door Latches
Check for proper closing, latching, and locking.
Fluid Leaks
Check area under vehicle after overnight parking for fuel,
engine coolant, oil, or other fluid leaks. Also, if gasoline
fumes are detected or if fuel, or brake fluid leaks are
suspected. The cause should be located and corrected
immediately.
282 SAFETY
Page 374 of 527
Once A Month Or Before A Long Trip:
•Check engine oil level
• Check windshield washer fluid level
• Check the tire inflation pressures and look for unusual
wear or damage
• Check the fluid levels of the coolant reservoir, brake
master cylinder, power steering and automatic transmis-
sion, and fill as needed
• Check function of all interior and exterior lights
Maintenance Plan
Required Maintenance Intervals
Refer to the maintenance plan on the following pages for
the required maintenance intervals.
At Every Oil Change Interval As Indicated By Oil
Change Indicator System:
•Change oil and filter
• Rotate the tires
Rotate at the first sign of irregular wear, even if it
occurs before the oil indicator system turns on
• Inspect battery and clean and tighten terminals as
required
• Inspect automatic transmission fluid if equipped
with dipstick
• Inspect brake pads, shoes, rotors, drums, hoses and
park brake
• Inspect engine cooling system protection and hoses
• Inspect exhaust system
• Inspect engine air cleaner if using in dusty or
off-road conditions
• Inspect all door latches for presence of grease,
reapply if necessary.
372 SERVICING AND MAINTENANCE
Page 379 of 527
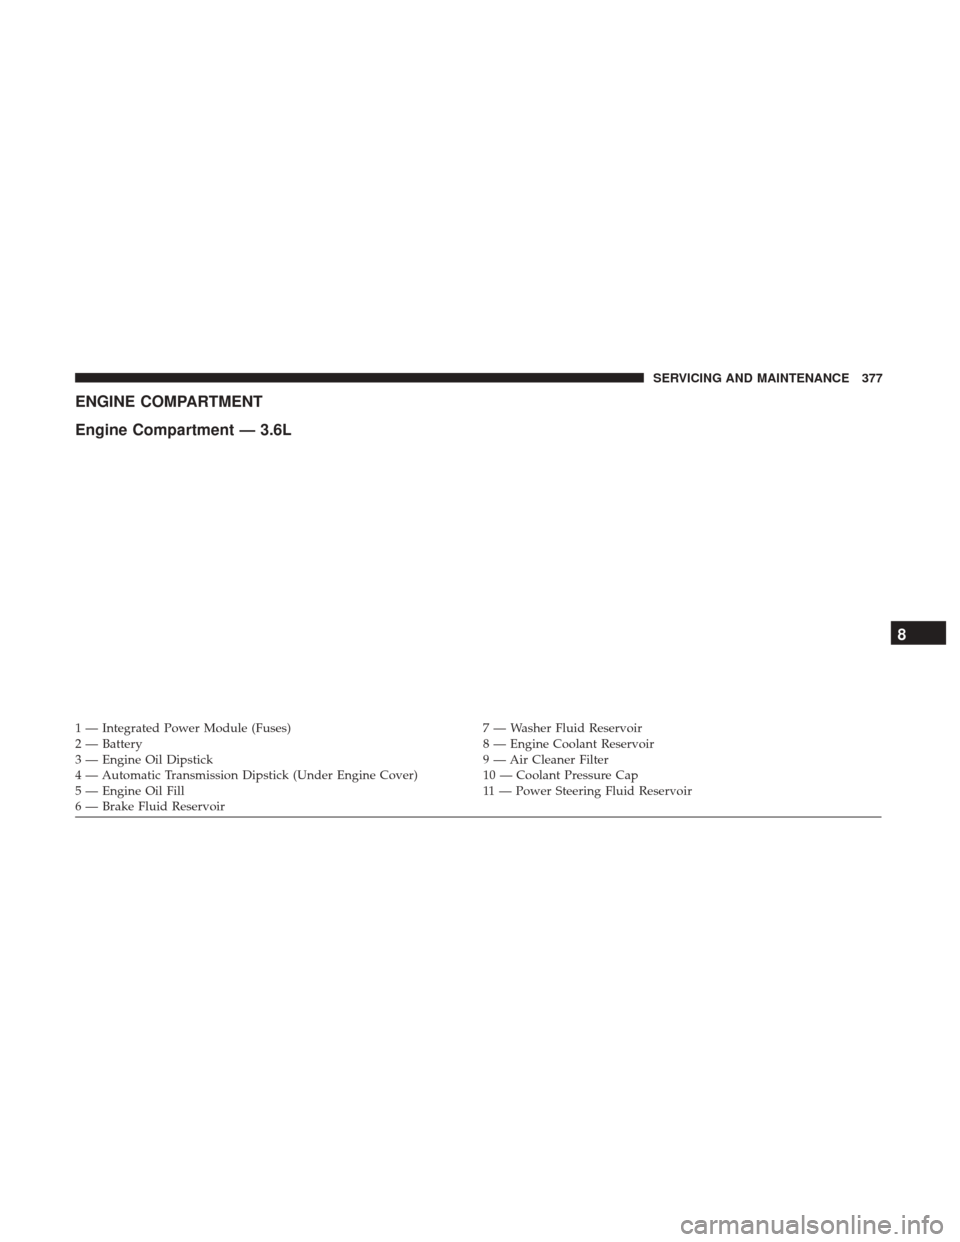
ENGINE COMPARTMENT
Engine Compartment — 3.6L
1 — Integrated Power Module (Fuses)7 — Washer Fluid Reservoir
2 — Battery 8 — Engine Coolant Reservoir
3 — Engine Oil Dipstick 9 — Air Cleaner Filter
4 — Automatic Transmission Dipstick (Under Engine Cover) 10 — Coolant Pressure Cap
5 — Engine Oil Fill 11 — Power Steering Fluid Reservoir
6 — Brake Fluid Reservoir
8
SERVICING AND MAINTENANCE 377
Page 380 of 527
Checking Oil Level
To ensure proper lubrication of your vehicle’s engine, the
engine oil must be maintained at the correct level. The
engine oil level should be checked five minutes after a
warmed up engine has been shut off.
Checking the oil while the vehicle is on level ground will
improve the accuracy of the oil level readings. Always
maintain the oil level within the SAFE zone on the dipstick.
Adding 1 quart (0.95 liters) of oil when the reading is at the
bottom of the SAFE zone will result in a reading at the top
of the safe zone on these engines.
CAUTION!
Overfilling or underfilling the crankcase will cause
aeration or loss of oil pressure. This could damage your
engine.
Adding Washer Fluid
The fluid reservoir for the windshield washers and the rear
window washer (if equipped) is shared. The fluid reservoir is
located in the engine compartment. Be sure to check the fluid
level at regular intervals. Fill the reservoir with windshield
washer solvent only (not radiator antifreeze). When refillingthe washer fluid reservoir, take some washer fluid and apply
it to a cloth or towel and wipe clean the wiper blades; this will
help blade performance.
To prevent freeze-up of your windshield washer system in
cold weather, select a solution or mixture that meets or
exceeds the temperature range of your climate. This rating
information can be found on most washer fluid containers.
WARNING!
Commercial windshield washer solvents are flam-
mable. They could ignite and burn you. Care must be
exercised when filling or working around the washer
solution.
Maintenance-Free Battery
Your vehicle is equipped with a maintenance-free battery.
You will never have to add water, nor is periodic mainte-
nance required.
378 SERVICING AND MAINTENANCE
Page 388 of 527
WARNING!
•Use only refrigerants and compressor lubricants ap-
proved by the manufacturer for your air conditioning
system. Some unapproved refrigerants are flam-
mable and can explode, injuring you. Other unap-
proved refrigerants or lubricants can cause the sys-
tem to fail, requiring costly repairs. Refer to
Warranty Information Book, located in your owner ’s
information kit, for further warranty information.
• The air conditioning system contains refrigerant un-
der high pressure. To avoid risk of personal injury or
damage to the system, adding refrigerant or any
repair requiring lines to be disconnected should be
done by an experienced technician.
CAUTION!
Do not use chemical flushes in your air conditioning
system as the chemicals can damage your air condition-
ing components. Such damage is not covered by the
New Vehicle Limited Warranty.
Refrigerant Recovery And Recycling R134a —
If Equipped
R-134a Air Conditioning Refrigerant is a hydrofluoro-
carbon (HFC) that is an ozone-friendly substance. The
manufacturer recommends that air conditioning service be
performed by an authorized dealer or other service facili-
ties using recovery and recycling equipment.
NOTE: Use only manufacturer approved A/C system PAG
compressor oil and refrigerants.
Refrigerant Recovery And Recycling — R–1234yf
R–1234yf Air Conditioning Refrigerant is a hydrofluo-
roolefin (HFO) that is endorsed by the Environmental
Protection Agency and is an ozone-friendly substance with
a low global-warming potential. The manufacturer recom-
mends that air conditioning service be performed by
authorized dealer using recovery and recycling equipment.
NOTE: Use only manufacturer approved A/C system
PAG compressor oil, and refrigerants.
386 SERVICING AND MAINTENANCE
Page 396 of 527
Installing The Rear Wiper
1. Insert the wiper blade pivot pin into the opening on theend of the wiper arm. Grab the bottom end of the wiper
arm with one hand, and apply pressure to the wiper
blade flush with the wiper arm until it snaps into place.
2. Lower the wiper blade onto the glass and snap the wiper arm pivot cap back into place.
Exhaust System
The best protection against carbon monoxide entry into the
vehicle body is a properly maintained engine exhaust
system.
If you notice a change in the sound of the exhaust system;
or if the exhaust fumes can be detected inside the vehicle;
or when the underside or rear of the vehicle is damaged;
have an authorized technician inspect the complete ex-
haust system and adjacent body areas for broken, dam-
aged, deteriorated, or mispositioned parts. Open seams or
loose connections could permit exhaust fumes to seep into
the passenger compartment. In addition, have the exhaust
system inspected each time the vehicle is raised for lubri-
cation or oil change. Replace as required.
WARNING!
•Exhaust gases can injure or kill. They contain carbon
monoxide (CO), which is colorless and odorless.
Breathing it can make you unconscious and can
eventually poison you. To avoid breathing CO, refer
to “Safety Tips” in “Safety” for further information.
• A hot exhaust system can start a fire if you park over
materials that can burn. Such materials might be
grass or leaves coming into contact with your exhaust
system. Do not park or operate your vehicle in areas
where your exhaust system can contact anything that
can burn.
CAUTION!
• The catalytic converter requires the use of unleaded
fuel only. Leaded gasoline will destroy the effective-
ness of the catalyst as an emissions control device
and may seriously reduce engine performance and
cause serious damage to the engine.
(Continued)
394 SERVICING AND MAINTENANCE
Page 420 of 527
Keep dismounted tires in a cool, dry place with as little
exposure to light as possible. Protect tires from contact with
oil, grease, and gasoline.
Replacement Tires
The tires on your new vehicle provide a balance of many
characteristics. They should be inspected regularly for
wear and correct cold tire inflation pressures. The manu-
facturer strongly recommends that you use tires equivalent
to the originals in size, quality and performance when
replacement is needed. Refer to the paragraph on “Tread
Wear Indicators” in this section. Refer to the Tire and
Loading Information placard or the Vehicle Certification
Label for the size designation of your tire. The Load Index
and Speed Symbol for your tire will be found on the
original equipment tire sidewall.
See the Tire Sizing Chart example found in the “Tire Safety
Information” section of this manual for more information
relating to the Load Index and Speed Symbol of a tire.
It is recommended to replace the two front tires or two rear
tires as a pair. Replacing just one tire can seriously affect
your vehicle’s handling. If you ever replace a wheel, make
sure that the wheel’s specifications match those of the
original wheels.It is recommended you contact your authorized tire dealer
or original equipment dealer with any questions you may
have on tire specifications or capability. Failure to use
equivalent replacement tires may adversely affect the
safety, handling, and ride of your vehicle.
WARNING!
•
Do not use a tire, wheel size, load rating, or speed
rating other than that specified for your vehicle.
Some combinations of unapproved tires and wheels
may change suspension dimensions and perfor-
mance characteristics, resulting in changes to steer-
ing, handling, and braking of your vehicle. This can
cause unpredictable handling and stress to steering
and suspension components. You could lose control
and have a collision resulting in serious injury or
death. Use only the tire and wheel sizes with load
ratings approved for your vehicle.
• Never use a tire with a smaller load index or capacity,
other than what was originally equipped on your
vehicle. Using a tire with a smaller load index could
result in tire overloading and failure. You could lose
control and have a collision.
(Continued)
418 SERVICING AND MAINTENANCE