clock setting JEEP WRANGLER 2021 Owner handbook (in English)
[x] Cancel search | Manufacturer: JEEP, Model Year: 2021, Model line: WRANGLER, Model: JEEP WRANGLER 2021Pages: 276, PDF Size: 4.47 MB
Page 37 of 276
Icon Description
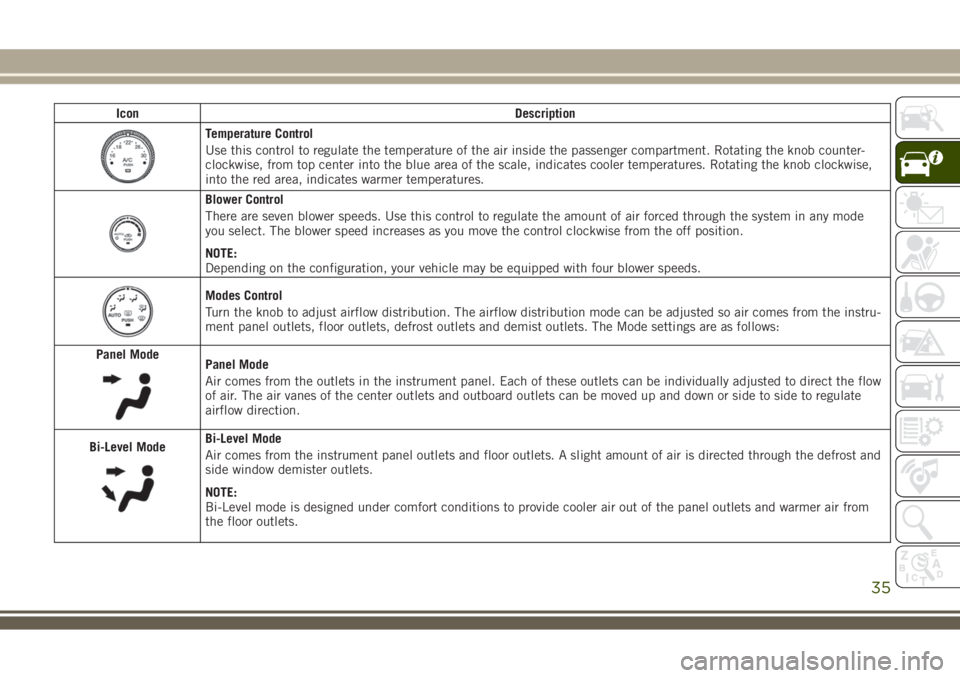
Temperature Control
Use this control to regulate the temperature of the air inside the passenger compartment. Rotating the knob counter-
clockwise, from top center into the blue area of the scale, indicates cooler temperatures. Rotating the knob clockwise,
into the red area, indicates warmer temperatures.
Blower Control
There are seven blower speeds. Use this control to regulate the amount of air forced through the system in any mode
you select. The blower speed increases as you move the control clockwise from the off position.
NOTE:
Depending on the configuration, your vehicle may be equipped with four blower speeds.
Modes Control
Turn the knob to adjust airflow distribution. The airflow distribution mode can be adjusted so air comes from the instru-
ment panel outlets, floor outlets, defrost outlets and demist outlets. The Mode settings are as follows:
Panel Mode
Panel Mode
Air comes from the outlets in the instrument panel. Each of these outlets can be individually adjusted to direct the flow
of air. The air vanes of the center outlets and outboard outlets can be moved up and down or side to side to regulate
airflow direction.
Bi-Level Mode
Bi-Level Mode
Air comes from the instrument panel outlets and floor outlets. A slight amount of air is directed through the defrost and
side window demister outlets.
NOTE:
Bi-Level mode is designed under comfort conditions to provide cooler air out of the panel outlets and warmer air from
the floor outlets.
35
Page 217 of 276
MULTIMEDIA
CYBERSECURITY............216
RADIO 130.................217
Clock Setting.................218
Equalizer, Balance And Fade.......218
Radio Operation...............218
CD/DISC Operation.............218
Audio Jack Operation............219
UCONNECT 430/430N.......220
Clock Setting.................221
Menu.....................221
Equalizer, Balance And Fade.......222
Radio Operation...............223
CD/DVD Disc Operation..........225
Audio Jack Operation............226Hard Disk Drive (HDD) Operation. . . .226
Cleaning Your Touchscreen Radio. . . .229
Garmin Navigation.............229
Main Navigation Menu...........229
Following Your Route............231
TIPS CONTROLS AND GENERAL
INFORMATION.............232
Steering Wheel Audio Controls......232
Reception Conditions............232
Care And Maintenance...........232
Anti-Theft Protection............232
AUX/USB/MP3 CONTROL — IF
EQUIPPED.................233
UCONNECT PHONE..........234
Phone Pairing................234
Phonebook..................235
Making A Phone Call............236
Receiving A Call — Accept (And End). .236
Mute (Or Unmute) Microphone During
Call......................236
Transfer Ongoing Call Between Handset
And Vehicle..................236
Changing The Volume...........236
UCONNECT VOICE COMMAND. .236
Voice Command Operation.........236
Voice Text Reply..............239
BLUETOOTH STREAMING
AUDIO...................239
MULTIMEDIA
215
Page 219 of 276
RADIO 130
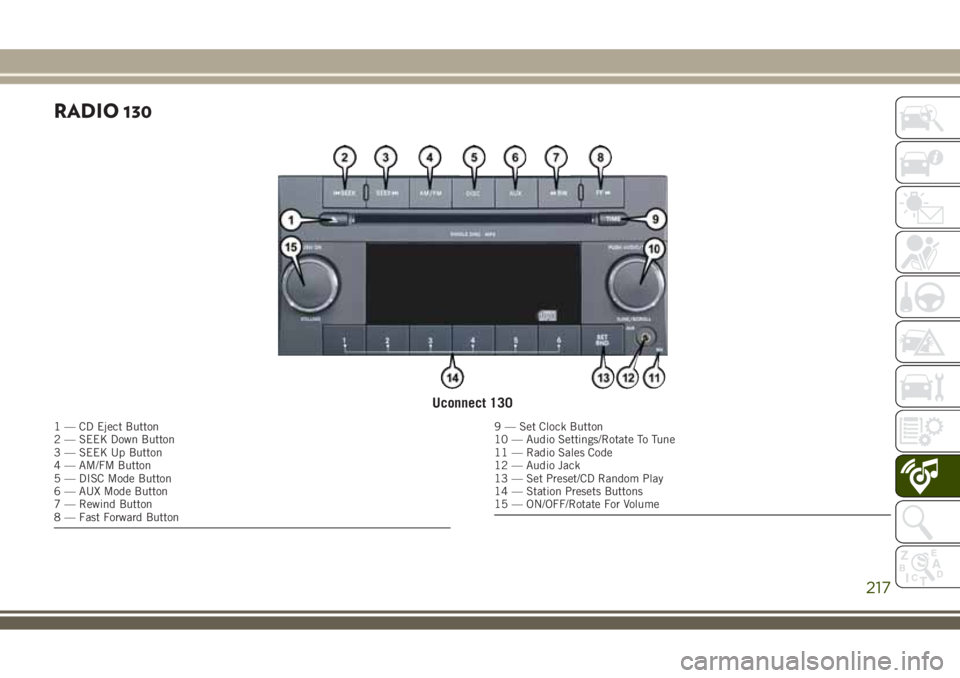
Uconnect 130
1 — CD Eject Button
2 — SEEK Down Button
3 — SEEK Up Button
4 — AM/FM Button
5 — DISC Mode Button
6 — AUX Mode Button
7 — Rewind Button
8 — Fast Forward Button9 — Set Clock Button
10 — Audio Settings/Rotate To Tune
11 — Radio Sales Code
12 — Audio Jack
13 — Set Preset/CD Random Play
14 — Station Presets Buttons
15 — ON/OFF/Rotate For Volume
217
Page 220 of 276
NOTE:
• Your radio has many features that add to
the comfort and convenience for you and
your passengers.
• Some of these radio features should not be
used when driving because they take your
eyes from the road or your attention from
driving.
Clock Setting
1. Push and hold the TIME button until the
hours blink.
2. Turn the TUNE/SCROLL control knob to
set the hours.
3. Push the TUNE/SCROLL control knob un-
til the minutes begin to blink.
4. Turn the TUNE/SCROLL control knob to
set the minutes.
5. Push the TUNE/SCROLL control knob to
save the changes.
6. Push any button/knob or wait five seconds
to exit.
Equalizer, Balance And Fade
1. Push the TUNE/SCROLL control knob and
“BASS” will display.
2. Rotate the TUNE/SCROLL control knob to
select the desired setting.
3. Continue pushing the TUNE/SCROLL
control knob to display and set “MID
RANGE,” “TREBLE,” “BALANCE” and
“FADE.”
Radio Operation
Seek Up/Down Buttons
• Push the seek up or down button to seek
through radio stations in AM or FM bands.
• Hold either button to bypass stations with-
out stopping.
Store Radio Presets Manually
• Tune to the desired station.
• Push the SET/RND or SET (depending on
the radio) button once and SET 1 will show
in the display. Then select a preset button
(1–6).• A second station may be added to each
push button. Push the SET/RND or SET
(depending on the radio) button twice and
SET 2 will show in the display. Then select
a preset button (1–6).
CD/DISC Operation
Seek Up/Down Buttons
• Push to seek through CD tracks.
• Hold either button to bypass tracks without
stopping.
SET/RND Or RND (Depending On Radio) Button
(Random Play)
• Push this button while the CD is playing to
activate Random Play.
• This feature plays the selections on the CD
in random order to provide an interesting
change of pace.MULTIMEDIA
218
Page 223 of 276
NOTE:
• Your radio may not be equipped with the
Uconnect Voice Command and Uconnect
Phone features. To determine if your radio
has these features, push the Voice Com-
mand button on the radio. You will hear a
voice prompt if you have the feature, or see
a message on the radio stating “Uconnect
Phone not available” if you do not.
• Your radio has many features that add to
the comfort and convenience of you and
your passengers. Some of these radio fea-
tures should not be used when driving be-
cause they take your eyes from the road or
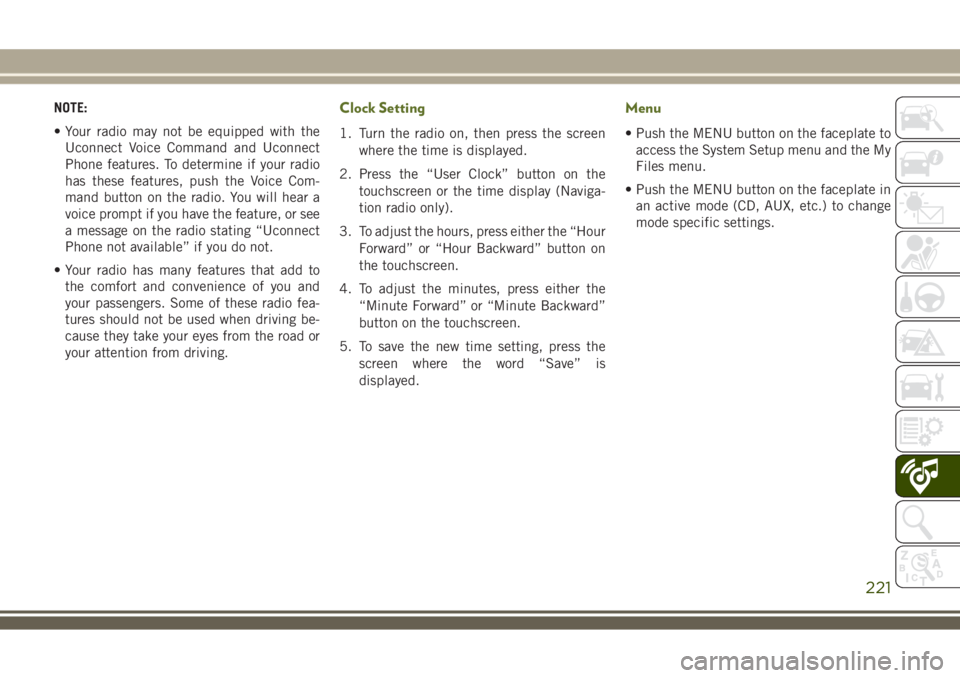
your attention from driving.Clock Setting
1. Turn the radio on, then press the screen
where the time is displayed.
2. Press the “User Clock” button on the
touchscreen or the time display (Naviga-
tion radio only).
3. To adjust the hours, press either the “Hour
Forward” or “Hour Backward” button on
the touchscreen.
4. To adjust the minutes, press either the
“Minute Forward” or “Minute Backward”
button on the touchscreen.
5. To save the new time setting, press the
screen where the word “Save” is
displayed.
Menu
• Push the MENU button on the faceplate to
access the System Setup menu and the My
Files menu.
• Push the MENU button on the faceplate in
an active mode (CD, AUX, etc.) to change
mode specific settings.
221
Page 261 of 276
Accessories..................212
Mopar...................212
Adding Fuel.................139
AirBag .....................93
Advance Front Air Bag.........93
Air Bag Operation.............94
Air Bag Warning Light..........92
Enhanced Accident Response . .98, 168
Event Data Recorder (EDR)......168
Front Air Bag...............93
If A Deployment Occurs.........97
Knee Impact Bolsters..........95
Maintaining Your Air Bag System . . .98
Transporting Pets............112
Air Bag Light............58, 92, 113
Air Bag Maintenance.............98
Air Conditioner Maintenance.......186
Air Conditioning Filter.........38, 187
Air Conditioning, Operating Tips......37
Air Conditioning Refrigerant. . . .186, 187
Air Conditioning System.......37, 186
Air Pressure, Tires..............193
Alarm (Security Alarm).........18, 61
Alterations/Modifications, Vehicle......4
Antifreeze (Engine Coolant)........210Anti-Lock Brake System (ABS).......68
Anti-Lock Warning Light...........61
Arming System (Security Alarm)......18
Assist, Hill Start................70
Audio Jack...............219, 226
Audio Settings................218
Automatic Headlights............29
Automatic Oil Change Indicator......58
Automatic Temperature Control (ATC) . . .37
Automatic Transmission..........127
Fluid Level Check...........184
Fluid Type................211
Autostick...................128
Axle Fluid...................211
Axle Lock...................132
Battery..................60, 186
Charging System Light.........60
Belts, Seat
.................
.113
Brake Assist System.............69
Brake Control System, Electronic.....69
Brake Fluid..............183, 211
Brake System................183
Fluid Check...............183
Master Cylinder.............183Parking..................121
Brake/Transmission Interlock.......127
Bulb Replacement..........146, 147
Bulbs, Light.................114
Capacities, Fluid..............210
Caps, Filler
Fuel....................139
Oil (Engine)...............180
Carbon Monoxide Warning.........112
Car Washes..................202
CD (Compact Disc) Player.........218
Center High Mounted Stop Light.....149
Chains, Tire..................200
Changing A Flat Tire.........154, 192
Checking Your Vehicle For Safety. . . .112
Checks, Safety................112
Child Restraints
How To Stow An Unused ALR Seat
Belt....................110
Cleaning
Wheels..................199
Climate Control................33
Manual...................33
Clock Setting.............218, 221
INDEX
259