wheel bolt torque JEEP WRANGLER 2DOORS 2019 Owner handbook (in English)
[x] Cancel search | Manufacturer: JEEP, Model Year: 2019, Model line: WRANGLER 2DOORS, Model: JEEP WRANGLER 2DOORS 2019Pages: 348, PDF Size: 6.5 MB
Page 192 of 348

WARNING!
• Being under a jacked-up vehicle is dan-
gerous. The vehicle could slip off the
jack and fall on you. You could be
crushed. Never put any part of your body
under a vehicle that is on a jack. If you
need to get under a raised vehicle, take
it to a service center where it can be
raised on a lift.
• Never start or run the engine while the
vehicle is on a jack.
• The jack is designed to be used as a tool
for changing tires only. The jack should
not be used to lift the vehicle for service
purposes. The vehicle should be jacked
on a firm level surface only. Avoid ice or
slippery areas.
Jack Location
The jack and lug wrench are located in the
rear cargo area. To remove jack and tools
proceed as follows:
1. Lift the load floor in the cargo area.NOTE:
The load floor can be removed for easier
access by pulling the load floor directly
rearward.
2. Remove the hardware storage cover by
pinching the latch on the left side and
pulling upward.
3. Turn the black plastic wing nut counter-
clockwise to loosen the jack from the
storage bin.
4. Remove tool kit and assemble tools.
Spare Tire Removal
1. To remove the spare tire from the carrier,
remove the tire cover, if equipped.
NOTE:
The spare wheel is mounted on the out-
side of the tailgate, protected by a plastic
cover with fasteners. Under traffic regula-
tions, the cover must not be removed or
insecurely fixed during use of the vehicle
on the public highway. Reference should
be made to local laws and regulations. Ifthe spare wheel is used, before continuing
your journey check that the damaged
wheel is securely mounted and the cover
is correctly fixed in place. Also take care
not to obstruct the rear camera.
2. Remove the Rear Camera Cover by turning
the lock bolt to the left with the #T40 Torx
head driver and ratchet from the supplied
tool kit.
3. Remove the lug nuts with the lug wrench
turning them counterclockwise. If
equipped, remove the locking lug nut with
the lock key (located in the glove box)
turning it counterclockwise.
Stowing The Replaced Spare Tire
1. Mount the spare tire onto the carrier.
Torque down lug nuts and locking lug nut.
2. Return the lock bolt to the lock position
on the camera cover by turning the lock to
the right using the provided #T40 Torx
head driver and ratchet. Then, reinstall
the camera cover by slipping it over the
camera/tire carrier until it snaps into
place.
IN CASE OF EMERGENCY
190
Page 195 of 348

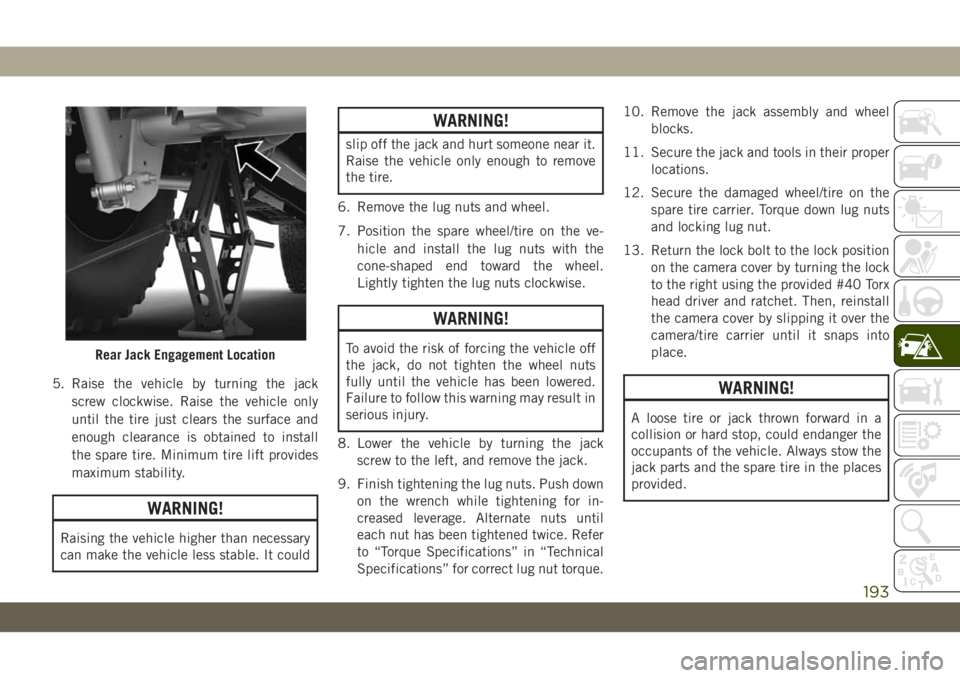
5. Raise the vehicle by turning the jack
screw clockwise. Raise the vehicle only
until the tire just clears the surface and
enough clearance is obtained to install
the spare tire. Minimum tire lift provides
maximum stability.
WARNING!
Raising the vehicle higher than necessary
can make the vehicle less stable. It could
WARNING!
slip off the jack and hurt someone near it.
Raise the vehicle only enough to remove
the tire.
6. Remove the lug nuts and wheel.
7. Position the spare wheel/tire on the ve-
hicle and install the lug nuts with the
cone-shaped end toward the wheel.
Lightly tighten the lug nuts clockwise.
WARNING!
To avoid the risk of forcing the vehicle off
the jack, do not tighten the wheel nuts
fully until the vehicle has been lowered.
Failure to follow this warning may result in
serious injury.
8. Lower the vehicle by turning the jack
screw to the left, and remove the jack.
9. Finish tightening the lug nuts. Push down
on the wrench while tightening for in-
creased leverage. Alternate nuts until
each nut has been tightened twice. Refer
to “Torque Specifications” in “Technical
Specifications” for correct lug nut torque.10. Remove the jack assembly and wheel
blocks.
11. Secure the jack and tools in their proper
locations.
12. Secure the damaged wheel/tire on the
spare tire carrier. Torque down lug nuts
and locking lug nut.
13. Return the lock bolt to the lock position
on the camera cover by turning the lock
to the right using the provided #40 Torx
head driver and ratchet. Then, reinstall
the camera cover by slipping it over the
camera/tire carrier until it snaps into
place.
WARNING!
A loose tire or jack thrown forward in a
collision or hard stop, could endanger the
occupants of the vehicle. Always stow the
jack parts and the spare tire in the places
provided.
Rear Jack Engagement Location
193
Page 248 of 348

VEHICLE IDENTIFICATION
NUMBER
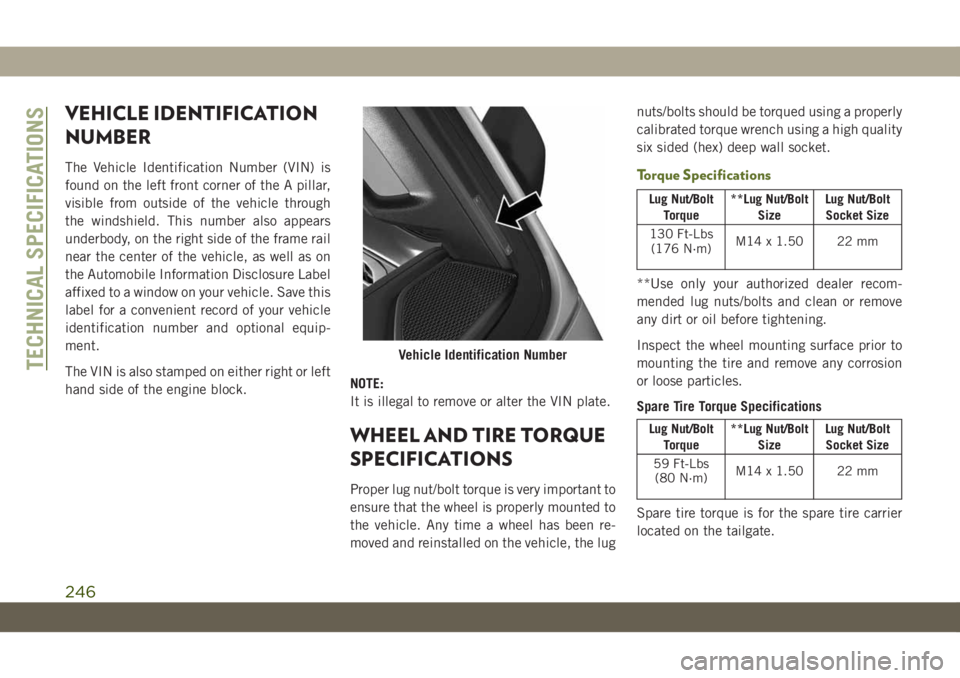
The Vehicle Identification Number (VIN) is
found on the left front corner of the A pillar,
visible from outside of the vehicle through
the windshield. This number also appears
underbody, on the right side of the frame rail
near the center of the vehicle, as well as on
the Automobile Information Disclosure Label
affixed to a window on your vehicle. Save this
label for a convenient record of your vehicle
identification number and optional equip-
ment.
The VIN is also stamped on either right or left
hand side of the engine block.NOTE:
It is illegal to remove or alter the VIN plate.
WHEEL AND TIRE TORQUE
SPECIFICATIONS
Proper lug nut/bolt torque is very important to
ensure that the wheel is properly mounted to
the vehicle. Any time a wheel has been re-
moved and reinstalled on the vehicle, the lugnuts/bolts should be torqued using a properly
calibrated torque wrench using a high quality
six sided (hex) deep wall socket.
Torque Specifications
Lug Nut/Bolt
Torque**Lug Nut/Bolt
SizeLug Nut/Bolt
Socket Size
130 Ft-Lbs
(176 N·m)M14 x 1.50 22 mm
**Use only your authorized dealer recom-
mended lug nuts/bolts and clean or remove
any dirt or oil before tightening.
Inspect the wheel mounting surface prior to
mounting the tire and remove any corrosion
or loose particles.
Spare Tire Torque Specifications
Lug Nut/Bolt
Torque**Lug Nut/Bolt
SizeLug Nut/Bolt
Socket Size
59 Ft-Lbs
(80 N·m)M14 x 1.50 22 mm
Spare tire torque is for the spare tire carrier
located on the tailgate.
Vehicle Identification NumberTECHNICAL SPECIFICATIONS
246
Page 249 of 348

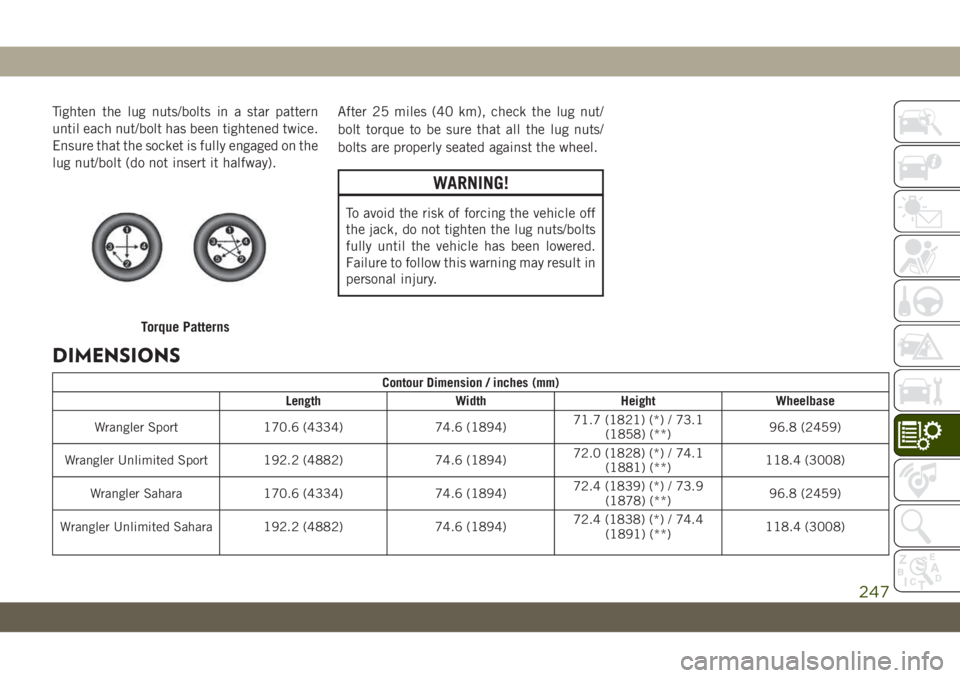
Tighten the lug nuts/bolts in a star pattern
until each nut/bolt has been tightened twice.
Ensure that the socket is fully engaged on the
lug nut/bolt (do not insert it halfway).After 25 miles (40 km), check the lug nut/
bolt torque to be sure that all the lug nuts/
bolts are properly seated against the wheel.
WARNING!
To avoid the risk of forcing the vehicle off
the jack, do not tighten the lug nuts/bolts
fully until the vehicle has been lowered.
Failure to follow this warning may result in
personal injury.
DIMENSIONS
Contour Dimension / inches (mm)
Length Width Height Wheelbase
Wrangler Sport 170.6 (4334) 74.6 (1894)71.7 (1821) (*) / 73.1
(1858) (**)96.8 (2459)
Wrangler Unlimited Sport 192.2 (4882) 74.6 (1894)72.0 (1828) (*) / 74.1
(1881) (**)118.4 (3008)
Wrangler Sahara 170.6 (4334) 74.6 (1894)72.4 (1839) (*) / 73.9
(1878) (**)96.8 (2459)
Wrangler Unlimited Sahara 192.2 (4882) 74.6 (1894)72.4 (1838) (*) / 74.4
(1891) (**)118.4 (3008)
Torque Patterns
247