ESP JEEP WRANGLER UNLIMITED 2018 Owner handbook (in English)
[x] Cancel search | Manufacturer: JEEP, Model Year: 2018, Model line: WRANGLER UNLIMITED, Model: JEEP WRANGLER UNLIMITED 2018Pages: 348, PDF Size: 6.5 MB
Page 277 of 348
WARNING!
ALWAYS drive safely with your hands on
the wheel. You have full responsibility and
assume all risks related to the use of the
Uconnect features and applications in this
vehicle. Only use Uconnect when it is safe
to do so. Failure to do so may result in an
accident involving serious injury or death.
• To access the Radio mode, press the “Ra-
dio” button on the touchscreen.
Selecting Radio Stations
• Press the desired radio band (AM, FM or
DAB) button on the touchscreen.
Seek Up/Seek Down
• Press the Seek up or down arrow buttons on
the touchscreen for less than two seconds
to seek through radio stations.
• Press and hold either arrow button on the
touchscreen for more than two seconds to
bypass stations without stopping. The radio
will stop at the next listenable station once
the arrow button on the touchscreen is
released.Direct Tune
• Tune directly to a radio station by pressing
the “Tune” button on the screen, and en-
tering the desired station number.
Store Radio Presets Manually
Your radio can store 36 total preset stations,
12 presets per band (AM, FM and DAB). They
are shown at the top of your radio screen. To
see the 12 preset stations per band, press the
arrow button on the touchscreen at the top
right of the screen to toggle between the two
sets of six presets.
To store a radio preset manually, follow the
steps below:
1. Tune to the desired station.
2. Press and hold the desired numbered but-
ton on the touchscreen for more than two
seconds or until you hear a confirmation
beep.
Android Auto — If Equipped
NOTE:
Feature availability depends on your carrier
and mobile phone manufacturer. Some
Android Auto features may or may not be
available in every region and/or language.
Android Auto is a feature of your Uconnect
system, and your Android 5.0 Lollipop, or
higher, powered smartphone with a data plan,
that allows you to project your smartphone
and a number of its apps onto the touch-
screen radio display. Android Auto automati-
cally brings you useful information, and orga-
nizes it into simple cards that appear just
when they are needed. Android Auto can be
used with Google's best-in-class speech tech-
nology, the steering wheel controls, the knobs
and buttons on your radio faceplate, and the
radio display’s touchscreen to control many
of your apps. To use Android Auto follow the
following steps:
1. Download the Android Auto app from the
Google Play store on your Android-
powered smartphone.
275
Page 280 of 348
• TuneIn
• Deezer
• Reuters
• Twitter
• Facebook Check-In
• Apple CarPlay
• Android Auto, and many more.
UCONNECT 4C/4C NAV
WITH 8.4-INCH DISPLAY
Uconnect 4C/4C NAV At A Glance
WARNING!
ALWAYS drive safely with your hands on
the wheel. You have full responsibility and
assume all risks related to the use of the
Uconnect features including DAB, and ap-
plications in this vehicle. Only use
Uconnect features and services when it is
safe to do so. Failure to do so may result in
an accident involving serious injury or
death.
CAUTION!
Do NOT attach any object to the touch-
screen, doing so can result in damage to
the screen.
NOTE:
Uconnect screen images are for illustration
purposes only and may not reflect exact soft-
ware for your vehicle.Setting The Time
• Model 4C NAV synchronizes time automati-
cally via GPS, so it should not require any
time adjustment. If you do need to set the
time manually, follow the instructions be-
low for Model 4C NAV.
• For Model 4C, turn the unit on, and then
press the time display at the top of the
screen. Press “Yes.”
• If the time is not displayed at the top of the
screen, press the “Settings” button on the
touchscreen. In the Settings screen, press
the “Clock” button on the touchscreen,
then check or uncheck this option.
• Press “+” or “–” next to Set Time Hours and
Set Time Minutes to adjust the time.
• If these features are not available, uncheck
the Sync Time box.
• Press “X” to save your settings and exit out
of the Clock Setting screen.
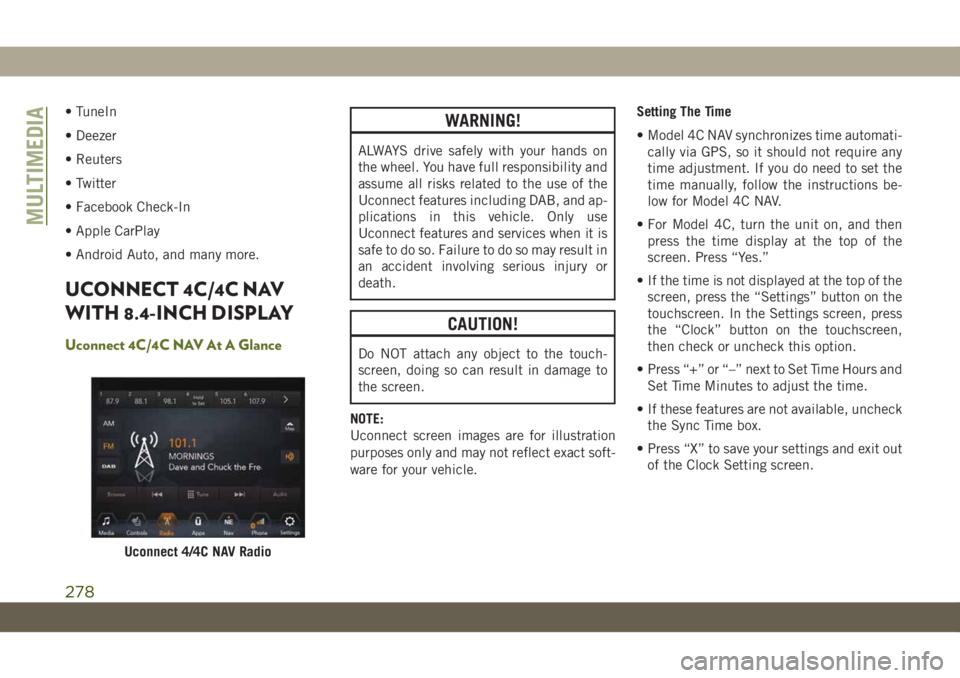
Uconnect 4/4C NAV Radio
MULTIMEDIA
278
Page 283 of 348
WARNING!
ALWAYS drive safely with your hands on
the wheel. You have full responsibility and
assume all risks related to the use of the
Uconnect features and applications in this
vehicle. Only use Uconnect when it is safe
to do so. Failure to do so may result in an
accident involving serious injury or death.
• To access the Radio mode, press the “Ra-
dio” button on the touchscreen.
Selecting Radio Stations
• Press the desired radio band (AM, FM or
DAB) button on the touchscreen.
Seek Up/Seek Down
• Press the Seek up or down arrow buttons on
the touchscreen for less than two seconds
to seek through radio stations.
• Press and hold either arrow button on the
touchscreen for more than two seconds to
bypass stations without stopping. The radio
will stop at the next listenable station once
the arrow button on the touchscreen is
released.Direct Tune
• Tune directly to a radio station by pressing
the “Tune” button on the screen, and en-
tering the desired station number.
Store Radio Presets Manually
Your radio can store 36 total preset stations,
12 presets per band (AM, FM and DAB). They
are shown at the top of your radio screen. To
see the 12 preset stations per band, press the
arrow button on the touchscreen at the top
right of the screen to toggle between the two
sets of six presets.
To store a radio preset manually, follow the
steps below:
1. Tune to the desired station.
2. Press and hold the desired numbered but-
ton on the touchscreen for more than two
seconds or until you hear a confirmation
beep.
Android Auto — If Equipped
NOTE:
Feature availability depends on your carrier
and mobile phone manufacturer. Some
Android Auto features may or may not be
available in every region and/or language.
Android Auto is a feature of your Uconnect
system, and your Android 5.0 Lollipop, or
higher, powered smartphone with a data plan,
that allows you to project your smartphone
and a number of its apps onto the touch-
screen radio display. Android Auto automati-
cally brings you useful information, and orga-
nizes it into simple cards that appear just
when they are needed. Android Auto can be
used with Google's best-in-class speech tech-
nology, the steering wheel controls, the knobs
and buttons on your radio faceplate, and the
radio display’s touchscreen to control many
of your apps. To use Android Auto follow
these steps:
1. Download the Android Auto app from the
Google Play store on your Android-
powered smartphone.
281
Page 291 of 348
Right Switch
• Push the switch up or down to increase or
decrease the volume.
• Push the button in the center to mute the
radio.
Reception Conditions
Reception conditions change constantly
while driving. Reception may be interfered
with by the presence of mountains, buildings
or bridges, especially when you are far away
from the broadcaster.
The volume may be increased when receiving
traffic alerts and news.
Care And Maintenance
Observe the following precautions to ensure
the system is fully operational:
• The display lens should not come into con-
tact with pointed or rigid objects which
could damage its surface; use a soft, dry,
anti-static cloth to clean and do not press.• Never use alcohol, gas and derivatives to
clean the display lens.
• Prevent any liquid from entering the sys-
tem: this could damage it beyond repair.
Anti-Theft Protection
The system is equipped with an anti-theft
protection system based on the exchange of
information with the electronic control unit
(Body Computer) on the vehicle. This guaran-
tees maximum safety.
If the check has a positive outcome, the
system will start to operate. See an autho-
rized dealer for further information.
AUX/USB/MP3 CONTROL —
IF EQUIPPED
The Media Hub is located on the Instrument
Panel, below the Climate Controls. Behind
the Media Hub access door contains one AUXport, a Type C USB Port and one standard
USB Port. Both USB Ports allow you to play
music from iPod/MP3 players or USB devices
through your vehicle’s sound system.
The Smart Charging USB ports provide power
to your device up to an hour after the vehicle
is turned off.
NOTE:
• The Type C USB port is the primary media
port for the radio. Two devices can be
plugged in at the same time and both ports
provide charging capabilities, but only one
port can transfer data to the head unit at a
time.
• Both ports share a single data connection.
However, the user cannot switch between
Type A or Type C.
289
Page 313 of 348
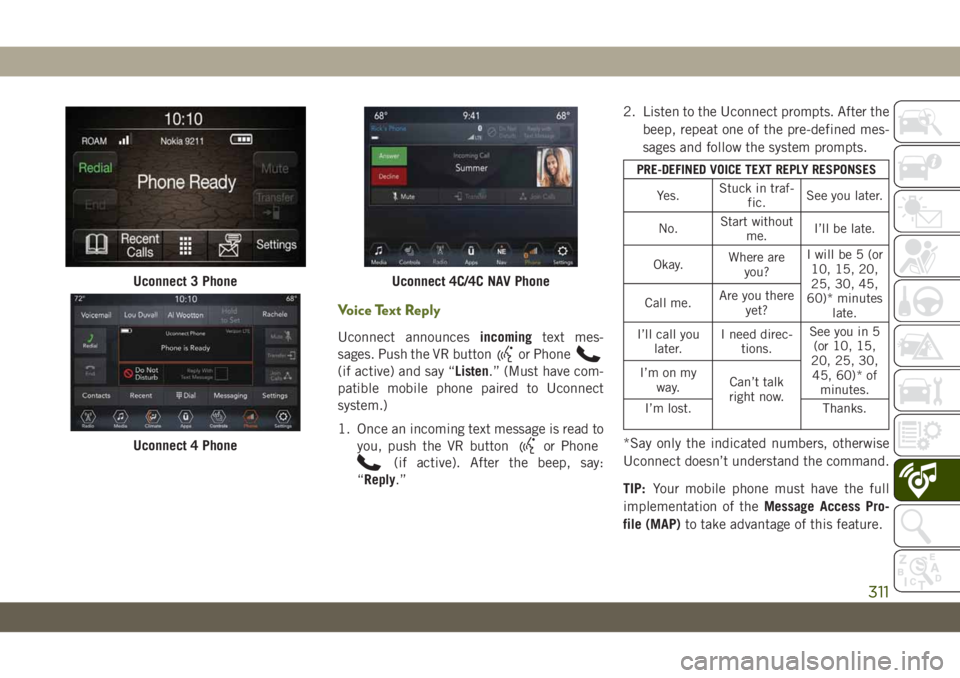
Voice Text Reply
Uconnect announcesincomingtext mes-
sages. Push the VR button
or Phone
(if active) and say “Listen.” (Must have com-
patible mobile phone paired to Uconnect
system.)
1. Once an incoming text message is read to
you, push the VR button
or Phone
(if active). After the beep, say:
“Reply.”2. Listen to the Uconnect prompts. After the
beep, repeat one of the pre-defined mes-
sages and follow the system prompts.
PRE-DEFINED VOICE TEXT REPLY RESPONSES
Yes.Stuck in traf-
fic.See you later.
No.Start without
me.I’ll be late.
Okay.Where are
you?I will be 5 (or
10, 15, 20,
25, 30, 45,
60)* minutes
late. Call me.Are you there
yet?
I’ll call you
later.I need direc-
tions.See you in 5
(or 10, 15,
20, 25, 30,
45, 60)* of
minutes. I’m on my
way.Can’t talk
right now.
I’m lost. Thanks.
*Say only the indicated numbers, otherwise
Uconnect doesn’t understand the command.
TIP:Your mobile phone must have the full
implementation of theMessage Access Pro-
file (MAP)to take advantage of this feature.
Uconnect 3 Phone
Uconnect 4 Phone
Uconnect 4C/4C NAV Phone
311
Page 315 of 348
Map Update
To update your map, please refer to
www.maps.mopar.eu, or contact an autho-
rized dealer.
Siri Eyes Free — If Equipped
Siri lets you use your voice to send text
messages, select media, place phone calls
and much more. Siri uses your natural lan-
guage to understand what you mean and
responds back to confirm your requests. The
system is designed to keep your eyes on the
road and your hands on the wheel by letting
Siri help you perform useful tasks.To enable Siri, push and hold, then release
the Uconnect Voice Recognition (VR) button
on the steering wheel. After you hear a double
beep you can ask Siri to play podcasts and
music, get directions, read text messages and
many other useful requests.
Using Do Not Disturb
With Do Not Disturb, you can disable notifi-
cations from incoming calls and texts, allow-
ing you to keep your eyes on the road and
hands on the wheel. For your convenience,
there is a counter display to keep track of your
missed calls and text messages while you
were using Do Not Disturb.
Do Not Disturb can automatically reply with a
text message, a call, or both, when declining
an incoming call and send it to voicemail.
Automatic reply messages can be:
• “I am driving right now, I will get back to
you shortly.”
• Create a custom auto reply message up to
160 characters.
While in Do Not Disturb, Conference Call can
be selected so you can still place a second
call without being interrupted by incoming
calls.
NOTE:
• Only the beginning of your custom message
will be seen on the touchscreen.
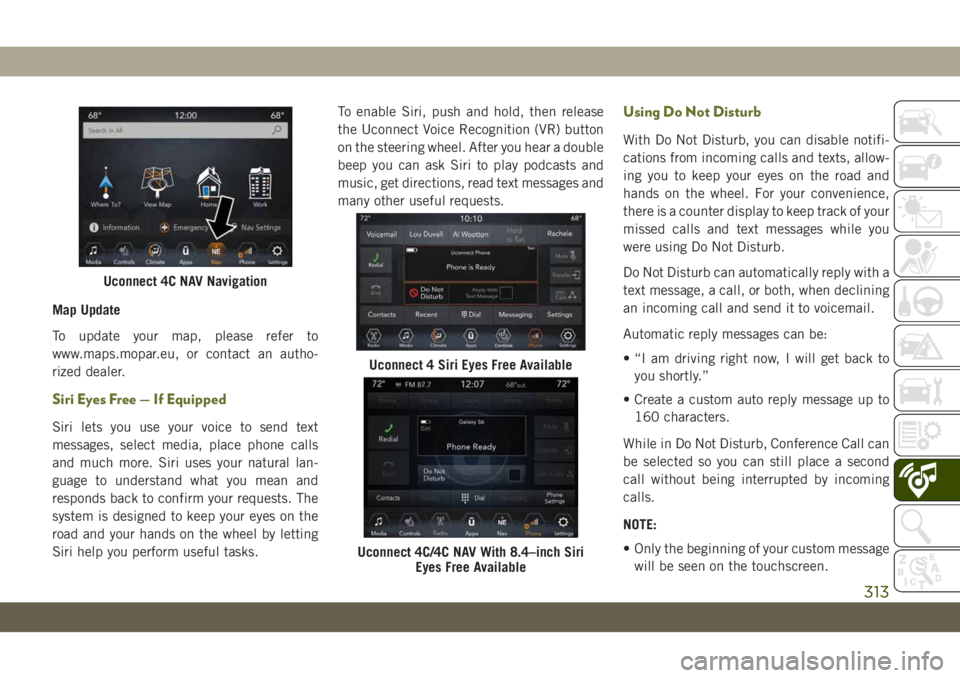
Uconnect 4C NAV Navigation
Uconnect 4 Siri Eyes Free Available
Uconnect 4C/4C NAV With 8.4–inch Siri
Eyes Free Available
313
Page 322 of 348
BELGIUM
Jeep Customer Service*
–Universal Toll Free Number
Tel: 00 800 0 426 5337
–Local Toll Free Number
Tel: 0800 55 888
–International Toll Number
Tel: +39 02 444 12 045
Chrysler Customer Service*
–Universal Toll Free Number
Tel: 00 800 1692 1692
–Local Toll Free Number
Tel: 0800 18 142
–International Toll Number
Tel: +39 02 444 12046
Dodge Customer Service*
–Universal Toll Free Number
Tel: 00 800 36343 000
–Local Toll Free Number
Tel: 0800 16 166
–International Toll Number
Tel: Not Available
BOLIVIA
Ovando & Cia S.A.
Av. Cristobal de Mendoza (2do Anillo) y Canal
Isuto
Santa Cruz, Bolivia
PO Box 6852
Tel.: (591-3) 336 3100
Fax: (591-3) 334 0229
BRAZIL
Chrysler do Brasil
Rua Funchal, 418 - 16º andar CJ 1601/
1602, Vila Olímpia
04551-060 Sao Paulo – S.P., Brazil
Tel: +5511 4949 3900
Fax: +5511 4949 3905
BULGARIA
BALKAN STAR
Resbarska Str. 5
1510 Sofia
Tel.: +359 2 4082 800
Fax: +359 2 846 8481
CHILE
Comercial Chrysler S.A.
Av. Americo Vespucio 1601, Quilicura
Santiago, Chile
Zip Code 101931-7, 367-V
Tel.: +562 837 1300
Fax: +562 6039196
CUSTOMER ASSISTANCE
320
(*) The Customer Service offers information and assistance on products, services, dealerships and 24H Roadside Assistance. It can be contacted fromthe main European countries by
calling the Universal Toll Free Number. In case of problems, please use the Local Toll Free Number or the International Toll Number.
Page 337 of 348
Accessories..................262
Mopar...................262
Adding Fuel.................166
Additives, Fuel................253
Air Bag
Air Bag Operation............111
Air Bag Warning Light.........108
Disable, Passenger Air Bag......111
Enhanced Accident Response .119, 205
Event Data Recorder (EDR)......205
Front Air Bag...............110
If Deployment Occurs.........118
Knee Impact Bolsters.........116
Maintaining Your Air Bag System . .120
Maintenance...............120
Redundant Air Bag Warning Light . .109
Transporting Pets............136
Air Bag Light...........66, 108, 137
Air Conditioning Filter............45
Air Conditioning, Operating Tips......45
Air Conditioning System...........44
Air Pressure
Tires....................231
Alarm
Arm The System.............17Disarm The System............18
Security Alarm............17, 70
Alterations/Modifications
Vehicle....................3
Android Auto..........275, 281, 314
Apps....................284
Communication.............284
Maps...................283
Music...................284
Antifreeze (Engine Coolant)........257
Anti-Lock Brake System (ABS).......82
Anti-Lock Warning Light...........70
Apple CarPlay.........276, 285, 314
Apps....................287
Maps...................286
Messages.................286
Music
...................286
Phone...................286
Assist, Hill Start................84
Audio Systems (Radio)...........270
Auto Down Power Windows.........46
Automatic Headlights............36
Automatic Temperature Control (ATC) . . .44
Automatic Transmission..........148
Fluid Level Check............225Fluid Type................261
Auxiliary Electrical Outlet (Power Outlet). .57
Auxiliary Power Outlet............57
Auxiliary Switches..............60
Axle Fluid...................261
Axle Lock...................156
Battery..................68, 221
Charging System Light..........68
Belts, Seat..................137
Blind Spot Monitoring............91
B-Pillar Location..............226
Brake Assist System.............83
Brake Control System............83
Brake Fluid..............224, 261
Brake System................224
Fluid Check...............224
Master Cylinder.............224
Warning Light...............67
Brake/Transmission Interlock.......148
Bulb Replacement..........176, 178
Bulbs, Light..............139, 176
Camera, Rear................165
Capacities, Fluid..............257
INDEX
335
Page 339 of 348
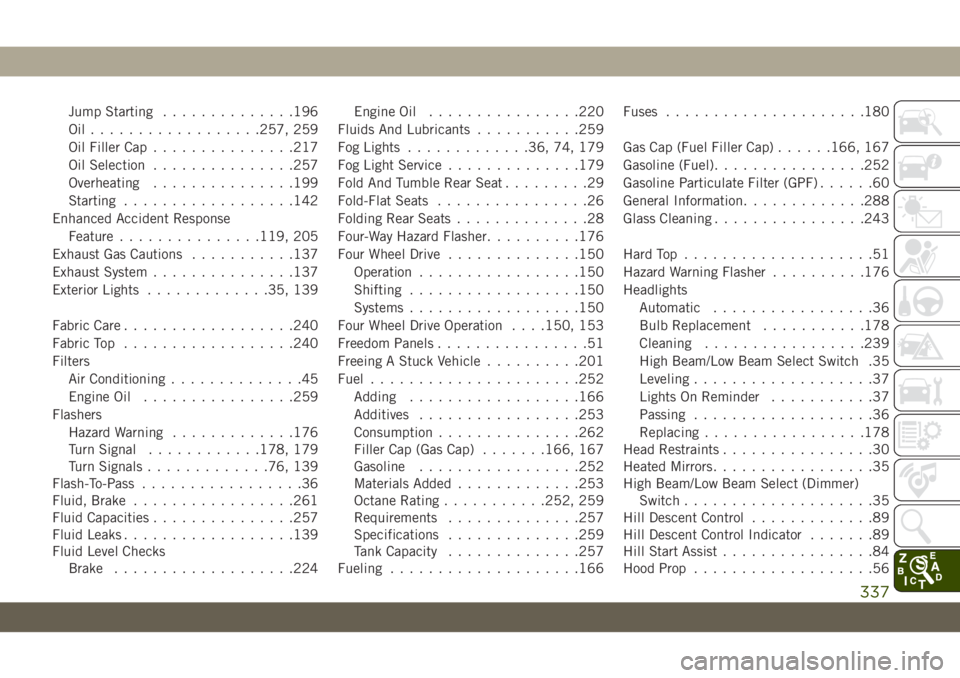
Jump Starting..............196
Oil..................257, 259
Oil Filler Cap...............217
Oil Selection...............257
Overheating...............199
Starting..................142
Enhanced Accident Response
Feature...............119, 205
Exhaust Gas Cautions...........137
Exhaust System...............137
Exterior Lights.............35, 139
Fabric Care..................240
Fabric Top..................240
Filters
Air Conditioning..............45
Engine Oil................259
Flashers
Hazard Warning.............176
Turn Signal............178, 179
Turn Signals.............76, 139
Flash-To-Pass.................36
Fluid, Brake.................261
Fluid Capacities...............257
Fluid Leaks..................139
Fluid Level Checks
Brake...................224Engine Oil................220
Fluids And Lubricants...........259
Fog Lights.............36, 74, 179
Fog Light Service..............179
Fold And Tumble Rear Seat.........29
Fold-Flat Seats................26
Folding Rear Seats..............28
Four-Way Hazard Flasher..........176
Four Wheel Drive..............150
Operation.................150
Shifting..................150
Systems..................150
Four Wheel Drive Operation
. . . .150, 153
Freedom Panels................51
Freeing A Stuck Vehicle..........201
Fuel......................252
Adding..................166
Additives.................253
Consumption...............262
Filler Cap (Gas Cap).......166, 167
Gasoline.................252
Materials Added.............253
Octane Rating...........252, 259
Requirements..............257
Specifications..............259
Tank Capacity..............257
Fueling....................166Fuses.....................180
Gas Cap (Fuel Filler Cap)......166, 167
Gasoline (Fuel)................252
Gasoline Particulate Filter (GPF)......60
General Information.............288
Glass Cleaning................243
Hard Top....................51
Hazard Warning Flasher..........176
Headlights
Automatic.................36
Bulb Replacement...........178
Cleaning.................239
High Beam/Low Beam Select Switch .35
Leveling...................37
Lights On Reminder...........37
Passing...................36
Replacing.................178
Head Restraints................30
Heated Mirrors.................35
High Beam/Low Beam Select (Dimmer)
Switch....................35
Hill Descent Control.............89
Hill Descent Control Indicator.......89
Hill Start Assist................84
Hood Prop...................56
337