KIA AMANTI 2006 Owners Manual
Manufacturer: KIA, Model Year: 2006, Model line: AMANTI, Model: KIA AMANTI 2006Pages: 322, PDF Size: 44.16 MB
Page 171 of 322
449
1
2
3
4
5
6
7
8
910
Driving your vehicle
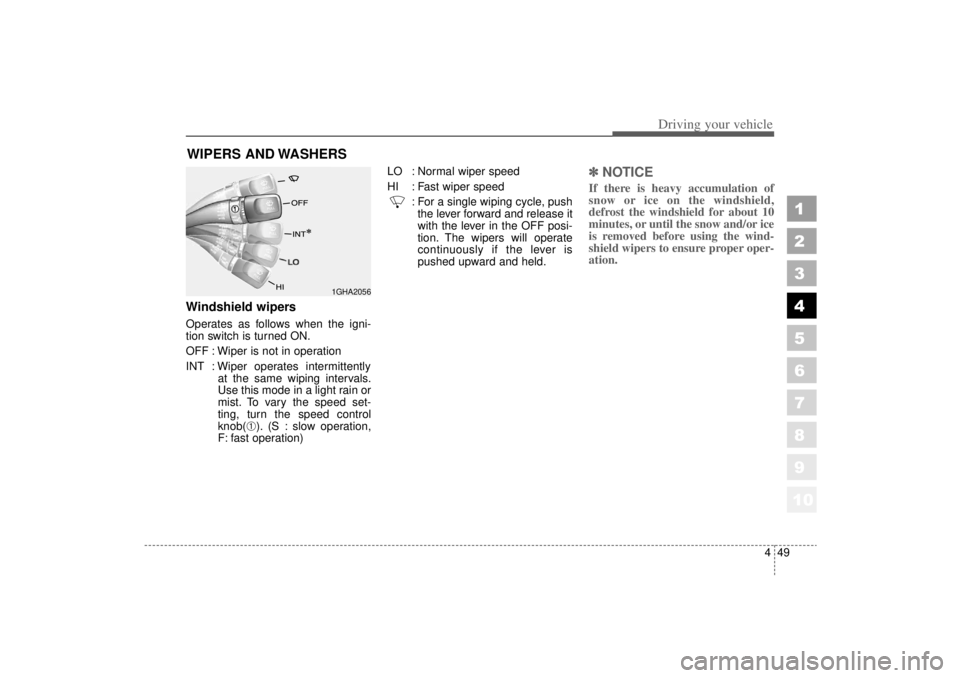
Windshield wipers Operates as follows when the igni-
tion switch is turned ON.
OFF : Wiper is not in operation
INT : Wiper operates intermittentlyat the same wiping intervals.
Use this mode in a light rain or
mist. To vary the speed set-
ting, turn the speed control
knob(
➀). (S : slow operation,
F: fast operation) LO : Normal wiper speed
HI : Fast wiper speed
: For a single wiping cycle, pushthe lever forward and release it
with the lever in the OFF posi-
tion. The wipers will operate
continuously if the lever is
pushed upward and held.
✽ ✽ NOTICEIf there is heavy accumulation of
snow or ice on the windshield,
defrost the windshield for about 10
minutes, or until the snow and/or ice
is removed before using the wind-
shield wipers to ensure proper oper-
ation.
WIPERS AND WASHERS
1GHA2056
Page 172 of 322
Driving your vehicle50
4
1
2
3
4
5
6
7
8
910
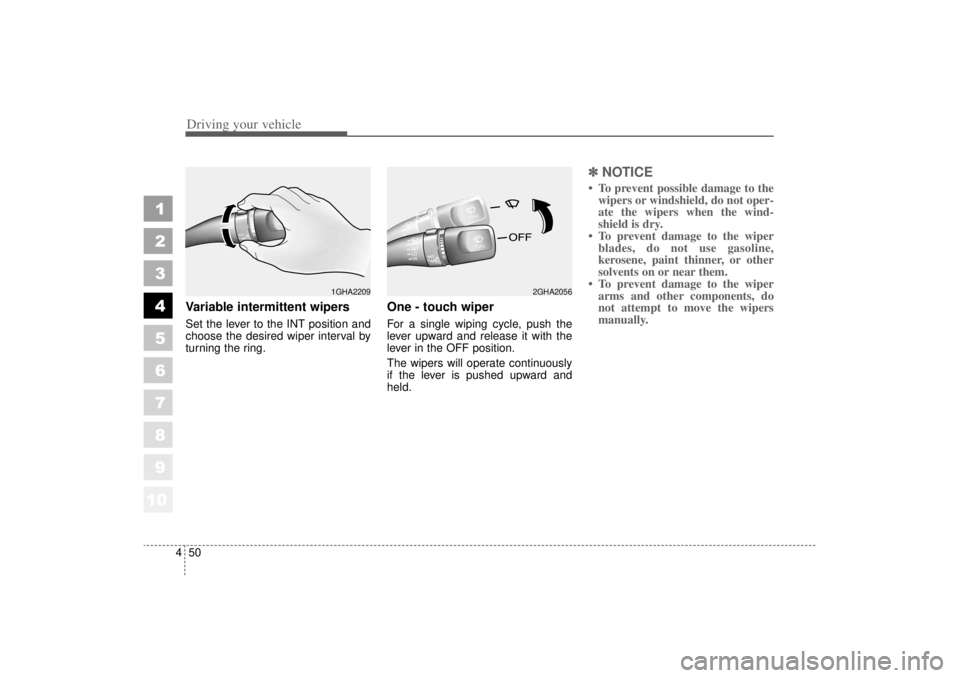
Variable intermittent wipersSet the lever to the INT position and
choose the desired wiper interval by
turning the ring.
One - touch wiper For a single wiping cycle, push the
lever upward and release it with the
lever in the OFF position.
The wipers will operate continuously
if the lever is pushed upward and
held.
✽ ✽
NOTICE• To prevent possible damage to the
wipers or windshield, do not oper-
ate the wipers when the wind-
shield is dry.
• To prevent damage to the wiper blades, do not use gasoline,
kerosene, paint thinner, or other
solvents on or near them.
• To prevent damage to the wiper arms and other components, do
not attempt to move the wipers
manually.
1GHA2209
2GHA2056
Page 173 of 322
451
1
2
3
4
5
6
7
8
910
Driving your vehicle
WARNING
Do not use the washer in freez-
ing temperatures without 1st
warming the windshield with the
defrosters; the washer solution
could freeze on contact with the
windshield and obscure your
vision.
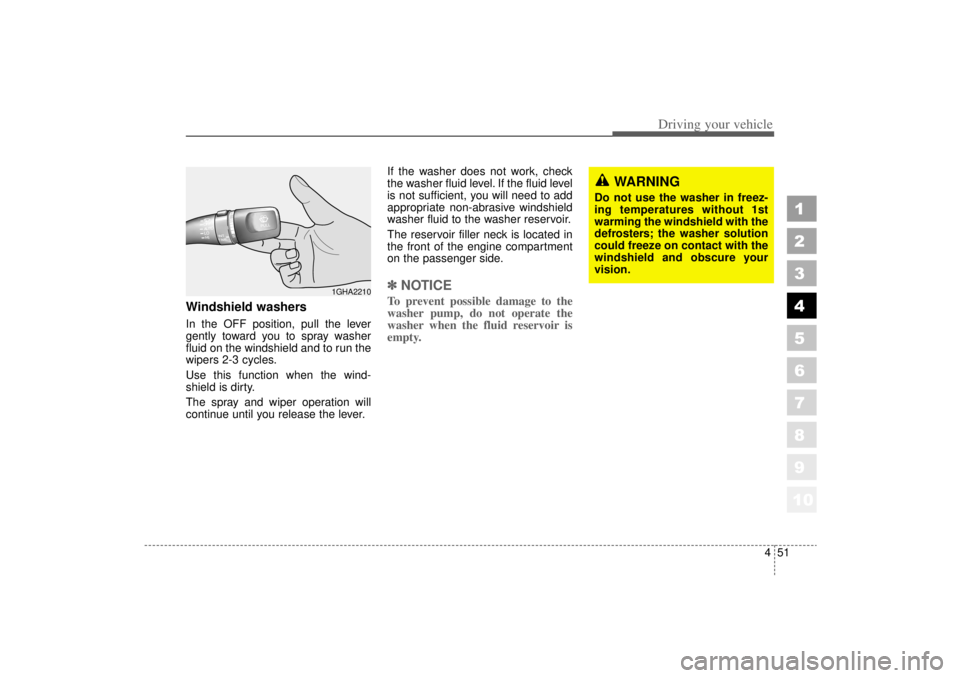
Windshield washers In the OFF position, pull the lever
gently toward you to spray washer
fluid on the windshield and to run the
wipers 2-3 cycles.
Use this function when the wind-
shield is dirty.
The spray and wiper operation will
continue until you release the lever.If the washer does not work, check
the washer fluid level. If the fluid level
is not sufficient, you will need to add
appropriate non-abrasive windshield
washer fluid to the washer reservoir.
The reservoir filler neck is located in
the front of the engine compartment
on the passenger side.
✽ ✽
NOTICETo prevent possible damage to the
washer pump, do not operate the
washer when the fluid reservoir is
empty.
1GHA2210
Page 174 of 322
Driving your vehicle52
4
1
2
3
4
5
6
7
8
910
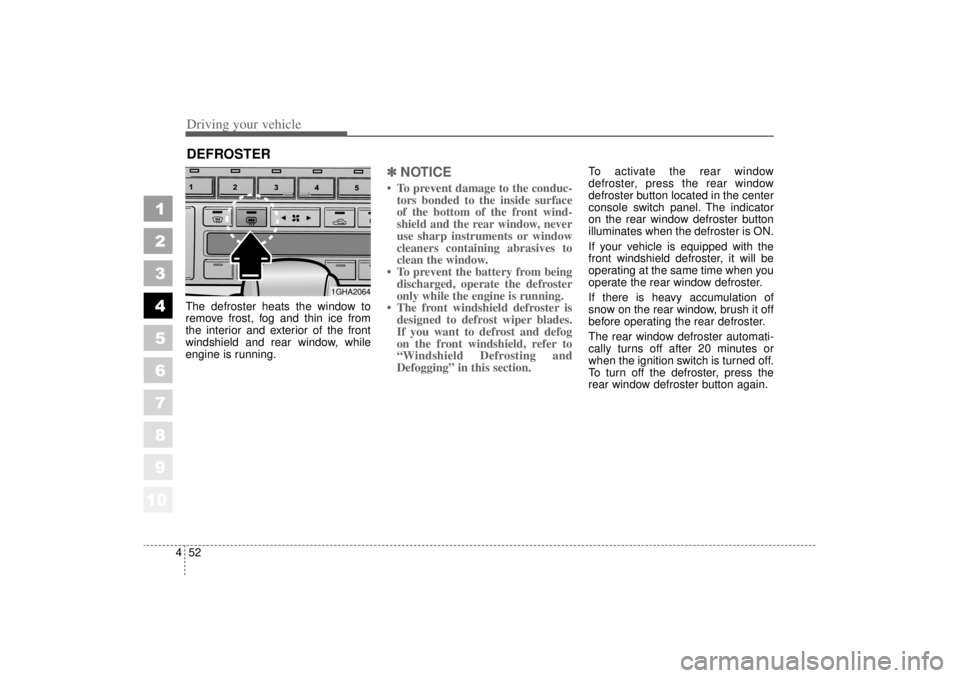
The defroster heats the window to
remove frost, fog and thin ice from
the interior and exterior of the front
windshield and rear window, while
engine is running.
✽ ✽
NOTICE• To prevent damage to the conduc-
tors bonded to the inside surface
of the bottom of the front wind-
shield and the rear window, never
use sharp instruments or window
cleaners containing abrasives to
clean the window.
• To prevent the battery from being discharged, operate the defroster
only while the engine is running.
• The front windshield defroster is designed to defrost wiper blades.
If you want to defrost and defog
on the front windshield, refer to
“Windshield Defrosting and
Defogging” in this section.
To activate the rear window
defroster, press the rear window
defroster button located in the center
console switch panel. The indicator
on the rear window defroster button
illuminates when the defroster is ON.
If your vehicle is equipped with the
front windshield defroster, it will be
operating at the same time when you
operate the rear window defroster.
If there is heavy accumulation of
snow on the rear window, brush it off
before operating the rear defroster.
The rear window defroster automati-
cally turns off after 20 minutes or
when the ignition switch is turned off.
To turn off the defroster, press the
rear window defroster button again.
DEFROSTER
1GHA2064
Page 175 of 322
453
1
2
3
4
5
6
7
8
910
Driving your vehicle
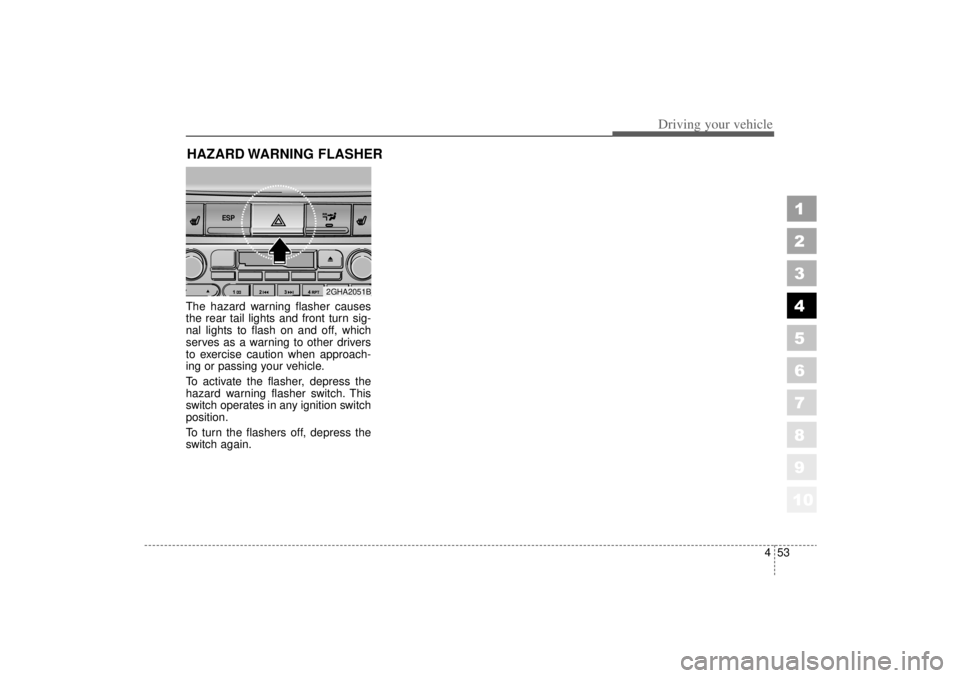
The hazard warning flasher causes
the rear tail lights and front turn sig-
nal lights to flash on and off, which
serves as a warning to other drivers
to exercise caution when approach-
ing or passing your vehicle.
To activate the flasher, depress the
hazard warning flasher switch. This
switch operates in any ignition switch
position.
To turn the flashers off, depress the
switch again.HAZARD WARNING FLASHER
ESP
2GHA2051B
Page 176 of 322
Driving your vehicle54
4
1
2
3
4
5
6
7
8
910
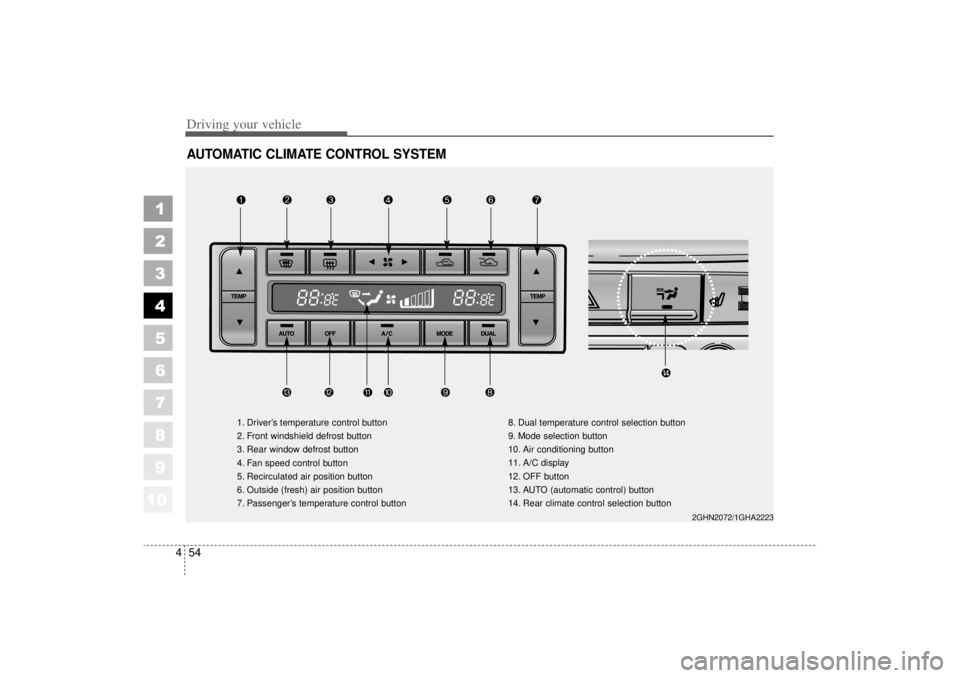
AUTOMATIC CLIMATE CONTROL SYSTEM
2GHN2072/1GHA2223
1. Driver’s temperature control button
2. Front windshield defrost button
3. Rear window defrost button
4. Fan speed control button
5. Recirculated air position button
6. Outside (fresh) air position button
7. Passenger’s temperature control button 8. Dual temperature control selection button
9. Mode selection button
10. Air conditioning button
11. A/C display
12. OFF button
13. AUTO (automatic control) button
14. Rear climate control selection button
Page 177 of 322
455
1
2
3
4
5
6
7
8
910
Driving your vehicle
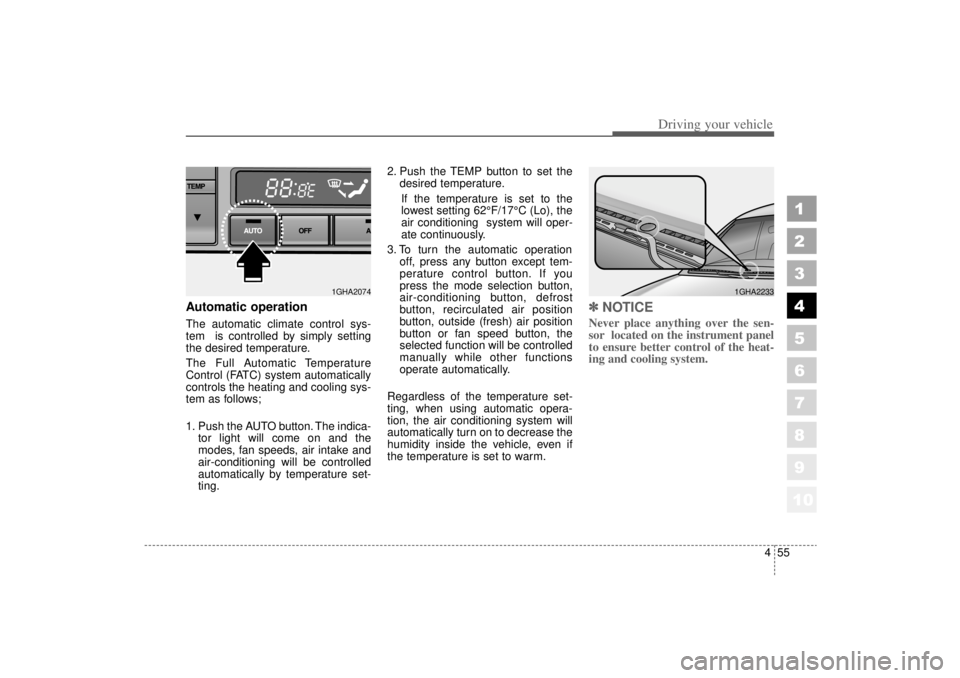
Automatic operationThe automatic climate control sys-
tem is controlled by simply setting
the desired temperature.
The Full Automatic Temperature
Control (FATC) system automatically
controls the heating and cooling sys-
tem as follows;
1. Push the AUTO button. The indica-tor light will come on and the
modes, fan speeds, air intake and
air-conditioning will be controlled
automatically by temperature set-
ting. 2. Push the TEMP button to set the
desired temperature.
If the temperature is set to the
lowest setting 62°F/17°C (Lo), the
air conditioning system will oper-
ate continuously.
3. To turn the automatic operation off, press any button except tem-
perature control button. If you
press the mode selection button,
air-conditioning button, defrost
button, recirculated air position
button, outside (fresh) air position
button or fan speed button, the
selected function will be controlled
manually while other functions
operate automatically.
Regardless of the temperature set-
ting, when using automatic opera-
tion, the air conditioning system will
automatically turn on to decrease the
humidity inside the vehicle, even if
the temperature is set to warm.
✽ ✽ NOTICENever place anything over the sen-
sor located on the instrument panel
to ensure better control of the heat-
ing and cooling system.
1GHA2074
1GHA2233
Page 178 of 322
Driving your vehicle56
4
1
2
3
4
5
6
7
8
910
Manual operation The heating and cooling system can
be controlled manually as well by
pushing buttons other than the AUTO
button. In this case, the system
works sequentially according to the
order of buttons selected.
When pressing any button except
AUTO, the functions of the buttons
not selected will be controlled auto-
matically.
Press the AUTO button in order to
convert to full automatic control of
the system.
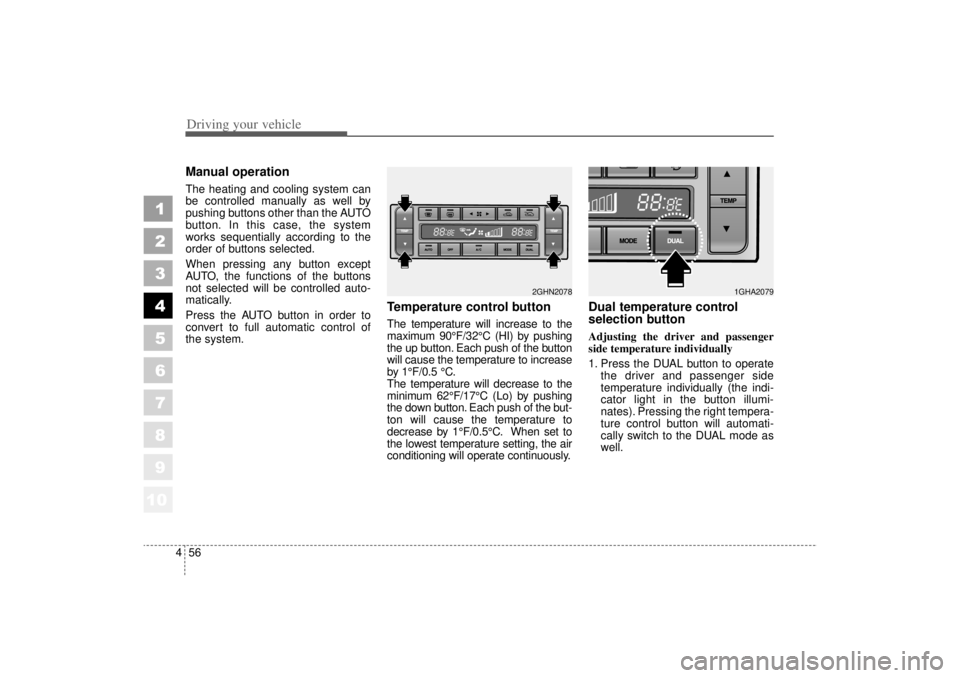
Temperature control buttonThe temperature will increase to the
maximum 90°F/32°C (HI) by pushing
the up button. Each push of the button
will cause the temperature to increase
by 1°F/0.5 °C.
The temperature will decrease to the
minimum 62°F/17°C (Lo) by pushing
the down button. Each push of the but-
ton will cause the temperature to
decrease by 1°F/0.5°C. When set to
the lowest temperature setting, the air
conditioning will operate continuously.
Dual temperature control
selection buttonAdjusting the driver and passenger
side temperature individually
1. Press the DUAL button to operate
the driver and passenger side
temperature individually (the indi-
cator light in the button illumi-
nates). Pressing the right tempera-
ture control button will automati-
cally switch to the DUAL mode as
well.
1GHA2079
2GHN2078
Page 179 of 322
457
1
2
3
4
5
6
7
8
910
Driving your vehicle
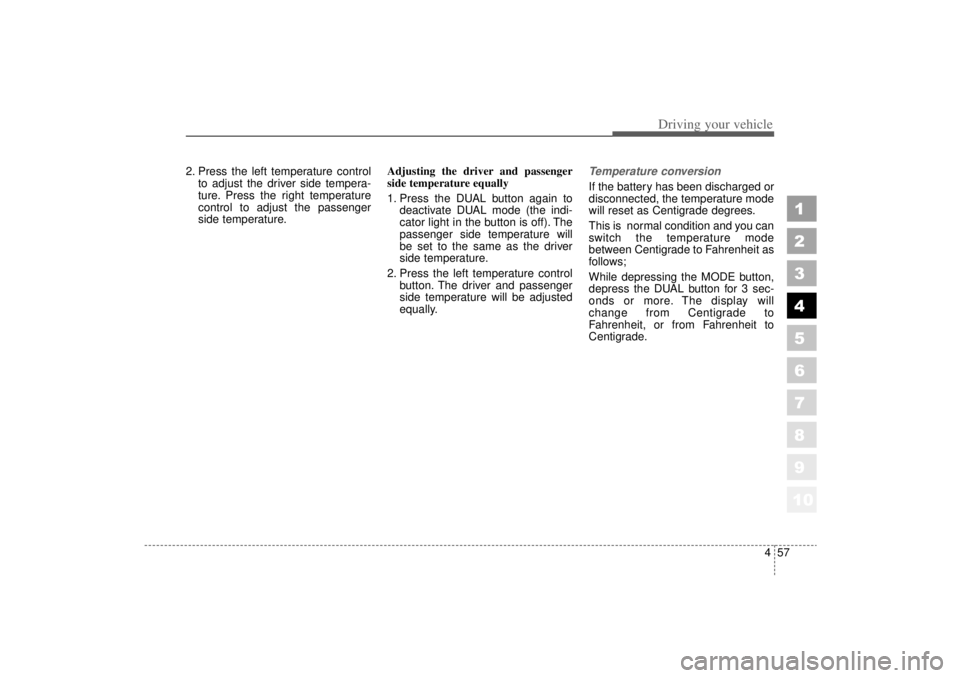
2. Press the left temperature controlto adjust the driver side tempera-
ture. Press the right temperature
control to adjust the passenger
side temperature. Adjusting the driver and passenger
side temperature equally
1. Press the DUAL button again to
deactivate DUAL mode (the indi-
cator light in the button is off). The
passenger side temperature will
be set to the same as the driver
side temperature.
2. Press the left temperature control button. The driver and passenger
side temperature will be adjusted
equally.
Temperature conversionIf the battery has been discharged or
disconnected, the temperature mode
will reset as Centigrade degrees.
This is normal condition and you can
switch the temperature mode
between Centigrade to Fahrenheit as
follows;
While depressing the MODE button,
depress the DUAL button for 3 sec-
onds or more. The display will
change from Centigrade to
Fahrenheit, or from Fahrenheit to
Centigrade.
Page 180 of 322
Driving your vehicle58
4
1
2
3
4
5
6
7
8
910
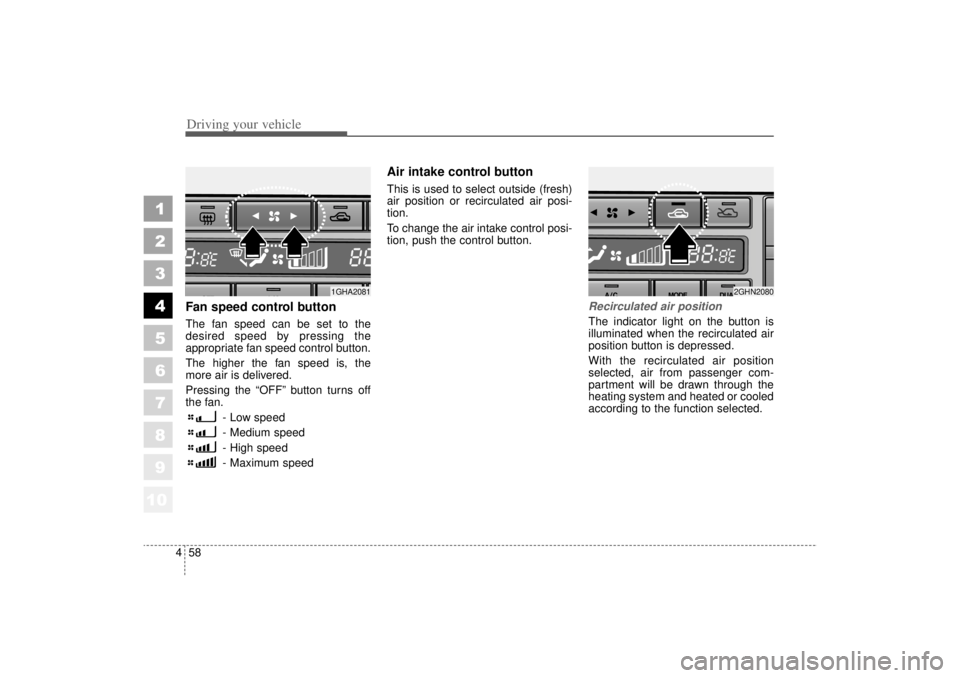
Fan speed control buttonThe fan speed can be set to the
desired speed by pressing the
appropriate fan speed control button.
The higher the fan speed is, the
more air is delivered.
Pressing the “OFF” button turns off
the fan.
- Low speed
- Medium speed
- High speed
- Maximum speed
Air intake control button This is used to select outside (fresh)
air position or recirculated air posi-
tion.
To change the air intake control posi-
tion, push the control button.
Recirculated air positionThe indicator light on the button is
illuminated when the recirculated air
position button is depressed.
With the recirculated air position
selected, air from passenger com-
partment will be drawn through the
heating system and heated or cooled
according to the function selected.
1GHA2081
2GHN2080