KIA Amanti 2008 1.G Owners Manual
Manufacturer: KIA, Model Year: 2008, Model line: Amanti, Model: KIA Amanti 2008 1.GPages: 283, PDF Size: 20.47 MB
Page 91 of 283
381
Knowing your vehicle
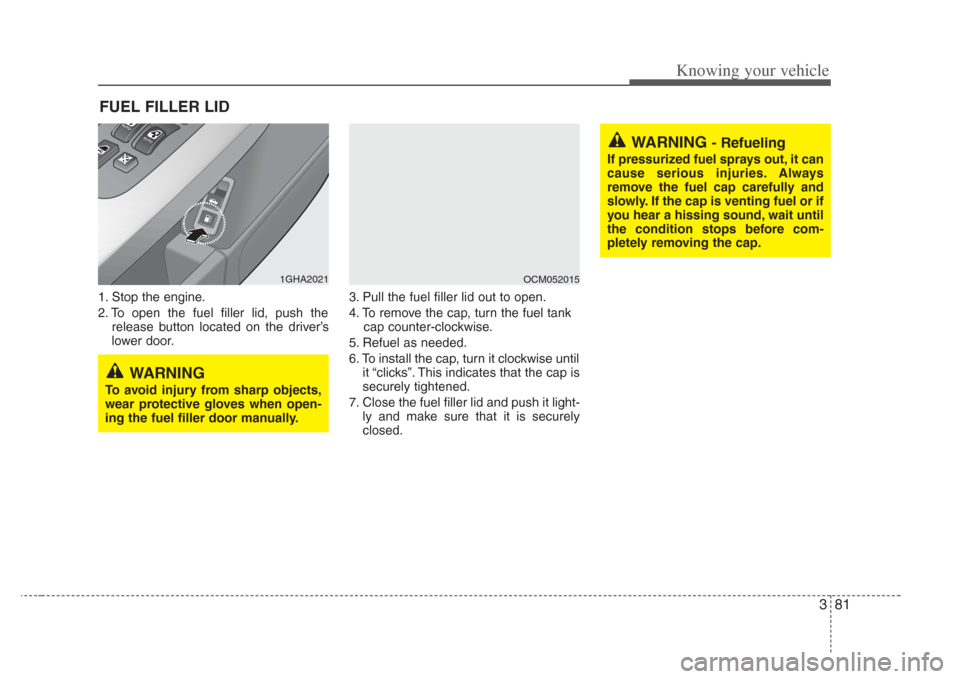
1. Stop the engine.
2. To open the fuel filler lid, push therelease button located on the driver’s
lower door. 3. Pull the fuel filler lid out to open.
4. To remove the cap, turn the fuel tank
cap counter-clockwise.
5. Refuel as needed.
6. To install the cap, turn it clockwise until it “clicks”. This indicates that the cap is
securely tightened.
7. Close the fuel filler lid and push it light- ly and make sure that it is securely
closed.
FUEL FILLER LID
1GHA2021OCM052015
WARNING
To avoid injury from sharp object s,
wear protective gloves when open-
ing the fuel filler door manually.
WARNING - Refueling
If pressurized fuel sprays out, it can
caus e serious injuries .Always
remove the fuel cap carefully and
slowly. If the cap is venting fuel or if
you hear a hissing sound, wait until
the condition s tops before com-
pletely removing the cap.
Page 92 of 283
Knowing your vehicle
823
WARNING
Automotive fuels are flammable/
explosive materials. When refuel-
ing, pleas e note the following
guidelines carefully. Failure to fol-
low these guidelines may result in
s evere per sonal injury, severe
burns or death by fire or explo sion.
• Before refueling alway s note the
location of the Emergency
Gasoline Shut-Off, if available, at
the gas station facility.
Note and follow all safety precau-
tions and warning posted at the
facility.
• Before touching the fuel nozzle or fuel filler cap, you should elimi-
nate potentially dangerou s static
electricity discharge by touching
another metal part of the front of
the vehicle, a safe distance away
from the fuel filler neck, nozzle, or
other gas source.
(Continued)
(Continued)
• Do not get back into a vehicleonce you have begun refueling.
Do not touch, rub or slide against
any item or fabric (polyes ter,
satin, nylon, etc.) capable of pro-
ducing static electricity. Static
electricity dis charge can ignite
fuel vapor s res ulting in explo-
sion. If you must re-enter the
vehicle, you should once again
eliminate potentially dangerous
s tatic electricity dis charge by
touching a metal part of the vehi-
cle, away from the fuel filler neck,
nozzle or other gasoline source.
•
When us ing a portable fuel con-
tainer be s ure to place the contain-
er on the ground prior to refueling.
Static electricity dis charge from
the container can ignite fuel vapor s
caus ing a fire. Once refueling has
begun, contact with the vehicle
s hould be maintained until the fill-
ing is complete. Us e only portable
fuel container s des igned to carry
and store gas oline.
(Continued)
(Continued)
• Do not us e cellular phones
around a gas station or while
refueling any vehicle. Electric
current and/or electronic interfer-
ence from cellular phones can
potentially ignite fuel vapor s
causing a fire. If you must use
your cellular phone u se it in a
place away from the ga s station.
• When refueling alway s shut the
engine off. Spark s produced by
electrical components related to
the engine can ignite fuel vapor s
causing a fire. Alway s insure that
the engine i s OFF before and dur-
ing refueling. Once refueling i s
complete, check to make sure the
fuel filler cap and door are
securely closed, before starting
the engine.
(Continued)
Page 93 of 283
383
Knowing your vehicle
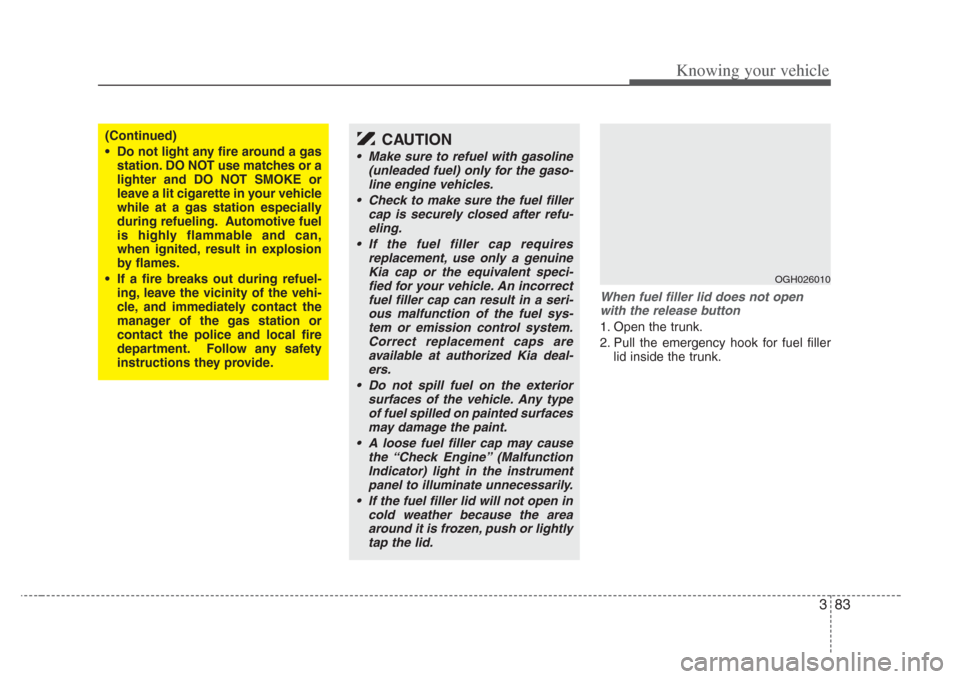
When fuel filler lid does not openwith the relea se button
1. Open the trunk.
2. Pull the emergency hook for fuel filler
lid inside the trunk.
OGH026010
(Continued)
• Do not light any fire around a ga s
station. DO NOT u se matches or a
lighter and DO NOT SMOKE or
leave a lit cigarette in your vehicle
while at a gas station especially
during refueling. Automotive fuel
i s highly flammable and can,
when ignited, re sult in explosion
by flames.
• If a fire breaks out during refuel- ing, leave the vicinity of the vehi-
cle, and immediately contact the
manager of the ga s station or
contact the police and local fire
department. Follow any safety
instructions they provide.CAUTION
• Make sure to refuel with ga soline
(unleaded fuel) only for the ga so-
line engine vehicles.
• Check to make sure the fuel filler cap is securely closed after refu-
eling.
• If the fuel filler cap requires replacement, u se only a genuine
Kia cap or the equivalent speci- fied for your vehicle. An incorrectfuel filler cap can result in a seri- ous malfunction of the fuel sys-tem or emission control system.Correct replacement caps are
available at authorized Kia deal- er s.
• Do not spill fuel on the exterior surfaces of the vehicle. Any typeof fuel spilled on painted surfaces
may damage the paint.
• A loose fuel filler cap may cause the “Check Engine” (MalfunctionIndicator) light in the instrument panel to illuminate unnecessarily.
• If the fuel filler lid will not open in cold weather because the areaaround it is frozen, push or lightly tap the lid.
Page 94 of 283
Knowing your vehicle
843
Outside rearview mirror
Be sure to adjust mirror angles before
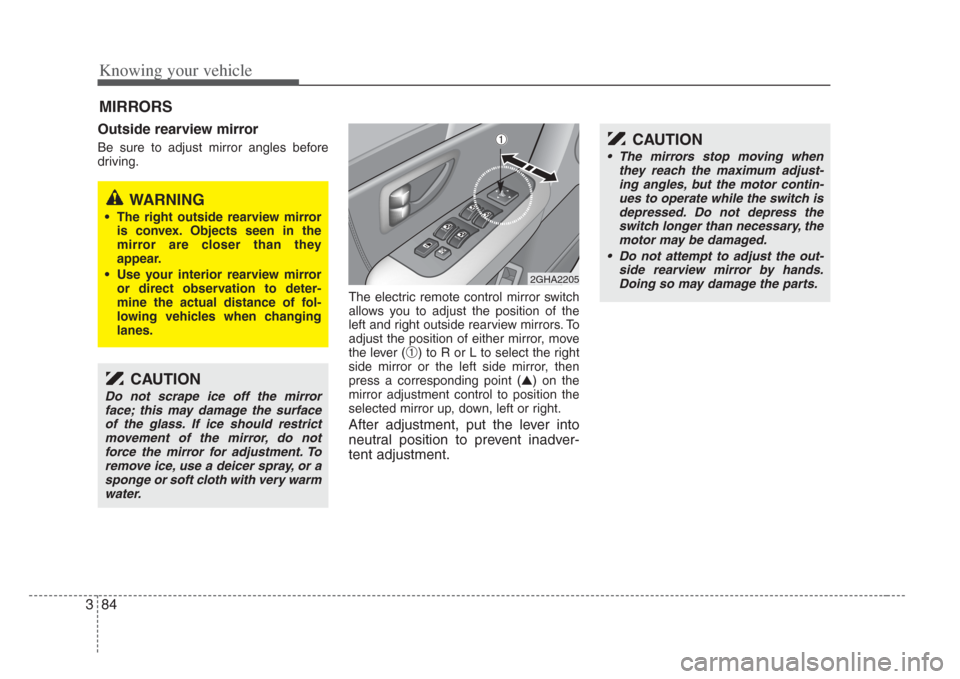
driving.The electric remote control mirror switch
allows you to adjust the position of the
left and right outside rearview mirrors. To
adjust the position of either mirror, move
the lever (
➀) to R or L to select the right
side mirror or the left side mirror, then
press a corresponding point ( ▲) on the
mirror adjustment control to position the
selected mirror up, down, left or right.
After adjustment, put the lever into
neutral position to prevent inadver-
tent adjustment.
MIRRORS
2GHA2205
CAUTION
Do not scrape ice off the mirror face; this may damage the surfaceof the glass. If ice should restrictmovement of the mirror, do not force the mirror for adju stment. To
remove ice, use a deicer spray, or a sponge or soft cloth with very warm water.
CAUTION
• The mirror s stop moving when
they reach the maximum adjust- ing angles, but the motor contin-ues to operate while the switch is
depressed. Do not depress the s witch longer than necessary, the
motor may be damaged.
• Do not attempt to adju st the out-
side rearview mirror by hand s.
Doing so may damage the parts.
➀
WARNING
• The right out side rearview mirror
is convex. Object s seen in the
mirror are clos er than they
appear.
•U se your interior rearview mirror
or direct obs ervation to deter-
mine the actual di stance of fol-
lowing vehicles when changing
lanes.
Page 95 of 283
385
Knowing your vehicle
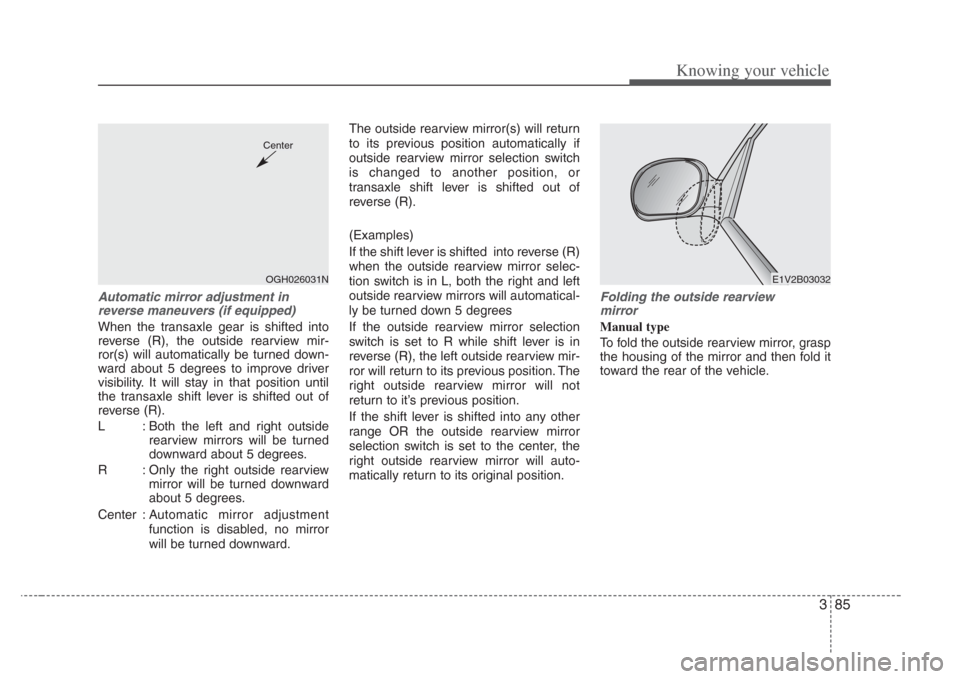
Automatic mirror adjustment in
rever se maneuver s (if equipped)
When the transaxle gear is shifted into
reverse (R), the outside rearview mir-
ror(s) will automatically be turned down-
ward about 5 degrees to improve driver
visibility. It will stay in that position until
the transaxle shift lever is shifted out of
reverse (R).
L : Both the left and right outside
rearview mirrors will be turned
downward about 5 degrees.
R : Only the right outside rearview mirror will be turned downward
about 5 degrees.
Center : Automatic mirror adjustment function is disabled, no mirror
will be turned downward. The outside rearview mirror(s) will return
to its previous position automatically if
outside rearview mirror selection switch
is changed to another position, or
transaxle shift lever is shifted out of
reverse (R).
(Examples)
If the shift lever is shifted into reverse (R)
when the outside rearview mirror selec-
tion switch is in L, both the right and left
outside rearview mirrors will automatical-
ly be turned down 5 degrees
If the outside rearview mirror selection
switch is set to R while shift lever is in
reverse (R), the left outside rearview mir-
ror will return to its previous position. The
right outside rearview mirror will not
return to it’s previous position.
If the shift lever is shifted into any other
range OR the outside rearview mirror
selection switch is set to the center, the
right outside rearview mirror will auto-
matically return to its original position.
Folding the out
side rearview
mirror
Manual type
To fold the outside rearview mirror, grasp
the housing of the mirror and then fold it
toward the rear of the vehicle.
OGH026031N
Center
E1V2B03032
Page 96 of 283
Knowing your vehicle
863
Outside rearview mirror heater (if equipped)
The outside rearview mirror heater is
actuated in connection with the rear win-
dow defroster. To heat the outside
rearview mirror glass, push the button for
the rear window defroster.
The outside rearview mirror glass will be
heated for defrosting or defogging and
will give you improved rear vision in
inclement weather conditions. Push the
button again to turn the heater off. The
outside rearview mirror heater automati-
cally turns off after 20 minutes.
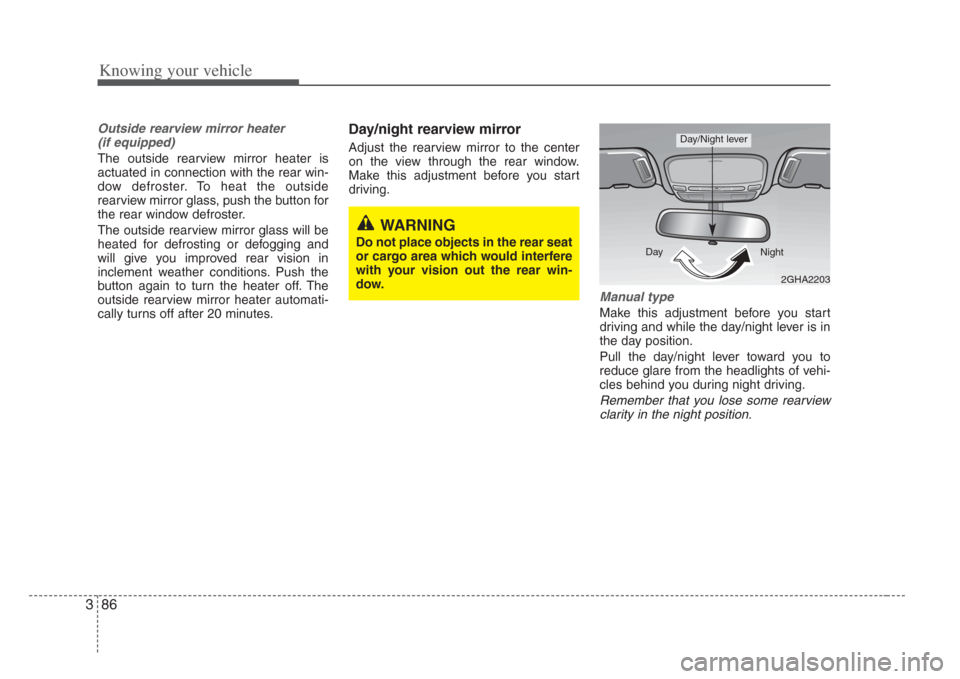
Day/night rearview mirror
Adjust the rearview mirror to the center
on the view through the rear window.
Make this adjustment before you start
driving.
Manual type
Make this adjustment before you start
driving and while the day/night lever is in
the day position.
Pull the day/night lever toward you to
reduce glare from the headlights of vehi-
cles behind you during night driving.
Remember that you lose some rearviewclarity in the night position.
WARNING
Do not place objects in the rear seat
or cargo area which would interfere
with your vi sion out the rear win-
dow.
2GHA2203
Day
Night
Day/Night lever
Page 97 of 283
387
Knowing your vehicle
Electric type (if equipped)
The electric rearview mirror automatical-
ly controls the glare from the headlights
of the car behind you in nighttime or low
light driving conditions. The sensor
mounted in the mirror senses the light
level around the vehicle, and through a
chemical reaction, automatically controls
the headlight glare from vehicles behind
you.
When the engine is running, the glare is
automatically controlled by the sensor
mounted in the rearview mirror.
Whenever the shift lever is shifted into
reverse (R), the mirror will automatically
go to the brightest setting in order to
improve the drivers view behind the vehi-
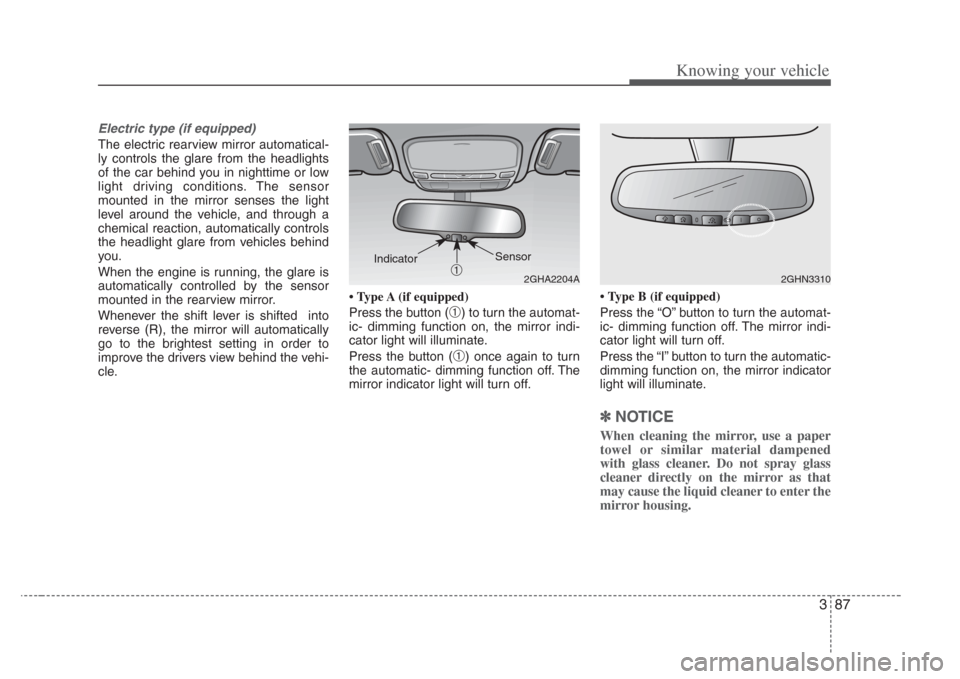
cle. Type A (if equipped)
Press the button (
➀) to turn the automat-
ic- dimming function on, the mirror indi-
cator light will illuminate.
Press the button (
➀) once again to turn
the automatic- dimming function off. The
mirror indicator light will turn off. Type B (if equipped)
Press the “O” button to turn the automat-
ic- dimming function off. The mirror indi-
cator light will turn off.
Press the “I” button to turn the automatic-
dimming function on, the mirror indicator
light will illuminate.
✽
NOTICE
When cleaning the mirror, use a paper
towel or similar material dampened
with glass cleaner. Do not spray glass
cleaner directly on the mirror as that
may cause the liquid cleaner to enter the
mirror housing.
2GHA2204A
Sensor
➀
Indicator
2GHN3310
Page 98 of 283
Knowing your vehicle
883
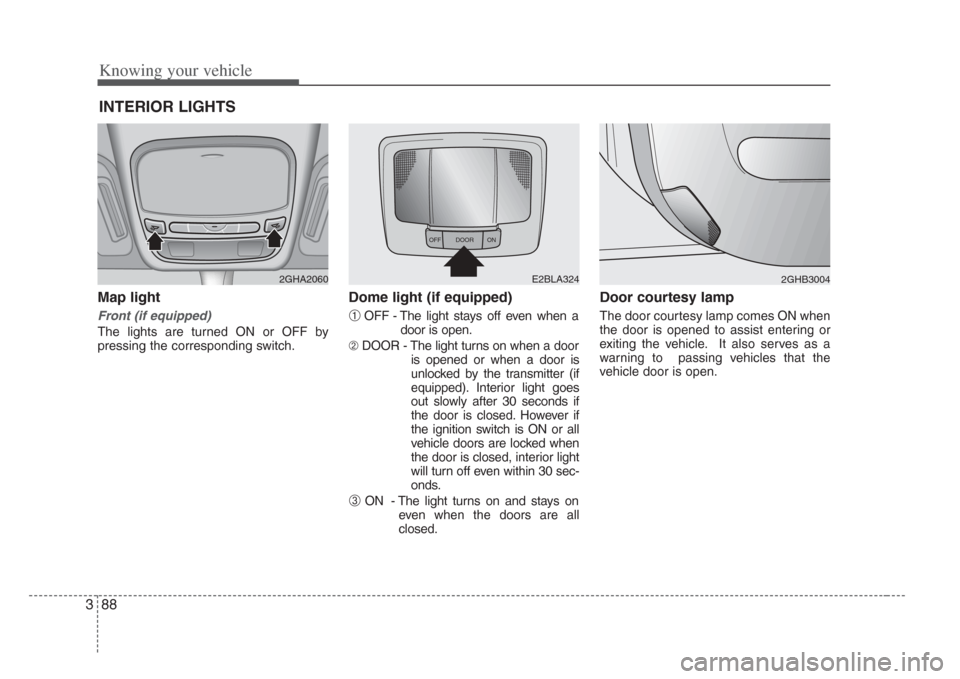
Map light
Front (if equipped)
The lights are turned ON or OFF by
pressing the corresponding switch.
Dome light (if equipped)
➀OFF - The light stays off even when adoor is open.
➁ DOOR - The light turns on when a door
is opened or when a door is
unlocked by the transmitter (if
equipped). Interior light goes
out slowly after 30 seconds if
the door is closed. However if
the ignition switch is ON or all
vehicle doors are locked when
the door is closed, interior light
will turn off even within 30 sec-
onds.
➂ ON - The light turns on and stays oneven when the doors are all
closed.
Door courtesy lamp
The door courtesy lamp comes ON when
the door is opened to assist entering or
exiting the vehicle. It also serves as a
warning to passing vehicles that the
vehicle door is open.
INTERIOR LIGHTS
2GHA2060
OFF DOORON
E2BLA3242GHB3004
Page 99 of 283
389
Knowing your vehicle
✽NOTICE
To avoid possible theft, do not leave
valuables in the storage compartment.
Since stored items may move while driving, be sure to position them in
the storage compartment so that they
do not make noise or cause a potential
safety hazard when the vehicle is mov-
ing.
Always keep the storage compartment covers closed while driving. Do not
attempt to place many items in the
storage compartment that the storage
compartment cover cannot close
securely.
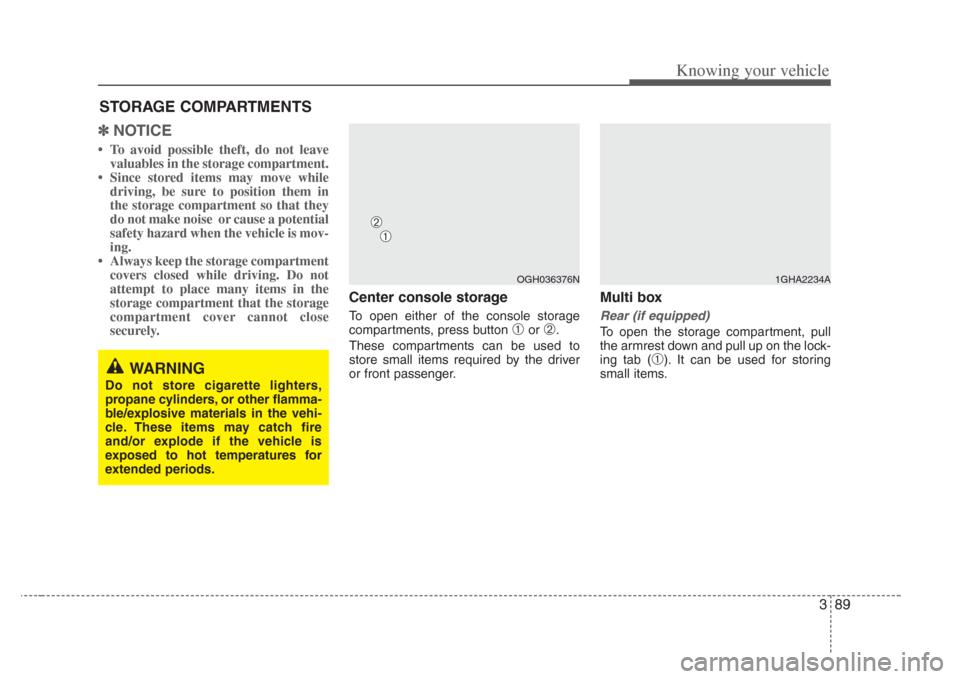
Center console storage
To open either of the console storage
compartments, press button
➀or➁.
These compartments can be used to
store small items required by the driver
or front passenger.
Multi box
Rear (if equipped)
To open the storage compartment, pull
the armrest down and pull up on the lock-
ing tab (
➀). It can be used for storing
small items.
STORAGE COMPARTMENTS
WARNING
Do not s tore cigarette lighter s,
propane cylinder s, or other flamma-
ble/explosive materials in the vehi-
cle. Thes e items may catch fire
and/or explode if the vehicle is
exposed to hot temperature s for
extended period s.
OGH036376N1GHA2234A
➀
➁
Page 100 of 283
Knowing your vehicle
903
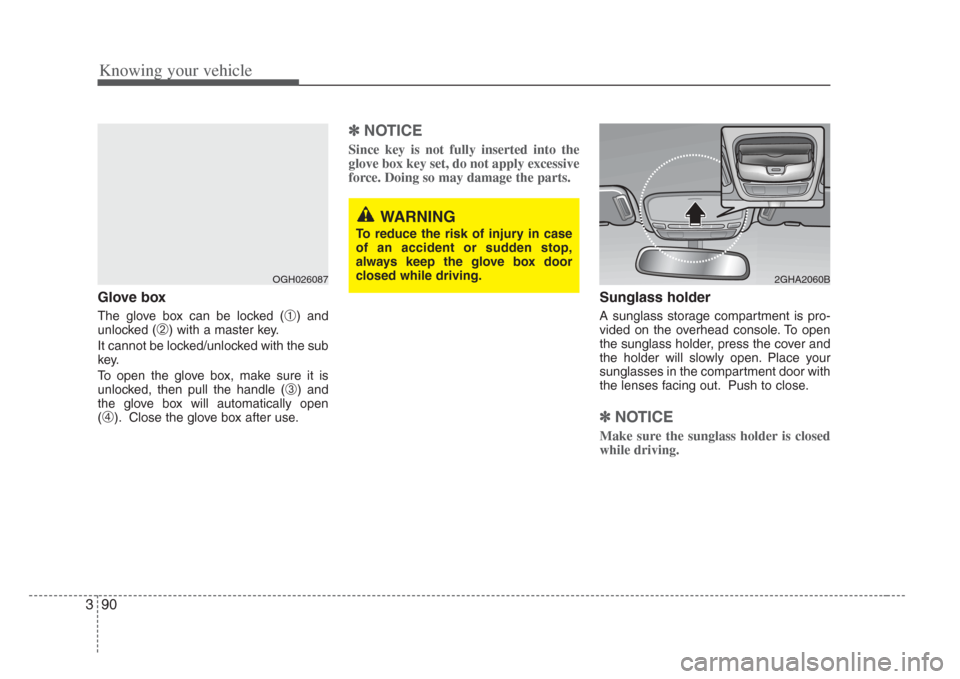
Glove box
The glove box can be locked (➀) and
unlocked (
➁) with a master key.
It cannot be locked/unlocked with the sub
key.
To open the glove box, make sure it is
unlocked, then pull the handle (
➂) and
the glove box will automatically open
(
➃). Close the glove box after use.
✽ NOTICE
Since key is not fully inserted into the
glove box key set, do not apply excessive
force. Doing so may damage the parts.
Sunglass holder
A sunglass storage compartment is pro-
vided on the overhead console. To open
the sunglass holder, press the cover and
the holder will slowly open. Place your
sunglasses in the compartment door with
the lenses facing out. Push to close.
✽NOTICE
Make sure the sunglass holder is closed
while driving.
OGH026087
WARNING
To reduce the ri sk of injury in case
of an accident or s udden stop,
always keep the glove box door
clo sed while driving.
2GHA2060B