instrument panel KIA Amanti 2008 1.G User Guide
[x] Cancel search | Manufacturer: KIA, Model Year: 2008, Model line: Amanti, Model: KIA Amanti 2008 1.GPages: 283, PDF Size: 20.47 MB
Page 90 of 283
Knowing your vehicle
803
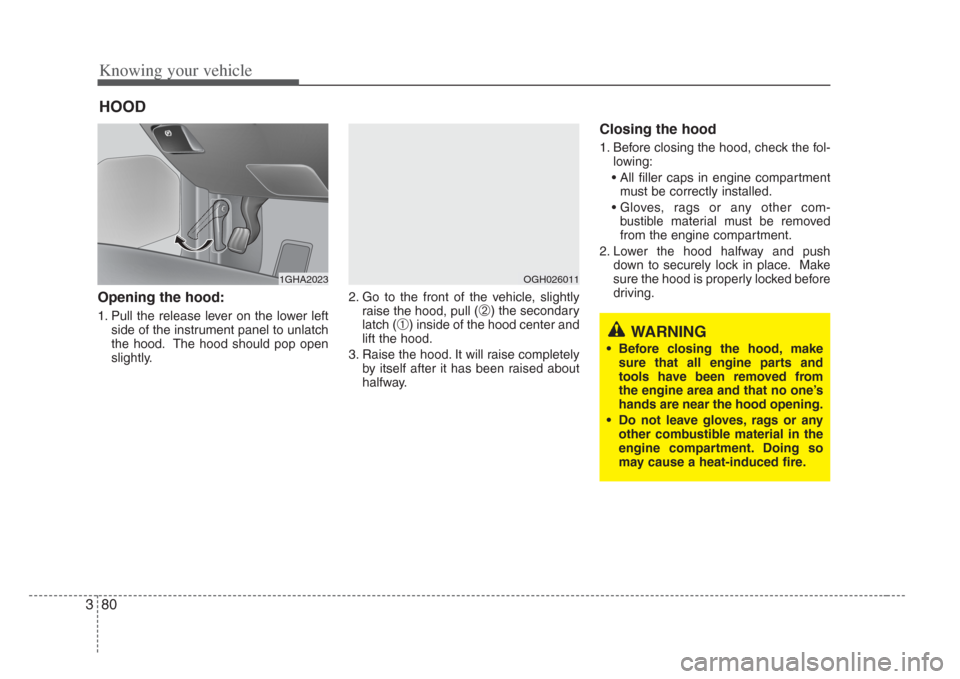
Opening the hood:
1. Pull the release lever on the lower leftside of the instrument panel to unlatch
the hood. The hood should pop open
slightly. 2. Go to the front of the vehicle, slightly
raise the hood, pull (➁) the secondary
latch (
➀) inside of the hood center and
lift the hood.
3. Raise the hood. It will raise completely by itself after it has been raised about
halfway.
Closing the hood
1. Before closing the hood, check the fol-lowing:
• All filler caps in engine compartment must be correctly installed.
• Gloves, rags or any other com- bustible material must be removed
from the engine compartment.
2. Lower the hood halfway and push down to securely lock in place. Make
sure the hood is properly locked before
driving.
HOOD
1GHA2023OGH026011
WARNING
• Before closing the hood, makesure that all engine part s and
tools have been removed from
the engine area and that no one’ s
hands are near the hood opening.
• Do not leave glove s,rags or any
other combustible material in the
engine compartment. Doing s o
may cause a heat-induced fire.
Page 93 of 283
383
Knowing your vehicle
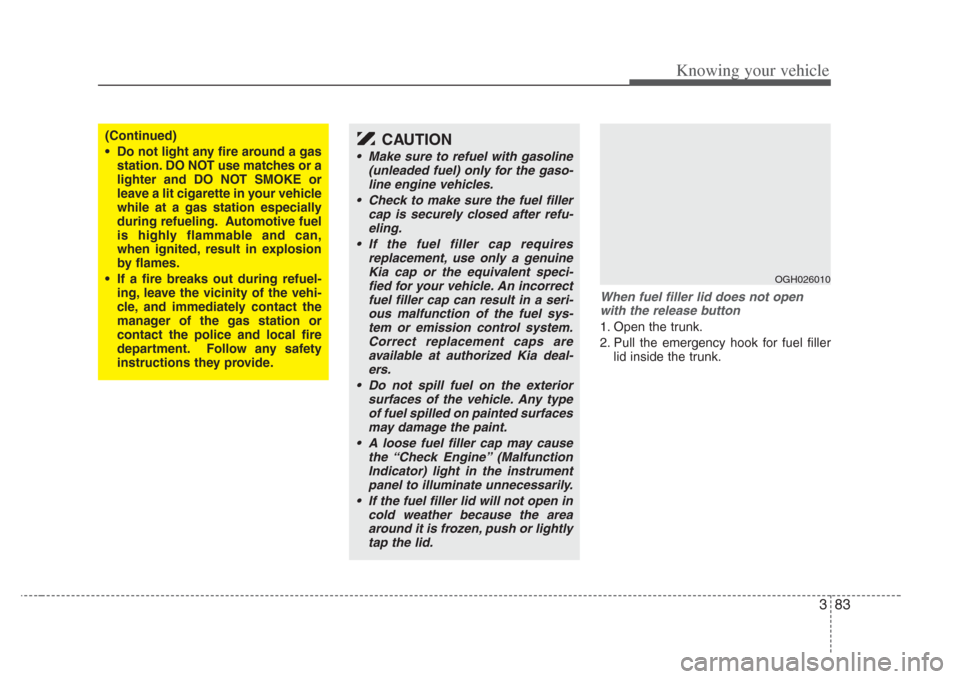
When fuel filler lid does not openwith the relea se button
1. Open the trunk.
2. Pull the emergency hook for fuel filler
lid inside the trunk.
OGH026010
(Continued)
• Do not light any fire around a ga s
station. DO NOT u se matches or a
lighter and DO NOT SMOKE or
leave a lit cigarette in your vehicle
while at a gas station especially
during refueling. Automotive fuel
i s highly flammable and can,
when ignited, re sult in explosion
by flames.
• If a fire breaks out during refuel- ing, leave the vicinity of the vehi-
cle, and immediately contact the
manager of the ga s station or
contact the police and local fire
department. Follow any safety
instructions they provide.CAUTION
• Make sure to refuel with ga soline
(unleaded fuel) only for the ga so-
line engine vehicles.
• Check to make sure the fuel filler cap is securely closed after refu-
eling.
• If the fuel filler cap requires replacement, u se only a genuine
Kia cap or the equivalent speci- fied for your vehicle. An incorrectfuel filler cap can result in a seri- ous malfunction of the fuel sys-tem or emission control system.Correct replacement caps are
available at authorized Kia deal- er s.
• Do not spill fuel on the exterior surfaces of the vehicle. Any typeof fuel spilled on painted surfaces
may damage the paint.
• A loose fuel filler cap may cause the “Check Engine” (MalfunctionIndicator) light in the instrument panel to illuminate unnecessarily.
• If the fuel filler lid will not open in cold weather because the areaaround it is frozen, push or lightly tap the lid.
Page 158 of 283
427
Driving your vehicle
Fuel gauge
The fuel gauge indicates the approxi-
mate amount of fuel remaining in the fuel
tank.
Fuel tank capacity - 70 liters.
The fuel gauge is supplemented by a low
fuel warning light, which will illuminate
when the fuel tank is nearly empty.
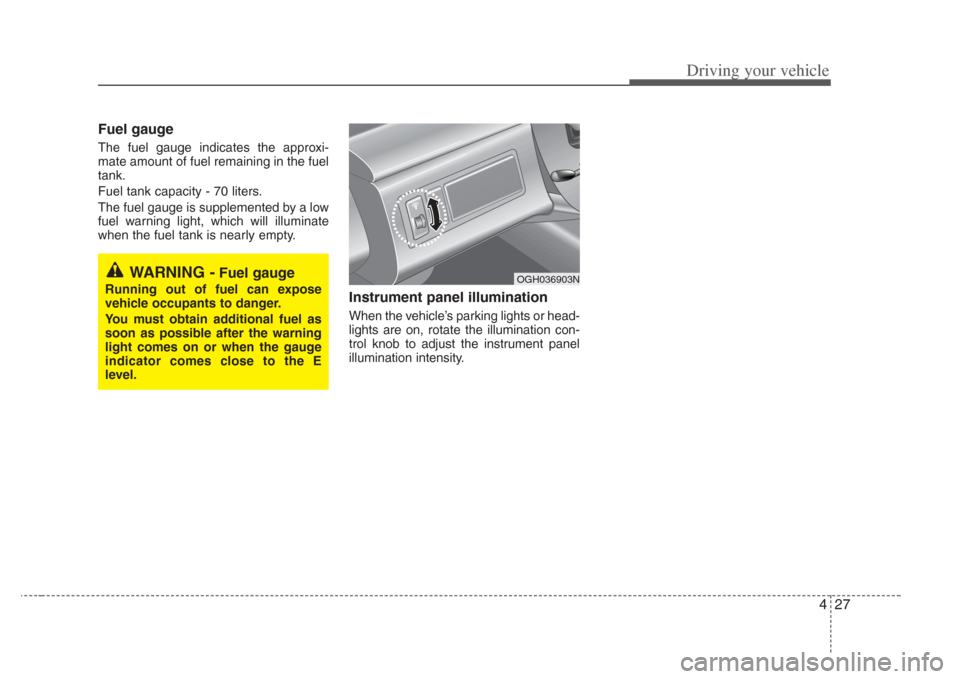
Instrument panel illumination
When the vehicle’s parking lights or head-
lights are on, rotate the illumination con-
trol knob to adjust the instrument panel
illumination intensity.
OGH036903NWARNING -Fuel gauge
Running out of fuel can expose
vehicle occupant s to danger.
You must obtain additional fuel as
soon as possible after the warning
light comes on or when the gauge
indicator comes close to the E
level.
Page 162 of 283
431
Driving your vehicle
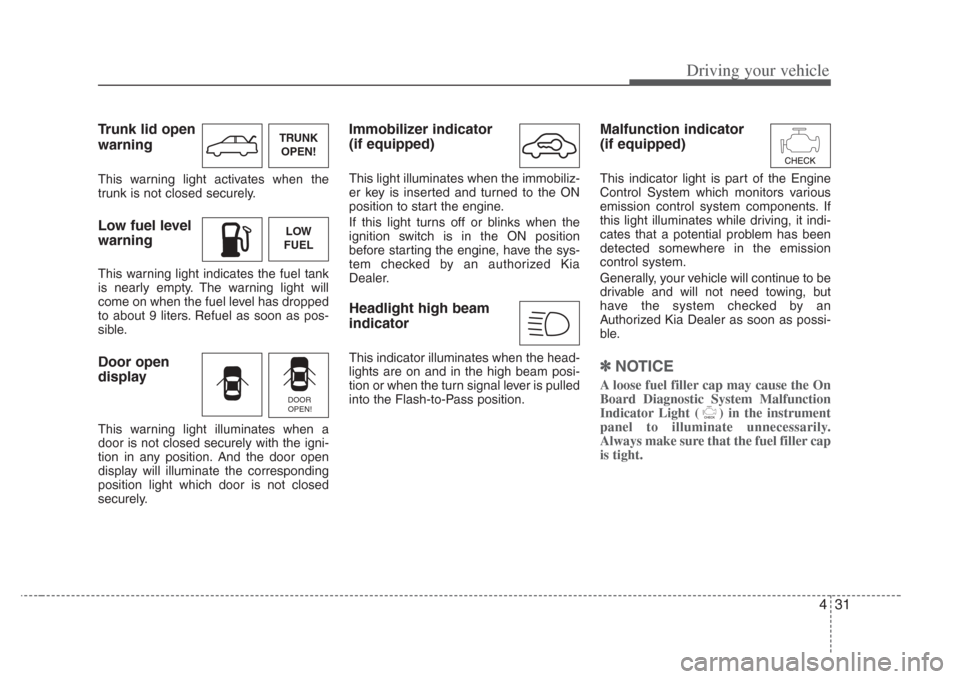
Trunk lid open
warning
This warning light activates when the
trunk is not closed securely.
Low fuel level
warning
This warning light indicates the fuel tank
is nearly empty. The warning light will
come on when the fuel level has dropped
to about 9 liters. Refuel as soon as pos-
sible.
Door open
display
This warning light illuminates when a
door is not closed securely with the igni-
tion in any position. And the door open
display will illuminate the corresponding
position light which door is not closed
securely.
Immobilizer indicator
(if equipped)
This light illuminates when the immobiliz-
er key is inserted and turned to the ON
position to start the engine.
If this light turns off or blinks when the
ignition switch is in the ON position
before starting the engine, have the sys-
tem checked by an authorized Kia
Dealer.
Headlight high beam
indicator
This indicator illuminates when the head-
lights are on and in the high beam posi-
tion or when the turn signal lever is pulled
into the Flash-to-Pass position.
Malfunction indicator
(if equipped)
This indicator light is part of the Engine
Control System which monitors various
emission control system components. If
this light illuminates while driving, it indi-
cates that a potential problem has been
detected somewhere in the emission
control system.
Generally, your vehicle will continue to be
drivable and will not need towing, but
have the system checked by an
Authorized Kia Dealer as soon as possi-
ble.
✽NOTICE
A loose fuel filler cap may cause the On
Board Diagnostic System Malfunction
Indicator Light ( ) in the instrument
panel to illuminate unnecessarily.
Always make sure that the fuel filler cap
is tight.
TRUNK
OPEN!
LOW
FUEL
DOOR
OPEN!
Page 165 of 283
Driving your vehicle
344
Battery saver function
• The purpose of this feature is to pre-
vent the battery from being dis-
charged. The system automatically
turns off the small light when the driver
removes the ignition key and opens the
driver- side door.
• With this feature, the parklight will be turned off automatically if the driver
parks on the side of road at night.
If necessary, to keep the lights on when
the ignition key is removed, perform the
following :
1) Open the driver-side door.
2) Turn the parklights OFF and ON again using the light switch on the steering
column.
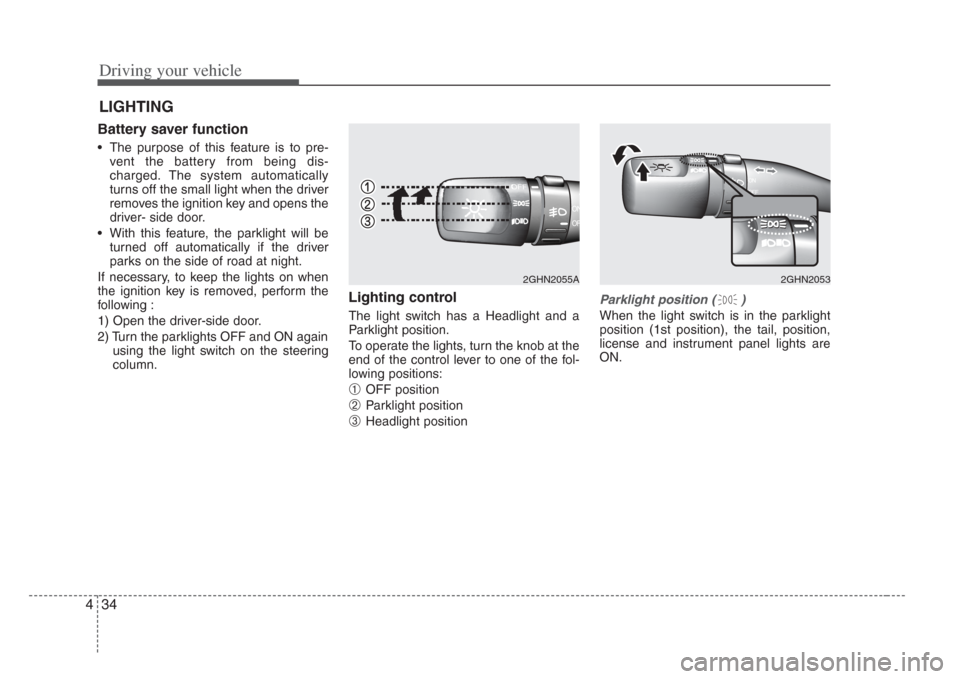
Lighting control
The light switch has a Headlight and a
Parklight position.
To operate the lights, turn the knob at the
end of the control lever to one of the fol-
lowing positions:
➀ OFF position
➁ Parklight position
➂ Headlight position
Parklight position ( )
When the light switch is in the parklight
position (1st position), the tail, position,
license and instrument panel lights are
ON.
LIGHTING
2GHN2055A2GHN2053
Page 166 of 283
435
Driving your vehicle
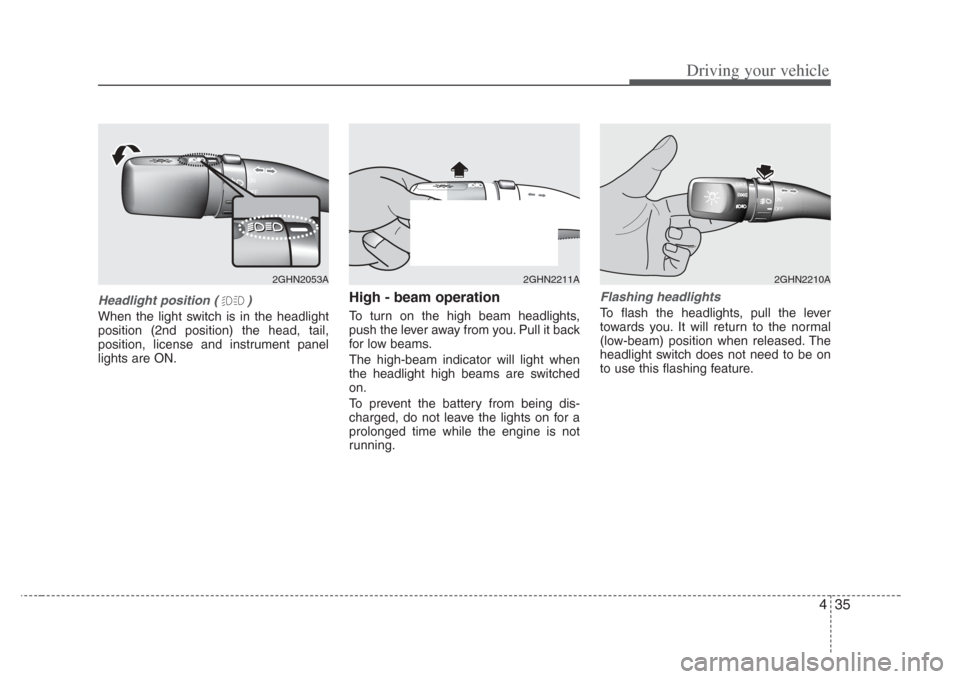
Headlight position ( )
When the light switch is in the headlight
position (2nd position) the head, tail,
position, license and instrument panel
lights are ON.
High - beam operation
To turn on the high beam headlights,
push the lever away from you. Pull it back
for low beams.
The high-beam indicator will light when
the headlight high beams are switched
on.
To prevent the battery from being dis-
charged, do not leave the lights on for a
prolonged time while the engine is not
running.
Flashing headlights
To flash the headlights, pull the lever
towards you. It will return to the normal
(low-beam) position when released. The
headlight switch does not need to be on
to use this flashing feature.
2GHN2053A2GHN2211A2GHN2210A
Page 167 of 283
Driving your vehicle
364
CAUTION
If the automatic headlight aimingsystem does not operate when thevehicle is loaded with pa ssengers
and the front portion of the vehicle is at an elevated angle, or it i s not
adjusting correctly, have the vehicle checked and repaired by an author-ized Kia dealer. Do not attempt toadjus t the headlights manually,
damage to the automatic headlight aiming system could occur.
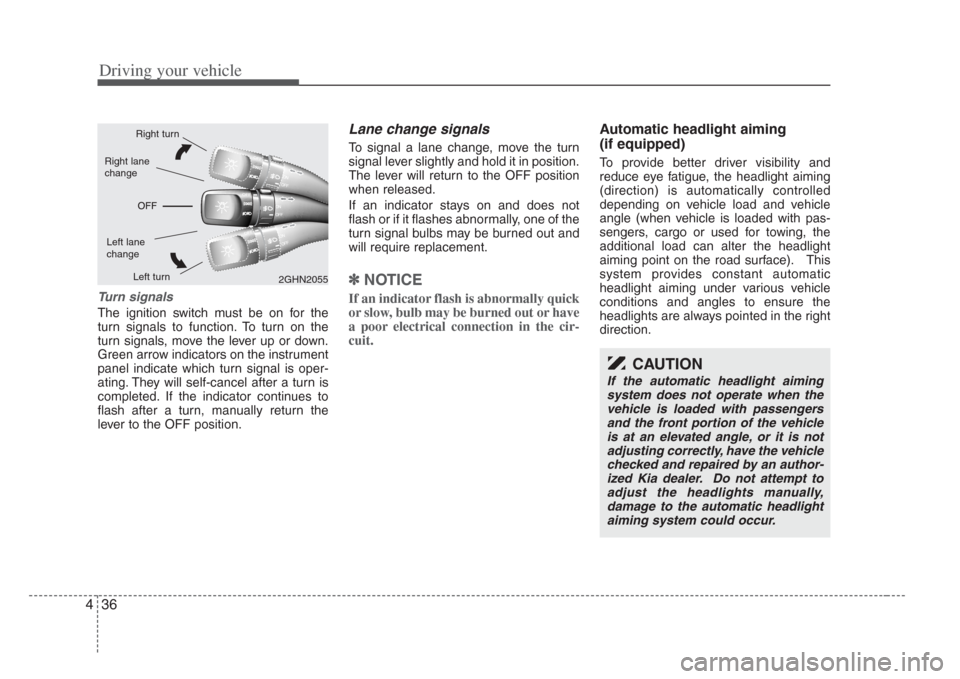
Turn signals
The ignition switch must be on for the
turn signals to function. To turn on the
turn signals, move the lever up or down.
Green arrow indicators on the instrument
panel indicate which turn signal is oper-
ating. They will self-cancel after a turn is
completed. If the indicator continues to
flash after a turn, manually return the
lever to the OFF position.
Lane change signals
To signal a lane change, move the turn
signal lever slightly and hold it in position.
The lever will return to the OFF position
when released.
If an indicator stays on and does not
flash or if it flashes abnormally, one of the
turn signal bulbs may be burned out and
will require replacement.
✽
NOTICE
If an indicator flash is abnormally quick
or slow, bulb may be burned out or have
a poor electrical connection in the cir-
cuit.
Automatic headlight aiming
(if equipped)
To provide better driver visibility and
reduce eye fatigue, the headlight aiming
(direction) is automatically controlled
depending on vehicle load and vehicle
angle (when vehicle is loaded with pas-
sengers, cargo or used for towing, the
additional load can alter the headlight
aiming point on the road surface). This
system provides constant automatic
headlight aiming under various vehicle
conditions and angles to ensure the
headlights are always pointed in the right
direction.
2GHN2055
Right turn
Left turn
Left lane
change
Right lane
change
Page 175 of 283
Driving your vehicle
444
Automatic operation
The automatic climate control system is
controlled by simply setting the desired
temperature.
The Full Automatic Temperature Control
(FATC) system automatically controls the
heating and cooling system as follows;
1. Push the AUTO button. The indicatorlight will come on and the modes, fan
speeds, air intake and air-conditioning
will be controlled automatically by tem-
perature setting. 2. Push the TEMP button to set the
desired temperature.
If the temperature is set to the lowest
setting 17°C/62°F (Lo), the air condi-
tioning system will operate continu-
ously.
3. To turn the automatic operation off, press any button except temperature
control button. If you press the mode
selection button, air-conditioning but-
ton, defrost button, recirculated air
position button, outside (fresh) air
position button or fan speed button,
the selected function will be controlled
manually while other functions operate
automatically.
Regardless of the temperature setting,
when using automatic operation, the air
conditioning system will automatically
turn on to decrease the humidity inside
the vehicle, even if the temperature is set
to warm.
✽ NOTICE
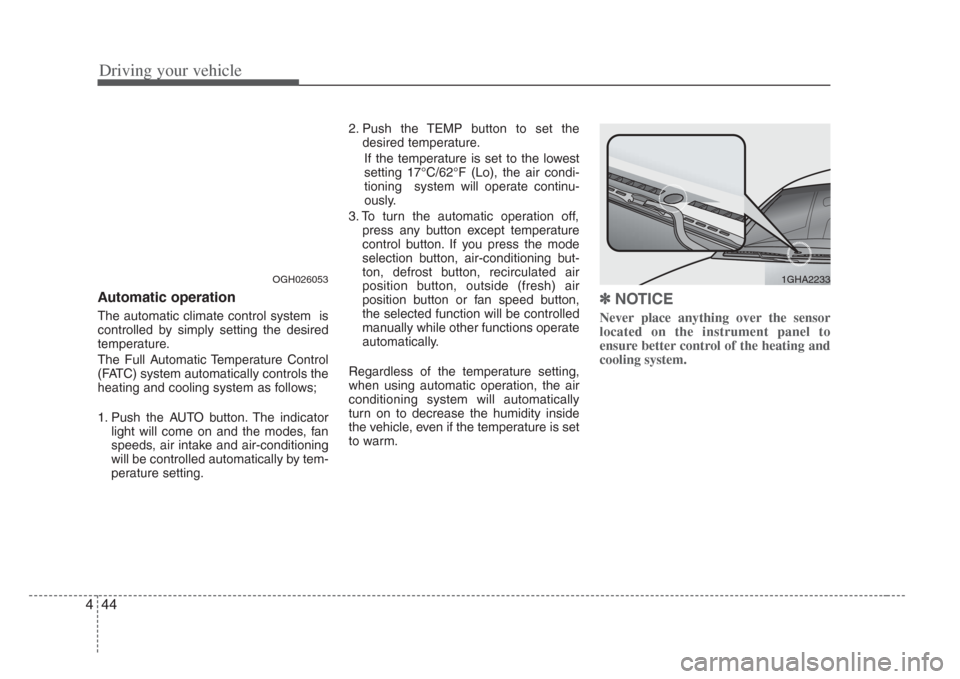
Never place anything over the sensor
located on the instrument panel to
ensure better control of the heating and
cooling system.
OGH0260531GHA2233
Page 181 of 283
Driving your vehicle
504
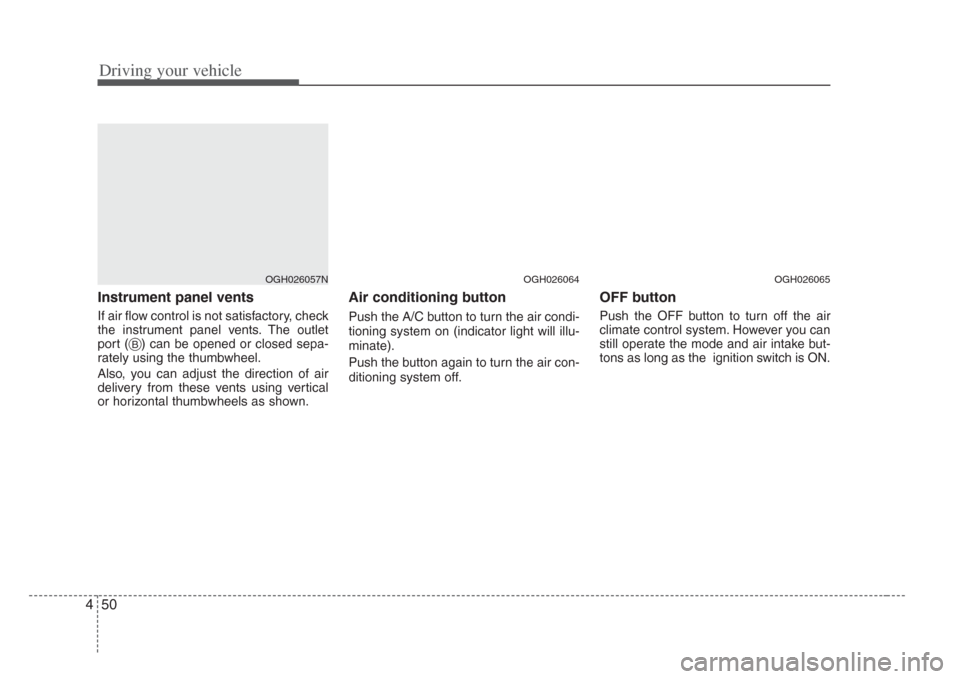
Instrument panel vents
If air flow control is not satisfactory, check
the instrument panel vents. The outlet
port ( ) can be opened or closed sepa-
rately using the thumbwheel.
Also, you can adjust the direction of air
delivery from these vents using vertical
or horizontal thumbwheels as shown.
Air conditioning button
Push the A/C button to turn the air condi-
tioning system on (indicator light will illu-
minate).
Push the button again to turn the air con-
ditioning system off.
OFF button
Push the OFF button to turn off the air
climate control system. However you can
still operate the mode and air intake but-
tons as long as the ignition switch is ON.
OGH026057N
B
OGH026064OGH026065
Page 204 of 283
Driving tips
205
Following distance
Stay at least twice as far behind the vehi-
cle ahead as you would when driving
your vehicle without a trailer. This can
help you avoid situations that require
heavy braking and sudden turns.
Passing
You’ll need more passing distance up
ahead when you’re towing a trailer. And,
because you’re a good deal longer, you’ll
need to go much farther beyond the
passed vehicle before you can return to
your lane.
Backing up
Hold the bottom of the steering wheel
with one hand. Then, to move the trailer
to the left, just move your hand to the left.
To move the trailer to the right, move your
hand to the right. Always back up slowly
and, if possible, have someone guide
you.
Making turns
When you’re turning with a trailer, make
wider turns than normal. Do this so your
trailer won’t strike soft shoulders, curbs,
road signs, trees, or other objects. Avoid
jerky or sudden maneuvers. Signal well
in advance.
Turn signals when towing a trailer
When you tow a trailer, your vehicle has
to have a different turn signal flasher and
extra wiring. The green arrows on your
instrument panel will flash whenever you
signal a turn or lane change. Properly
connected, the trailer lights will also flash
to alert other drivers you’re about to turn,
change lanes, or stop.
When towing a trailer, the green arrows
on your instrument panel will flash for
turns even if the bulbs on the trailer are
burned out. Thus, you may think drivers
behind you are seeing your signals
when, in fact, they are not. It’s important
to check occasionally to be sure the trail-
er bulbs are still working. You must also
check the lights every time you discon-
nect and then reconnect the wires.
Do not connect a trailer lighting system
directly to your vehicle’s lighting system.
Use only an approved trailer wiring har-
ness.
Your Authorized Kia Dealer can assist
you in installing the wiring harness.
WARNING
Failure to use an approved trailer
wiring harness could result in dam-
age to the vehicle electrical system
and/or per sonal injury.