display KIA Cadenza 2015 1.G Owner's Guide
[x] Cancel search | Manufacturer: KIA, Model Year: 2015, Model line: Cadenza, Model: KIA Cadenza 2015 1.GPages: 429, PDF Size: 5.47 MB
Page 144 of 429
Features of your vehicle
60
4
Service Mode
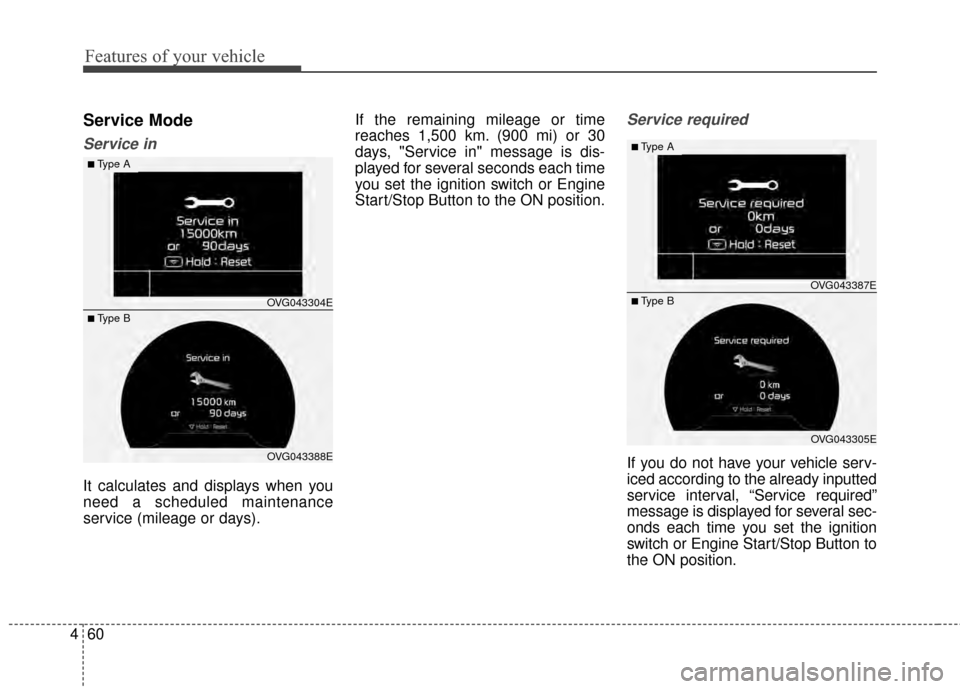
Service in
It calculates and displays when you
need a scheduled maintenance
service (mileage or days). If the remaining mileage or time
reaches 1,500 km. (900 mi) or 30
days, "Service in" message is dis-
played for several seconds each time
you set the ignition switch or Engine
Start/Stop Button to the ON position.
Service required
If you do not have your vehicle serv-
iced according to the already inputted
service interval, “Service required”
message is displayed for several sec-
onds each time you set the ignition
switch or Engine Start/Stop Button to
the ON position.
OVG043304E
OVG043388E
■Type A
■ Type B
OVG043387E
OVG043305E
■Type A
■ Type B
Page 145 of 429
461
Features of your vehicle
To reset the service interval to the
mileage and days you inputted before:
- Press the RESET button formore than 1 second.Service in OFF
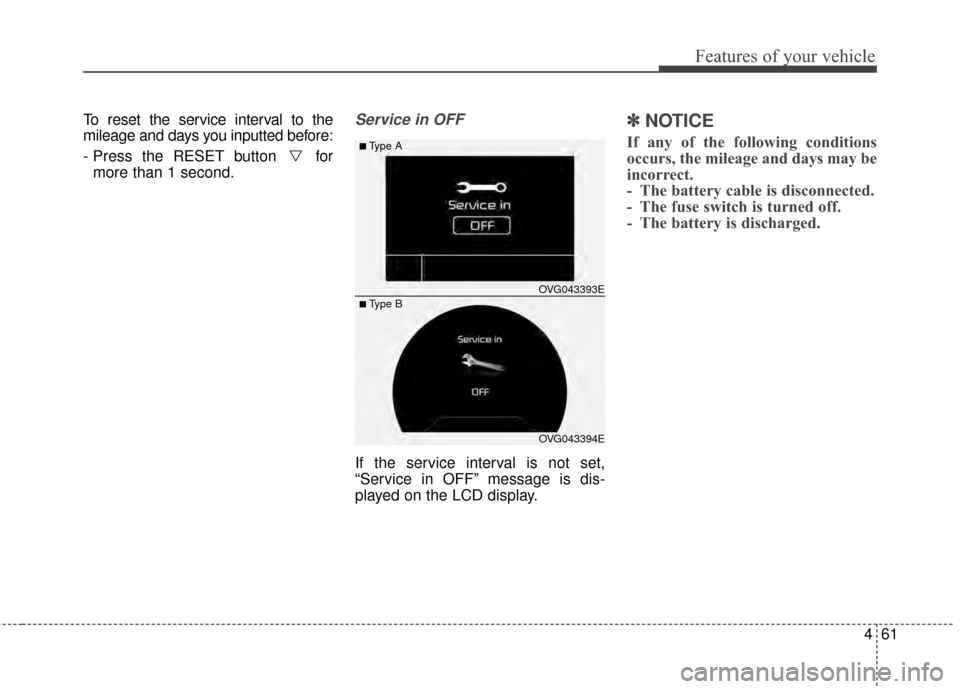
If the service interval is not set,
“Service in OFF” message is dis-
played on the LCD display.
✽ ✽ NOTICE
If any of the following conditions
occurs, the mileage and days may be
incorrect.
- The battery cable is disconnected.
- The fuse switch is turned off.
- The battery is discharged.
OVG043394E
■Type A
■ Type B OVG043393E
Page 149 of 429
465
Features of your vehicle
Service Interval
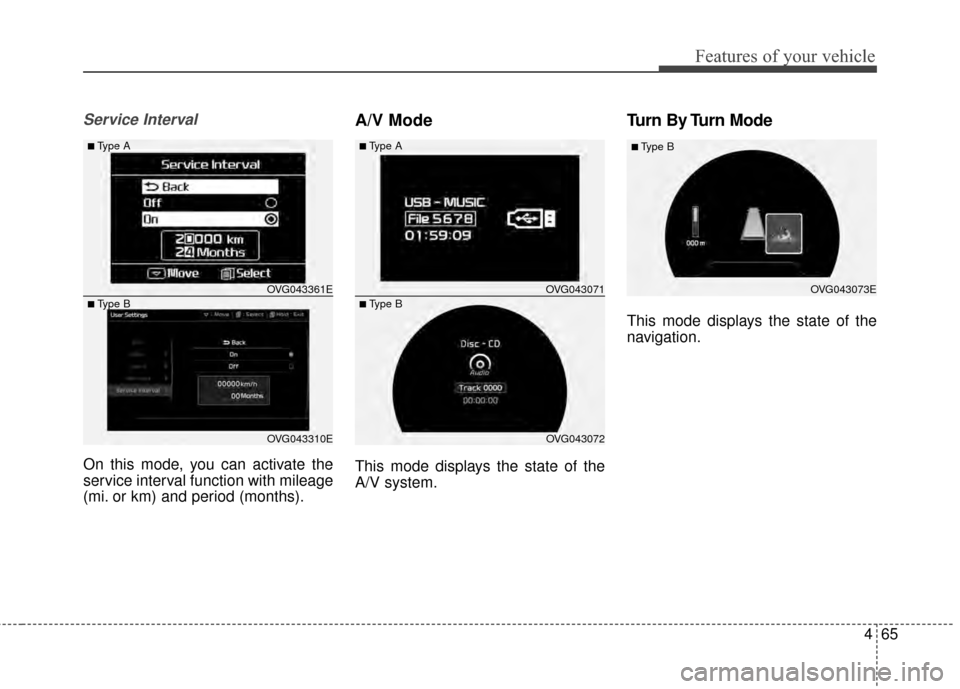
On this mode, you can activate the
service interval function with mileage
(mi. or km) and period (months).
A/V Mode
This mode displays the state of the
A/V system.
Turn By Turn Mode
This mode displays the state of the
navigation.
OVG043072
■Type A
■ Type BOVG043071OVG043073E
■ Type B
OVG043310E
■Type A
■ Type BOVG043361E
Page 157 of 429
473
Features of your vehicle
Overview
Description
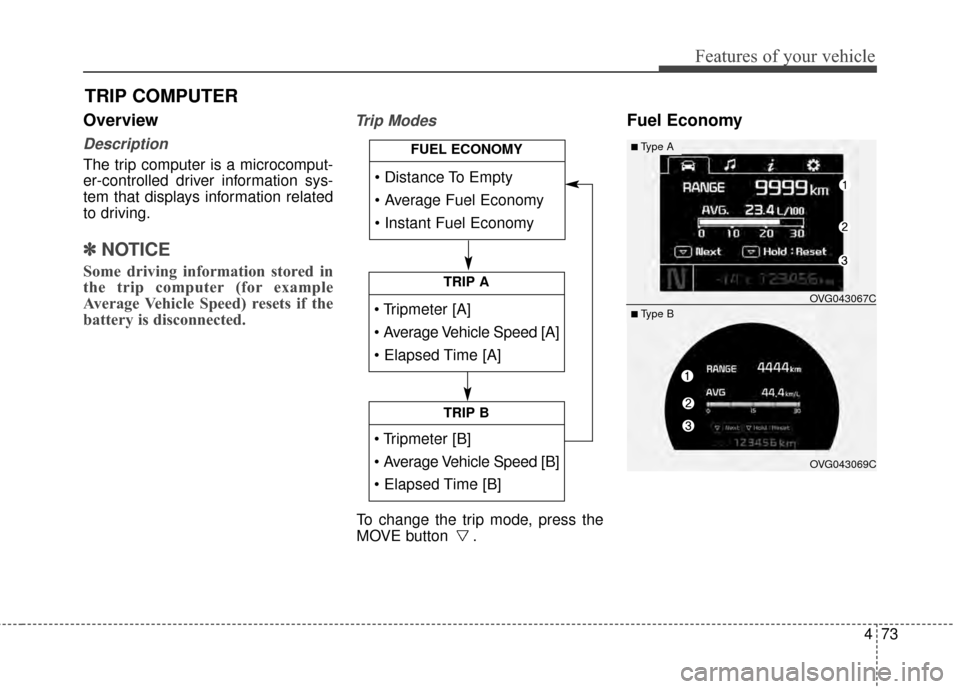
The trip computer is a microcomput-
er-controlled driver information sys-
tem that displays information related
to driving.
✽ ✽NOTICE
Some driving information stored in
the trip computer (for example
Average Vehicle Speed) resets if the
battery is disconnected.
Trip ModesFuel Economy
TRIP COMPUTER
TRIP A
TRIP B
FUEL ECONOMY
To change the trip mode, press the
MOVE button .
■Type A
OVG043067C
OVG043069C
■ Type B
Page 158 of 429
Features of your vehicle
74
4
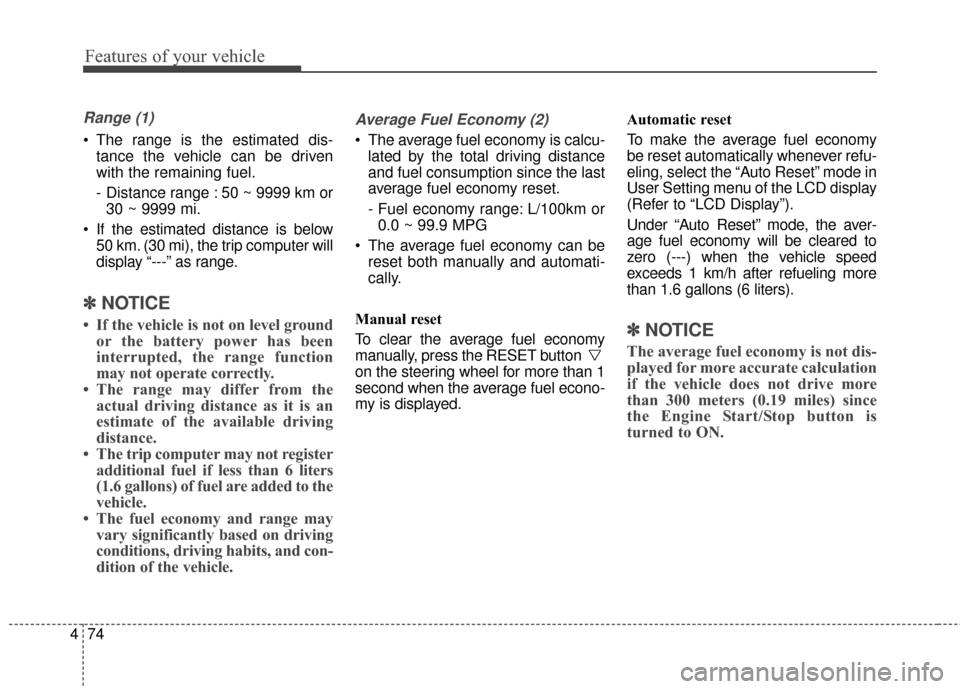
Range (1)
The range is the estimated dis-
tance the vehicle can be driven
with the remaining fuel.
- Distance range : 50 ~ 9999 km or30 ~ 9999 mi.
If the estimated distance is below 50 km. (30 mi), the trip computer will
display “---” as range.
✽ ✽ NOTICE
• If the vehicle is not on level ground
or the battery power has been
interrupted, the range function
may not operate correctly.
• The range may differ from the actual driving distance as it is an
estimate of the available driving
distance.
• The trip computer may not register additional fuel if less than 6 liters
(1.6 gallons) of fuel are added to the
vehicle.
• The fuel economy and range may vary significantly based on driving
conditions, driving habits, and con-
dition of the vehicle.
Average Fuel Economy (2)
The average fuel economy is calcu-
lated by the total driving distance
and fuel consumption since the last
average fuel economy reset.
- Fuel economy range: L/100km or0.0 ~ 99.9 MPG
The average fuel economy can be reset both manually and automati-
cally.
Manual reset
To clear the average fuel economy
manually, press the RESET button
on the steering wheel for more than 1
second when the average fuel econo-
my is displayed. Automatic reset
To make the average fuel economy
be reset automatically whenever refu-
eling, select the “Auto Reset” mode in
User Setting menu of the LCD display
(Refer to “LCD Display”).
Under “Auto Reset” mode, the aver-
age fuel economy will be cleared to
zero (---) when the vehicle speed
exceeds 1 km/h after refueling more
than 1.6 gallons (6 liters).
✽ ✽
NOTICE
The average fuel economy is not dis-
played for more accurate calculation
if the vehicle does not drive more
than 300 meters (0.19 miles) since
the Engine Start/Stop button is
turned to ON.
Page 159 of 429
475
Features of your vehicle
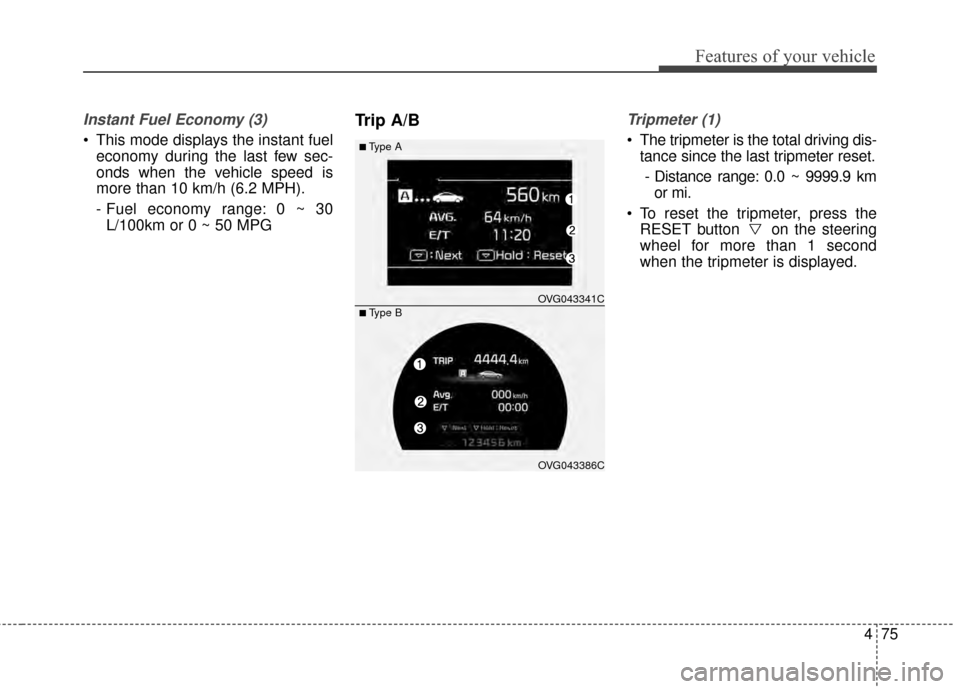
Instant Fuel Economy (3)
This mode displays the instant fueleconomy during the last few sec-
onds when the vehicle speed is
more than 10 km/h (6.2 MPH).
- Fuel economy range: 0 ~ 30L/100km or 0 ~ 50 MPG
Trip A/BTripmeter (1)
The tripmeter is the total driving dis- tance since the last tripmeter reset.
- Distance range: 0.0 ~ 9999.9 km or mi.
To reset the tripmeter, press the RESET button on the steering
wheel for more than 1 second
when the tripmeter is displayed.■Type A
OVG043341C
OVG043386C
■ Type B
Page 160 of 429
Features of your vehicle
76
4
Average Vehicle Speed (2)
The average vehicle speed is cal-
culated by the total driving dis-
tance and driving time since the
last average vehicle speed reset.
- Speed range: 0 ~ 999 km/h or MPH
To reset the average vehicle speed, press the RESET button on the
steering wheel for more than 1 sec-
ond when the average vehicle
speed is displayed.
✽ ✽ NOTICE
• The average vehicle speed is not dis-
played if the driving distance is less
than 300 meters (0.19 miles) since
the Engine Start/Stop button is
turned to ON.
• Even if the vehicle is not in motion, the average vehicle speed keeps
going while the engine is running.
Elapsed Time (3)
The elapsed time is the total driv-
ing time since the last elapsed time
reset.
- Time range (hh:mm): 00:00 ~ 99:59
To reset the elapsed time, press the RESET button on the steering
wheel for more than 1 second when
the elapsed time is displayed.
✽ ✽ NOTICE
Even if the vehicle is not in motion,
the elapsed time keeps going while
the engine is running.
Page 167 of 429
483
Features of your vehicle
Low Tire PressureWarning Light(if equipped)
This warning light illuminates:
Once you set the ignition switch or Engine Start/Stop Button to the ON
position.
- It illuminates for approximately 3seconds and then goes off.
When one or more of your tires are significantly underinflated (The
location of the underinflated tires
are displayed on the LCD display).
For more details, refer to “Tire
Pressure Monitoring System
(TPMS)” in chapter 6. This warning light remains on after
blinking for approximately 60 seconds
or repeats blinking and off at the
intervals of approximately 3 seconds:
When there is a malfunction with
the TPMS.
In this case, have your vehicle
inspected by an authorized Kia
Premium dealer as soon as possi-
ble.
For more details, refer to “Tire
Pressure Monitoring System
(TPMS)” in chapter 6. The TPMS cannot alert you to
severe and sudden tire damage
caused by external factors.
If you notice any vehicle instability, immediately take your foot off the
accelerator pedal, apply the brakes
gradually with light force, and slow-
ly move to a safe position off the
road.
WARNING
- Low tire pressure
Significantly low tire pressure makes the vehicle unstable
and can contribute to loss of
vehicle control and increased
braking distances.
Continued driving or low pres- sure tires will cause the tires to
overheat and fail.
Page 178 of 429
Features of your vehicle
94
4
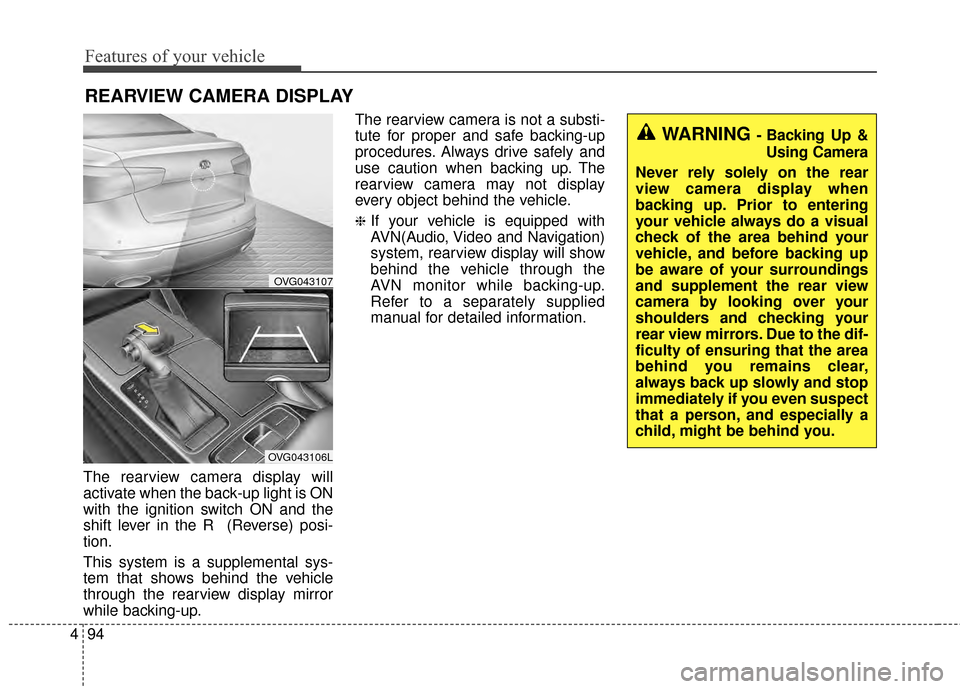
The rearview camera display will
activate when the back-up light is ON
with the ignition switch ON and the
shift lever in the R (Reverse) posi-
tion.
This system is a supplemental sys-
tem that shows behind the vehicle
through the rearview display mirror
while backing-up. The rearview camera is not a substi-
tute for proper and safe backing-up
procedures. Always drive safely and
use caution when backing up. The
rearview camera may not display
every object behind the vehicle.
❈If your vehicle is equipped with
AVN(Audio, Video and Navigation)
system, rearview display will show
behind the vehicle through the
AVN monitor while backing-up.
Refer to a separately supplied
manual for detailed information.
REARVIEW CAMERA DISPLAY
OVG043107
OVG043106L
WARNING - Backing Up &
Using Camera
Never rely solely on the rear
view camera display when
backing up. Prior to entering
your vehicle always do a visual
check of the area behind your
vehicle, and before backing up
be aware of your surroundings
and supplement the rear view
camera by looking over your
shoulders and checking your
rear view mirrors. Due to the dif-
ficulty of ensuring that the area
behind you remains clear,
always back up slowly and stop
immediately if you even suspect
that a person, and especially a
child, might be behind you.
Page 202 of 429
Features of your vehicle
118
4
Temperature control
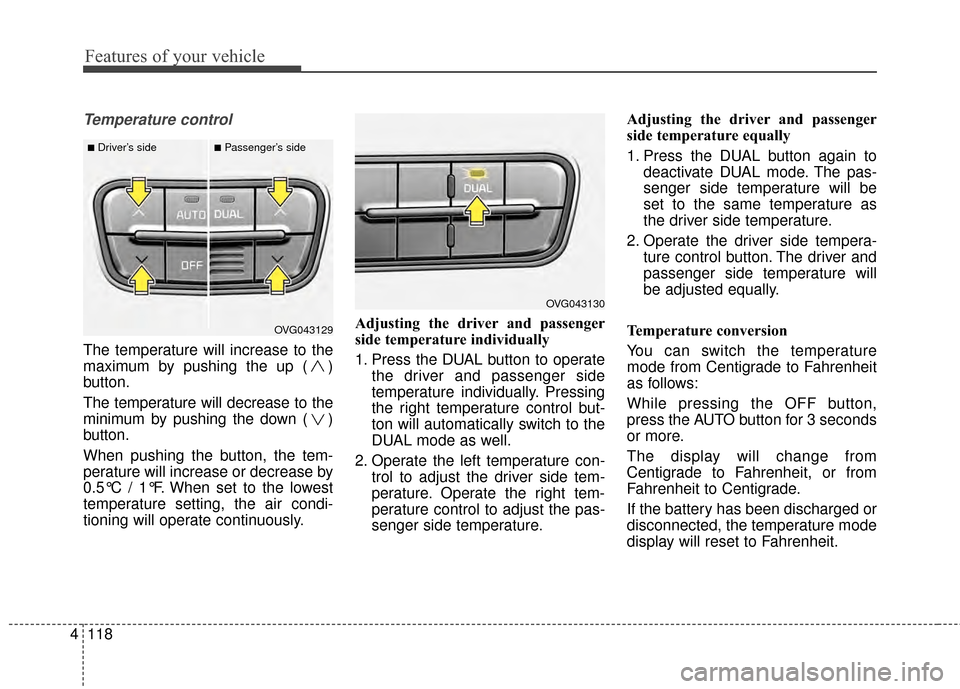
The temperature will increase to the
maximum by pushing the up ( )
button.
The temperature will decrease to the
minimum by pushing the down ( )
button.
When pushing the button, the tem-
perature will increase or decrease by
0.5°C / 1°F. When set to the lowest
temperature setting, the air condi-
tioning will operate continuously. Adjusting the driver and passenger
side temperature individually
1. Press the DUAL button to operate
the driver and passenger side
temperature individually. Pressing
the right temperature control but-
ton will automatically switch to the
DUAL mode as well.
2. Operate the left temperature con- trol to adjust the driver side tem-
perature. Operate the right tem-
perature control to adjust the pas-
senger side temperature. Adjusting the driver and passenger
side temperature equally
1. Press the DUAL button again to
deactivate DUAL mode. The pas-
senger side temperature will be
set to the same temperature as
the driver side temperature.
2. Operate the driver side tempera- ture control button. The driver and
passenger side temperature will
be adjusted equally.
Temperature conversion
You can switch the temperature
mode from Centigrade to Fahrenheit
as follows:
While pressing the OFF button,
press the AUTO button for 3 seconds
or more.
The display will change from
Centigrade to Fahrenheit, or from
Fahrenheit to Centigrade.
If the battery has been discharged or
disconnected, the temperature mode
display will reset to Fahrenheit.
OVG043129
■Driver’s side■Passenger’s side
OVG043130