light KIA CEED 2010 Repair Manual
[x] Cancel search | Manufacturer: KIA, Model Year: 2010, Model line: CEED, Model: KIA CEED 2010Pages: 442, PDF Size: 28.25 MB
Page 210 of 442
53
Driving your vehicle
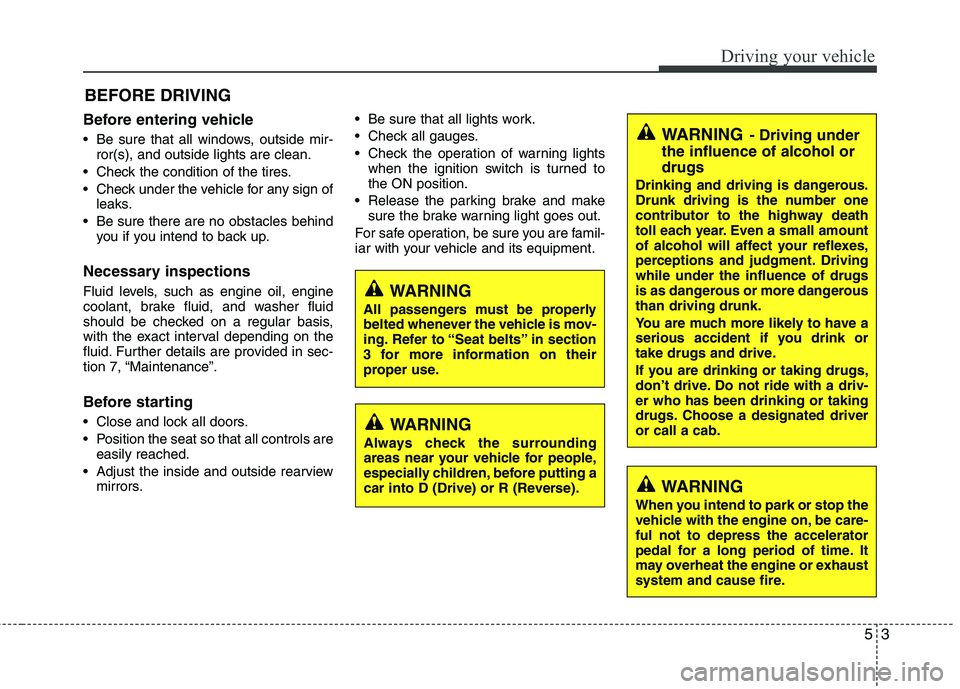
Before entering vehicle
• Be sure that all windows, outside mir-ror(s), and outside lights are clean.
Check the condition of the tires.
Check under the vehicle for any sign of leaks.
Be sure there are no obstacles behind you if you intend to back up.
Necessary inspections
Fluid levels, such as engine oil, engine
coolant, brake fluid, and washer fluid
should be checked on a regular basis,
with the exact interval depending on the
fluid. Further details are provided in sec-
tion 7, “Maintenance”.
Before starting
Close and lock all doors.
Position the seat so that all controls are easily reached.
Adjust the inside and outside rearview mirrors. Be sure that all lights work.
Check all gauges.
Check the operation of warning lights
when the ignition switch is turned to the ON position.
Release the parking brake and make sure the brake warning light goes out.
For safe operation, be sure you are famil-
iar with your vehicle and its equipment.
BEFORE DRIVING
WARNING
All passengers must be properly
belted whenever the vehicle is mov-
ing. Refer to “Seat belts” in section
3 for more information on their
proper use.
WARNING
Always check the surrounding
areas near your vehicle for people,
especially children, before putting a
car into D (Drive) or R (Reverse).
WARNING - Driving under
the influence of alcohol or drugs
Drinking and driving is dangerous.
Drunk driving is the number one
contributor to the highway death
toll each year. Even a small amount
of alcohol will affect your reflexes,
perceptions and judgment. Drivingwhile under the influence of drugs
is as dangerous or more dangerousthan driving drunk.
You are much more likely to have a
serious accident if you drink or
take drugs and drive.
If you are drinking or taking drugs,
don’t drive. Do not ride with a driv-er who has been drinking or taking
drugs. Choose a designated driveror call a cab.
WARNING
When you intend to park or stop the
vehicle with the engine on, be care-ful not to depress the accelerator
pedal for a long period of time. It
may overheat the engine or exhaust
system and cause fire.
Page 211 of 442
Driving your vehicle
4
5
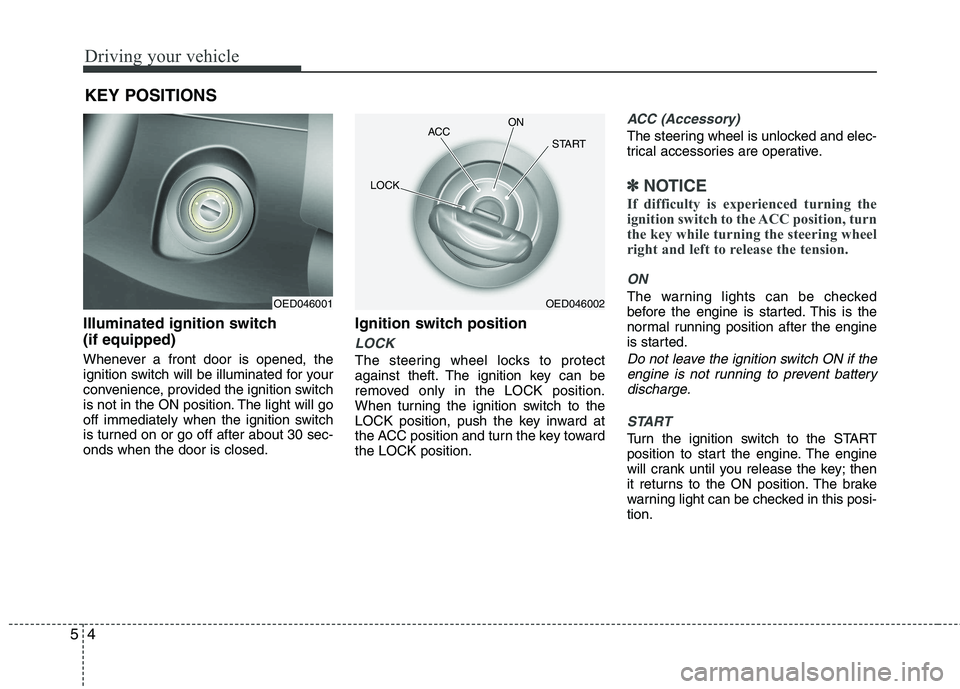
Illuminated ignition switch (if equipped)
Whenever a front door is opened, the
ignition switch will be illuminated for your
convenience, provided the ignition switch
is not in the ON position. The light will go
off immediately when the ignition switch
is turned on or go off after about 30 sec-onds when the door is closed. Ignition switch position
LOCK
The steering wheel locks to protect
against theft. The ignition key can be
removed only in the LOCK position.
When turning the ignition switch to the
LOCK position, push the key inward at
the ACC position and turn the key towardthe LOCK position.
ACC (Accessory)
The steering wheel is unlocked and elec-
trical accessories are operative.
✽✽
NOTICE
If difficulty is experienced turning the
ignition switch to the ACC position, turn
the key while turning the steering wheel
right and left to release the tension.
ON
The warning lights can be checked
before the engine is started. This is the
normal running position after the engine
is started.
Do not leave the ignition switch ON if the engine is not running to prevent batterydischarge.
START
Turn the ignition switch to the START
position to start the engine. The engine
will crank until you release the key; then
it returns to the ON position. The brake
warning light can be checked in this posi-tion.
KEY POSITIONS
OED046001OED046002
ACC
ON
START
LOCK
Page 213 of 442
Driving your vehicle
6
5
Starting the diesel engine
To start the diesel engine when the engine is cold, it has to be pre-heated
before starting the engine and then have
to be warmed up before starting to drive.
1. Make sure the parking brake is
applied.
2. Manual Transaxle - Depress the
clutch pedal fully and shift the
transaxle into Neutral. Keep the clutch
pedal and brake pedal depressed
while turning the ignition switch to the
start position.
Automatic Transaxle - Place the
transaxle shift lever in P(park).
Depress the brake pedal fully.
You can also start the engine when the
shift lever is in the N(neutral) position.
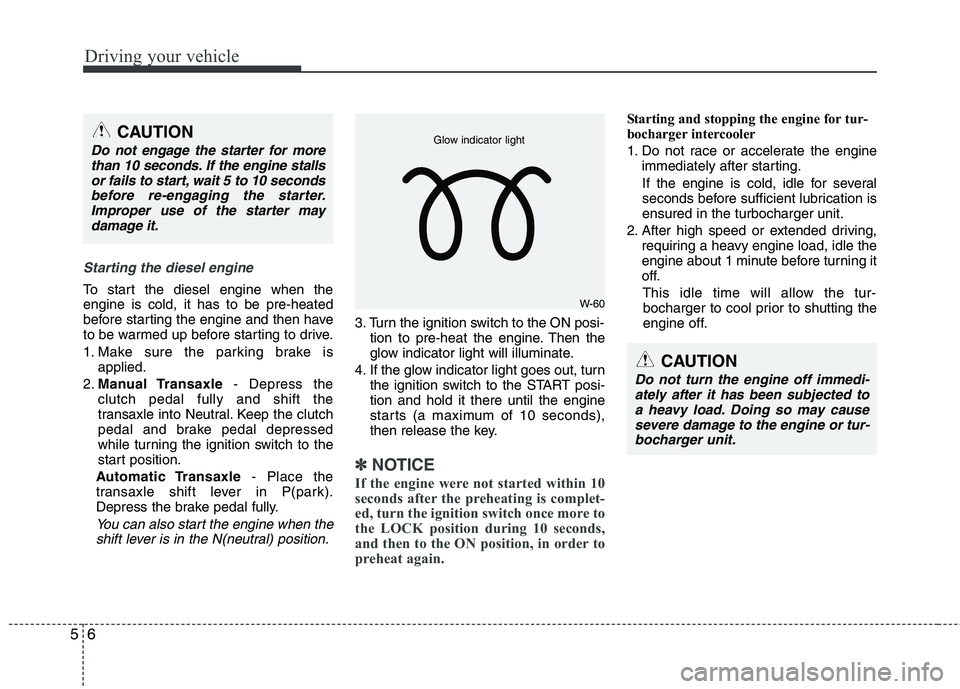
3. Turn the ignition switch to the ON posi- tion to pre-heat the engine. Then the
glow indicator light will illuminate.
4. If the glow indicator light goes out, turn the ignition switch to the START posi-tion and hold it there until the engine
starts (a maximum of 10 seconds),
then release the key.
✽✽
NOTICE
If the engine were not started within 10
seconds after the preheating is complet-
ed, turn the ignition switch once more to
the LOCK position during 10 seconds,
and then to the ON position, in order to
preheat again.
Starting and stopping the engine for tur-
bocharger intercooler
1. Do not race or accelerate the engine immediately after starting.
If the engine is cold, idle for several
seconds before sufficient lubrication isensured in the turbocharger unit.
2. After high speed or extended driving, requiring a heavy engine load, idle the
engine about 1 minute before turning it
off.
This idle time will allow the tur- bocharger to cool prior to shutting the
engine off.
W-60
Glow indicator light
CAUTION
Do not turn the engine off immedi-
ately after it has been subjected to
a heavy load. Doing so may cause severe damage to the engine or tur-bocharger unit.
CAUTION
Do not engage the starter for more than 10 seconds. If the engine stalls
or fails to start, wait 5 to 10 secondsbefore re-engaging the starter.Improper use of the starter may damage it.
Page 214 of 442

57
Driving your vehicle
Your vehicle may be equipped with the ISG system, which reduces fuel con-
sumption by automatically shutting down
the engine, when the vehicle is at astandstill.
(For example : red light, stop sign and
traffic jam)
The engine starts automatically as soon
as the starting conditions are met.✽
✽ NOTICE
When the engine automatically starts by
the ISG system, some warning
lights(ABS, ESP, ESP OFF, EPS or
Parking brake warning light) may turn
on for a few seconds.
This happens because of low battery
voltage. It does not mean the system is
malfunctioning.
ISG(Idle Stop and Go) Operation
The ISG system is ON whenever the igni-
tion switch is turned on.
The engine will enter the idle stop (AUTO
STOP) mode automatically when all ofthe essential conditions are met.
For example;
The gear is not engaged & clutch not
pressed
The vehicle speed should be over 10km/h at least once after key starting
or idle starting.
The vehicle speed should be below 5km/h The outside temperature is between
2°C to 35°C
The engine coolant temperature is not too low
Battery charge status is adequately high
The driver's seat belt is fastened
The driver's door and hood are closed.
It could be different up to the vehicle con- dition.
When the engine automatically stops,
the "AUTO STOP" indicator on the clus-
ter panel will illuminate.
After you press the clutch pedal, the
engine will start automatically. The
"AUTO STOP" indicator on the cluster
panel will turn off. You can continue driv-ing.
ISG(IDLE STOP AND GO) SYSTEM (IF EQUIPPED)
OED040100
Page 215 of 442

Driving your vehicle
8
5
ISG auto-starting
Before and after the engine enters the
idle stop mode, the ISG system will auto-
matically check all the necessary items
such as the safety of the vehicle and pas-
senger comfort.
The engine will start automatically with-
out the driver's action if any of the follow-ing occurs:
If the brake vacuum pressure is low
If the fan speed of the manual climate
control system is set above the 3rd position when the air conditioning is on
If the fan speed of the automatic cli- mate control system is set above the6th position when the air conditioningis on
According to outside temperature or setting temperature of the climate con-trol system when the air conditioning ison
When the defroster is ON
When the battery charge status is low
If the vehicle speed is over 5km/h by rolling down a hill
It could be different up to the vehicle con- dition.
When the automatic starting occurs, the
"AUTO STOP" indicator on the cluster
will blink for 5 seconds. ISG(Idle Stop and Go) system
deactivation
If you desire to deactivate the ISG sys-
tem, you can do it temporarily by press-
ing the ISG OFF button located on the
left side of the instrument panel.
After pressing the ISG OFF button, the
light on the button will illuminate.
The ISG system will activate by pressing
the ISG OFF button again and the button
light will turn off. ✽✽
NOTICE
When the ISG related sensors or sys-
tem error occurs, the ISG OFF button
light will illuminate. If the button light
is not turned off by pressing the ISG
OFF button again or if the ISG system
continuously does not work correctly,
please contact an authorized KIA
dealer as soon as possible.
Also, if the battery charging status is
low, the ISG OFF button light will
illuminate. When the button light
comes on, it may stop illuminating
after driving your vehicle at approxi-
mately 80 km/h for a maximum of two
hours and setting the fan speed con-
trol knob below the 2nd position. If
the button light continues to be illumi-
nated in spite of the procedure, please
contact an authorized KIA dealer as
soon as possible.
OED049101
WARNING
When the engine is in Idle Stop
mode, it's possible to restart theengine without the driver taking
any action.
Before leaving the car or doing any-
thing in the engine room area, stop
the engine by turning the ignition
key to the LOCK position or remov-ing it.
Page 217 of 442
Driving your vehicle
10
5
During cold weather, shifting may be
difficult until the transaxle lubricant has
warmed up. This is normal and not
harmful to the transaxle.
If you've come to a complete stop and it's hard to shift into 1st or R(Reverse),
put the shift lever in N(Neutral) position
and release the clutch. Press the
clutch pedal back down, and then shift
into 1st or R(Reverse) gear position.Using the clutch
The clutch should be pressed all the way
to the floor before shifting, then released
slowly. The clutch pedal should always be
fully released while driving. Do not rest
your foot on the clutch pedal while driv-
ing. This can cause unnecessary wear.
Do not partially engage the clutch to hold
the car on an incline. This causes unnec-
essary wear. Use the foot brake or park-
ing brake to hold the car on an incline. Do
not operate the clutch pedal rapidly and
repeatedly.
Downshifting
When you must slow down in heavy traf-
fic or while driving up steep hills, down-
shift before the engine starts to labor.
Downshifting reduces the chance of
stalling and gives better acceleration
when you again need to increase your
speed. When the vehicle is traveling
down steep hills, downshifting helps
maintain safe speed and prolongs brake
life.
CAUTION
To avoid premature clutch wear
and damage, do not drive with
your foot resting on the clutchpedal. Also, don’t use the clutchto hold the vehicle stopped on an uphill grade, while waiting for atraffic light, etc.
Do not use the shift lever as a handrest during driving, as thiscan result in premature wear ofthe transaxle shift forks.
WARNING
Before leaving the driver’s seat, always set the parking brake fully
and shut the engine off. Thenmake sure the transaxle is shifted
into 1st gear when the vehicle is
parked on a level or uphill grade,
and shifted into R (Reverse) on a
downhill grade. Unexpected and
sudden vehicle movement canoccur if these precautions are not
followed in the order identified.
If your vehicle has a manual transaxle not equipped with a
ignition lock switch, it may moveand cause a serious accident
when starting the engine without
depressing the clutch pedal whilethe parking brake is released and
the shift lever not in the N (neu-tral) position.
Page 221 of 442
Driving your vehicle
14
5
R (Reverse)
Use this position to drive the vehicle
backward.
N (Neutral)
The wheels and transaxle are not locked.
The vehicle will roll freely even on the
slightest incline unless the parking brake
or service brakes are applied. D (Drive)
This is the normal forward driving posi-
tion. The transaxle will automatically shift
through a 4-gear sequence, providing the
best fuel economy and power.
For extra power when passing another
vehicle or climbing grades, depress the
accelerator fully, at which time the
transaxle will automatically downshift to
the next lower gear.
✽✽
NOTICE
Always ensure vehicle is stationary, at a
complete stop, before selecting D (Drive).
3 (Third Gear, if equipped)
Move the shift lever to this position for
towing a trailer during hill climbing.
This position also provides engine brak-
ing when going down hills.
2 (Second Gear)
Use 2 (Second Gear) for more power
when climbing hills and for increased
braking when going down hills. This posi-tion also helps reduce wheel spin on slip-
pery surfaces. When the shift lever is
placed in 2 (Second Gear), the transaxlewill automatically shift from first to sec-
ond gear.
CAUTION
Always come to a complete stop before shifting into or out of R(Reverse); you may damage thetransaxle if you shift into R whilethe vehicle is in motion, except as
explained in “Rocking the vehicle” in this section.
Page 225 of 442
Driving your vehicle
18
5
Power brakes
Your vehicle has power-assisted brakes
that adjust automatically through normal
usage.
In the event that the power-assisted
brakes lose power because of a stalled
engine or some other reason, you can
still stop your vehicle by applying greater
force to the brake pedal than you nor-
mally would. The stopping distance, how-
ever, will be longer.
When the engine is not running, the
reserve brake power is partially depleted
each time the brake pedal is applied. Do
not pump the brake pedal when the
power assist has been interrupted.
Pump the brake pedal only when neces-
sary to maintain steering control on slip-
pery surfaces.In the event of brake failure
If service brakes fail to operate while the
vehicle is in motion, you can make an
emergency stop with the parking brake.
The stopping distance, however, will be
much greater than normal.
BRAKE SYSTEM WARNING
- Brakes
Do not drive with your foot rest- ing on the brake pedal. This will create abnormal high brake tem-
peratures, excessive brake lining
and pad wear, and increasedstopping distances.
When descending a long or steep hill, shift to a lower gear and
avoid continuous application of
the brakes. Continuous brakeapplication will cause the brakes
to overheat and could result in a
temporary loss of braking per-
formance.
Wet brakes may impair the vehi- cle’s ability to safely slow down;
the vehicle may also pull to oneside when the brakes are applied.
Applying the brakes lightly will
indicate whether they have been
affected in this way. Always test
your brakes in this fashion after
driving through deep water. To
dry the brakes, apply them lightly
while maintaining a safe forward
speed until brake performancereturns to normal.
WARNING - Parking brake
Applying the parking brake while
the vehicle is moving at normal
speeds can cause a sudden loss of
control of the vehicle. If you mustuse the parking brake to stop the
vehicle, use great caution in apply-
ing the brake.
Page 226 of 442

519
Driving your vehicle
Disc brakes wear indicator
Your vehicle has disc brakes.
When your brake pads are worn and new
pads are required, you will hear a high-
pitched warning sound from your front
brakes or rear brakes (if equipped). You
may hear this sound come and go or it
may occur whenever you depress the
brake pedal.
Please remember that some driving con-
ditions or climates may cause a brake
squeal when you first apply (or lightly
apply) the brakes. This is normal and does
not indicate a problem with your brakes.Parking brake
Applying the parking brake
To engage the parking brake, first apply
the foot brake and then without pressing
the release button in, pull the parking
brake lever up as far as possible. In addi-
tion it is recommended that when parking
the vehicle on a gradient, the shift lever
should be positioned in the appropriate
low gear on manual transaxle vehicles or
in the P (Park) position for automatic
transaxle vehicles.
WARNING- Brake wear
This brake wear warning sound
means your vehicle needs service.
If you ignore this audible warning,
you will eventually lose braking
performance, which could lead to aserious accident.
CAUTION
To avoid costly brake repairs, do not continue to drive with worn
brake pads.
Always replace brake pads as complete front or rear axle sets.
CAUTION
Driving with the parking brakeapplied will cause excessive brakepad (or lining) and brake rotor wear.
OED046006
Page 227 of 442

Driving your vehicle
20
5
Releasing the parking brake
To release the parking brake, first apply
the foot brake and pull up the parking
brake lever slightly. Secondly press the
release button (1) and lower the parking
brake lever (2) while holding the button. Check the brake warning light by turning
the ignition switch ON (do not start the
engine). This light will illuminate when the
parking brake is applied with the ignition
switch in the START or ON position.
Before driving, be sure the parking brake
is fully released and the brake warning
light is off.
If the brake warning light remains on
after the parking brake is released while
the engine is running, there may be a
malfunction in the brake system.
Immediate attention is necessary.
If at all possible, cease driving the vehi-
cle immediately. If that is not possible,
use extreme caution while operating the
vehicle and only continue to drive the
vehicle until you can reach a safe loca-
tion or repair shop.
WARNING
To prevent unintentional move- ment when stopped and leaving
the vehicle, do not use the shift
lever instead of the parking
brake. Set the parking brake AND
make sure the shift lever is
securely positioned in 1st (First)
gear or R (Reverse) for manual
transaxle equipped vehicles and
in P (Park) for automatic
transaxle equipped vehicles.
Never allow anyone who is unfa- miliar with the vehicle to touch
the parking brake. If the parking
brake is released unintentionally,
serious injury may occur.
All vehicles should always have the parking brake fully engaged
when parking to avoid inadver-
tent movement of the vehicle
which can injure occupants orpedestrians.
W-75OED046007