engine KIA CERATO 2005 Owners Manual
[x] Cancel search | Manufacturer: KIA, Model Year: 2005, Model line: CERATO, Model: KIA CERATO 2005Pages: 318, PDF Size: 58.49 MB
Page 268 of 318
Maintenance
24
7
1 23456789
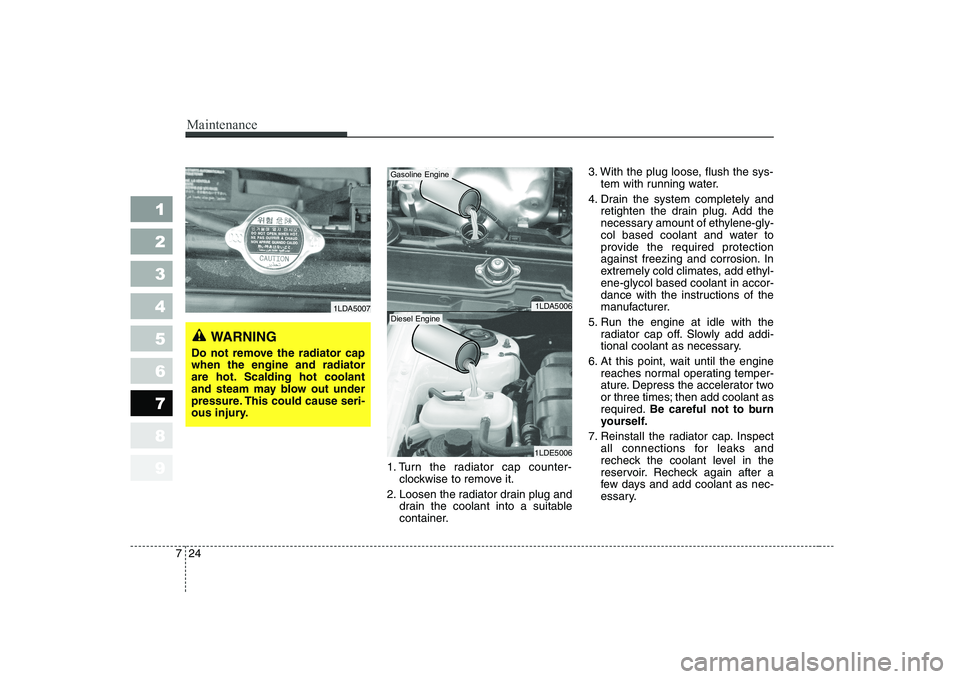
1. Turn the radiator cap counter-
clockwise to remove it.
2. Loosen the radiator drain plug and drain the coolant into a suitable
container. 3. With the plug loose, flush the sys-
tem with running water.
4. Drain the system completely and retighten the drain plug. Add the
necessary amount of ethylene-gly-
col based coolant and water to
provide the required protection
against freezing and corrosion. In
extremely cold climates, add ethyl-ene-glycol based coolant in accor-
dance with the instructions of the
manufacturer.
5. Run the engine at idle with the radiator cap off. Slowly add addi-
tional coolant as necessary.
6. At this point, wait until the engine reaches normal operating temper-
ature. Depress the accelerator two
or three times; then add coolant asrequired. Be careful not to burn
yourself.
7. Reinstall the radiator cap. Inspect all connections for leaks and
recheck the coolant level in the
reservoir. Recheck again after a
few days and add coolant as nec-
essary.
1LDA5006
1LDE5006
1LDA5007
WARNING
Do not remove the radiator cap when the engine and radiator
are hot. Scalding hot coolant
and steam may blow out under
pressure. This could cause seri-
ous injury.
Gasoline Engine
Diesel Engine
Page 270 of 318
Maintenance
26
7
1 23456789
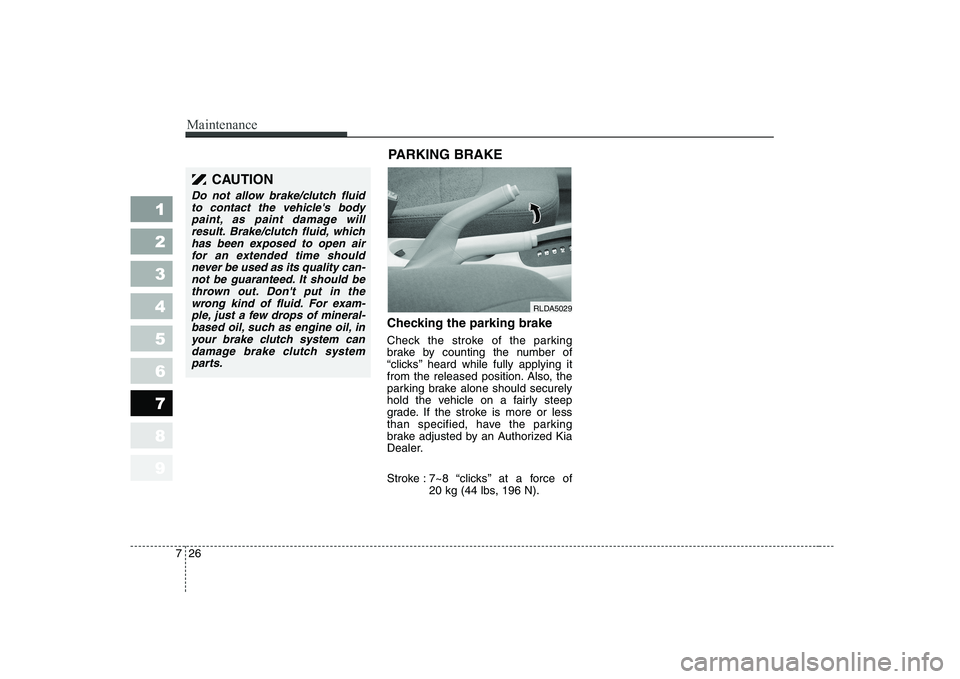
Checking the parking brake
Check the stroke of the parking
brake by counting the number of
“clicks’’ heard while fully applying it
from the released position. Also, the
parking brake alone should securely
hold the vehicle on a fairly steep
grade. If the stroke is more or less
than specified, have the parking
brake adjusted by an Authorized Kia
Dealer.
Stroke : 7~8 “clicks’’ at a force of
20 kg (44 lbs, 196 N).
RLDA5029
PARKING BRAKE
CAUTION
Do not allow brake/clutch fluid
to contact the vehicle's bodypaint, as paint damage will result. Brake/clutch fluid, whichhas been exposed to open airfor an extended time shouldnever be used as its quality can- not be guaranteed. It should bethrown out. Don't put in thewrong kind of fluid. For exam- ple, just a few drops of mineral-based oil, such as engine oil, inyour brake clutch system can damage brake clutch systemparts.
Page 271 of 318
727
Maintenance
1 23456789
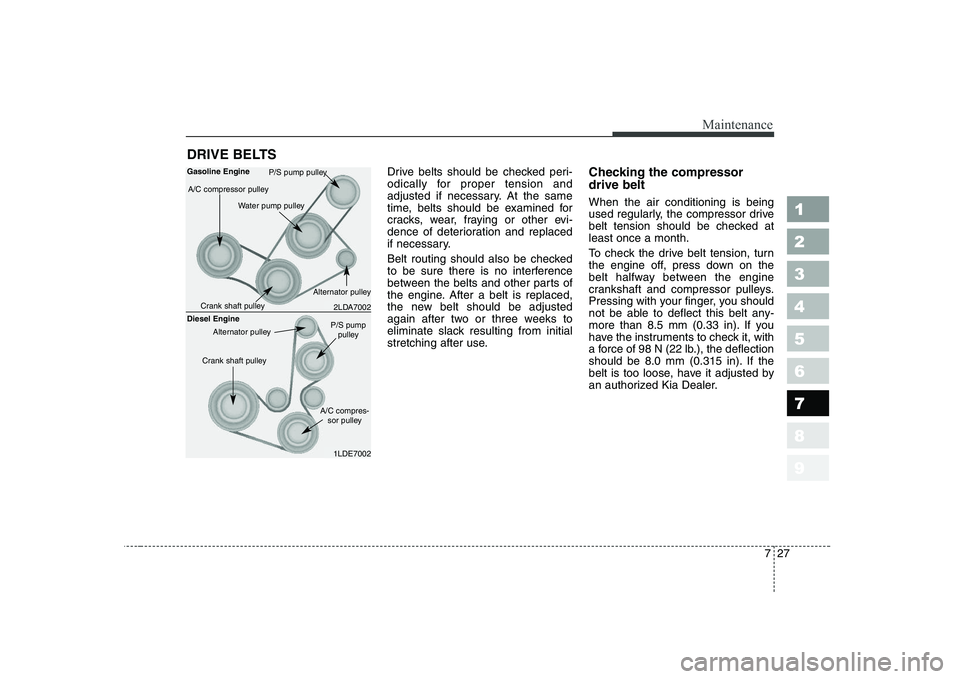
DRIVE BELTSDrive belts should be checked peri-
odically for proper tension and
adjusted if necessary. At the same
time, belts should be examined for
cracks, wear, fraying or other evi-
dence of deterioration and replaced
if necessary.
Belt routing should also be checked
to be sure there is no interference
between the belts and other parts of
the engine. After a belt is replaced,
the new belt should be adjusted
again after two or three weeks to
eliminate slack resulting from initial
stretching after use. Checking the compressor drive belt When the air conditioning is being
used regularly, the compressor drive
belt tension should be checked atleast once a month.
To check the drive belt tension, turn
the engine off, press down on the
belt halfway between the engine
crankshaft and compressor pulleys.
Pressing with your finger, you should
not be able to deflect this belt any-
more than 8.5 mm (0.33 in). If you
have the instruments to check it, with
a force of 98 N (22 lb.), the deflection
should be 8.0 mm (0.315 in). If the
belt is too loose, have it adjusted by
an authorized Kia Dealer.
2LDA7002
A/C compressor pulley
P/S pump pulley
Water pump pulley
Crank shaft pulley Alternator pulley
Gasoline Engine
1LDE7002
Diesel Engine
Crank shaft pulley
Alternator pulleyP/S pumppulley
A/C compres- sor pulley
Page 276 of 318
Maintenance
32
7
1 23456789
AUTOMATIC TRANSAXLE (IF EQUIPPED)
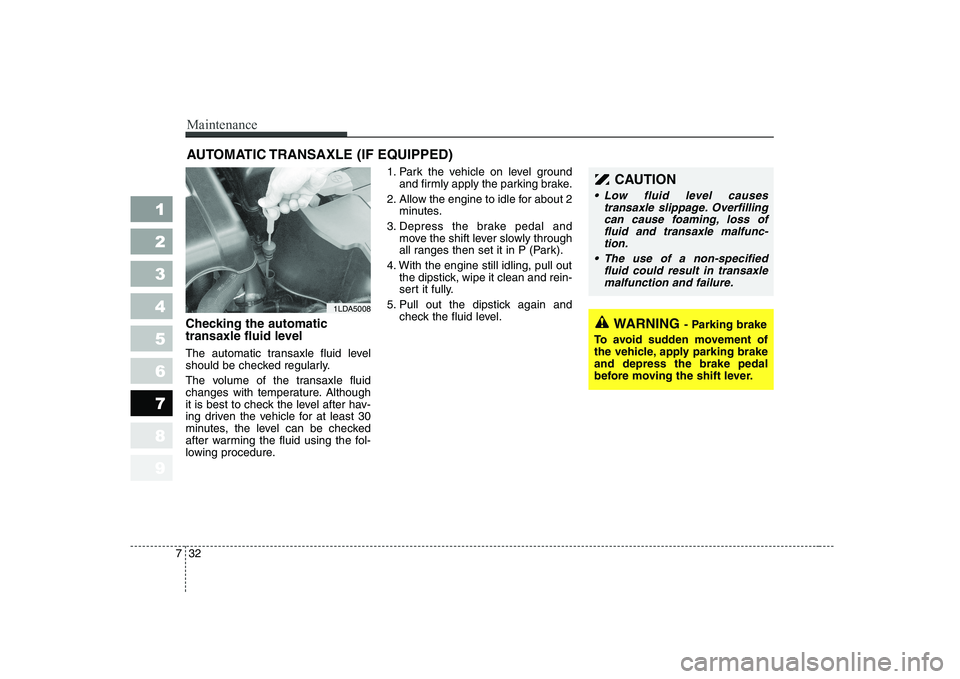
Checking the automatic
transaxle fluid level
The automatic transaxle fluid level
should be checked regularly.
The volume of the transaxle fluid
changes with temperature. Although
it is best to check the level after hav-
ing driven the vehicle for at least 30
minutes, the level can be checked
after warming the fluid using the fol-
lowing procedure. 1. Park the vehicle on level ground
and firmly apply the parking brake.
2. Allow the engine to idle for about 2 minutes.
3. Depress the brake pedal and move the shift lever slowly through
all ranges then set it in P (Park).
4. With the engine still idling, pull out the dipstick, wipe it clean and rein-
sert it fully.
5. Pull out the dipstick again and check the fluid level.
1LDA5008
CAUTION
Low fluid level causes
transaxle slippage. Overfillingcan cause foaming, loss offluid and transaxle malfunc- tion.
The use of a non-specified fluid could result in transaxlemalfunction and failure.
WARNING - Parking brake
To avoid sudden movement of
the vehicle, apply parking brakeand depress the brake pedal
before moving the shift lever.
Page 277 of 318
733
Maintenance
1 23456789
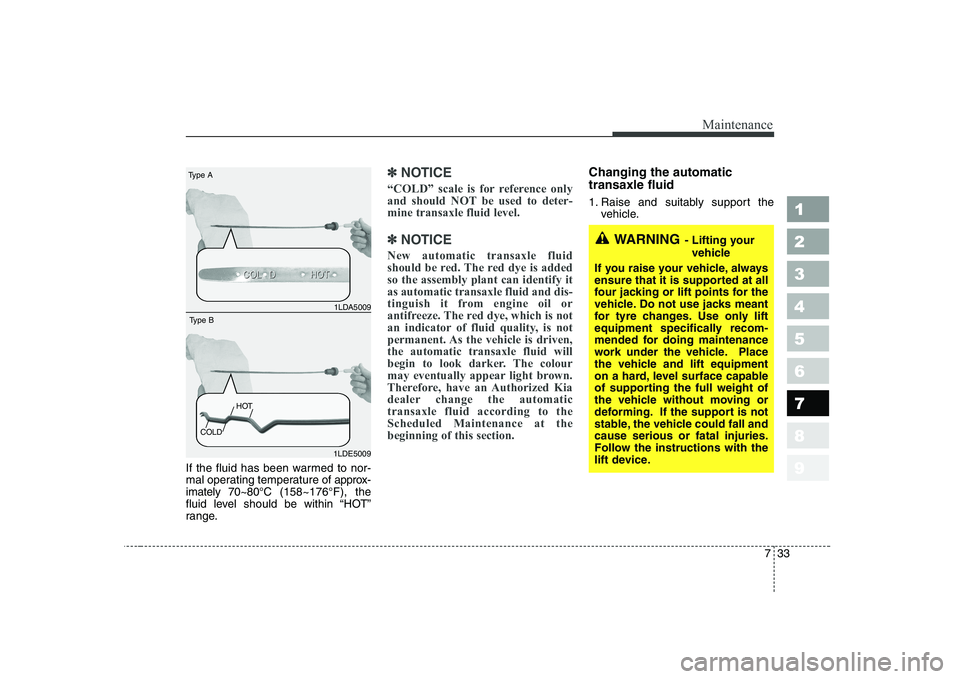
If the fluid has been warmed to nor-
mal operating temperature of approx-
imately 70~80°C (158~176°F), the
fluid level should be within “HOT”
range.
✽✽ NOTICE
“COLD” scale is for reference only
and should NOT be used to deter-mine transaxle fluid level.
✽
✽ NOTICE
New automatic transaxle fluid
should be red. The red dye is addedso the assembly plant can identify itas automatic transaxle fluid and dis-
tinguish it from engine oil or
antifreeze. The red dye, which is not
an indicator of fluid quality, is not
permanent. As the vehicle is driven,the automatic transaxle fluid will
begin to look darker. The colour
may eventually appear light brown.
Therefore, have an Authorized Kia
dealer change the automatictransaxle fluid according to theScheduled Maintenance at thebeginning of this section.
Changing the automatic transaxle fluid
1. Raise and suitably support the vehicle.
1LDA5009
Type A
1LDE5009
Type B
COLD HOT
WARNING
- Lifting your
vehicle
If you raise your vehicle, always
ensure that it is supported at all
four jacking or lift points for the
vehicle. Do not use jacks meant
for tyre changes. Use only lift
equipment specifically recom-
mended for doing maintenance
work under the vehicle. Place
the vehicle and lift equipment
on a hard, level surface capable
of supporting the full weight of
the vehicle without moving or
deforming. If the support is not
stable, the vehicle could fall andcause serious or fatal injuries.
Follow the instructions with the
lift device.
Page 278 of 318
Maintenance
34
7
1 23456789
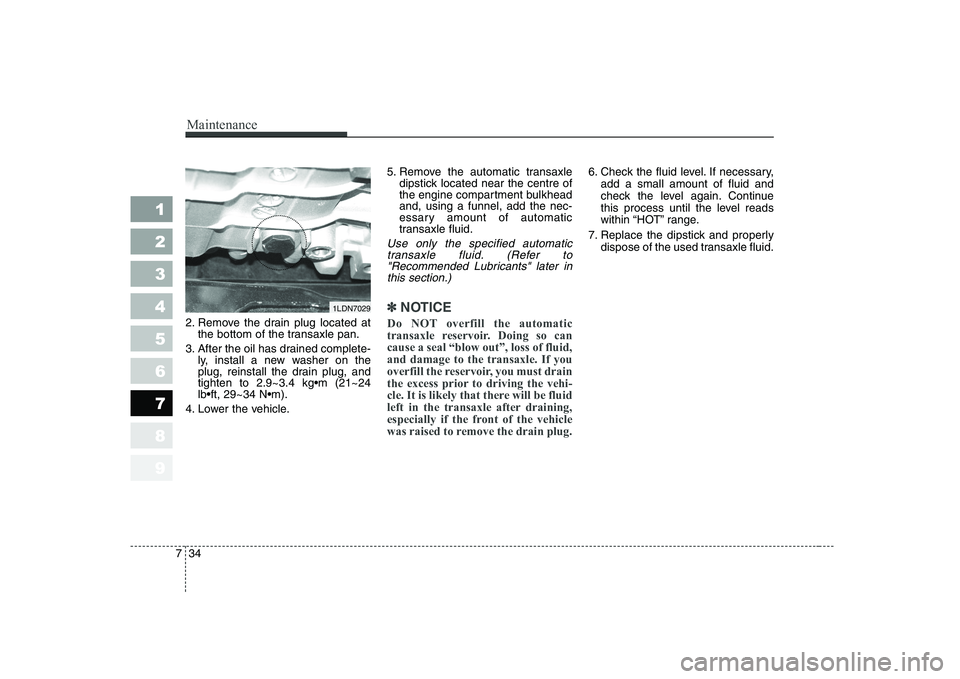
2. Remove the drain plug located at
the bottom of the transaxle pan.
3. After the oil has drained complete- ly, install a new washer on the
plug, reinstall the drain plug, and
4. Lower the vehicle. 5. Remove the automatic transaxle
dipstick located near the centre of
the engine compartment bulkheadand, using a funnel, add the nec-
essary amount of automatic
transaxle fluid.
Use only the specified automatic
transaxle fluid. (Refer to"Recommended Lubricants" later in this section.)
✽✽ NOTICE
Do NOT overfill the automatic
transaxle reservoir. Doing so cancause a seal “blow out”, loss of fluid,and damage to the transaxle. If you
overfill the reservoir, you must drain
the excess prior to driving the vehi-
cle. It is likely that there will be fluid
left in the transaxle after draining,
especially if the front of the vehicle
was raised to remove the drain plug.
6. Check the fluid level. If necessary, add a small amount of fluid and
check the level again. Continue
this process until the level reads
within “HOT” range.
7. Replace the dipstick and properly dispose of the used transaxle fluid.
1LDN7029
Page 279 of 318
735
Maintenance
1 23456789
LUBRICANTS AND FLUIDS
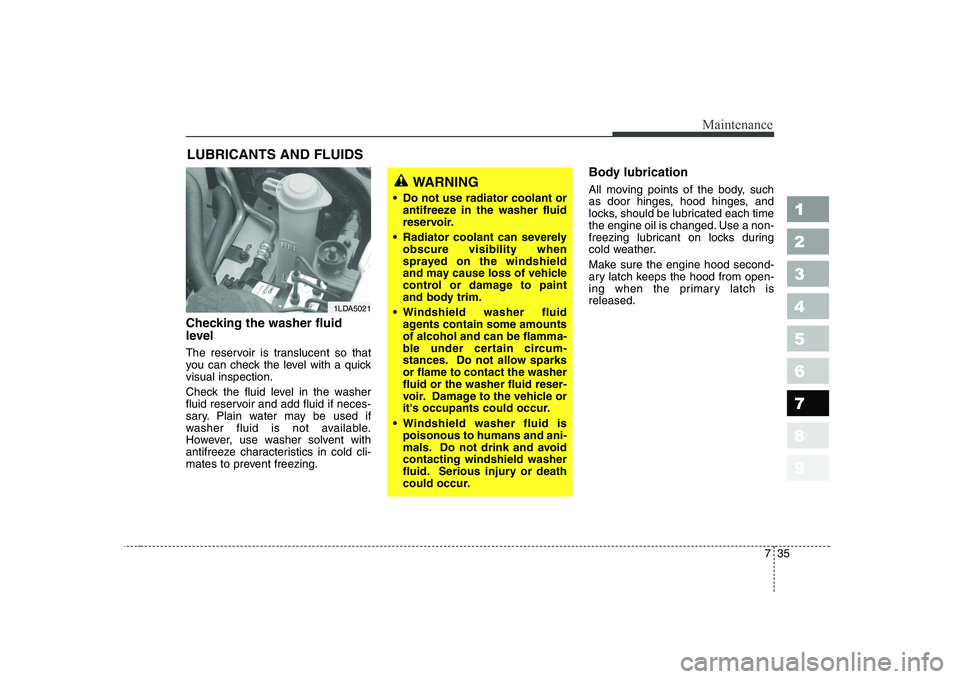
Checking the washer fluid
level
The reservoir is translucent so that
you can check the level with a quickvisual inspection.
Check the fluid level in the washer
fluid reservoir and add fluid if neces-
sary. Plain water may be used if
washer fluid is not available.
However, use washer solvent with
antifreeze characteristics in cold cli-
mates to prevent freezing. Body lubrication
All moving points of the body, such
as door hinges, hood hinges, and
locks, should be lubricated each time
the engine oil is changed. Use a non-
freezing lubricant on locks during
cold weather.
Make sure the engine hood second-
ary latch keeps the hood from open-
ing when the primary latch isreleased.
1LDA5021
WARNING
Do not use radiator coolant or antifreeze in the washer fluid
reservoir.
Radiator coolant can severely obscure visibility when
sprayed on the windshield
and may cause loss of vehicle
control or damage to paint
and body trim.
Windshield washer fluid agents contain some amountsof alcohol and can be flamma-
ble under certain circum-
stances. Do not allow sparksor flame to contact the washerfluid or the washer fluid reser-
voir. Damage to the vehicle or
it's occupants could occur.
Windshield washer fluid is poisonous to humans and ani-
mals. Do not drink and avoidcontacting windshield washer
fluid. Serious injury or death
could occur.
Page 280 of 318
Maintenance
36
7
1 23456789
FUEL FILTER (FOR DIESEL)
The fuel filter for diesel engine plays
an important role of separating water
from fuel and accumulating the waterin its bottom.
If water accumulates in the fuel filter,
the warning light comes on when the
ignition key is in the “ON” position.
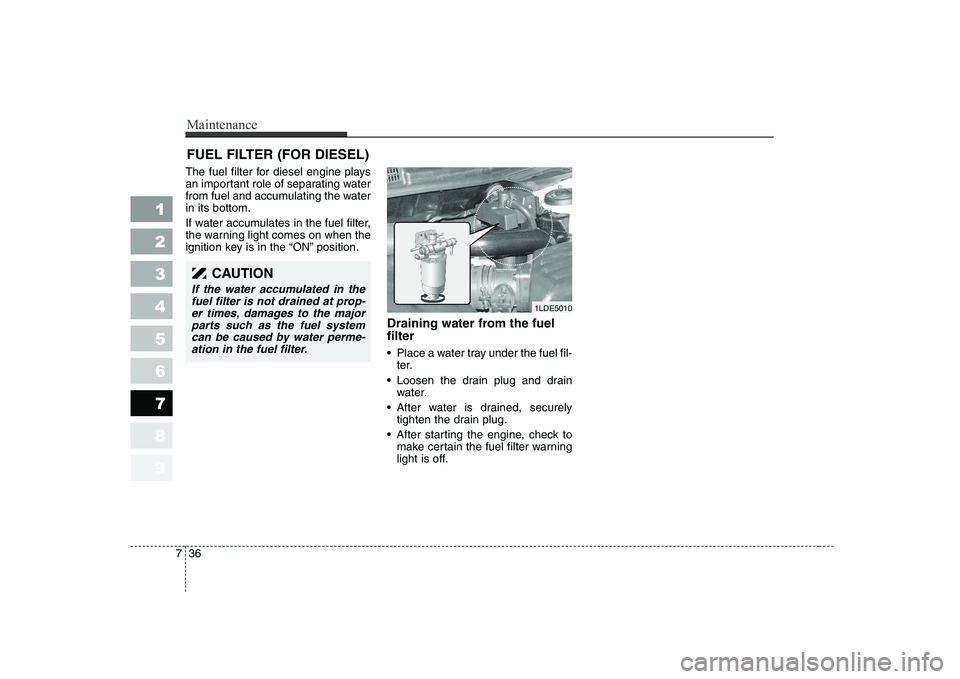
Draining water from the fuel filter
Place a water tray under the fuel fil-ter.
Loosen the drain plug and drain water.
After water is drained, securely tighten the drain plug.
After starting the engine, check to make certain the fuel filter warning
light is off.
1LDE5010
CAUTION
If the water accumulated in the
fuel filter is not drained at prop-er times, damages to the majorparts such as the fuel system can be caused by water perme-ation in the fuel filter.
Page 282 of 318
Maintenance
38
7
1 23456789
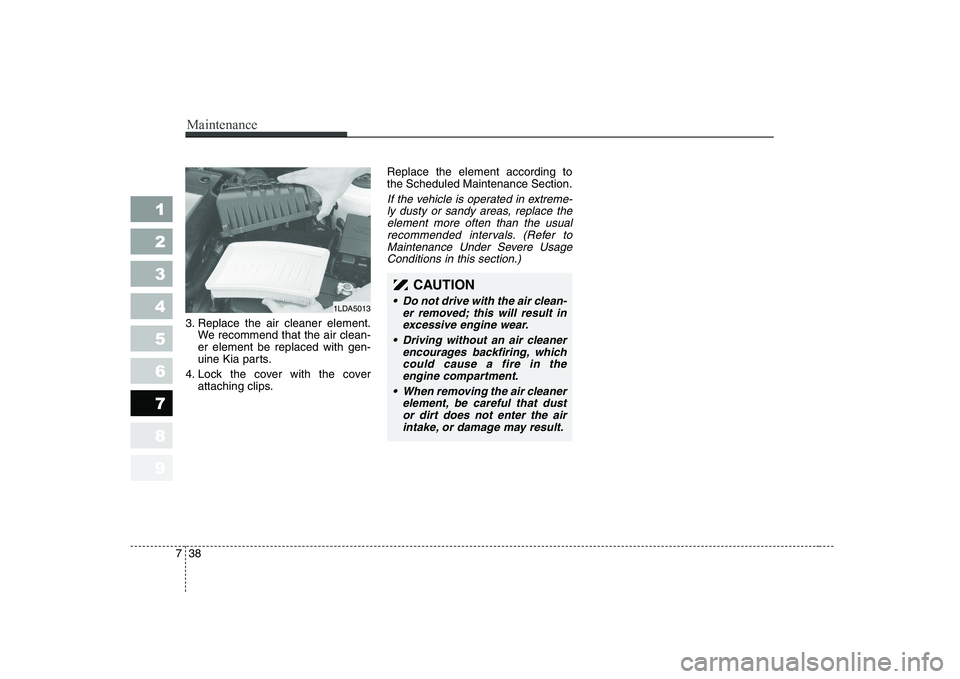
3. Replace the air cleaner element.
We recommend that the air clean- er element be replaced with gen-
uine Kia parts.
4. Lock the cover with the cover attaching clips. Replace the element according tothe Scheduled Maintenance Section.
If the vehicle is operated in extreme-
ly dusty or sandy areas, replace theelement more often than the usualrecommended intervals. (Refer to Maintenance Under Severe UsageConditions in this section.)
1LDA5013
CAUTION
Do not drive with the air clean- er removed; this will result inexcessive engine wear.
Driving without an air cleaner encourages backfiring, whichcould cause a fire in theengine compartment.
When removing the air cleaner element, be careful that dustor dirt does not enter the air intake, or damage may result.
Page 287 of 318
743
Maintenance
1 23456789
BATTERY
WARNING- Battery
dangers
Always read the follow-
ing instructions carefully
when handling a battery.
Keep lighted cigarettes and all other flames or
sparks away from the
battery.
Hydrogen, which is a highly combustible gas,
is always present in bat-
tery cells and may
explode if ignited.
Keep batteries out of the reach of children because batteries con-
tain highly corrosive
SULFURIC ACID. Do not
allow battery acid to con-
tact your skin, eyes,
clothing or paint finish.
(Continued)(Continued)If any electrolyte getsinto your eyes, flush your
eyes with clean water for
at least 15 minutes and
get immediate medical
attention. If possible,
continue to apply water
with a sponge or clothuntil medical attention isreceived.
If electrolyte gets on
your skin, thoroughlywash the contacted area.
If you feel a pain or a
burning sensation, getmedical attention imme-
diately.
Wear eye protection when charging or work-
ing near a battery.
Always provide ventila-
tion when working in an
enclosed space.
(Continued)(Continued)
When lifting a plastic-casedbattery, excessive pressure on
the case may cause battery
acid to leak, resulting in per-
sonal injury. Lift with a battery
carrier or with your hands on
opposite corners.
Never attempt to charge the battery when the battery
cables are connected.
The electrical ignition system works with high voltage.
Never touch these compo-nents with the engine running
or the ignition switched on.