ECO mode KIA CERATO 2007 Owners Manual
[x] Cancel search | Manufacturer: KIA, Model Year: 2007, Model line: CERATO, Model: KIA CERATO 2007Pages: 329, PDF Size: 34.09 MB
Page 2 of 329
i
Thank you for choosing a Kia vehicle. When you require service, remember that your dealer
knows your vehicle best. Your dealer has factory-trainedtechnicians, recommended special tools, genuine Kiareplacement parts and is dedicated to your complete sat-isfaction. Because subsequent owners require this important infor- mation as well, this publication should remain with thevehicle if it is sold. This manual will familiarize you with operational, main- tenance and safety information about your new vehicle. It
is supplemented by a Warranty and Maintenance bookthat provides important information on all warrantiesregarding your vehicle. If your vehicle is equipped withan audio system, you will also have a Kia Integrated
Audio System manual explaining its operation. We urgeyou to read these publications carefully and follow therecommendations to help assure enjoyable and safe oper-ation of your new vehicle.
Kia offers a great variety of options, components and fea- tures for its various models. Therefore, the equipment described in this manual, along with the various illustrations, may not all be applicable toyour particular vehicle. The information and specifications provided in this man-ual were accurate at the time of printing. Kia reserves theright to discontinue or change specifications or design atany time without notice and without incurring any obli-gation. If you have questions, always check with your
Kia Dealer.
We assure you of our continuing interest in your motor- ing pleasure and satisfaction in your Kia vehicle. © 2006 Kia Motors Corp. All rights reserved. Reproduction by any means, elec- tronic or mechanical, including photocopying, recording,or by any information storage and retrieval system ortranslation in whole or part is not permitted without writ-ten authorization from Kia Motors Corporation. Printed in Korea
Foreword
Page 117 of 329
3 107
Knowing your vehicle
1 23456789
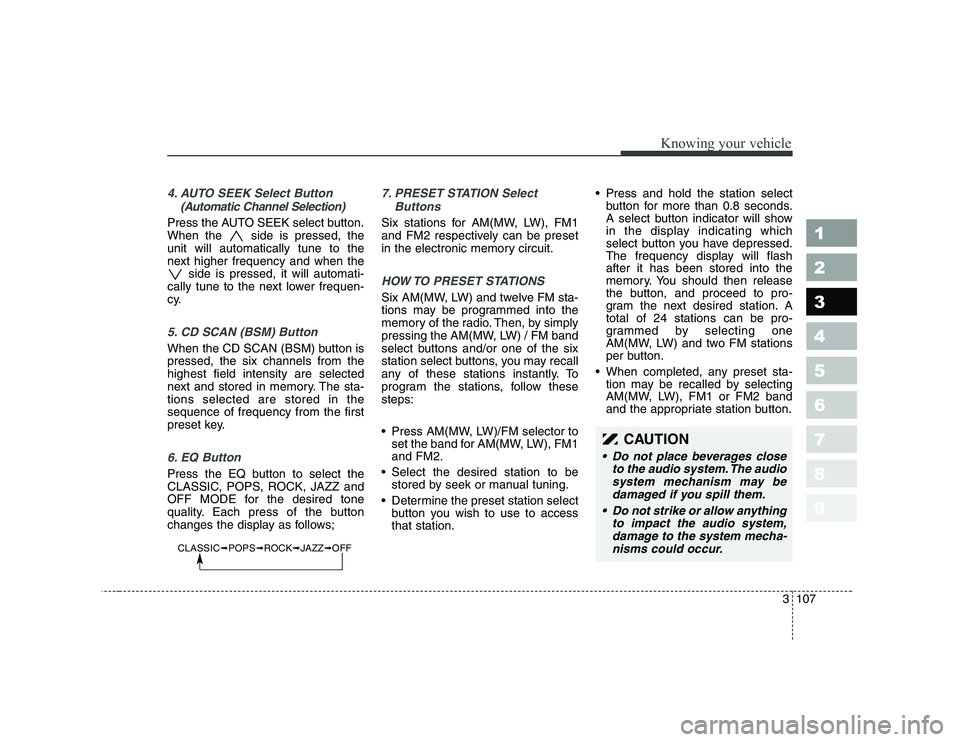
4. AUTO SEEK Select Button(Automatic Channel Selection)
Press the AUTO SEEK select button.
When the side is pressed, theunit will automatically tune to the
next higher frequency and when the side is pressed, it will automati-
cally tune to the next lower frequen-
cy.
5. CD SCAN (BSM) Button
When the CD SCAN (BSM) button is pressed, the six channels from thehighest field intensity are selected
next and stored in memory. The sta-tions selected are stored in thesequence of frequency from the first
preset key.
6. EQ Button
Press the EQ button to select the
CLASSIC, POPS, ROCK, JAZZ and
OFF MODE for the desired tone
quality. Each press of the button
changes the display as follows;
7. PRESET STATION Select
Buttons
Six stations for AM(MW, LW), FM1
and FM2 respectively can be preset
in the electronic memory circuit.
HOW TO PRESET STATIONS
Six AM(MW, LW) and twelve FM sta-
tions may be programmed into the
memory of the radio. Then, by simply
pressing the AM(MW, LW) / FM band
select buttons and/or one of the six
station select buttons, you may recall
any of these stations instantly. To
program the stations, follow thesesteps:
Press AM(MW, LW)/FM selector toset the band for AM(MW, LW), FM1 and FM2.
Select the desired station to be stored by seek or manual tuning.
Determine the preset station select button you wish to use to accessthat station. Press and hold the station select
button for more than 0.8 seconds.
A select button indicator will show
in the display indicating which
select button you have depressed.
The frequency display will flashafter it has been stored into the
memory. You should then release
the button, and proceed to pro-
gram the next desired station. Atotal of 24 stations can be pro-
grammed by selecting one
AM(MW, LW) and two FM stations
per button.
When completed, any preset sta- tion may be recalled by selecting
AM(MW, LW), FM1 or FM2 band
and the appropriate station button.
CAUTION
• Do not place beverages close
to the audio system. The audiosystem mechanism may bedamaged if you spill them.
Do not strike or allow anything to impact the audio system,damage to the system mecha- nisms could occur.
CLASSIC ➟POPS ➟ROCK ➟JAZZ ➟OFF
Page 124 of 329
Knowing your vehicle
114
3
1 23456789
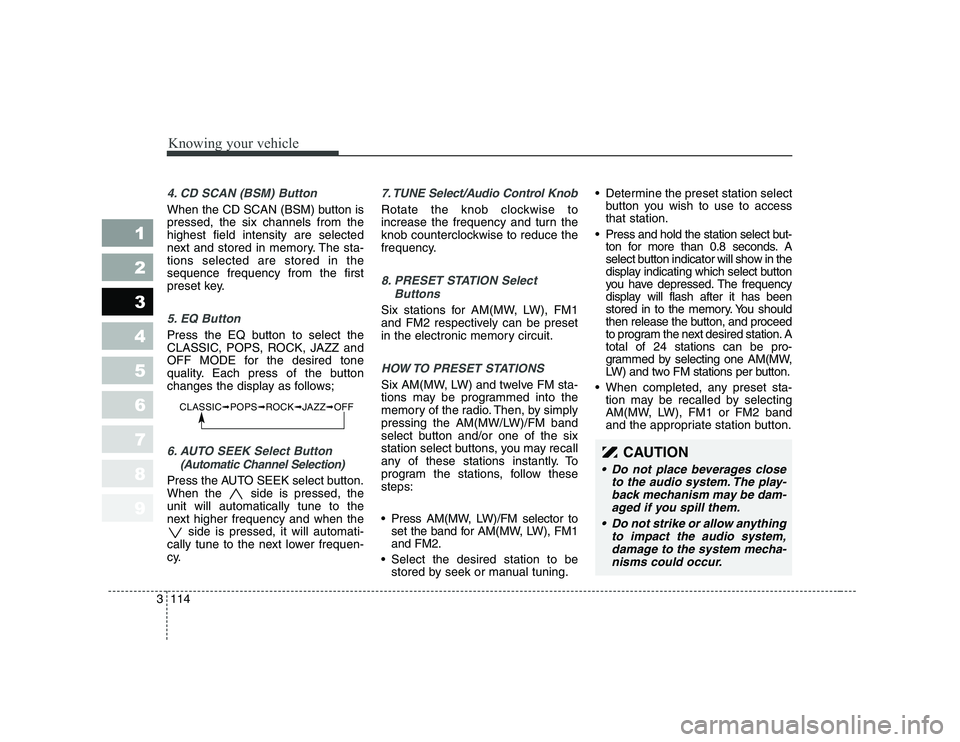
4. CD SCAN (BSM) Button
When the CD SCAN (BSM) button is pressed, the six channels from thehighest field intensity are selected
next and stored in memory. The sta-tions selected are stored in thesequence frequency from the first
preset key.
5. EQ Button
Press the EQ button to select the
CLASSIC, POPS, ROCK, JAZZ and
OFF MODE for the desired tone
quality. Each press of the button
changes the display as follows;
6. AUTO SEEK Select Button
(Automatic Channel Selection)
Press the AUTO SEEK select button.
When the side is pressed, theunit will automatically tune to the
next higher frequency and when the side is pressed, it will automati-
cally tune to the next lower frequen-
cy.
7. TUNE Select/Audio Control Knob
Rotate the knob clockwise to
increase the frequency and turn the
knob counterclockwise to reduce the
frequency.
8. PRESET STATION Select
Buttons
Six stations for AM(MW, LW), FM1
and FM2 respectively can be preset
in the electronic memory circuit.
HOW TO PRESET STATIONS
Six AM(MW, LW) and twelve FM sta-
tions may be programmed into the
memory of the radio. Then, by simply
pressing the AM(MW/LW)/FM band
select button and/or one of the six
station select buttons, you may recall
any of these stations instantly. To
program the stations, follow thesesteps:
Press AM(MW, LW)/FM selector toset the band for AM(MW, LW), FM1 and FM2.
Select the desired station to be stored by seek or manual tuning. Determine the preset station select
button you wish to use to accessthat station.
Press and hold the station select but- ton for more than 0.8 seconds. A
select button indicator will show in the
display indicating which select button
you have depressed. The frequency
display will flash after it has been
stored in to the memory. You should
then release the button, and proceed
to program the next desired station. Atotal of 24 stations can be pro-
grammed by selecting one AM(MW,
LW) and two FM stations per button.
When completed, any preset sta- tion may be recalled by selecting
AM(MW, LW), FM1 or FM2 band
and the appropriate station button.
CLASSIC ➟POPS ➟ROCK ➟JAZZ ➟OFF
CAUTION
Do not place beverages close
to the audio system. The play-back mechanism may be dam-aged if you spill them.
Do not strike or allow anything to impact the audio system,damage to the system mecha-nisms could occur.
Page 127 of 329
3 117
Knowing your vehicle
1 23456789
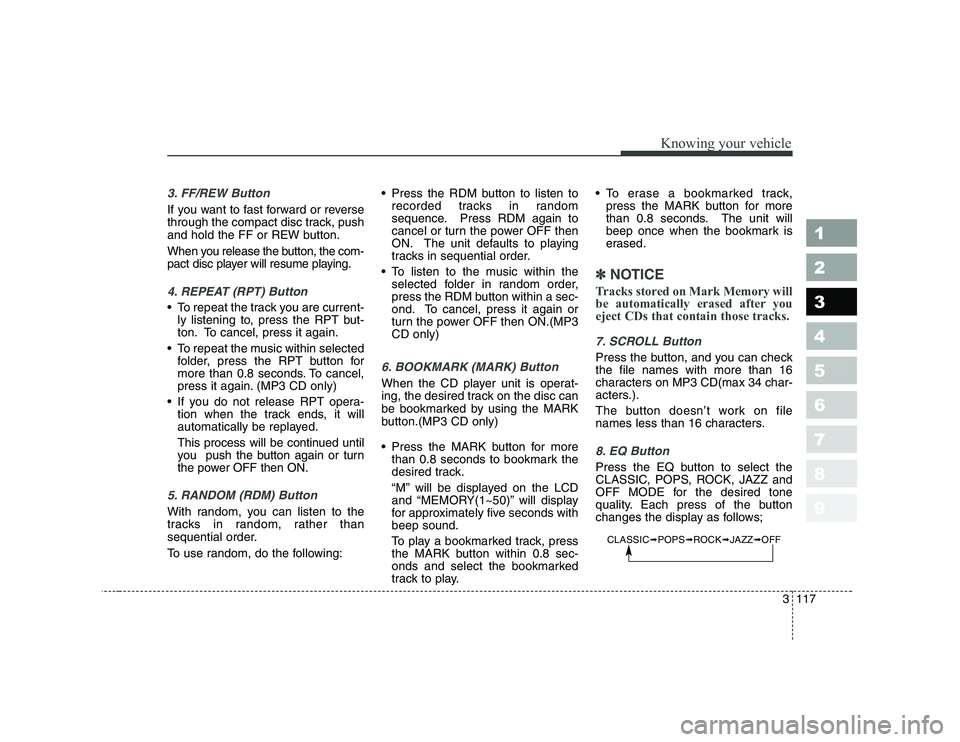
3. FF/REW Button
If you want to fast forward or reverse
through the compact disc track, push
and hold the FF or REW button.
When you release the button, the com-
pact disc player will resume playing.
4. REPEAT (RPT) Button
To repeat the track you are current-ly listening to, press the RPT but-
ton. To cancel, press it again.
To repeat the music within selected folder, press the RPT button for
more than 0.8 seconds. To cancel,
press it again. (MP3 CD only)
If you do not release RPT opera- tion when the track ends, it will
automatically be replayed.
This process will be continued until
you push the button again or turn
the power OFF then ON.
5. RANDOM (RDM) Button
With random, you can listen to the
tracks in random, rather than
sequential order.
To use random, do the following: Press the RDM button to listen to
recorded tracks in random
sequence. Press RDM again to
cancel or turn the power OFF then
ON. The unit defaults to playing
tracks in sequential order.
To listen to the music within the selected folder in random order,
press the RDM button within a sec-
ond. To cancel, press it again or
turn the power OFF then ON.(MP3CD only)
6. BOOKMARK (MARK) Button
When the CD player unit is operat-
ing, the desired track on the disc can
be bookmarked by using the MARK
button.(MP3 CD only)
Press the MARK button for morethan 0.8 seconds to bookmark the
desired track.
“M” will be displayed on the LCD
and “MEMORY(1~50)” will display
for approximately five seconds withbeep sound.
To play a bookmarked track, press
the MARK button within 0.8 sec-
onds and select the bookmarked
track to play. To erase a bookmarked track,
press the MARK button for more
than 0.8 seconds. The unit will
beep once when the bookmark is
erased.
✽✽ NOTICE
Tracks stored on Mark Memory will
be automatically erased after youeject CDs that contain those tracks.
7. SCROLL Button
Press the button, and you can check the file names with more than 16
characters on MP3 CD(max 34 char-
acters.).
The button doesn’t work on file
names less than 16 characters.
8. EQ Button
Press the EQ button to select the
CLASSIC, POPS, ROCK, JAZZ and
OFF MODE for the desired tone
quality. Each press of the button
changes the display as follows;
CLASSIC ➟POPS ➟ROCK ➟JAZZ ➟OFF
Page 134 of 329
![KIA CERATO 2007 Owners Manual Knowing your vehicle
124
3
1 23456789
1. CD loading slot
Push [LOAD] button to open CD slot.
Please face printed side upward and
gently push in. This CDC supports
only 12 cm CDs.
2. CD load button KIA CERATO 2007 Owners Manual Knowing your vehicle
124
3
1 23456789
1. CD loading slot
Push [LOAD] button to open CD slot.
Please face printed side upward and
gently push in. This CDC supports
only 12 cm CDs.
2. CD load button](/img/2/57948/w960_57948-133.png)
Knowing your vehicle
124
3
1 23456789
1. CD loading slot
Push [LOAD] button to open CD slot.
Please face printed side upward and
gently push in. This CDC supports
only 12 cm CDs.
2. CD load button
Pressing the "LODE" button opens
an empty tray of lowest order in the
CDC deck. When a CD is loaded, the
slot closes and the CD plays. To load
CDs in all empty slots, press the
"LOAD" button for more than 1.5 sec-
onds. Be sure to insert only one CD
into slot at a time. Then, lastly loaded
CD is played. IF you do not load CDs
or press any button for 10 seconds
after pressing the "LOAD" button, the
LOAD function will be canceled.
3. CD eject button
Push button to eject the CD dur-
ing CD playback. Push this button formore than 1.5 seconds to eject all
the CDs. If CD number 3 is currently
playing, ejecting order is 3,4,5,6,1,2. 4. LCD display It indicates location of CD in CD
deck. When loading and ejecting CD,
corresponding CD indicator number
blinks.
5. CD/AUX selection button
CD Select
When power is off while CD is loaded
or radio/AUX is playing, push [CD]
button to play CDC. When there is no
available CD, "no disc" message will
be indicated for 2 seconds and
returns to previous mode.
AUX-IN Select
When the AUX device (such as
portable MP3 players) is connect-
ed to vehicle's AUX-IN terminal,
you can switch to AUX-IN mode by
pressing CD/AUX button.
With a CD loaded and AUX device connected at the same time, this
button switches between AUX-IN
mode and CD mode. AUX 3.5mm STEREO MINI PLUG
✽✽
NOTICE
Page 169 of 329
Driving your vehicle
34
4
1 23456789
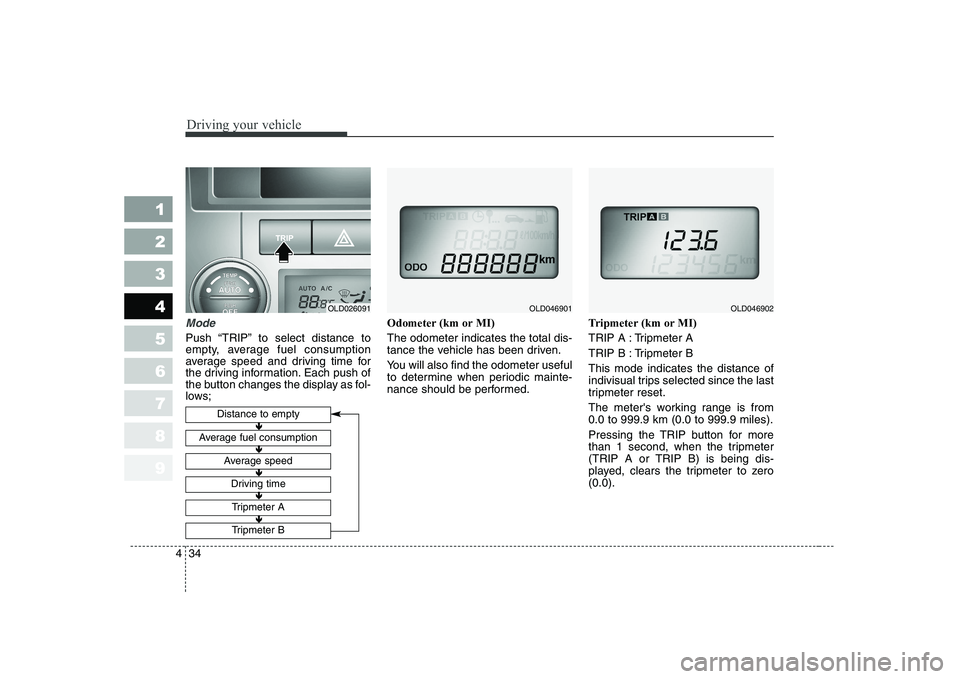
Mode
Push “TRIP” to select distance to
empty, average fuel consumption
average speed and driving time for
the driving information. Each push of
the button changes the display as fol-
lows; Odometer (km or MI) The odometer indicates the total dis-
tance the vehicle has been driven.
You will also find the odometer useful
to determine when periodic mainte-
nance should be performed.
Tripmeter (km or MI)
TRIP A : Tripmeter A
TRIP B : Tripmeter BThis mode indicates the distance of
indivisual trips selected since the last
tripmeter reset.
The meter's working range is from 0.0 to 999.9 km (0.0 to 999.9 miles).
Pressing the TRIP button for more
than 1 second, when the tripmeter
(TRIP A or TRIP B) is being dis-
played, clears the tripmeter to zero(0.0).
Distance to empty
Average fuel consumption
Average speed
Driving time
Tripmeter A
Tripmeter B
OLD046901OLD046902
�Ð
�Ð �Ð
�Ð �Ð
�Ð �Ð
�Ð �Ð
�Ð
OLD026091
Page 170 of 329
435
1 23456789
Driving your vehicle
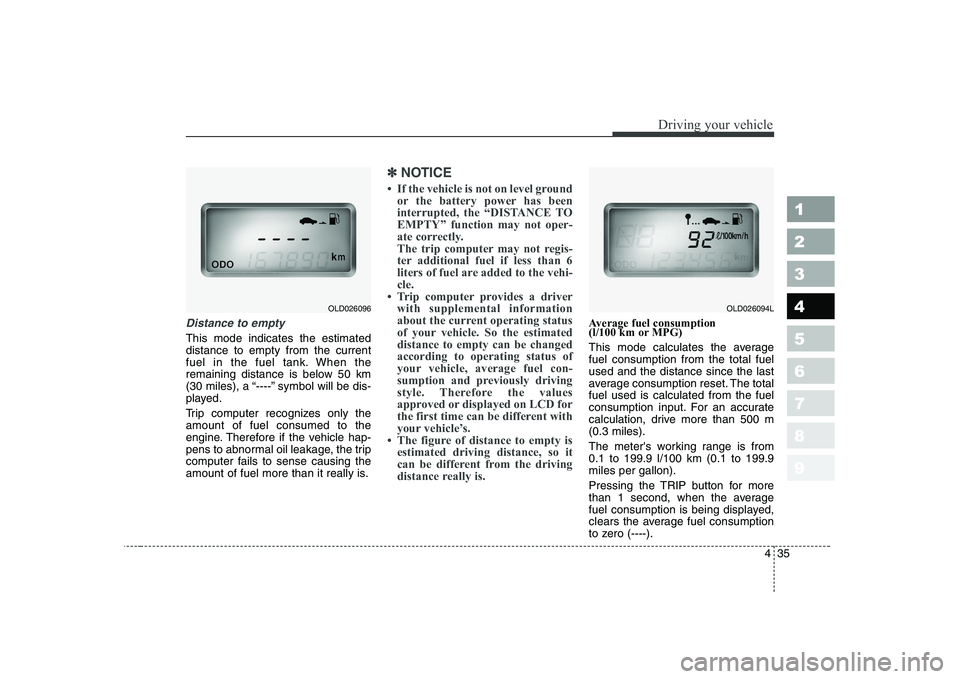
Distance to empty
This mode indicates the estimated distance to empty from the current
fuel in the fuel tank. When the
remaining distance is below 50 km
(30 miles), a “----” symbol will be dis-
played.
Trip computer recognizes only the amount of fuel consumed to the
engine. Therefore if the vehicle hap-
pens to abnormal oil leakage, the trip
computer fails to sense causing the
amount of fuel more than it really is.
✽✽
NOTICE
Page 171 of 329

Driving your vehicle
36
4
1 23456789
Average speed
This mode indicates the average
speed from the starting of the vehicle
to the ignition key “OFF”. When the
ignition key is “OFF”, it will initialize to0 km/h (0 mph).
Driving time
This mode indicates the total time
from the starting of the vehicle to the
ignition key “OFF” after resetting.
When the “TRIP” switch is pushed, it
will initialize to 0:00. Reset
Push “TRIP” for more than 1 second
to initialize the displayed information
such as average speed and driving
time. Instrument panel illumination (if equipped)
When the vehicle’s parking lights or headlights are on, rotate the illumina-
tion control knob to adjust the instru-
ment panel illumination intensity.
OLD026204LOLD026097OLD026095
Page 178 of 329

443
1 23456789
Driving your vehicle
Auto cruise indicator (if equipped) CRUISE indicator The indicator light illuminates when
the cruise control system is enabled.
SET indicator The indicator light illuminates when
the cruise function switch
(SET/COAST or RES/ACC) is ON.TCS indicator
(Traction ControlSystem) (if equipped)
The TCS indicator will illuminate
when the ignition switch is turned
ON, but should go off after approxi-
mately 3 seconds. When the TCS is
on, it monitors the driving conditions
and under normal driving conditions,
the TCS light will remain off. When a
slippery or low traction condition is
encountered, the TCS will operate,
and the TCS indicator will blink to
indicate the TCS is operating.
TCS OFF indicator(if equipped)
The TCS OFF indicator will illuminate
when the ignition switch is turned
ON, but should go off after approxi-
mately 3 seconds. To switch to TCS
OFF mode, press the TCS button.
The TCS OFF indicator will illuminate
indicating the TCS is deactivated. If
this indicator stays on in the TCS ON
mode, the TCS may have a malfunc-
tion. Take your car to the authorized
Kia dealer and have the system
checked.
Glow indicator
(diesel engine only)
This light is turned on during warm-
up and turned off after it.
✽✽
NOTICE
If the glow indicator continues to
illuminate after the engine has
warmed up or while driving, check
the system by an Authorized Kia
Dealer or other competent repairshop as soon as possible.
TCSTCS OFF
CRUISE
SET
Page 210 of 329
475
1 23456789
Driving your vehicle
The air conditioning systemincludes a function that automati-
cally turns the air conditioningcompressor off if engine coolant
temperature approaches an over
heating level. The air conditioning
compressor operation will resume
once engine coolant temperature
returns to the normal range. Also,the air conditioning compressor is
automatically turned off for a few
seconds when the accelerator isfully depressed (wide open throt-tle).
When operating the air condition- ing system use the outside (fresh)air position.
Operating the air conditioning sys- tem in the recirculated air position
does provide maximum cooling,
however, continual operation in this
mode may cause the air inside the
vehicle to become stale. Checking the amount of air
conditioner refrigerant andcompressor lubricant
When the amount of refrigerant is
low, the performance of the air con-
ditioning is reduced. Overfilling alsohas a bad influence on the air condi-tioning system.
Therefore, if abnormal operation is
found, have the system inspected by
an authorized Kia dealer.Air conditioner refrigerant and
compressor lubricant
✽✽ NOTICE
When the performance of the air
conditioning system is reduced it is
important that the correct type and
amount of oil and refrigerant isused. Otherwise, damage to the
compressor and abnormal system
operation may occur.
CAUTION
The air conditioning system should be serviced by anauthorized Kia dealer. Improper service may cause seriousinjury.