AC VENT KIA Cerato 2011 1.G Owners Manual
[x] Cancel search | Manufacturer: KIA, Model Year: 2011, Model line: Cerato, Model: KIA Cerato 2011 1.GPages: 342, PDF Size: 7.23 MB
Page 296 of 342
721
Maintenance
G170100AUN-EC
Filter inspection
If the vehicle is operated in severely air-
polluted cities or on dusty rough roads for
a long period, it should be inspected
more frequently and replaced earlier.
When you replace the climate control air
filter, replace it performing the following
procedure, and be careful to avoid dam-
aging other components.
G180100AUN
Blade inspection
✽ ✽NOTICE
Commercial hot waxes applied by auto-
matic car washes have been known to
make the windshield difficult to clean.
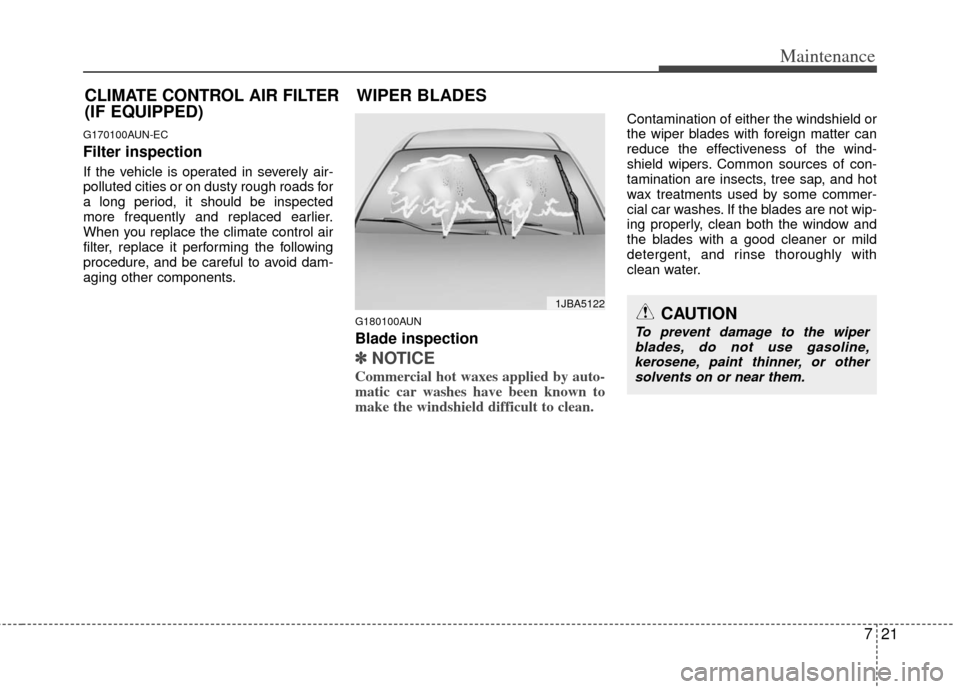
Contamination of either the windshield or
the wiper blades with foreign matter can
reduce the effectiveness of the wind-
shield wipers. Common sources of con-
tamination are insects, tree sap, and hot
wax treatments used by some commer-
cial car washes. If the blades are not wip-
ing properly, clean both the window and
the blades with a good cleaner or mild
detergent, and rinse thoroughly with
clean water.
1JBA5122CAUTION
To prevent damage to the wiper
blades, do not use gasoline,kerosene, paint thinner, or other solvents on or near them.
CLIMATE CONTROL AIR FILTER
(IF EQUIPPED) WIPER BLADES
Page 297 of 342
Maintenance
22
7
G180200AUN
Blade replacement
When the wipers no longer clean ade-
quately, the blades may be worn or
cracked, and require replacement.
G180201AUN
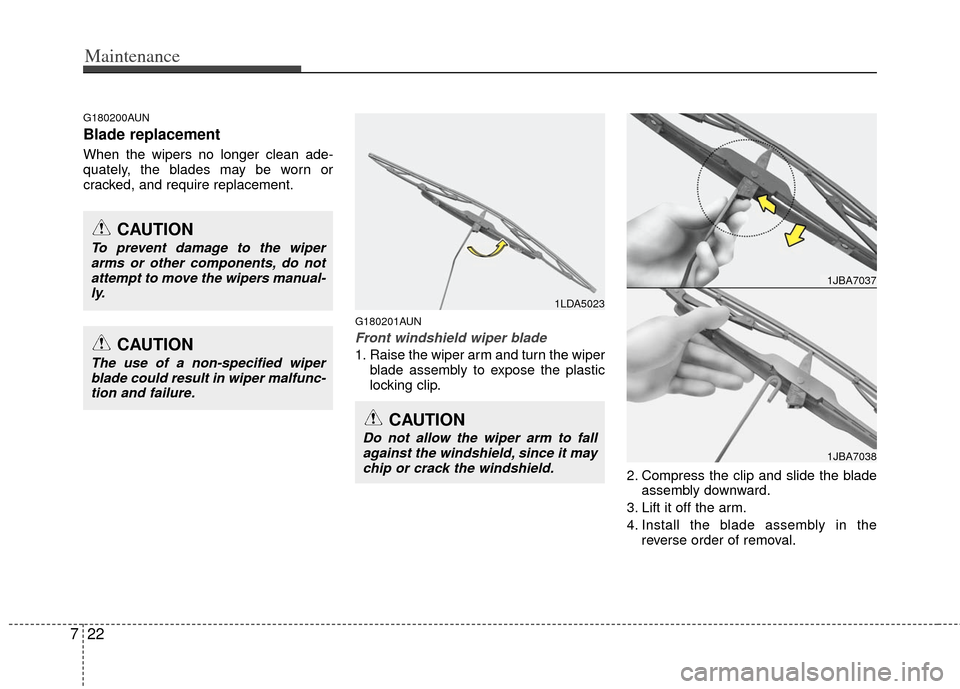
Front windshield wiper blade
1. Raise the wiper arm and turn the wiper
blade assembly to expose the plastic
locking clip.
2. Compress the clip and slide the bladeassembly downward.
3. Lift it off the arm.
4. Install the blade assembly in the reverse order of removal.
1LDA5023
CAUTION
Do not allow the wiper arm to fallagainst the windshield, since it maychip or crack the windshield.
1JBA7037
1JBA7038
CAUTION
To prevent damage to the wiperarms or other components, do notattempt to move the wipers manual-ly.
CAUTION
The use of a non-specified wiperblade could result in wiper malfunc-tion and failure.
Page 298 of 342
723
Maintenance
BATTERY
G190100ATD
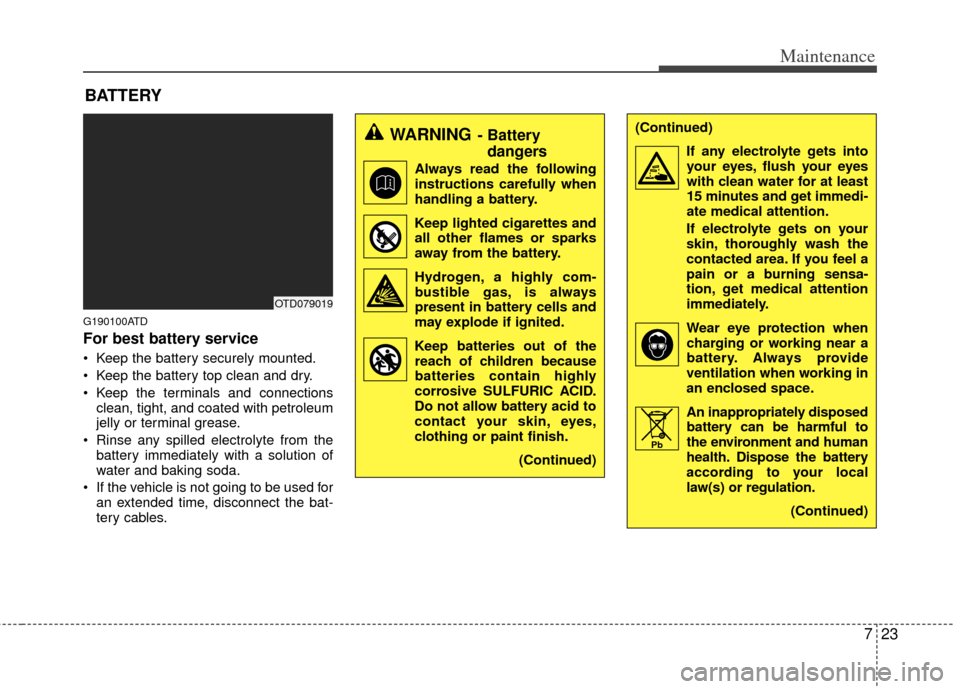
For best battery service
Keep the battery securely mounted.
Keep the battery top clean and dry.
Keep the terminals and connectionsclean, tight, and coated with petroleum
jelly or terminal grease.
Rinse any spilled electrolyte from the battery immediately with a solution of
water and baking soda.
If the vehicle is not going to be used for an extended time, disconnect the bat-
tery cables.
WARNING- Battery dangers
Always read the following
instructions carefully when
handling a battery.
Keep lighted cigarettes and all other flames or sparks
away from the battery.
Hydrogen, a highly com- bustible gas, is always
present in battery cells and
may explode if ignited.
Keep batteries out of the reach of children because
batteries contain highly
corrosive SULFURIC ACID.
Do not allow battery acid to
contact your skin, eyes,
clothing or paint finish.
(Continued)
(Continued)If any electrolyte gets intoyour eyes, flush your eyes
with clean water for at least
15 minutes and get immedi-
ate medical attention.
If electrolyte gets on your
skin, thoroughly wash the
contacted area. If you feel a
pain or a burning sensa-
tion, get medical attention
immediately.
Wear eye protection when charging or working near a
battery. Always provide
ventilation when working in
an enclosed space.
An inappropriately disposed battery can be harmful to
the environment and human
health. Dispose the battery
according to your local
law(s) or regulation.
(Continued)
OTD079019
Pb
Page 299 of 342
Maintenance
24
7
G190200AUN
Battery recharging
Your vehicle has a maintenance-free,
calcium-based battery.
If the battery becomes discharged in a
short time (because, for example, the
headlights or interior lights were left on
while the vehicle was not in use),
recharge it by slow charging (trickle)
for 10 hours.
If the battery gradually discharges because of high electric load while the
vehicle is being used, recharge it at 20-
30A for two hours.
(Continued)
When lifting a plastic-cased bat-tery, excessive pressure on the
case may cause battery acid to
leak, resulting in personal injury.
Lift with a battery carrier or with
your hands on opposite corners.
Never attempt to recharge the battery when the battery cables
are connected.
The electrical ignition system works with high voltage. Never
touch these components with the
engine running or the ignition
switched on.
Failure to follow the above warn-
ings can result in serious bodily
injury or death.CAUTION
When you don’t use the vehicle for a long time in the low temper-ature area, separate the batteryand keep it indoors.
Always charge the battery fully to prevent battery case damage inlow temperature area.
If you use unauthorized electron- ic devices, the battery may be dis-charged. Never use unauthorized devices.
Page 300 of 342
725
Maintenance
G130300ATD
Reset items
Items should be reset after the battery
has been discharged or the battery has
been disconnected.
Auto down window (See section 4)
Sunroof (See section 4)
Trip computer (See section 4)
Climate control system (See section 4)
Clock (See section 4)
Audio (See section 4)
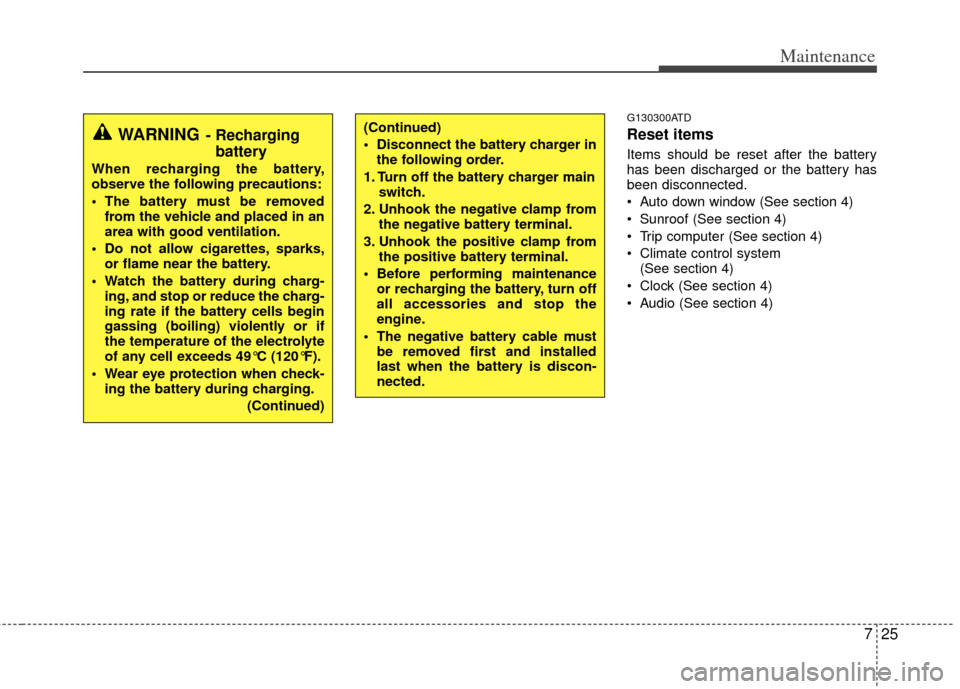
(Continued)
Disconnect the battery charger in the following order.
1. Turn off the battery charger main switch.
2. Unhook the negative clamp from the negative battery terminal.
3. Unhook the positive clamp from the positive battery terminal.
Before performing maintenance or recharging the battery, turn off
all accessories and stop the
engine.
The negative battery cable must be removed first and installed
last when the battery is discon-
nected.WARNING- Rechargingbattery
When recharging the battery,
observe the following precautions:
The battery must be removed
from the vehicle and placed in an
area with good ventilation.
Do not allow cigarettes, sparks, or flame near the battery.
Watch the battery during charg- ing, and stop or reduce the charg-
ing rate if the battery cells begin
gassing (boiling) violently or if
the temperature of the electrolyte
of any cell exceeds 49°C (120°F).
Wear eye protection when check- ing the battery during charging.
(Continued)
Page 303 of 342
Maintenance
28
7
G200300AUN
Checking tire inflation pressure
Check your tires once a month or
more.
Also, check the tire pressure of the
spare tire.
G200301AUN-EU
How to check
Use a good quality gage to check tire
pressure. You can not tell if your tires
are properly inflated simply by look-
ing at them. Radial tires may look
properly inflated even when they're
underinflated.
Check the tire's inflation pressure
when the tires are cold. - "Cold"
means your vehicle has been sitting
for at least three hours or driven no
more than 1.6 km (1 mile). Remove the valve cap from the tire
valve stem. Press the tire gage firm-
ly onto the valve to get a pressure
measurement. If the cold tire inflation
pressure matches the recommended
pressure on the tire and loading
information label, no further adjust-
ment is necessary. If the pressure is
low, add air until you reach the rec-
ommended amount.
If you overfill the tire, release air by
pushing on the metal stem in the
center of the tire valve. Recheck the
tire pressure with the tire gage. Be
sure to put the valve caps back on
the valve stems. They help prevent
leaks by keeping out dirt and mois-
ture.
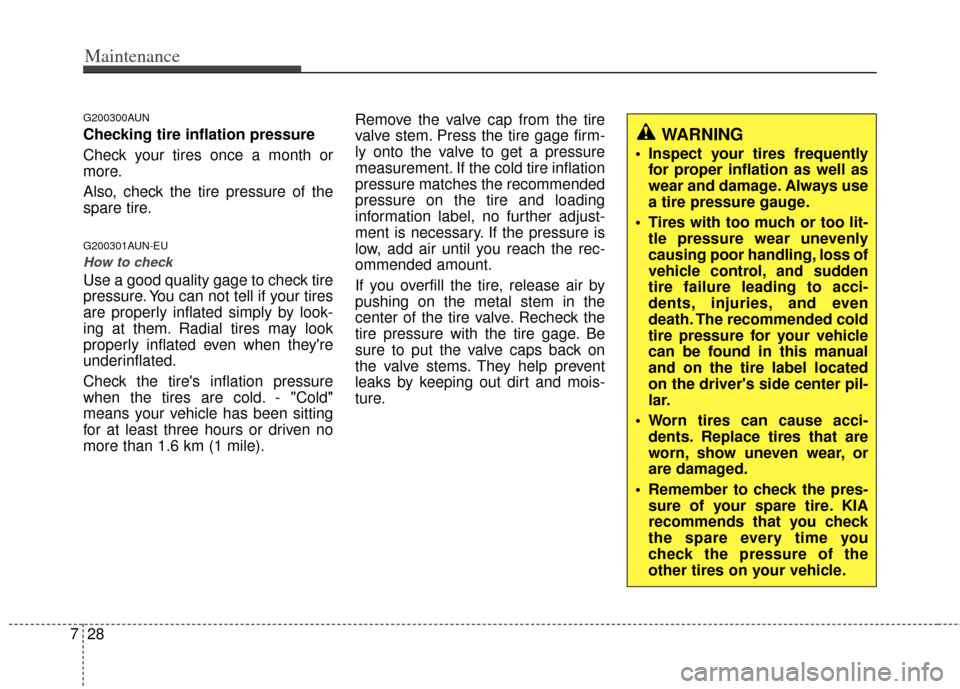
WARNING
Inspect your tires frequently
for proper inflation as well as
wear and damage. Always use
a tire pressure gauge.
Tires with too much or too lit- tle pressure wear unevenly
causing poor handling, loss of
vehicle control, and sudden
tire failure leading to acci-
dents, injuries, and even
death. The recommended cold
tire pressure for your vehicle
can be found in this manual
and on the tire label located
on the driver's side center pil-
lar.
Worn tires can cause acci- dents. Replace tires that are
worn, show uneven wear, or
are damaged.
Remember to check the pres- sure of your spare tire. KIA
recommends that you check
the spare every time you
check the pressure of the
other tires on your vehicle.
Page 316 of 342
741
Maintenance
G210101AUN
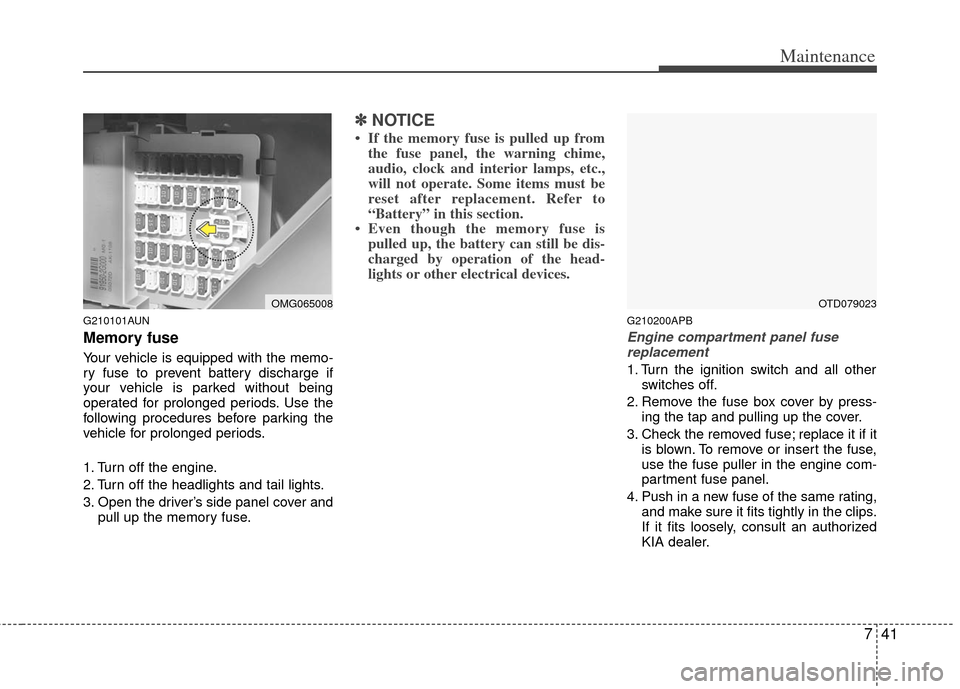
Memory fuse
Your vehicle is equipped with the memo-
ry fuse to prevent battery discharge if
your vehicle is parked without being
operated for prolonged periods. Use the
following procedures before parking the
vehicle for prolonged periods.
1. Turn off the engine.
2. Turn off the headlights and tail lights.
3. Open the driver’s side panel cover andpull up the memory fuse.
✽ ✽NOTICE
• If the memory fuse is pulled up from
the fuse panel, the warning chime,
audio, clock and interior lamps, etc.,
will not operate. Some items must be
reset after replacement. Refer to
“Battery” in this section.
• Even though the memory fuse is pulled up, the battery can still be dis-
charged by operation of the head-
lights or other electrical devices.
G210200APB
Engine compartment panel fuse
replacement
1. Turn the ignition switch and all other switches off.
2. Remove the fuse box cover by press- ing the tap and pulling up the cover.
3. Check the removed fuse; replace it if it is blown. To remove or insert the fuse,
use the fuse puller in the engine com-
partment fuse panel.
4. Push in a new fuse of the same rating, and make sure it fits tightly in the clips.
If it fits loosely, consult an authorized
KIA dealer.
OMG065008OTD079023
Page 323 of 342
Maintenance
48
7
APPEARANCE CARE
Exterior care
G230101AUN
Exterior general caution
It is very important to follow the label
directions when using any chemical
cleaner or polish. Read all warning and
caution statements that appear on the
label.
G230102BUN
Finish maintenance
Washing
To help protect your vehicle’s finish from
rust and deterioration, wash it thoroughly
and frequently at least once a month with
lukewarm or cold water.
If you use your vehicle for off-road driv-
ing, you should wash it after each off-
road trip. Pay special attention to the
removal of any accumulation of salt, dirt,
mud, and other foreign materials. Make
sure the drain holes in the lower edges of
the doors and rocker panels are kept
clear and clean.
Insects, tar, tree sap, bird droppings,
industrial pollution and similar deposits
can damage your vehicle’s finish if not
removed immediately.
Even prompt washing with plain water
may not completely remove all these
deposits. A mild soap, safe for use on
painted surfaces, may be used.
After washing, rinse the vehicle thor-
oughly with lukewarm or cold water. Do
not allow soap to dry on the finish.
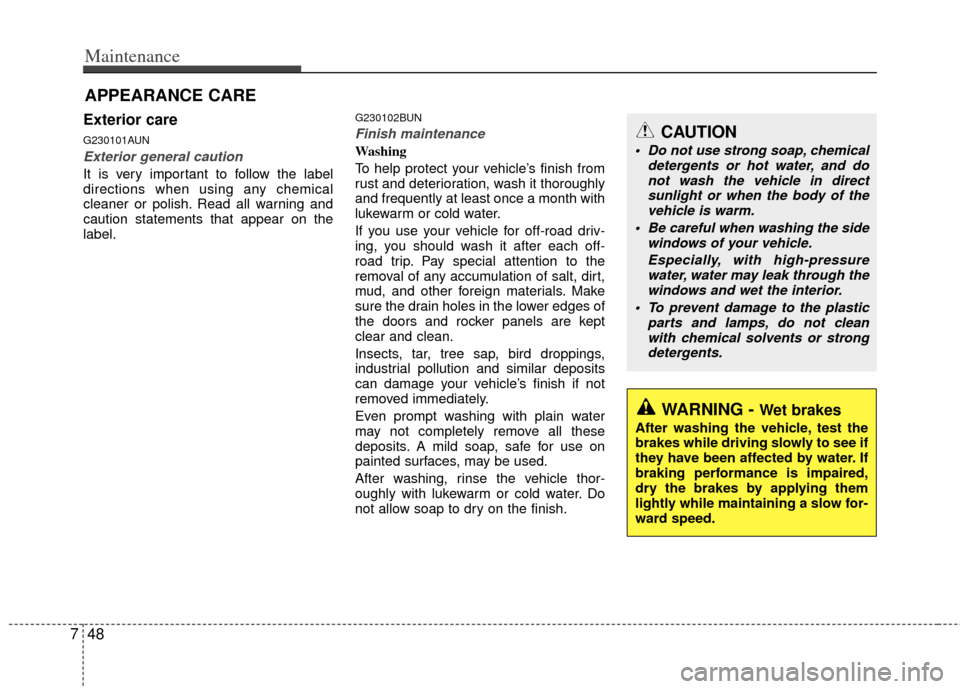
WARNING - Wet brakes
After washing the vehicle, test the
brakes while driving slowly to see if
they have been affected by water. If
braking performance is impaired,
dry the brakes by applying them
lightly while maintaining a slow for-
ward speed.
CAUTION
Do not use strong soap, chemical
detergents or hot water, and donot wash the vehicle in direct sunlight or when the body of thevehicle is warm.
Be careful when washing the side windows of your vehicle.
Especially, with high-pressurewater, water may leak through thewindows and wet the interior.
To prevent damage to the plastic parts and lamps, do not cleanwith chemical solvents or strongdetergents.
Page 326 of 342
751
Maintenance
G230106AAM
Aluminum wheel maintenance
The aluminum wheels are coated with a
clear protective finish.
Do not use any abrasive cleaner, pol-ishing compound, solvent, or wire
brushes on aluminum wheels. They
may scratch or damage the finish.
Use only a mild soap or neutral deter- gent, and rinse thoroughly with water.
Also, be sure to clean the wheels after
driving on salted roads. This helps pre-
vent corrosion.
Avoid washing the wheels with high- speed car wash brushes.
Do not use any cleaners containing acid or acid detergents. It may damage
and corrode the aluminum wheels
coated with a clear protective finish.
G230107AHM
Corrosion protection
Protecting your vehicle from corrosion
By using the most advanced design and
construction practices to combat corro-
sion, we produces vehicles of the highest
quality. However, this is only part of the
job. To achieve the long-term corrosion
resistance your vehicle can deliver, the
owner's cooperation and assistance is
also required.
Common causes of corrosion
The most common causes of corrosion
on your vehicle are:
allowed to accumulate underneath the
vehicle.
Removal of paint or protective coatings by stones, gravel, abrasion or minor
scrapes and dents which leave unpro-
tected metal exposed to corrosion.
High-corrosion areas
If you live in an area where your vehicle
is regularly exposed to corrosive materi-
als, corrosion protection is particularly
important. Some of the common causes
of accelerated corrosion are road salts,
dust control chemicals, ocean air and
industrial pollution. Moisture breeds corrosion
Moisture creates the conditions in which
corrosion is most likely to occur. For
example, corrosion is accelerated by
high humidity, particularly when tempera-
tures are just above freezing. In such
conditions, the corrosive material is kept
in contact with the vehicle surfaces by
moisture that evaporate slowy.
Mud is particularly corrosive because it
dries slowly and holds moisture in con-
tact with the vehicle. Although the mud
appears to be dry, it can still retain the
moisture and promote corrosion.
High temperatures can also accelerate
corrosion of parts that are not properly
ventilated so the moisture can be dis-
persed. For all these reasons, it is partic-
ularly important to keep your vehicle
clean and free of mud or accumulations
of other materials. This applies not only
to the visible surfaces but particularly to
the underside of the vehicle.
Page 327 of 342
Maintenance
52
7
To help prevent corrosion
You can help prevent corrosion from get-
ting started by observing the following:
Keep your vehicle clean
The best way to prevent corrosion is to
keep your vehicle clean and free of cor-
rosive materials. Attention to the under-
side of the vehicle is particularly impor-
tant.
If you live in a high-corrosion area —
where road salts are used, near the
ocean, areas with industrial pollution,
acid rain, etc.—, you should take extra
care to prevent corrosion. In winter,
hose off the underside of your vehicle
at least once a month and be sure to
clean the underside thoroughly when
winter is over. When cleaning underneath the vehicle,
give particular attention to the compo-
nents under the fenders and other
areas that are hidden from view. Do a
thorough job; just dampening the accu-
mulated mud rather than washing it
away will accelerate corrosion rather
than prevent it. Water under high pres-
sure and steam are particularly effec-
tive in removing accumulated mud and
corrosive materials.
rocker panels and frame members, be
sure that drain holes are kept open so
that moisture can escape and not be
trapped inside to accelerate corrosion.
Keep your garage dry
Don't park your vehicle in a damp, poorly
ventilated garage. This creates a favor-
able environment for corrosion. This is
particularly true if you wash your vehicle
in the garage or drive it into the garage
when it is still wet or covered with snow,
ice or mud. Even a heated garage can
contribute to corrosion unless it is well
ventilated so moisture is dispersed. Keep paint and trim in good condition
Scratches or chips in the finish should be
covered with "touch-up" paint as soon as
possible to reduce the possibility of cor-
rosion. If bare metal is showing through,
the attention of a qualified body and paint
shop is recommended.
Bird droppings : Bird droppings are high-
ly corrosive and may damage painted
surfaces in just a few hours. Always
remove bird droppings as soon as possi-
ble.
Don't neglect the interior
Moisture can collect under the floor mats
and carpeting and cause corrosion.
Check under the mats periodically to be
sure the carpeting is dry. Use particular
care if you carry fertilizers, cleaning
materials or chemicals in the car.
These should be carried only in proper
containers and any spills or leaks should
be cleaned up, flushed with clean water
and thoroughly dried.