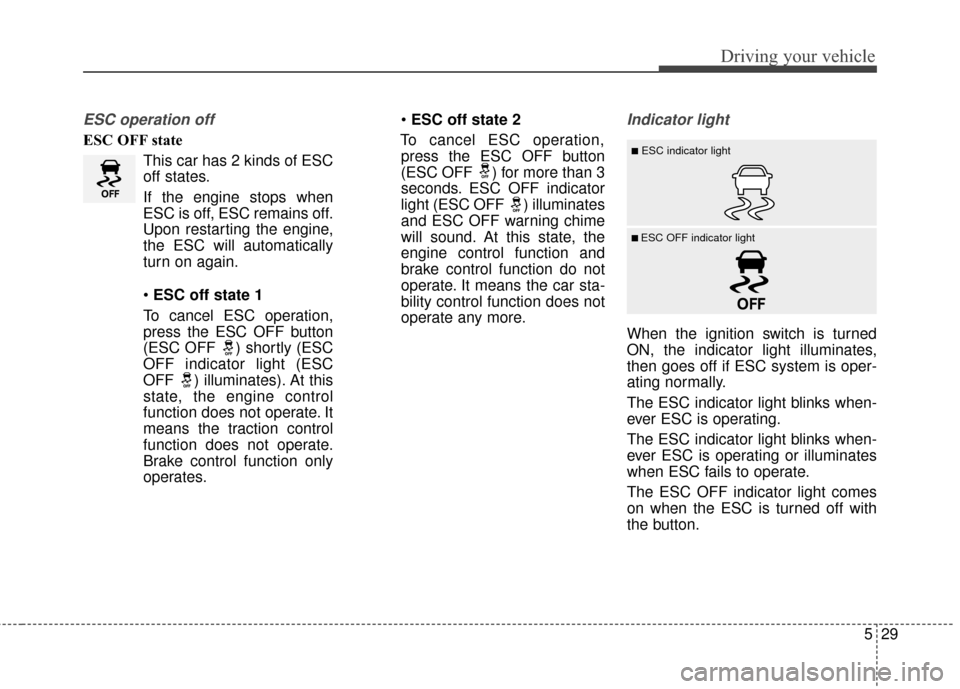
start stop button KIA Cerato 2015 2.G Owner's Guide
[x] Cancel search | Manufacturer: KIA, Model Year: 2015, Model line: Cerato, Model: KIA Cerato 2015 2.GPages: 452, PDF Size: 7.85 MB
Page 302 of 452

529
Driving your vehicle
ESC operation off
ESC OFF stateThis car has 2 kinds of ESC
off states.
If the engine stops when
ESC is off, ESC remains off.
Upon restarting the engine,
the ESC will automatically
turn on again.
ESC off state 1
To cancel ESC operation, press the ESC OFF button
(ESC OFF ) shortly (ESC
OFF indicator light (ESC
OFF ) illuminates). At this
state, the engine control
function does not operate. It
means the traction control
function does not operate.
Brake control function only
operates.
ESC off state 2
To cancel ESC operation, press the ESC OFF button
(ESC OFF ) for more than 3
seconds. ESC OFF indicator
light (ESC OFF ) illuminates
and ESC OFF warning chime
will sound. At this state, the
engine control function and
brake control function do not
operate. It means the car sta-
bility control function does not
operate any more.
Indicator light
When the ignition switch is turned
ON, the indicator light illuminates,
then goes off if ESC system is oper-
ating normally.
The ESC indicator light blinks when-
ever ESC is operating.
The ESC indicator light blinks when-
ever ESC is operating or illuminates
when ESC fails to operate.
The ESC OFF indicator light comes
on when the ESC is turned off with
the button.
■ESC indicator light
■ ESC OFF indicator light
Page 331 of 452

63
What to do in an emergency
In an emergency situation while the
vehicle is in motion, you are able to
turn the engine off and to the ACC
position by pressing the ENGINE
START/STOP button for more than 2
seconds or 3 times successively
within 3 seconds. If the vehicle is still
moving, you can restart the engine
without depressing the brake pedal
by pressing the ENGINE
START/STOP button with the shift
lever in the N (Neutral) position
(if smart key equipped).If the engine stalls at a cross-
road or crossing
If the engine stalls at a crossroad or
crossing, set the shift lever in the N
(Neutral) position and then push the
vehicle to a safe place.
If you have a flat tire while
driving
If a tire goes flat while you are driv-
ing:
1.Take your foot off the acceleratorpedal and let the vehicle slow
down while driving straight ahead.
Do not apply the brakes immedi-
ately or attempt to pull off the road
as this may cause a loss of control.
When the vehicle has slowed down
to such a speed that it is safe to do
so, brake carefully and pull off the
road. Drive off the road as far as
possible and park on a firm level
ground. If you are on a divided
highway, do not park in the median
area between the two traffic lanes. 2.When the vehicle is stopped, turn
on your emergency hazard flash-
ers, set the parking brake and put
the transaxle in P (automatic
transaxle) or reverse (manual
transaxle).
3.Have all passengers get out of the vehicle. Be sure they all get out on
the side of the vehicle that is away
from traffic.
4.When changing a flat tire, follow the instruction provided later in this
section.
If engine stalls while driving
1.Reduce your speed gradually,keeping a straight line. Move cau-
tiously off the road to a safe place.
2.Turn on your emergency flashers.
3.Try to start the engine again. If your vehicle will not start, contact an
authorized Kia dealer or seek other
qualified assistance.
IN CASE OF AN EMERGENCY WHILE DRIVING
Page 339 of 452

611
What to do in an emergency
Using the Tire Mobility Kit
1.Detach the speed restriction label(0) from the sealant bottle (1), and
place it in a highly visible place
inside the vehicle such as on the
steering wheel to remind the driver
not to drive too fast.
2.Screw connection hose (9) onto the connector of the sealant bottle.
3.Ensure that button (8) on the com- pressor is not pressed.
4.Unscrew the valve cap from the valve of the defective wheel and
screw filling hose (2) of the sealant
bottle onto the valve.
5.Insert the sealant bottle into the housing of the compressor (4)so
that the bottle is upright.
✽ ✽ NOTICE
If a foreign object is seen that has
punctured the tire, do not remove it
before using Tire Mobility Kit.
6.Ensure that the compressor is
switched off, position 0.
7.Connect between compressor and the vehicle power outlet using the
cable and connectors.
8.With the engine start/stop button position on or ignition switch posi-
tion on, switch on the compressor
and let it run for approximately 5~7
minutes to fill the sealant up to
proper pressure. (refer to the Tire
and Wheels, chapter 8). The infla-
tion pressure of the tire after filling
is unimportant and will be
checked/corrected later.
Be careful not to overinflate the tire
and stay away from the tire when
filling it. 9.Switch off the compressor.
10. Detach the hoses from the
sealant bottle connector and
from the tire valve.
Return the Tire Mobility Kit to its stor-
age location in the vehicle.
OEL069019
WARNING
Carbon monoxide poisoning
and suffocation is possible if
the engine is left running in a
poorly ventilanted or unventilat-
ed location (such as inside a
building).
WARNING- Tire pressure
Do not attempt to drive your
vehicle if the tire pressure is
below 29 PSI(200kpa). This
could result in an accident due
to sudden tire failure.
Page 447 of 452

I3
Index
Using a child restraint system . . . . . . . . . . . . . . . . . 3-28
Climate control air filter . . . . . . . . . . . . . . . . . . . . . . . . 7-37 Filter inspection . . . . . . . . . . . . . . . . . . . . . . . . . . . . 7-37
Cruise control system . . . . . . . . . . . . . . . . . . . . . . . . . . 5-35
Defroster . . . . . . . . . . . . . . . . . . . . . . . . . . . . . . . . . . . 4-\
109 Front wiper deicer . . . . . . . . . . . . . . . . . . . . . . . . . 4-109
Rear window defroster . . . . . . . . . . . . . . . . . . . . . . 4-109
Dimensions . . . . . . . . . . . . . . . . . . . . . . . . . . . . . . . . . . . 8-\
2
Door locks. . . . . . . . . . . . . . . . . . . . . . . . . . . . . . . . . . . 4-\
18 Auto door lock/unlock feature . . . . . . . . . . . . . . . . . 4-20
Child-protector rear door lock . . . . . . . . . . . . . . . . . 4-21
From inside. . . . . . . . . . . . . . . . . . . . . . . . . . . . . . . . 4-18
From outside. . . . . . . . . . . . . . . . . . . . . . . . . . . . . . . 4-18
Impact sensing door unlock system . . . . . . . . . . . . . 4-20
Speed sensing door lock system . . . . . . . . . . . . . . . 4-21
Economical operation . . . . . . . . . . . . . . . . . . . . . . . . . . 5-41
Emergency starting . . . . . . . . . . . . . . . . . . . . . . . . . . . . . 6-5 If the engine overheats . . . . . . . . . . . . . . . . . . . . . . . . 6-7
Jump starting . . . . . . . . . . . . . . . . . . . . . . . . . . . . . . . 6-5
Push-starting . . . . . . . . . . . . . . . . . . . . . . . . . . . . . . . . 6-6
Emission control system . . . . . . . . . . . . . . . . . . . . . . . . 7-78 Crankcase emission control system . . . . . . . . . . . . . 7-78 Evaporative emission control
(including ORVR: Onboard Refueling Vapor
Recovery) system . . . . . . . . . . . . . . . . . . . . . . . . . 7-78
Exhaust emission control system . . . . . . . . . . . . . . . 7-79
Engine . . . . . . . . . . . . . . . . . . . . . . . . . . . . . . . . . . . . \
. . . 8-2
Engine compartment . . . . . . . . . . . . . . . . . . . . . . . . 2-6, 7-3
Engine coolant . . . . . . . . . . . . . . . . . . . . . . . . . . . . . . . 7-31 Changing the coolant . . . . . . . . . . . . . . . . . . . . . . . . 7-33
Checking the coolant level . . . . . . . . . . . . . . . . . . . . 7-31
Engine number . . . . . . . . . . . . . . . . . . . . . . . . . . . . . . . 8-10
Engine oil . . . . . . . . . . . . . . . . . . . . . . . . . . . . . . . . . . . 7-\
29 Changing the engine oil and filter . . . . . . . . . . . . . . 7-30
Checking the engine oil level . . . . . . . . . . . . . . . . . 7-29
Engine start/stop button . . . . . . . . . . . . . . . . . . . . . . . . . 5-7 ENGINE START/STOP button position . . . . . . . . . . 5-7
Illuminated ENGINE START/STOP button . . . . . . . 5-7
Explanation of scheduled maintenance items . . . . . . . 7-25
Exterior overview . . . . . . . . . . . . . . . . . . . . . . . . . . . . . . 2-2
Fuel filler lid . . . . . . . . . . . . . . . . . . . . . . . . . . . . . . . . . 4-34 Closing the fuel filler lid . . . . . . . . . . . . . . . . . . . . . 4-34
Opening the fuel filler lid. . . . . . . . . . . . . . . . . . . . . 4-34
Fuel requirements . . . . . . . . . . . . . . . . . . . . . . . . . . . . . . 1-3 Do not use methanol . . . . . . . . . . . . . . . . . . . . . . . . . 1-4
Fuel Additives . . . . . . . . . . . . . . . . . . . . . . . . . . . . . . 1-5
Gasoline containing alcohol and methanol . . . . . . . . 1-3
D
EF