tow KIA FORTE 2019 Owner's Guide
[x] Cancel search | Manufacturer: KIA, Model Year: 2019, Model line: FORTE, Model: KIA FORTE 2019Pages: 550, PDF Size: 11.66 MB
Page 324 of 550
Driving your vehicle
78
5
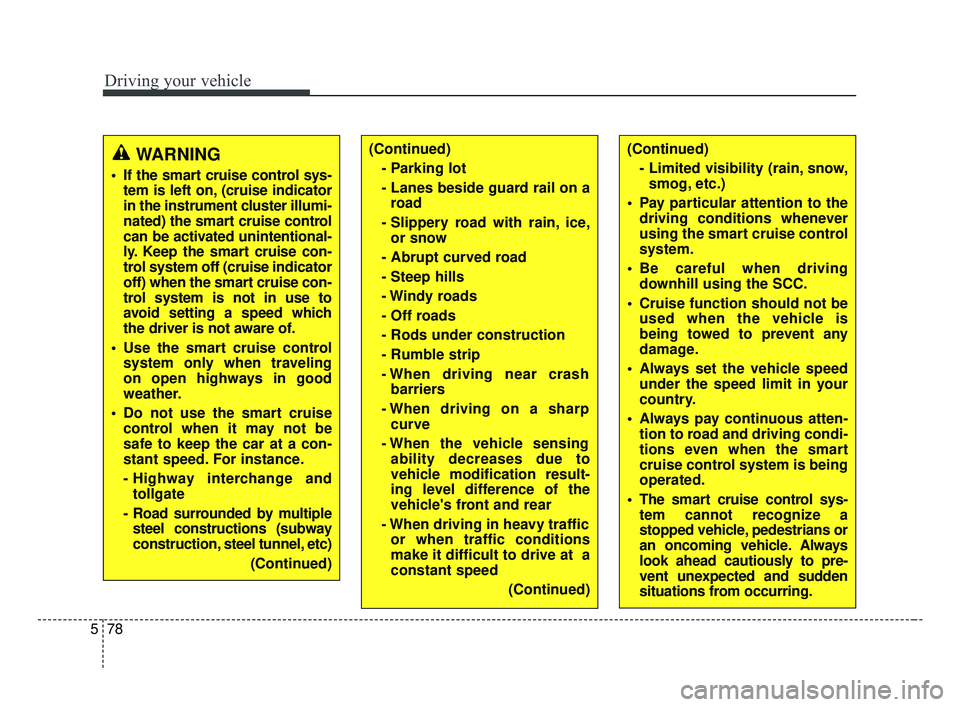
(Continued)
- Parking lot
- Lanes beside guard rail on aroad
- Slippery road with rain, ice, or snow
- Abrupt curved road
- Steep hills
- Windy roads
- Off roads
- Rods under construction
- Rumble strip
- When driving near crash barriers
- When driving on a sharp curve
- When the vehicle sensing ability decreases due to
vehicle modification result-
ing level difference of the
vehicle's front and rear
- When driving in heavy traffic or when traffic conditions
make it difficult to drive at a
constant speed
(Continued)(Continued)- Limited visibility (rain, snow,smog, etc.)
Pay particular attention to the driving conditions whenever
using the smart cruise control
system.
Be careful when driving downhill using the SCC.
Cruise function should not be used when the vehicle is
being towed to prevent any
damage.
Always set the vehicle speed under the speed limit in your
country.
Always pay continuous atten- tion to road and driving condi-
tions even when the smart
cruise control system is being
operated.
The smart cruise control sys- tem cannot recognize a
stopped vehicle, pedestrians or
an oncoming vehicle. Always
look ahead cautiously to pre-
vent unexpected and sudden
situations from occurring.WARNING
If the smart cruise control sys-tem is left on, (cruise indicator
in the instrument cluster illumi-
nated) the smart cruise control
can be activated unintentional-
ly. Keep the smart cruise con-
trol system off (cruise indicator
off) when the smart cruise con-
trol system is not in use to
avoid setting a speed which
the driver is not aware of.
Use the smart cruise control system only when traveling
on open highways in good
weather.
Do not use the smart cruise control when it may not be
safe to keep the car at a con-
stant speed. For instance.
- Highway interchange andtollgate
- Road surrounded by multiple steel constructions (subway
construction, steel tunnel, etc)
(Continued)
BDm CAN (ENG) 5.QXP 7/4/2018 10:15 AM Page 78
Page 341 of 550
595
Driving your vehicle
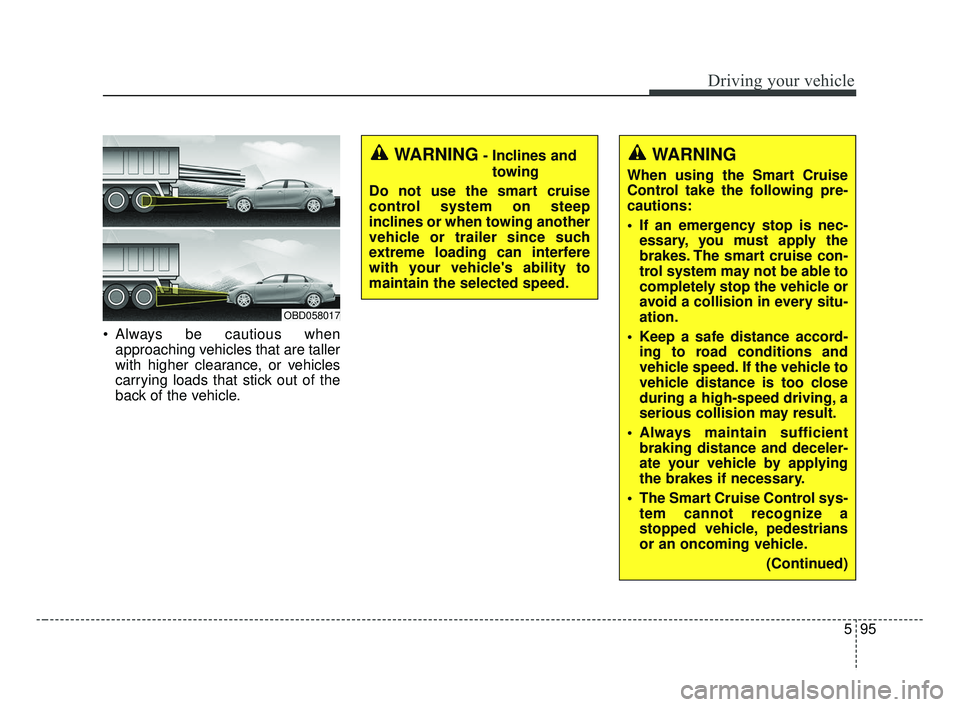
Always be cautious whenapproaching vehicles that are taller
with higher clearance, or vehicles
carrying loads that stick out of the
back of the vehicle.
OBD058017
WARNING
When using the Smart Cruise
Control take the following pre-
cautions:
If an emergency stop is nec-essary, you must apply the
brakes. The smart cruise con-
trol system may not be able to
completely stop the vehicle or
avoid a collision in every situ-
ation.
Keep a safe distance accord- ing to road conditions and
vehicle speed. If the vehicle to
vehicle distance is too close
during a high-speed driving, a
serious collision may result.
Always maintain sufficient braking distance and deceler-
ate your vehicle by applying
the brakes if necessary.
The Smart Cruise Control sys- tem cannot recognize a
stopped vehicle, pedestrians
or an oncoming vehicle.
(Continued)
WARNING- Inclines andtowing
Do not use the smart cruise
control system on steep
inclines or when towing another
vehicle or trailer since such
extreme loading can interfere
with your vehicle's ability to
maintain the selected speed.
BDm CAN (ENG) 5.QXP 7/4/2018 10:16 AM Page 95
Page 374 of 550
Driving your vehicle
128
5
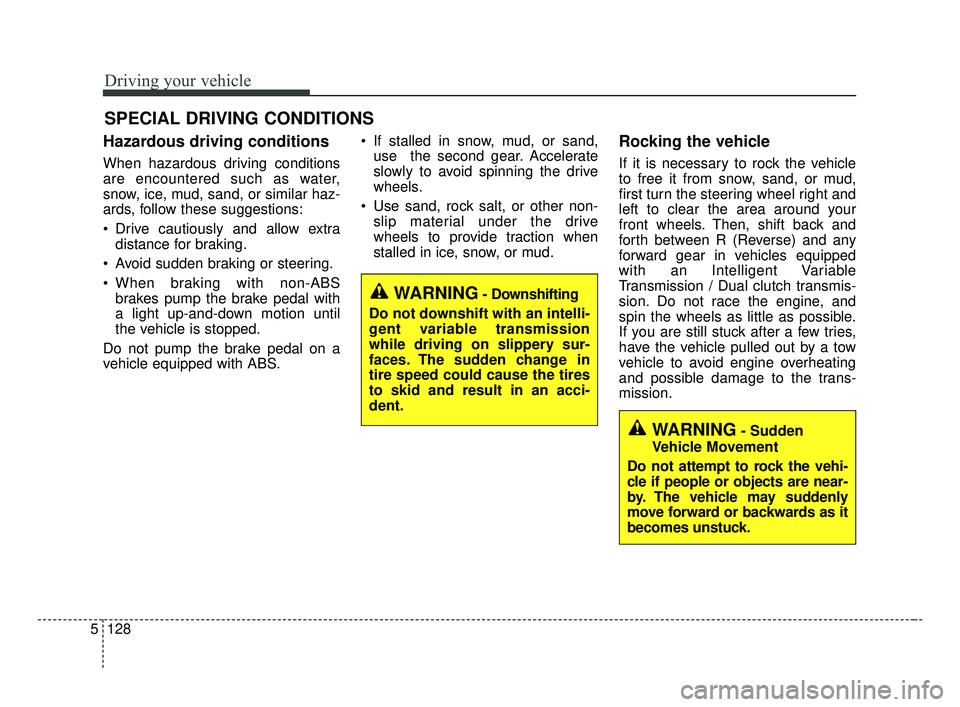
Hazardous driving conditions
When hazardous driving conditions
are encountered such as water,
snow, ice, mud, sand, or similar haz-
ards, follow these suggestions:
Drive cautiously and allow extra
distance for braking.
Avoid sudden braking or steering.
When braking with non-ABS brakes pump the brake pedal with
a light up-and-down motion until
the vehicle is stopped.
Do not pump the brake pedal on a
vehicle equipped with ABS. If stalled in snow, mud, or sand,
use the second gear. Accelerate
slowly to avoid spinning the drive
wheels.
Use sand, rock salt, or other non- slip material under the drive
wheels to provide traction when
stalled in ice, snow, or mud.
Rocking the vehicle
If it is necessary to rock the vehicle
to free it from snow, sand, or mud,
first turn the steering wheel right and
left to clear the area around your
front wheels. Then, shift back and
forth between R (Reverse) and any
forward gear in vehicles equipped
with an Intelligent Variable
Transmission / Dual clutch transmis-
sion. Do not race the engine, and
spin the wheels as little as possible.
If you are still stuck after a few tries,
have the vehicle pulled out by a tow
vehicle to avoid engine overheating
and possible damage to the trans-
mission.
SPECIAL DRIVING CONDITIONS
WARNING- Downshifting
Do not downshift with an intelli-
gent variable transmission
while driving on slippery sur-
faces. The sudden change in
tire speed could cause the tires
to skid and result in an acci-
dent.
WARNING- Sudden
Vehicle Movement
Do not attempt to rock the vehi-
cle if people or objects are near-
by. The vehicle may suddenly
move forward or backwards as it
becomes unstuck.
BDm CAN (ENG) 5.QXP 7/4/2018 10:18 AM Page 128
Page 380 of 550
Driving your vehicle
134
5
Don’t let your parking brake
freeze
Under some conditions your parking
brake can freeze in the engaged
position. This is most likely to happen
when there is an accumulation of
snow or ice around or near the rear
brakes or if the brakes are wet. If
there is a risk the parking brake may
freeze, apply it only temporarily while
you put the gear shift lever in P
(Park, Intelligent variable transmis-
sion / Dual clutch transmission) and
block the rear wheels so the vehicle
cannot roll. Then release the parking
brake.
Don't let ice and snow accu-
mulate underneath
Under some conditions, snow and
ice can build up under the fenders
and interfere with the steering. When
driving in severe winter conditions
where this may happen, you should
periodically check underneath the
vehicle to be sure the movement of
the front wheels and the steering
components are not obstructed.
Carry emergency equipment
Depending on the severity of the
weather, you should carry appropri-
ate emergency equipment. Some of
the items you may want to carry
include tow straps or chains, flash-
light, emergency flares, sand, shov-
el, jumper cables, window scraper,
gloves, ground cloth, coveralls, blan-
ket, etc.
TRAILER TOWING
We do not recommend using this
vehicle for trailer towing.
BDm CAN (ENG) 5.QXP 7/4/2018 10:18 AM Page 134
Page 382 of 550
Driving your vehicle
136
5
Vehicle capacity weight:
410 kg (904 lbs.)
Vehicle capacity weight is the maxi-
mum combined weight of occupants
and cargo.
Seating capacity:
Total : 5 persons (Front seat : 2 persons, Rear seat : 3 persons)
Seating capacity is the maximum
number of occupants including a
driver, your vehicle may carry.
However, the seating capacity may
be reduced based upon the weight of
all of the occupants, and the weight
of the cargo being carried.
Do not overload the vehicle as there
is a limit to the total weight, or load
limit including occupants and cargo,
the vehicle can carry.
Towing capacity:
We do not recommend using this
vehicle for trailer towing.
Cargo capacity:
The cargo capacity of your vehicle
will increase or decrease depending
on the weight and the number of
occupants.
BDm CAN (ENG) 5.QXP 7/4/2018 10:18 AM Page 136
Page 383 of 550
5137
Driving your vehicle
Steps For Determining CorrectLoad Limit -
1. Locate the statement “The com- bined weight of occupants and
cargo should never exceed XXX
kg or XXX lbs.” on your vehicle's
placard.
2. Determine the combined weight of the driver and passengers that will
be riding in your vehicle.
3. Subtract the combined weight of the driver and passengers from
XXX kg or XXX lbs.
4. The resulting figure equals the available amount of cargo and lug-
gage load capacity. For example, if
the "XXX" amount equals 635 kg
(1400 lbs.) and there will be five 68
kg (150 lb) passengers in your
vehicle, the amount of available
cargo and luggage load capacity
is 295 kg (650 lbs).
(635-340 (5 x 68) = 295 kg or
1400-750 (5 x 150) = 650 lbs.) 5. Determine the combined weight of
luggage and cargo being loaded
on the vehicle. That weight may
not safely exceed the available
cargo and luggage load capacity
calculated in Step 4.
6. If your vehicle will be towing a trail- er, load from your trailer will be
transferred to your vehicle. Consult
this manual to determine how this
reduces the available cargo and
luggage load capacity of your
vehicle.
WARNING - Loose cargo
Do not travel with unsecured
blunt objects in the passenger
compartment of your vehicle
(e.g. suit cases or unsecured
child seats). These items may
strike occupant during a sud-
den stop or crash.
BDm CAN (ENG) 5.QXP 7/4/2018 10:18 AM Page 137
Page 387 of 550
What to do in an emergency
Road warning . . . . . . . . . . . . . . . . . . . . . . . . . . . . . . 6-2
• Hazard warning flasher . . . . . . . . . . . . . . . . . . . . . . . 6-2
In case of an emergency while driving . . . . . . . . . . 6-3
• If the engine stalls at a crossroad or crossing. . . . . . . 6-3
• If you have a flat tire while driving . . . . . . . . . . . . . . . 6-3
• If the engine stalls while driving . . . . . . . . . . . . . . . . . 6-3
If the engine will not start . . . . . . . . . . . . . . . . . . . . 6-4
• If engine doesn't turn over or turns over slowly . . . . 6-4
• If engine turns over normally but does not start . . . . 6-4
Emergency starting . . . . . . . . . . . . . . . . . . . . . . . . . 6-5
• Jump starting . . . . . . . . . . . . . . . . . . . . . . . . . . . . . . . . . 6-5
• Push-starting . . . . . . . . . . . . . . . . . . . . . . . . . . . . . . . . . 6-6
If the engine overheats . . . . . . . . . . . . . . . . . . . . . . . 6-7
Tire Pressure Monitoring System (TPMS) . . . . . . 6-8
• Check tire pressure . . . . . . . . . . . . . . . . . . . . . . . . . . . . 6-8
• Low tire pressure telltale . . . . . . . . . . . . . . . . . . . . . . 6-10
• Low tire pressure position telltale . . . . . . . . . . . . . . . 6-10
• Changing a tire with TPMS . . . . . . . . . . . . . . . . . . . . 6-12
If you have a flat tire . . . . . . . . . . . . . . . . . . . . . . . 6-14
• Jack and tools . . . . . . . . . . . . . . . . . . . . . . . . . . . . . . . 6-14
• Removing and storing the spare tire . . . . . . . . . . . . . 6-15
• Changing tires . . . . . . . . . . . . . . . . . . . . . . . . . . . . . . . 6-15
If you have a flat tire (With Tire Mobility Kit). . 6-23
• Introduction . . . . . . . . . . . . . . . . . . . . . . . . . . . . . . . . . 6-24
• Notes on the safe use of the Tire Mobility Kit . . . . . 6-25
• Components of the Tire Mobility Kit (TMK). . . . . . 6-26
• Components of the Tire Mobility Kit (TMK). . . . . . 6-27
• Using the Tire Mobility Kit . . . . . . . . . . . . . . . . . . . . 6-28
• Distributing the sealant. . . . . . . . . . . . . . . . . . . . . . . . 6-31
• Checking the tire inflation pressure . . . . . . . . . . . . . 6-31
• Technical data . . . . . . . . . . . . . . . . . . . . . . . . . . . . . . . 6-32
Towing . . . . . . . . . . . . . . . . . . . . . . . . . . . . . . . . . . . 6-\
33
• Towing service . . . . . . . . . . . . . . . . . . . . . . . . . . . . . . . 6-33
• Removable towing hook . . . . . . . . . . . . . . . . . . . . . . . 6-35
• Emergency towing . . . . . . . . . . . . . . . . . . . . . . . . . . . . 6-35
6
BDm CAN (ENG) 6.qxp 7/4/2018 10:20 AM Page 1
Page 388 of 550
What to do in an emergency
26
ROAD WARNING
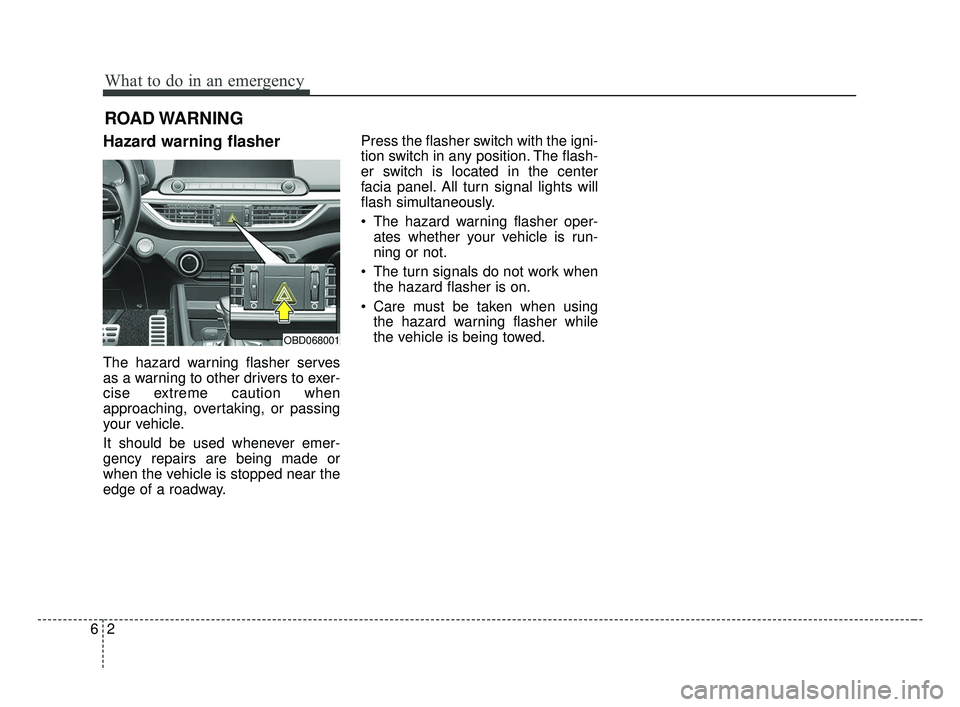
Hazard warning flasher
The hazard warning flasher serves
as a warning to other drivers to exer-
cise extreme caution when
approaching, overtaking, or passing
your vehicle.
It should be used whenever emer-
gency repairs are being made or
when the vehicle is stopped near the
edge of a roadway.Press the flasher switch with the igni-
tion switch in any position. The flash-
er switch is located in the center
facia panel. All turn signal lights will
flash simultaneously.
• The hazard warning flasher oper-
ates whether your vehicle is run-
ning or not.
The turn signals do not work when the hazard flasher is on.
Care must be taken when using the hazard warning flasher while
the vehicle is being towed.
OBD068001
BDm CAN (ENG) 6.qxp 7/4/2018 10:20 AM Page 2
Page 391 of 550
65
What to do in an emergency
EMERGENCY STARTING
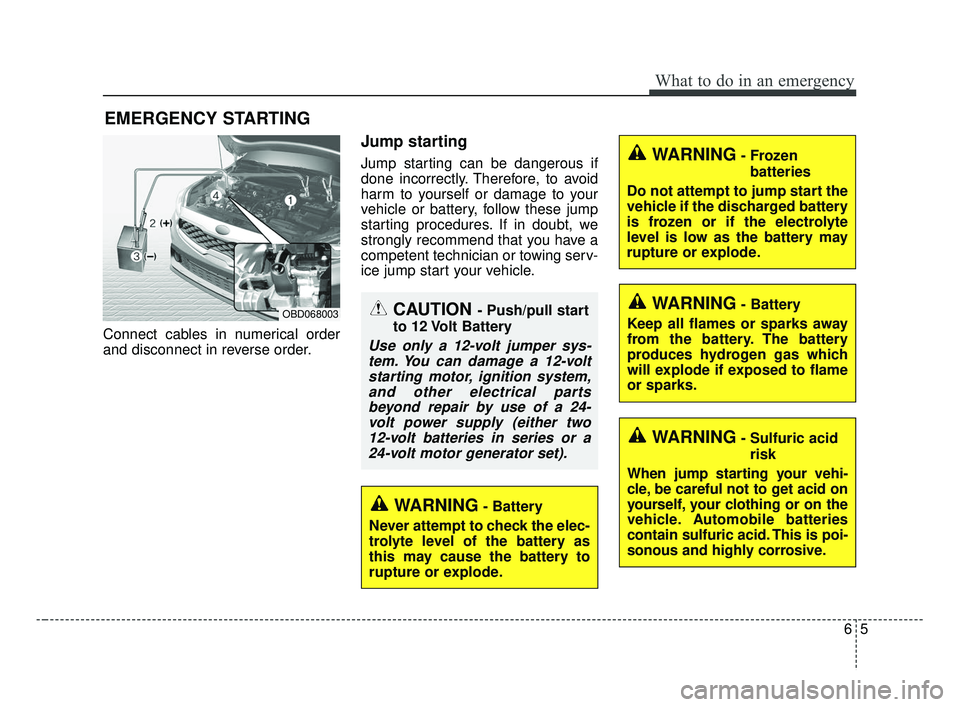
Connect cables in numerical order
and disconnect in reverse order.
Jump starting
Jump starting can be dangerous if
done incorrectly. Therefore, to avoid
harm to yourself or damage to your
vehicle or battery, follow these jump
starting procedures. If in doubt, we
strongly recommend that you have a
competent technician or towing serv-
ice jump start your vehicle.
CAUTION - Push/pull start
to 12 Volt Battery
Use only a 12-volt jumper sys- tem. You can damage a 12-voltstarting motor, ignition system,and other electrical partsbeyond repair by use of a 24-volt power supply (either two12-volt batteries in series or a24-volt motor generator set).
WARNING- Battery
Never attempt to check the elec-
trolyte level of the battery as
this may cause the battery to
rupture or explode.
WARNING- Frozen batteries
Do not attempt to jump start the
vehicle if the discharged battery
is frozen or if the electrolyte
level is low as the battery may
rupture or explode.
WARNING- Sulfuric acid risk
When jump starting your vehi-
cle, be careful not to get acid on
yourself, your clothing or on the
vehicle. Automobile batteries
contain sulfuric acid. This is poi-
sonous and highly corrosive.
WARNING- Battery
Keep all flames or sparks away
from the battery. The battery
produces hydrogen gas which
will explode if exposed to flame
or sparks.OBD068003
BDm CAN (ENG) 6.qxp 7/4/2018 10:20 AM Page 5
Page 392 of 550
What to do in an emergency
66
Jump starting procedure
1.Make sure the booster battery is12-volt and that its negative termi-
nal is grounded.
2.If the booster battery is in another vehicle, do not allow the vehicles to
come in contact.
3.Turn off all unnecessary electrical loads.
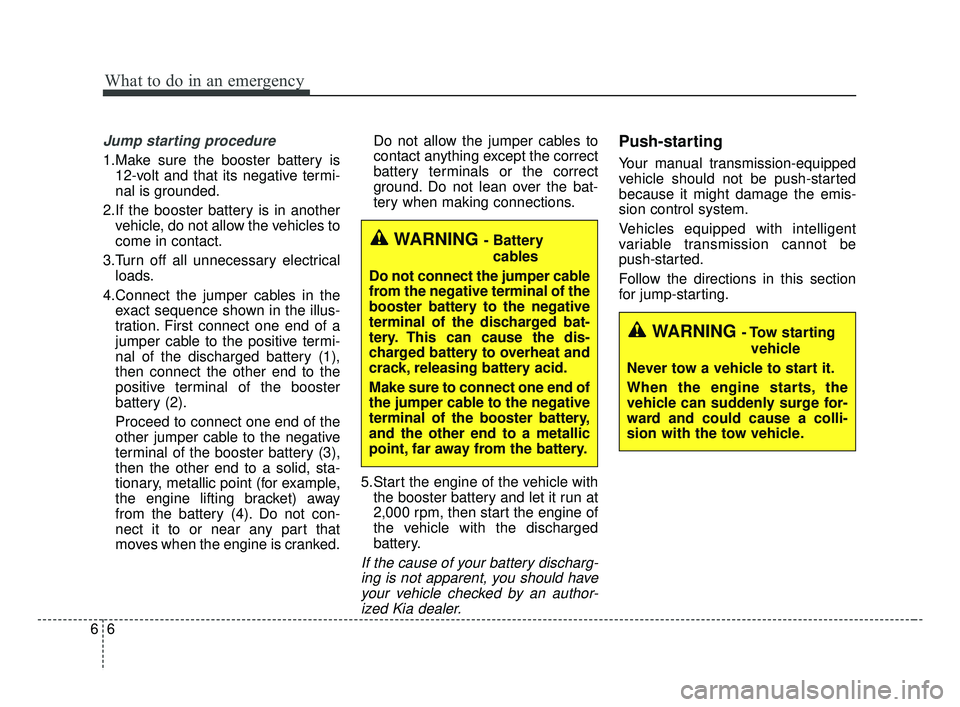
4.Connect the jumper cables in the exact sequence shown in the illus-
tration. First connect one end of a
jumper cable to the positive termi-
nal of the discharged battery (1),
then connect the other end to the
positive terminal of the booster
battery (2).
Proceed to connect one end of the
other jumper cable to the negative
terminal of the booster battery (3),
then the other end to a solid, sta-
tionary, metallic point (for example,
the engine lifting bracket) away
from the battery (4). Do not con-
nect it to or near any part that
moves when the engine is cranked. Do not allow the jumper cables to
contact anything except the correct
battery terminals or the correct
ground. Do not lean over the bat-
tery when making connections.
5.Start the engine of the vehicle with the booster battery and let it run at
2,000 rpm, then start the engine of
the vehicle with the discharged
battery.
If the cause of your battery discharg-ing is not apparent, you should haveyour vehicle checked by an author-ized Kia dealer.
Push-starting
Your manual transmission-equipped
vehicle should not be push-started
because it might damage the emis-
sion control system.
Vehicles equipped with intelligent
variable transmission cannot be
push-started.
Follow the directions in this section
for jump-starting.
WARNING - Tow starting
vehicle
Never tow a vehicle to start it.
When the engine starts, the
vehicle can suddenly surge for-
ward and could cause a colli-
sion with the tow vehicle.
WARNING - Battery cables
Do not connect the jumper cable
from the negative terminal of the
booster battery to the negative
terminal of the discharged bat-
tery. This can cause the dis-
charged battery to overheat and
crack, releasing battery acid.
Make sure to connect one end of
the jumper cable to the negative
terminal of the booster battery,
and the other end to a metallic
point, far away from the battery.
BDm CAN (ENG) 6.qxp 7/4/2018 10:20 AM Page 6