KIA Magnetis 2009 2.G Owner's Manual
Manufacturer: KIA, Model Year: 2009, Model line: Magnetis, Model: KIA Magnetis 2009 2.GPages: 326, PDF Size: 4.37 MB
Page 121 of 326
455
Features of your vehicle
D150320AUNMalfunction indicator light(MIL) (check engine light) This indicator light is part of the Engine
Control System which monitors various
emission control system components. If
this light illuminates while driving, it indi-
cates that a potential malfunction has
been detected somewhere in the emis-
sion control system.
This light will also illuminate when the
ignition switch is turned to the ON posi-
tion, and will go out in a few seconds
after the engine is started. If it illuminates
while driving, or does not illuminate when
the ignition switch is turned to the ON
position, take your vehicle to your near-
est authorized KIA dealer and have the
system checked.
Generally, your vehicle will continue to be
drivable, but have the system checked by
an authorized KIA dealer promptly.
D150323AMG-EUESC indicator (ElectronicStability Control) The ESC indicator will illuminate when
the ignition switch is turned ON, but
should go off after approximately 3 sec-
onds. When the ESC is on, it monitors
the driving conditions and under normal
driving conditions, the ESC light will
remain off. When a slippery or low trac-
tion condition is encountered, the ESC
will operate, and the ESC indicator will
blink to indicate the ESC is operating.
CAUTION
Prolonged driving with the Malfunction Indicator Light illumi-nated may cause damage to theemission control systems which could effect drivability and/or fueleconomy.
If the Malfunction Indicator Light illuminates, potential catalyticconverter damage is possiblewhich could result in loss of engine power. Have the EngineControl System inspected as soonas possible by an authorized KIAdealer.
ESC
Page 122 of 326
Features of your vehicle56
4D150324AUN-EUESC OFF indicator The ESC OFF indicator will illuminate
when the ignition switch is turned ON,
but should go off after approximately 3
seconds. To switch to ESC OFF mode,
press the ESC OFF button. The ESC
OFF indicator will illuminate indicating
the ESC is deactivated. If this indicator
stays on when ESC OFF is not selected,
the ESC may have a malfunction. Take
your car to an authorized KIA dealer and
have the system checked.
D150325ABHCruise indicator CRUISE indicator
The indicator light illuminates when the
cruise control system is enabled.
The cruise indicator light in the instru-
ment cluster is illuminated when the
cruise control ON-OFF button on the
steering wheel is pushed.
The indicator light turns off when the
cruise control ON-OFF button is pushed
again. For more information about the
use of cruise control, refer to “Cruise
control system” in section 5. Cruise SET indicator
The indicator light illuminates when the
cruise function switch (SET- or RES+) is
ON.
The cruise SET indicator light in the
instrument cluster is illuminated when
the cruise control switch (SET- or RES+)
is pushed. The cruise SET indicator light
does not illuminate when the cruise con-
trol switch (CANCEL) is pushed or the
system is disengaged.
SET
CRUISE
ESC
OFF
Page 123 of 326
457
Features of your vehicle
D150326AMGECO indicator (if equipped)
The ECO indicator light assists you to
drive in the most economical way.
The green indicator comes on when you
drive with high fuel efficiency.
The system is designed to encourage
eco-driving by providing real-time feed-
back to the driver.
To turn the ECO indicator OFF/ON
with trip computer (Type A)
Select the ECO mode by pressing the
TRIP button for less than 1 second.
Then, press the TRIP button for more
than 1 second.
When the instantaneous fuel consump-
tion mode is displayed on the LCD moni-
tor or the system is not working properly,
the indicator turns off.
If the indicator turns off when the instan-
taneousant fuel consumption mode is not
selected, have the system checked by an
authorized KIA dealer as soon as possi-
ble. The fuel efficiency depends on driver's
driving habit and road condition.
The system stops operation when the
transaxle is in the P,R,N position or
sports mode, or instantaneous fuel con-
sumption mode is selected.
D180000AUNThe hazard warning flasher should be
used whenever you find it necessary to
stop the car in a hazardous location.
When you must make such an emer-
gency stop, always pull off the road as far
as possible.
The hazard warning lights are turned on
by pushing in the hazard switch. This
causes all turn signal lights to blink. The
hazard warning lights will operate even
though the key is not in the ignition
switch.
To turn the hazard warning lights off,
push the switch a second time.HAZARD WARNING FLASHER
OMG049055
ECO
WARNING
Do not focus the indicator too
much. You may lose your steering
control and cause an accident that
results in severe personal injury or
death.
Page 124 of 326
Features of your vehicle58
4D190100AMG-EUBattery saver function The purpose of this feature is to pre-
vent the battery from being dis-
charged. The system automatically
turns off the exterior lights when the
driver removes the ignition key and
opens the driver-side door.
With this feature, the parking lights will be turned off automatically if the driver
parks on the side of road at night.
If necessary, to keep the lights on
when the ignition key is removed, per-
form the following:
1) Open the driver-side door.
2) Turn the parking lights OFF and ON again using the light switch on the
steering column.
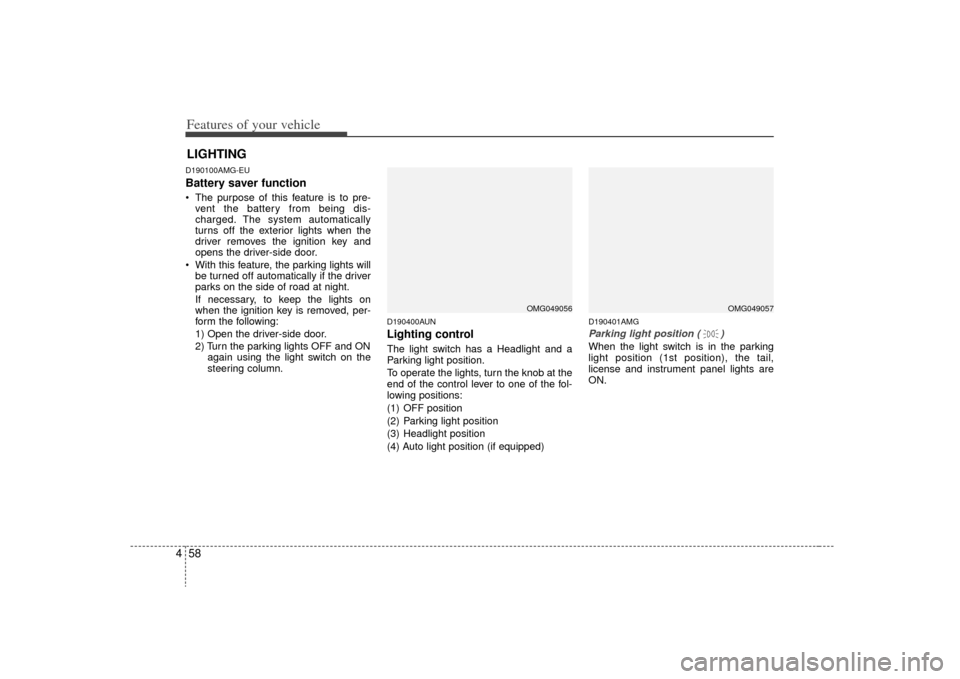
D190400AUNLighting controlThe light switch has a Headlight and a
Parking light position.
To operate the lights, turn the knob at the
end of the control lever to one of the fol-
lowing positions:
(1) OFF position
(2) Parking light position
(3) Headlight position
(4) Auto light position (if equipped)
D190401AMGParking light position ( )When the light switch is in the parking
light position (1st position), the tail,
license and instrument panel lights are
ON.
LIGHTING
OMG049056
OMG049057
Page 125 of 326
459
Features of your vehicle
D190402ABHHeadlight position ( )When the light switch is in the headlight
position (2nd position), the head, tail,
license and instrument panel lights are
ON.✽ ✽NOTICEThe ignition switch must be in the ON
position to turn on the headlights.
D190403AUNAuto light position (if equipped)When the light switch is in the AUTO light
position, the taillights and headlights will
be turned ON or OFF automatically
depending on the amount of light outside
the vehicle.
CAUTION
Never place anything over sensor
(1) located on the instrumentpanel. This will ensure betterauto-light system control.
Don’t clean the sensor using a window cleaner. The cleaner mayleave a light film which couldinterfere with sensor operation.
If your vehicle has window tint or other types of coating on thefront windshield, the Auto light system may not work properly.
OMG049059
OMG049058
Page 126 of 326
Features of your vehicle60
4D190500AUNHigh beam operation To turn on the high beam headlights,
push the lever away from you. Pull it back
for low beams.
The high beam indicator will light when
the headlight high beams are switched
on.
To prevent the battery from being dis-
charged, do not leave the lights on for a
prolonged time while the engine is not
running. To flash the headlights, pull the lever
towards you. It will return to the normal
(low beam) position when released. The
headlight switch does not need to be on
to use this flashing feature.
D190600AUNTurn signals and lane change sig-
nalsThe ignition switch must be on for the
turn signals to function. To turn on the
turn signals, move the lever up or down
(A). Green arrow indicators on the instru-
ment panel indicate which turn signal is
operating. They will self-cancel after a
turn is completed. If the indicator contin-
ues to flash after a turn, manually return
the lever to the OFF position.
OMG049061
OMG049060
OMG049062
Page 127 of 326
461
Features of your vehicle
To signal a lane change, move the turn
signal lever slightly and hold it in position
(B). The lever will return to the OFF posi-
tion when released.
If an indicator stays on and does not
flash or if it flashes abnormally, one of the
turn signal bulbs may be burned out and
will require replacement.✽ ✽NOTICEIf an indicator flash is abnormally quick
or slow, a bulb may be burned out or
have a poor electrical connection in the
circuit.
D190700AHD-EUFront fog light (if equipped) Fog lights are used to provide improved
visibility and avoid accidents when visibil-
ity is poor due to fog, rain or snow etc.
The fog lights will turn on when fog light
switch (1) is turned to ON after the head-
lights are turned on.
To turn off the fog lights, turn the switch
to OFF.
D190900AUN-ECDaytime running light
(if equipped)Daytime Running Lights (DRL) can make
it easier for others to see the front of your
vehicle during the day. DRL can be help-
ful in many different driving conditions,
and it is especially helpful after dawn and
before sunset.
The DRL system will make the head-
lights turn OFF when:
1. The headlight switch is ON.
2. The parking brake is applied.
3. Engine stops.
CAUTION
When in operation, the fog lights
consume large amounts of vehicleelectrical power. Only use the fog lights when visibility is poor orunnecessary battery and generator drain could occur.
OMG049063
Page 128 of 326
Features of your vehicle62
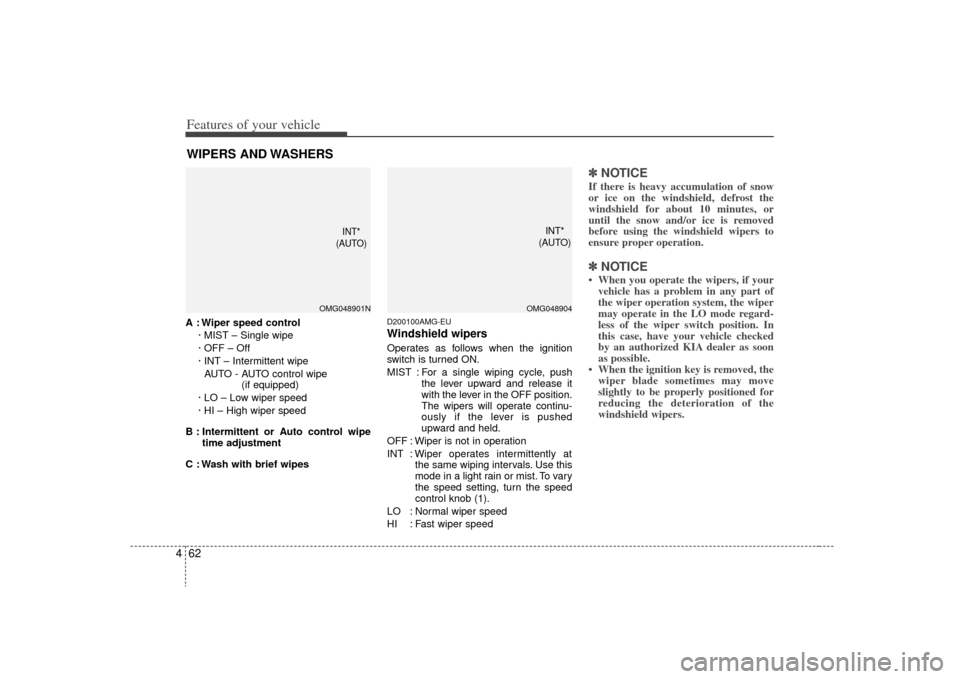
4WIPERS AND WASHERSA : Wiper speed control
· MIST – Single wipe
· OFF – Off
· INT – Intermittent wipe AUTO - AUTO control wipe (if equipped)
· LO – Low wiper speed
· HI – High wiper speed
B : Intermittent or Auto control wipe time adjustment
C : Wash with brief wipes
D200100AMG-EUWindshield wipers Operates as follows when the ignition
switch is turned ON.
MIST : For a single wiping cycle, push the lever upward and release it
with the lever in the OFF position.
The wipers will operate continu-
ously if the lever is pushed
upward and held.
OFF : Wiper is not in operation
INT : Wiper operates intermittently at the same wiping intervals. Use this
mode in a light rain or mist. To vary
the speed setting, turn the speed
control knob (1).
LO : Normal wiper speed
HI : Fast wiper speed
✽ ✽ NOTICEIf there is heavy accumulation of snow
or ice on the windshield, defrost the
windshield for about 10 minutes, or
until the snow and/or ice is removed
before using the windshield wipers to
ensure proper operation. ✽ ✽NOTICE• When you operate the wipers, if your
vehicle has a problem in any part of
the wiper operation system, the wiper
may operate in the LO mode regard-
less of the wiper switch position. In
this case, have your vehicle checked
by an authorized KIA dealer as soon
as possible.
• When the ignition key is removed, the wiper blade sometimes may move
slightly to be properly positioned for
reducing the deterioration of the
windshield wipers.
OMG048901N
OMG048904
INT*
(AUTO)
INT*
(AUTO)
Page 129 of 326
463
Features of your vehicle
D200101AMGAuto control (if equipped)The rain sensor located on the upper end
of the windshield glass senses the
amount of rainfall and controls the wiping
cycle for the proper interval. The more it
rains, the faster the wiper operates. When
the rain stops, the wiper stops. To vary the
speed setting, turn the speed control
knob (1).If the ignition switch is turned ON when
the wiper switch is set in AUTO mode, or
the wiper switch is set in AUTO mode
when the ignition switch is ON, or the
speed control knob is turned upward
when the wiper switch is in AUTO mode,
the wiper will operate once to perform a
self-check of the system. Set the wiper to
OFF position when the wiper is not in
use.
CAUTION
When the ignition switch is ON and
the windshield wiper switch isplaced in the AUTO mode, use cau-tion in the following situations to avoid any injury to the hands orother parts of the body:
Do not touch the upper end of the windshield glass facing the rainsensor.
Do not wipe the upper end of the windshield glass with a damp orwet cloth.
Do not put pressure on the wind- shield glass.
CAUTION
When washing the vehicle, set thewiper switch in the OFF position tostop the auto wiper operation.
The wiper may operate and be dam-aged if the switch is set in the AUTOmode while washing the vehicle.
Do not remove the sensor coverlocated on the upper end of the pas- senger side windshield glass.Damage to system parts could occur and may not be covered byyour vehicle warranty.
When starting the vehicle in winter,set the wiper switch in the OFFposition. Otherwise, wipers may operate and ice may damage thewindshield wiper blades. Alwaysremove all snow and ice and defrost the windshield properly prior tooperating the windshield wipers.
ONF048067Sensor
Page 130 of 326
Features of your vehicle64
4D200200AUNWindshield washers In the OFF position, pull the lever gently
toward you to spray washer fluid on the
windshield and to run the wipers 1-3
cycles.
Use this function when the windshield is
dirty.
The spray and wiper operation will con-
tinue until you release the lever.
If the washer does not work, check the
washer fluid level. If the fluid level is not
sufficient, you will need to add appropri-
ate non-abrasive windshield washer fluid
to the washer reservoir.
The reservoir filler neck is located in the
front of the engine compartment on the
passenger side.
CAUTION
To prevent possible damage to the
washer pump, do not operate thewasher when the fluid reservoir is empty.
WARNING
Do not use the washer in freezing
temperatures without first warming
the windshield with the defrosters;
the washer solution could freeze on
contact with the windshield and
obscure your vision.
CAUTION
To prevent possible damage to the wipers or windshield, do notoperate the wipers when thewindshield is dry.
To prevent damage to the wiper blades, do not use gasoline,kerosene, paint thinner, or othersolvents on or near them.
To prevent damage to the wiper arms and other components, donot attempt to move the wipersmanually.
ONF048068