AUX KIA NIRO 2019 Owners Manual
[x] Cancel search | Manufacturer: KIA, Model Year: 2019, Model line: NIRO, Model: KIA NIRO 2019Pages: 611, PDF Size: 15.28 MB
Page 12 of 611
H5
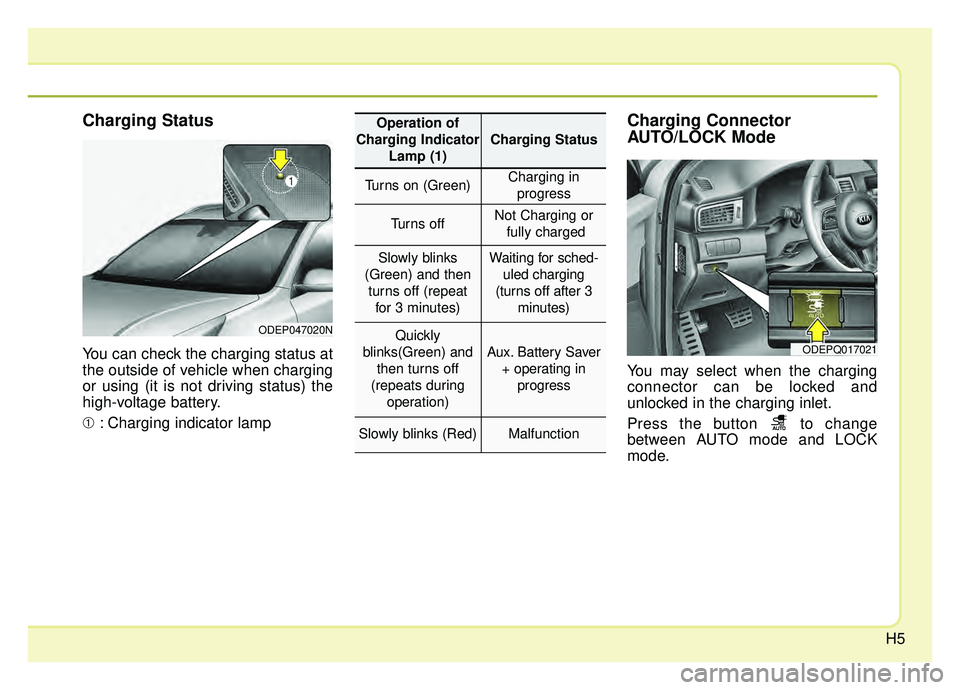
Charging Status
You can check the charging status at
the outside of vehicle when charging
or using (it is not driving status) the
high-voltage battery.
➀: Charging indicator lamp
Charging Connector
AUTO/LOCK Mode
You may select when the charging
connector can be locked and
unlocked in the charging inlet.
Press the button to change
between AUTO mode and LOCK
mode.
ODEP047020N
ODEPQ017021
Operation of
Charging Indicator Lamp (1)
Charging Status
Turns on (Green)Charging inprogress
Turns offNot Charging or fully charged
Slowly blinks
(Green) and then turns off (repeat for 3 minutes)Waiting for sched- uled charging
(turns off after 3 minutes)
Quickly
blinks(Green) and then turns off
(repeats during operation)
Aux. Battery Saver+ operating in progress
Slowly blinks (Red)Malfunction
Page 20 of 611
H13
Unlock Connector in Emergency
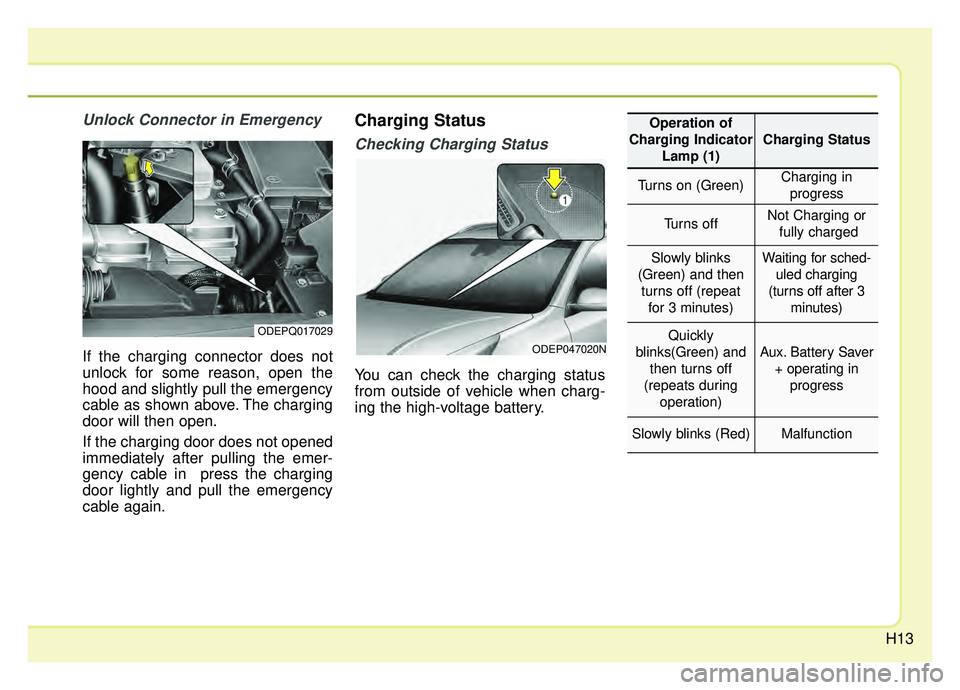
If the charging connector does not
unlock for some reason, open the
hood and slightly pull the emergency
cable as shown above. The charging
door will then open.
If the charging door does not opened
immediately after pulling the emer-
gency cable in press the charging
door lightly and pull the emergency
cable again.
Charging Status
Checking Charging Status
You can check the charging status
from outside of vehicle when charg-
ing the high-voltage battery.
ODEPQ017029
ODEP047020N
Operation of
Charging Indicator Lamp (1)
Charging Status
Turns on (Green)Charging inprogress
Turns offNot Charging or fully charged
Slowly blinks
(Green) and then turns off (repeat for 3 minutes)Waiting for sched- uled charging
(turns off after 3 minutes)
Quickly
blinks(Green) and then turns off
(repeats during operation)
Aux. Battery Saver+ operating in progress
Slowly blinks (Red)Malfunction
Page 26 of 611
H19
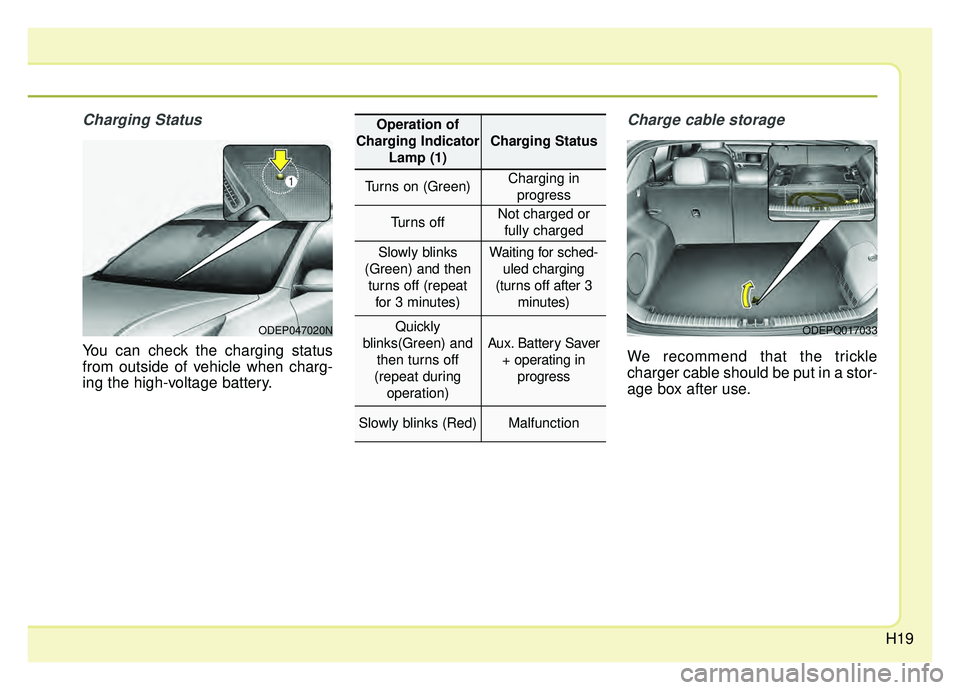
Charging Status
You can check the charging status
from outside of vehicle when charg-
ing the high-voltage battery.
Charge cable storage
We recommend that the trickle
charger cable should be put in a stor-
age box after use.
ODEP047020NODEPQ017033
Operation of
Charging Indicator Lamp (1)
Charging Status
Turns on (Green)Charging inprogress
Turns offNot charged or fully charged
Slowly blinks
(Green) and then turns off (repeat for 3 minutes)Waiting for sched- uled charging
(turns off after 3 minutes)
Quickly
blinks(Green) and then turns off
(repeat during operation)
Aux. Battery Saver + operating in progress
Slowly blinks (Red)Malfunction
Page 42 of 611
H35
AUX. BATTERY SAVER+ (For
Plug-in Hybrid, if equipped)
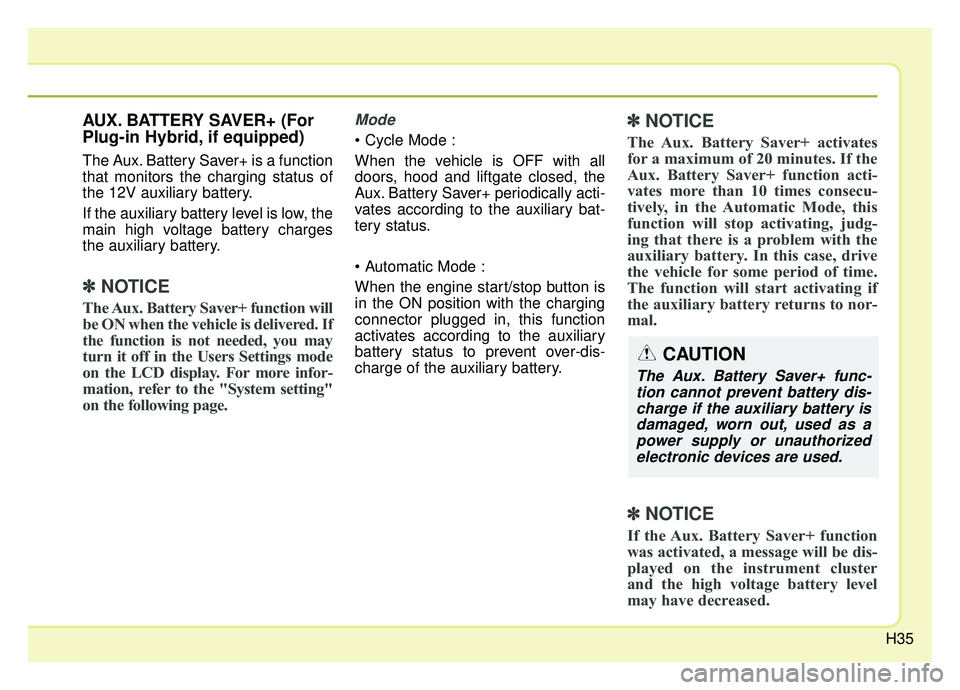
The Aux. Battery Saver+ is a function
that monitors the charging status of
the 12V auxiliary battery.
If the auxiliary battery level is low, the
main high voltage battery charges
the auxiliary battery.
✽ ✽NOTICE
The Aux. Battery Saver+ function will
be ON when the vehicle is delivered. If
the function is not needed, you may
turn it off in the Users Settings mode
on the LCD display. For more infor-
mation, refer to the "System setting"
on the following page.
Mode
When the vehicle is OFF with all
doors, hood and liftgate closed, the
Aux. Battery Saver+ periodically acti-
vates according to the auxiliary bat-
tery status.
When the engine start/stop button is
in the ON position with the charging
connector plugged in, this function
activates according to the auxiliary
battery status to prevent over-dis-
charge of the auxiliary battery.
✽ ✽NOTICE
The Aux. Battery Saver+ activates
for a maximum of 20 minutes. If the
Aux. Battery Saver+ function acti-
vates more than 10 times consecu-
tively, in the Automatic Mode, this
function will stop activating, judg-
ing that there is a problem with the
auxiliary battery. In this case, drive
the vehicle for some period of time.
The function will start activating if
the auxiliary battery returns to nor-
mal.
✽ ✽NOTICE
If the Aux. Battery Saver+ function
was activated, a message will be dis-
played on the instrument cluster
and the high voltage battery level
may have decreased.
CAUTION
The Aux. Battery Saver+ func-
tion cannot prevent battery dis-charge if the auxiliary battery isdamaged, worn out, used as apower supply or unauthorizedelectronic devices are used.
Page 43 of 611
H36
System setting
The driver can activate the Aux.
Battery Saver+ function by placing
the engine start/stop button to the
ON position and by selecting:
"User Settings ➞Other Features ➞
Aux. Battery Saver+"
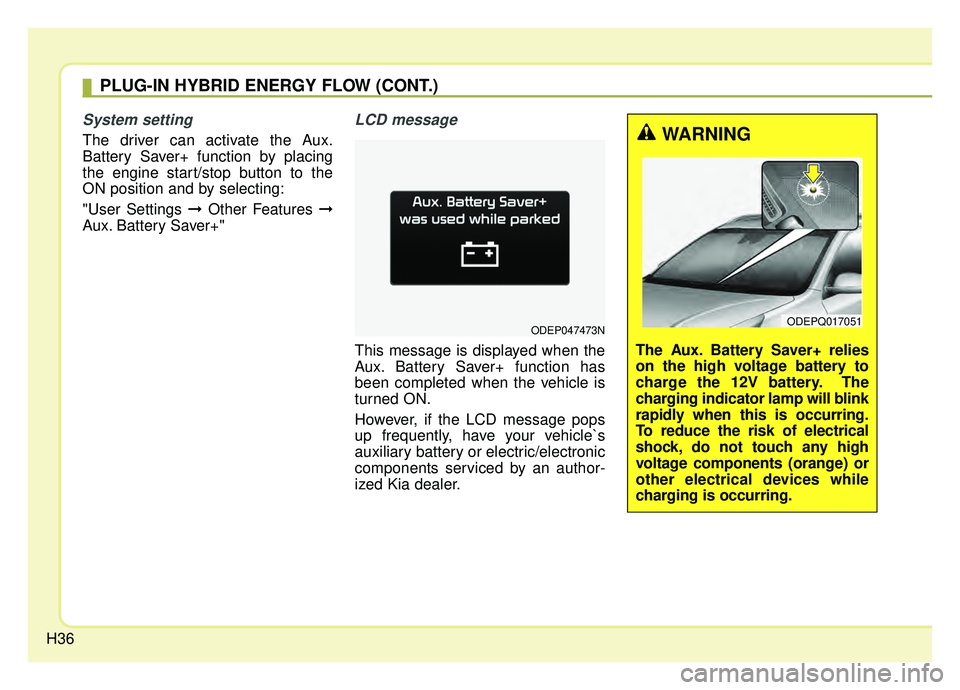
LCD message
This message is displayed when the
Aux. Battery Saver+ function has
been completed when the vehicle is
turned ON.
However, if the LCD message pops
up frequently, have your vehicle`s
auxiliary battery or electric/electronic
components serviced by an author-
ized Kia dealer.
ODEP047473N
WARNING
The Aux. Battery Saver+ relies
on the high voltage battery to
charge the 12V battery. The
charging indicator lamp will blink
rapidly when this is occurring.
To reduce the risk of electrical
shock, do not touch any high
voltage components (orange) or
other electrical devices while
charging is occurring.
ODEPQ017051
PLUG-IN HYBRID ENERGY FLOW (CONT.)
Page 219 of 611
Features of your vehicle
84
4
✽ ✽
NOTICE
If any of the following conditions
occur, the mileage and number of
days to service may be incorrect.
- The battery cable is disconnected.
- The fuse switch is turned off.
- The battery is discharged.
Other Features
Instrument Cluster layout (if
equipped)
Selecting the mode
Simple/Normal/Detailed changes
the LCD screen of the instrument
cluster. (For Type B cluster of Plug-
in Hybrid)
Aux. Battery Saver + (if equipped) : If this item is checked, the Aux.
Battery Saver + function will be
activated.
❈ For more details, refer to “Aux.
Battery Saver +” in chapter Intro.
Fuel Economy Auto Reset - Off : The average fuel economywill not reset automatically when-
ever refueling.
- After Ignition : The average fuel economy will reset automatically
whenever it has passed 4 hours
after turning OFF the engine.
- After Refueling : The average fuel economy will reset automatically
when refueling.
❈ For more details, refer to “Trip
Computer” in this chapter. Fuel Economy Unit : Choose the
fuel economy unit. (US gallon, UK
gallon)
Temperature Unit : Choose the temperature unit. (°C, °F)
Tire Pressure Unit (if equipped) : Choose the tire pressure unit. (psi,
kPa, bar)
Reset
You can reset the menus in the User
Settings Mode. All menus in the User
Settings Mode are initialized, except
service interval.
Page 302 of 611
Audio system
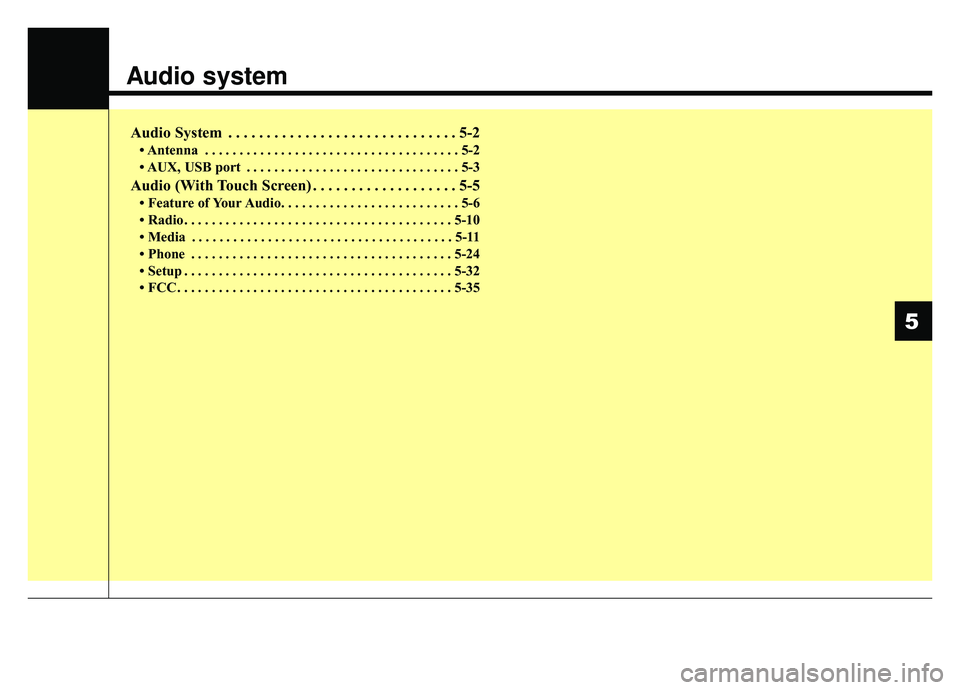
Audio System . . . . . . . . . . . . . . . . . . . . . . . . . . . . . . 5-2
• Antenna . . . . . . . . . . . . . . . . . . . . . . . . . . . . . . . . . . . . \
. 5-2
• AUX, USB port . . . . . . . . . . . . . . . . . . . . . . . . . . . . . . . 5-3
Audio (With Touch Screen) . . . . . . . . . . . . . . . . . . . 5-5
• Feature of Your Audio. . . . . . . . . . . . . . . . . . . . . . . . . . 5-6
• Radio . . . . . . . . . . . . . . . . . . . . . . . . . . . . . . . . . . . . \
. . . 5-10
• Media . . . . . . . . . . . . . . . . . . . . . . . . . . . . . . . . . . . . \
. . 5-11
• Phone . . . . . . . . . . . . . . . . . . . . . . . . . . . . . . . . . . . . \
. . 5-24
• Setup . . . . . . . . . . . . . . . . . . . . . . . . . . . . . . . . . . . . \
. . . 5-32
• FCC . . . . . . . . . . . . . . . . . . . . . . . . . . . . . . . . . . . . \
. . . . 5-35
5
Page 304 of 611
Audio system
53
AUX, USB port
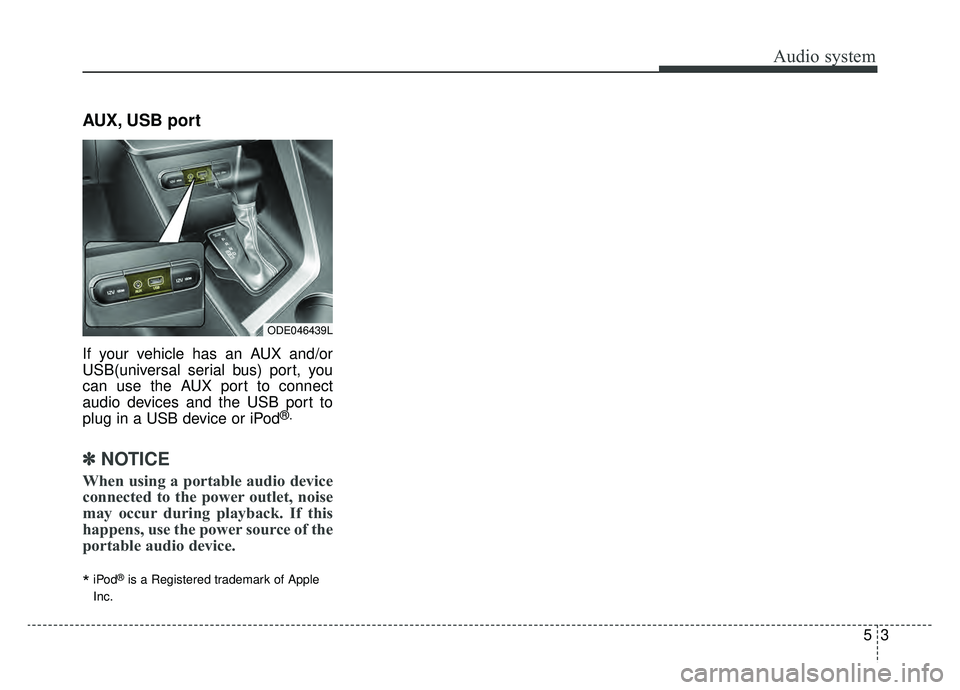
If your vehicle has an AUX and/or
USB(universal serial bus) port, you
can use the AUX port to connect
audio devices and the USB port to
plug in a USB device or iPod
®.
✽ ✽NOTICE
When using a portable audio device
connected to the power outlet, noise
may occur during playback. If this
happens, use the power source of the
portable audio device.
*iPod®is a Registered trademark of Apple
Inc.
ODE046439L
Page 307 of 611
Audio system
56
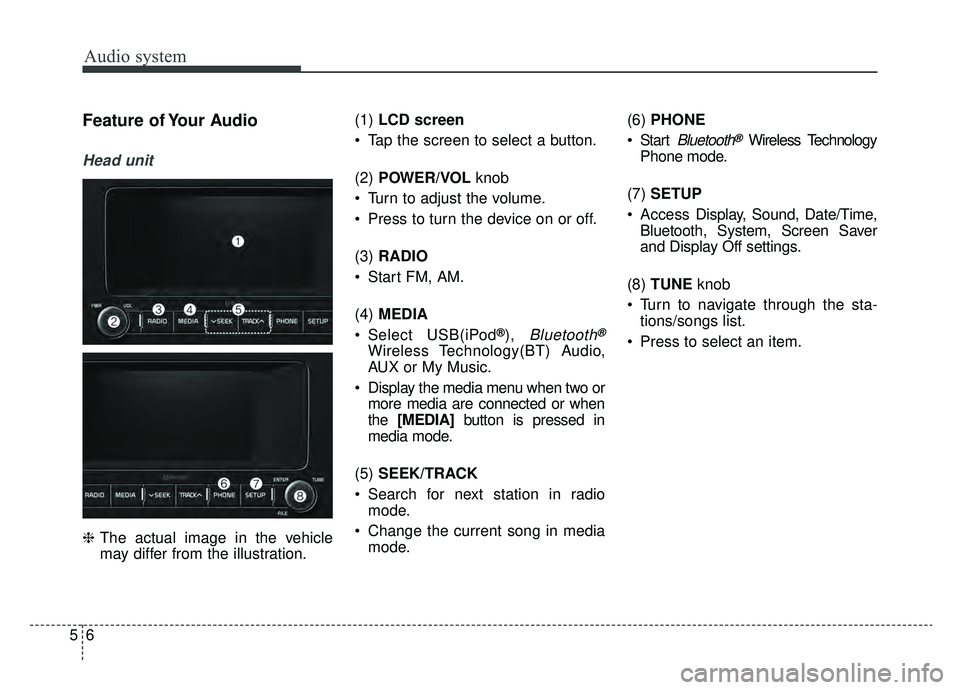
Feature of Your Audio
Head unit
❈The actual image in the vehicle
may differ from the illustration. (1)
LCD screen
Tap the screen to select a button.
(2) POWER/VOL knob
Turn to adjust the volume.
Press to turn the device on or off.
(3) RADIO
Start FM, AM.
(4) MEDIA
Select USB(iPod
®), Bluetooth®
Wireless Technology(BT) Audio,
AUX or My Music.
Display the media menu when two or more media are connected or when
the [MEDIA] button is pressed in
media mode.
(5) SEEK/TRACK
Search for next station in radio mode.
Change the current song in media mode. (6)
PHONE
Start
Bluetooth®Wireless Technology
Phone mode.
(7) SETUP
Access Display, Sound, Date/Time,
Bluetooth, System, Screen Saver
and Display Off settings.
(8) TUNE knob
Turn to navigate through the sta- tions/songs list.
Press to select an item.
Page 308 of 611
Audio system
75
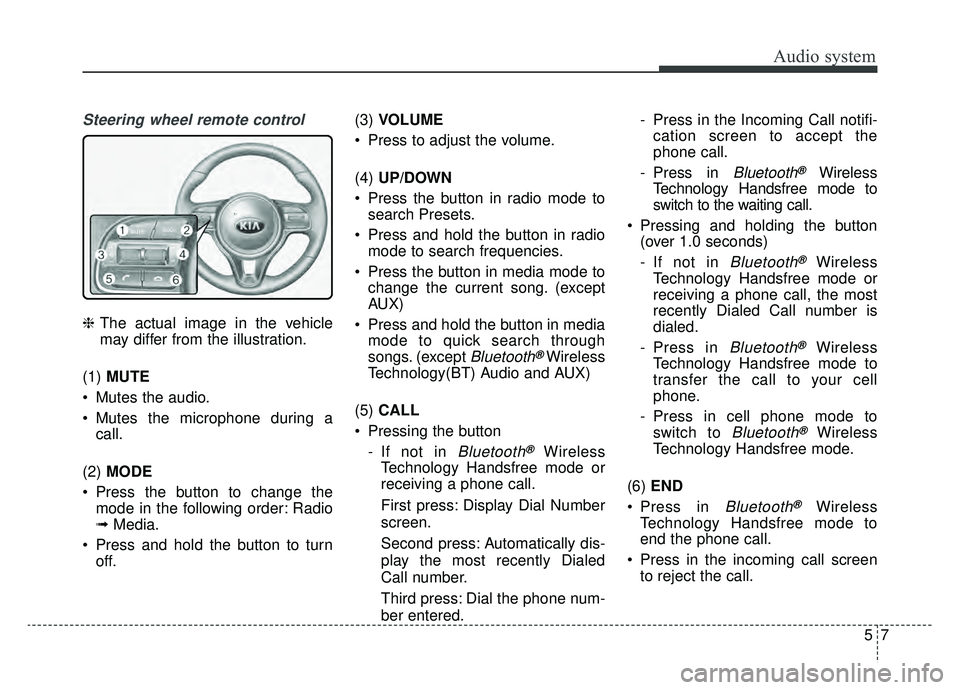
Steering wheel remote control
❈The actual image in the vehicle
may differ from the illustration.
(1) MUTE
Mutes the audio.
Mutes the microphone during a call.
(2) MODE
Press the button to change the mode in the following order: Radio
➟ Media.
Press and hold the button to turn off. (3)
VOLUME
Press to adjust the volume.
(4) UP/DOWN
Press the button in radio mode to search Presets.
Press and hold the button in radio mode to search frequencies.
Press the button in media mode to change the current song. (except
AUX)
Press and hold the button in media mode to quick search through
songs. (except
Bluetooth®Wireless
Technology(BT) Audio and AUX)
(5) CALL
Pressing the button - If not in
Bluetooth®Wireless
Technology Handsfree mode or
receiving a phone call.
First press: Display Dial Number
screen.
Second press: Automatically dis-
play the most recently Dialed
Call number.
Third press: Dial the phone num-
ber entered. - Press in the Incoming Call notifi-
cation screen to accept the
phone call.
- Press in
Bluetooth®Wireless
Technology Handsfree mode to
switch to the waiting call.
Pressing and holding the button (over 1.0 seconds)
- If not in
Bluetooth®Wireless
Technology Handsfree mode or
receiving a phone call, the most
recently Dialed Call number is
dialed.
- Press in
Bluetooth®Wireless
Technology Handsfree mode to
transfer the call to your cell
phone.
- Press in cell phone mode to switch to
Bluetooth®Wireless
Technology Handsfree mode.
(6) END
Press in
Bluetooth®Wireless
Technology Handsfree mode to
end the phone call.
Press in the incoming call screen to reject the call.