check engine KIA Opirus 2007 1.G Owner's Manual
[x] Cancel search | Manufacturer: KIA, Model Year: 2007, Model line: Opirus, Model: KIA Opirus 2007 1.GPages: 283, PDF Size: 18.42 MB
Page 17 of 283
37
Knowing your vehicle
Your vehicle is equipped with an elec-
tronic engine immobilizer system to
reduce the risk of unauthorized vehicle
use.
The immobilizer system is comprised of
a small transponder in the ignition key
and electronic devices inside the vehicle.
With the immobilizer system, whenever
you insert your ignition key into the igni-
tion switch and turn it to ON, it checks
and determines whether the ignition key
is valid or not.
If the key is determined to be valid, the
engine will start.
If the key is determined to be invalid, the
engine will not start.
To deactivate the immobilizer sys-
tem:Insert the ignition key into the key cylin-
der and turn it to the ON position.To activate the immobilizer sys-
tem:Turn the ignition key to the OFF position.
The immobilizer system activates auto-
matically. Without a valid ignition key for
your vehicle, the engine will not start.✽ ✽NOTICEWhen starting the engine, do not use the
key with other immobilizer keys near it.
Otherwise the engine may not start or
may stop soon after it starts. Keep each
keys separate.
Limp home (override) procedureWhen you turn the ignition key to the ON
position, if the IMMO indicator remains
on continuously after blinking 6 times,
your transponder equipped in the ignition
key is out of order. You cannot start the
engine without the lime home procedure.
To start the engine, you have to input
your password by using the ignition
switch.
The following procedure is how to input
your password of “2345” as an example.
1. Turn the ignition key to the ON posi-
tion. The IMMO indicator ( ) will
blink 6 times and remain on indicating
the beginning of the limp home proce-
dure.
2. Turn the ignition key to the ACC posi- tion.
IMMOBILIZER SYSTEM (IF EQUIPPED)
Page 83 of 283
373
Knowing your vehicle
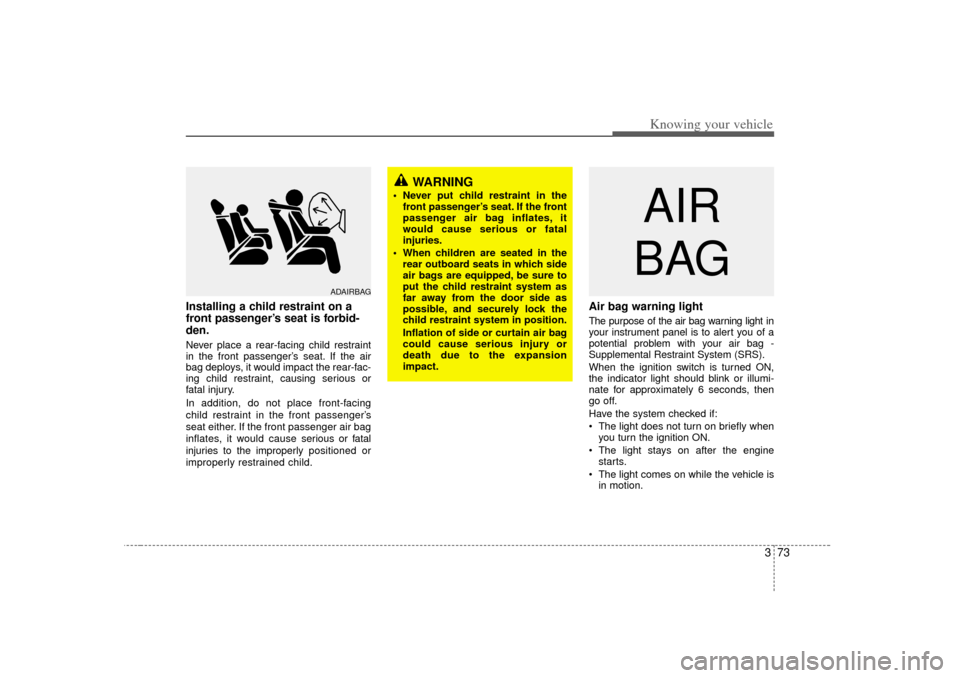
Installing a child restraint on a
front passenger’s seat is forbid-
den.Never place a rear-facing child restraint
in the front passenger’s seat. If the air
bag deploys, it would impact the rear-fac-
ing child restraint, causing serious or
fatal injury.
In addition, do not place front-facing
child restraint in the front passenger ’s
seat either. If the front passenger air bag
inflates, it would cause ser ious or fatal
injuries to the improperly positioned or
improperly restrained child.
Air bag warning lightThe purpose of the air bag warning light in
your instrument panel is to alert you of a
potential problem with your air bag -
Supplemental Restraint System (SRS).
When the ignition switch is turned ON,
the indicator light should blink or illumi-
nate for approximately 6 seconds, then
go off.
Have the system checked if:
The light does not turn on briefly when
you turn the ignition ON.
The light stays on after the engine
starts.
The light comes on while the vehicle is
in motion.
ADAIRBAG
AIR
BAG
WARNING
Never put child restraint in the front passenger’s seat. If the front
passenger air bag inflates, it
would cause serious or fatal
injuries.
When children are seated in the rear outboard seats in which side
air bags are equipped, be sure to
put the child restraint system as
far away from the door side as
possible, and securely lock the
child restraint system in position.
Inflation of side or curtain air bag
could cause serious injury or
death due to the expansion
impact.
Page 86 of 283
Knowing your vehicle76
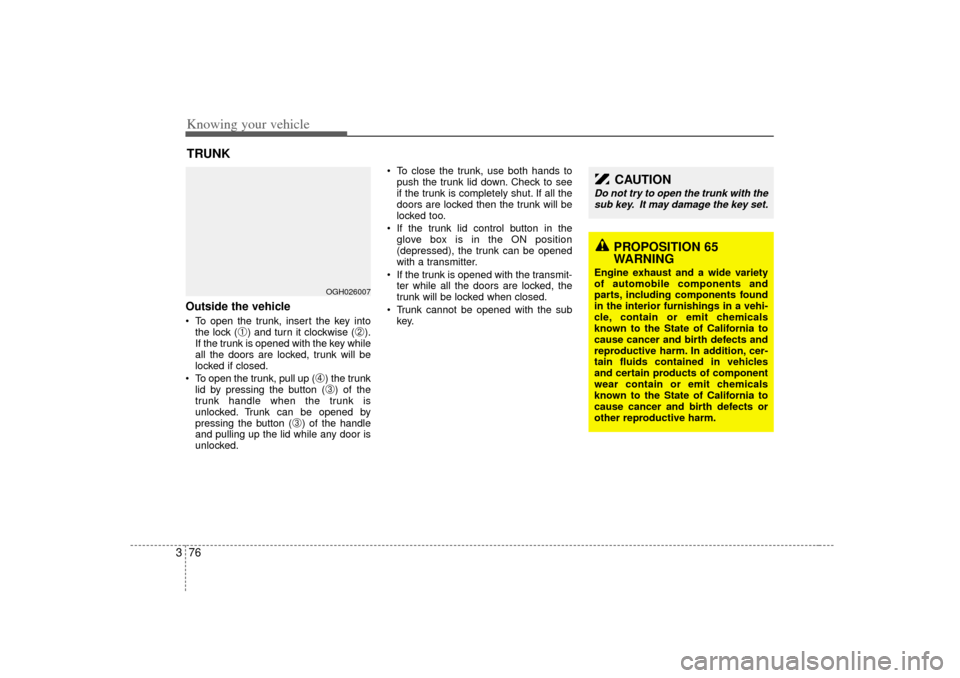
3Outside the vehicle To open the trunk, insert the key into
the lock (
➀) and turn it clockwise (
➁).
If the trunk is opened with the key while
all the doors are locked, trunk will be
locked if closed.
To open the trunk, pull up (
➃) the trunk
lid by pressing the button (➂) of the
trunk handle when the trunk is
unlocked. Trunk can be opened by
pressing the button (
➂) of the handle
and pulling up the lid while any door is
unlocked.
To close the trunk, use both hands to
push the trunk lid down. Check to see
if the trunk is completely shut. If all the
doors are locked then the trunk will be
locked too.
If the trunk lid control button in the
glove box is in the ON position
(depressed), the trunk can be opened
with a transmitter.
If the trunk is opened with the transmit-
ter while all the doors are locked, the
trunk will be locked when closed.
Trunk cannot be opened with the sub
key.
TRUNK
OGH026007
PROPOSITION 65
WARNING
Engine exhaust and a wide variety
of automobile components and
parts, including components found
in the interior furnishings in a vehi-
cle, contain or emit chemicals
known to the State of California to
cause cancer and birth defects and
reproductive harm. In addition, cer-
tain fluids contained in vehicles
and certain products of component
wear contain or emit chemicals
known to the State of California to
cause cancer and birth defects or
other reproductive harm.
CAUTION
Do not try to open the trunk with the
sub key. It may damage the key set.
Page 90 of 283
Knowing your vehicle80
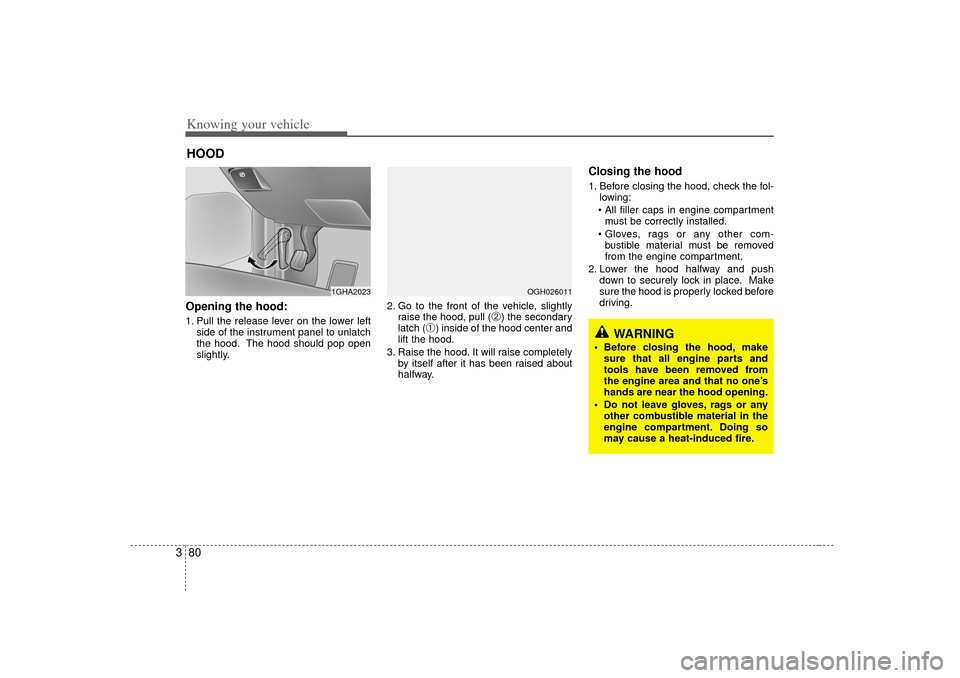
3Opening the hood:1. Pull the release lever on the lower left
side of the instrument panel to unlatch
the hood. The hood should pop open
slightly. 2. Go to the front of the vehicle, slightly
raise the hood, pull (
➁) the secondary
latch (
➀) inside of the hood center and
lift the hood.
3. Raise the hood. It will raise completely by itself after it has been raised about
halfway.
Closing the hood1. Before closing the hood, check the fol-lowing:
All filler caps in engine compartment must be correctly installed.
Gloves, rags or any other com- bustible material must be removed
from the engine compartment.
2. Lower the hood halfway and push down to securely lock in place. Make
sure the hood is properly locked before
driving.
HOOD
1GHA2023
OGH026011
WARNING
Before closing the hood, makesure that all engine parts and
tools have been removed from
the engine area and that no one’s
hands are near the hood opening.
Do not leave gloves, rags or any other combustible material in the
engine compartment. Doing so
may cause a heat-induced fire.
Page 92 of 283
Knowing your vehicle82
3
WARNING
Automotive fuels are flammable/
explosive materials. When refuel-
ing, please note the following
guidelines carefully. Failure to fol-
low these guidelines may result in
severe personal injury, severe
burns or death by fire or explosion.
Before refueling always note the
location of the Emergency
Gasoline Shut-Off, if available, at
the gas station facility.
Note and follow all safety precau-
tions and warning posted at the
facility.
Before touching the fuel nozzle or fuel filler cap, you should elimi-
nate potentially dangerous static
electricity discharge by touching
another metal part of the front of
the vehicle, a safe distance away
from the fuel filler neck, nozzle, or
other gas source.
(Continued)
(Continued)
Do not get back into a vehicleonce you have begun refueling.
Do not touch, rub or slide against
any item or fabric (polyester,
satin, nylon, etc.) capable of pro-
ducing static electricity. Static
electricity discharge can ignite
fuel vapors resulting in explo-
sion. If you must re-enter the
vehicle, you should once again
eliminate potentially dangerous
static electricity discharge by
touching a metal part of the vehi-
cle, away from the fuel filler neck,
nozzle or other gasoline source.
When using a portable fuel con-
tainer be sure to place the contain-
er on the ground prior to refueling.
Static electricity discharge from
the container can ignite fuel vapors
causing a fire. Once refueling has
begun, contact with the vehicle
should be maintained until the fill-
ing is complete. Use only portable
fuel containers designed to carry
and store gasoline.
(Continued)
(Continued)
Do not use cellular phones around a gas station or while
refueling any vehicle. Electric
current and/or electronic interfer-
ence from cellular phones can
potentially ignite fuel vapors
causing a fire. If you must use
your cellular phone use it in a
place away from the gas station.
When refueling always shut the engine off. Sparks produced by
electrical components related to
the engine can ignite fuel vapors
causing a fire. Always insure that
the engine is OFF before and dur-
ing refueling. Once refueling is
complete, check to make sure the
fuel filler cap and door are
securely closed, before starting
the engine.
(Continued)
Page 93 of 283
383
Knowing your vehicle
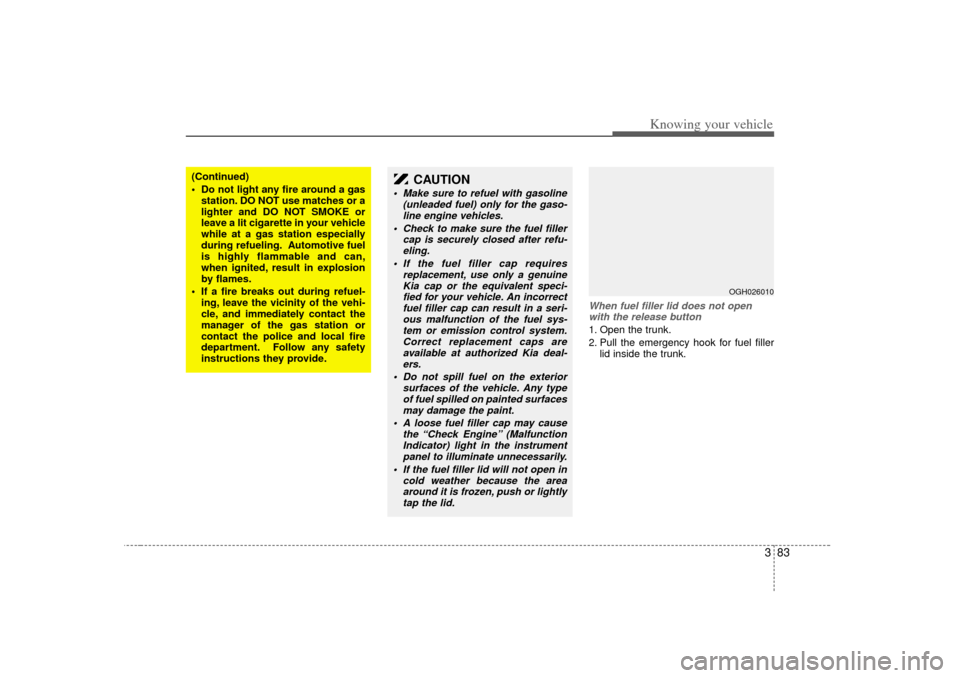
When fuel filler lid does not openwith the release button1. Open the trunk.
2. Pull the emergency hook for fuel filler lid inside the trunk.
OGH026010
(Continued)
Do not light any fire around a gasstation. DO NOT use matches or a
lighter and DO NOT SMOKE or
leave a lit cigarette in your vehicle
while at a gas station especially
during refueling. Automotive fuel
is highly flammable and can,
when ignited, result in explosion
by flames.
If a fire breaks out during refuel- ing, leave the vicinity of the vehi-
cle, and immediately contact the
manager of the gas station or
contact the police and local fire
department. Follow any safety
instructions they provide.
CAUTION
Make sure to refuel with gasoline (unleaded fuel) only for the gaso-line engine vehicles.
Check to make sure the fuel filler cap is securely closed after refu-eling.
If the fuel filler cap requires replacement, use only a genuineKia cap or the equivalent speci- fied for your vehicle. An incorrectfuel filler cap can result in a seri-ous malfunction of the fuel sys- tem or emission control system.Correct replacement caps are available at authorized Kia deal-ers.
Do not spill fuel on the exterior surfaces of the vehicle. Any typeof fuel spilled on painted surfacesmay damage the paint.
A loose fuel filler cap may cause the “Check Engine” (MalfunctionIndicator) light in the instrumentpanel to illuminate unnecessarily.
If the fuel filler lid will not open in cold weather because the areaaround it is frozen, push or lightlytap the lid.
Page 133 of 283
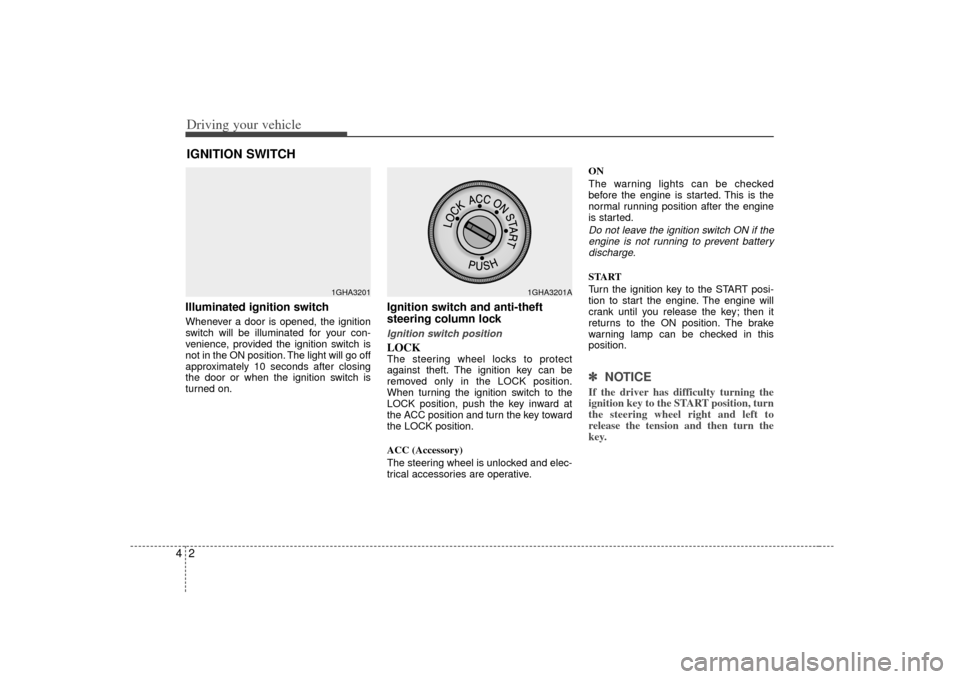
Driving your vehicle24Illuminated ignition switchWhenever a door is opened, the ignition
switch will be illuminated for your con-
venience, provided the ignition switch is
not in the ON position. The light will go off
approximately 10 seconds after closing
the door or when the ignition switch is
turned on.
Ignition switch and anti-theft
steering column lock Ignition switch positionLOCKThe steering wheel locks to protect
against theft. The ignition key can be
removed only in the LOCK position.
When turning the ignition switch to the
LOCK position, push the key inward at
the ACC position and turn the key toward
the LOCK position.
ACC (Accessory)
The steering wheel is unlocked and elec-
trical accessories are operative.ON
The warning lights can be checked
before the engine is started. This is the
normal running position after the engine
is started.
Do not leave the ignition switch ON if the
engine is not running to prevent batterydischarge.START
Turn the ignition key to the START posi-
tion to start the engine. The engine will
crank until you release the key; then it
returns to the ON position. The brake
warning lamp can be checked in this
position.✽ ✽
NOTICEIf the driver has difficulty turning the
ignition key to the START position, turn
the steering wheel right and left to
release the tension and then turn the
key.
IGNITION SWITCH
1GHA3201
1GHA3201A
Page 145 of 283
Driving your vehicle14
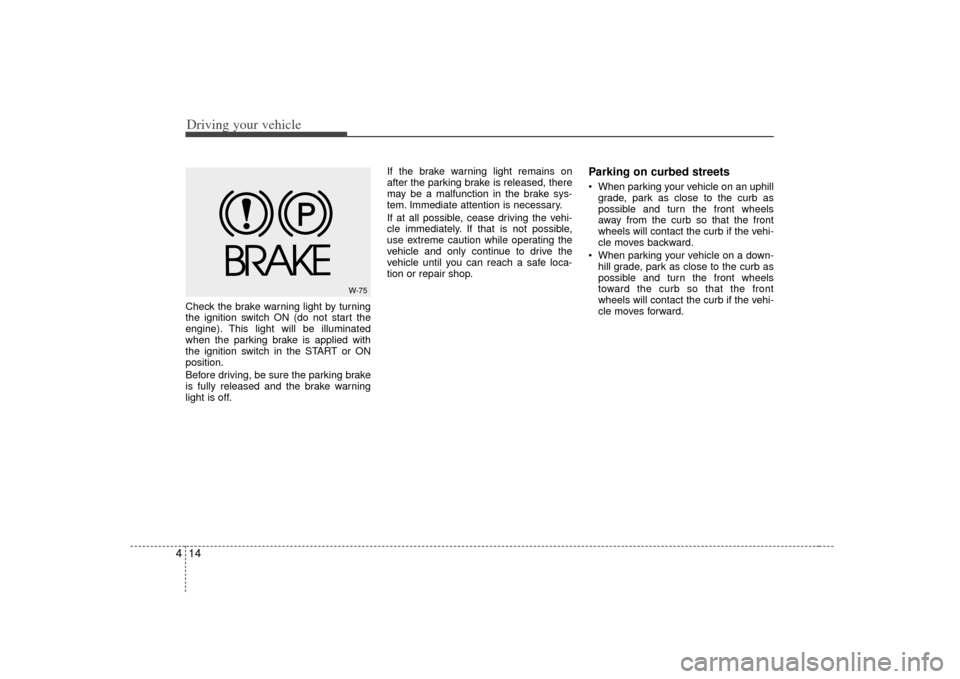
4Check the brake warning light by turning
the ignition switch ON (do not start the
engine). This light will be illuminated
when the parking brake is applied with
the ignition switch in the START or ON
position.
Before driving, be sure the parking brake
is fully released and the brake warning
light is off. If the brake warning light remains on
after the parking brake is released, there
may be a malfunction in the brake sys-
tem. Immediate attention is necessary.
If at all possible, cease driving the vehi-
cle immediately. If that is not possible,
use extreme caution while operating the
vehicle and only continue to drive the
vehicle until you can reach a safe loca-
tion or repair shop.
Parking on curbed streets When parking your vehicle on an uphill
grade, park as close to the curb as
possible and turn the front wheels
away from the curb so that the front
wheels will contact the curb if the vehi-
cle moves backward.
When parking your vehicle on a down- hill grade, park as close to the curb as
possible and turn the front wheels
toward the curb so that the front
wheels will contact the curb if the vehi-
cle moves forward.
W-75
Page 148 of 283
417
Driving your vehicle
Power steeringPower Steering uses energy from the
engine to assist you in steering the vehi-
cle. If the engine is off or if the power
steering system becomes inoperative,
the vehicle may still be steered, but it will
require increased steering effort.
Should you notice any change in the
effort required to steer during normal
vehicle operation, have the power steer-
ing checked by an Authorized Kia Dealer.
✽ ✽NOTICE• Never hold the steering wheel against
a stop (extreme right or left turn) for
more than 5 seconds with the engine
running. Holding the steering wheel
for more than 5 seconds in either posi-
tion may cause damage to the power
steering pump.
• If the power steering drive belt breaks or if the power steering pump mal-
functions, the steering effort will
greatly increase.
✽ ✽ NOTICEIf the vehicle is parked for extended
periods outside in cold weather (below -
10 °C/14 °F), the power steering may
require increased effort when the engine
is first started. This is caused by
increased fluid viscosity due to the cold
weather and does not indicate a mal-
function.
When this happens, increase the engine
RPM by depressing the accelerator until
the RPM reaches 1,500 rpm then release
or let the engine idle for two or three
minutes to warm up the fluid.
STEERING WHEEL
Page 153 of 283
Driving your vehicle22
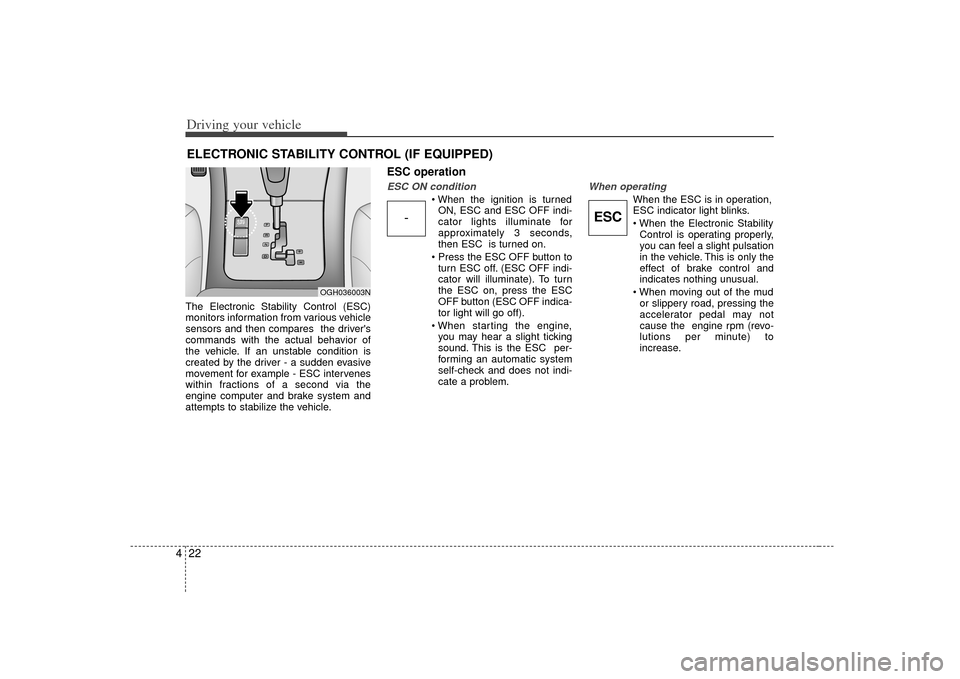
4The Electronic Stability Control (ESC)
monitors information from various vehicle
sensors and then compares the driver's
commands with the actual behavior of
the vehicle. If an unstable condition is
created by the driver - a sudden evasive
movement for example - ESC intervenes
within fractions of a second via the
engine computer and brake system and
attempts to stabilize the vehicle.
ESC operationESC ON condition
ON, ESC and ESC OFF indi-
cator lights illuminate for
approximately 3 seconds,
then ESC is turned on.
turn ESC off. (ESC OFF indi-
cator will illuminate). To turn
the ESC on, press the ESC
OFF button (ESC OFF indica-
tor light will go off).
you may hear a slight ticking
sound. This is the ESC per-
forming an automatic system
self-check and does not indi-
cate a problem.
When operating
When the ESC is in operation,
ESC indicator light blinks.
Control is operating properly,
you can feel a slight pulsation
in the vehicle. This is only the
effect of brake control and
indicates nothing unusual.
or slippery road, pressing the
accelerator pedal may not
cause the engine rpm (revo-
lutions per minute) to
increase.
ELECTRONIC STABILITY CONTROL (IF EQUIPPED)
-
ESC
OGH036003N