warning KIA Optima 2006 2.G Manual Online
[x] Cancel search | Manufacturer: KIA, Model Year: 2006, Model line: Optima, Model: KIA Optima 2006 2.GPages: 225, PDF Size: 3.77 MB
Page 173 of 225
CHANGING TIRESJACKING INSTRUCTIONSThe jack is provided for emergency tire
changing only. Follow jacking
instructions to reduce the possibility of
personal injury.
TIRE REPLACEMENT1. Park on a level surface and set the
parking brake firmly.
2. Set the automatic transaxle in P
(Park), or shift the manual transaxle
into R (Reverse).
3. Activate the hazard warning flasher.
4. Remove the wheel lug nut wrench,
jack, jack handle, and spare tire from
the vehicle.
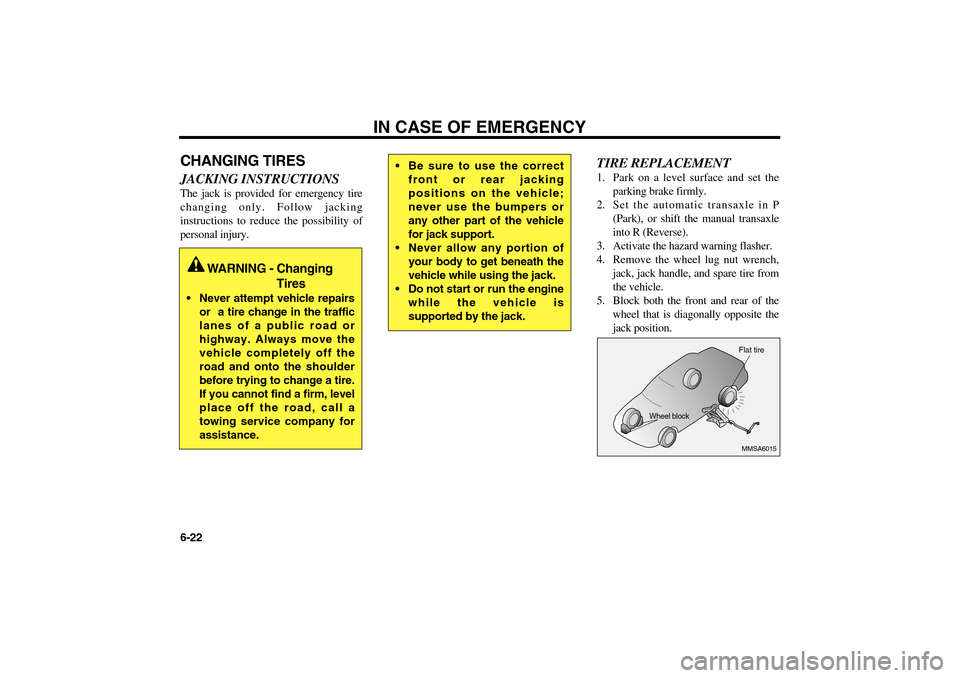
5. Block both the front and rear of the
wheel that is diagonally opposite the
jack position.
IN CASE OF EMERGENCY
6-22
MMSA6015Flat tire
Wheel block
WARNING - Changing
Tires
Never attempt vehicle repairs
or a tire change in the traffic
lanes of a public road or
highway. Always move the
vehicle completely off the
road and onto the shoulder
before trying to change a tire.
If you cannot find a firm, level
place off the road, call a
towing service company for
assistance.
Be sure to use the correct
front or rear jacking
positions on the vehicle;
never use the bumpers or
any other part of the vehicle
for jack support.
Never allow any portion of
your body to get beneath the
vehicle while using the jack.
Do not start or run the engine
while the vehicle is
supported by the jack.
MS-CNA-Eng 6.QXD 7/25/2005 5:13 PM Page 22
Page 174 of 225
6-23 6. For models with alloy wheels,
remove the center cap.
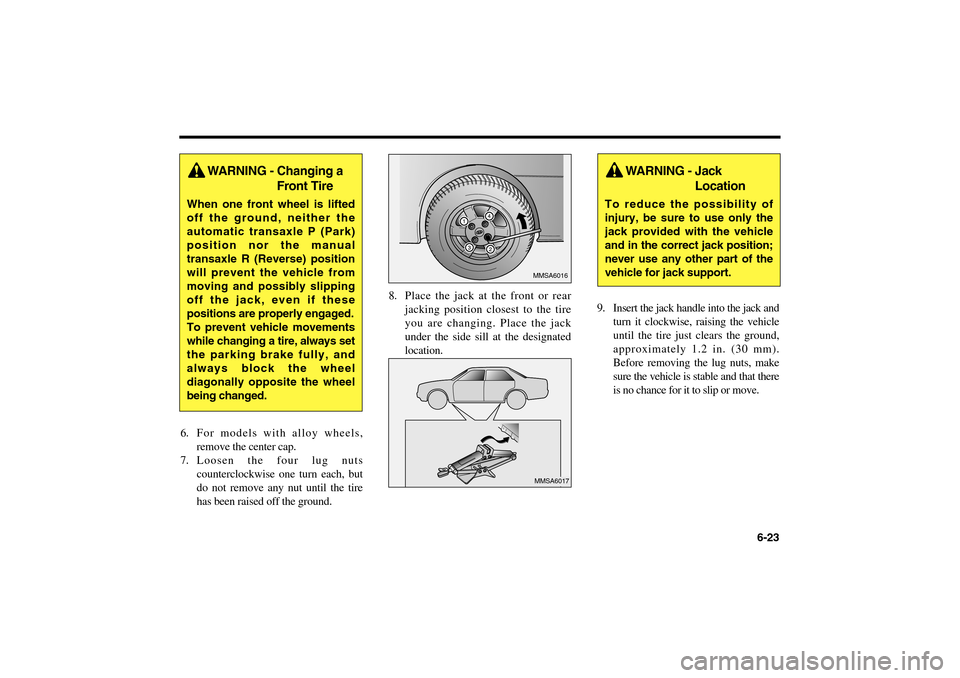
7. Loosen the four lug nuts
counterclockwise one turn each, but
do not remove any nut until the tire
has been raised off the ground.8. Place the jack at the front or rear
jacking position closest to the tire
you are changing. Place the jack
under the side sill at the designated
location.9. Insert the jack handle into the jack and
turn it clockwise, raising the vehicle
until the tire just clears the ground,
approximately 1.2 in. (30 mm).
Before removing the lug nuts, make
sure the vehicle is stable and that there
is no chance for it to slip or move.
MMSA6016MMSA6017
WARNING - Changing a
Front Tire
When one front wheel is lifted
off the ground, neither the
automatic transaxle P (Park)
position nor the manual
transaxle R (Reverse) position
will prevent the vehicle from
moving and possibly slipping
off the jack, even if these
positions are properly engaged.
To prevent vehicle movements
while changing a tire, always set
the parking brake fully, and
always block the wheel
diagonally opposite the wheel
being changed.
WARNING - Jack
Location
To reduce the possibility of
injury, be sure to use only the
jack provided with the vehicle
and in the correct jack position;
never use any other part of the
vehicle for jack support.
MS-CNA-Eng 6.QXD 7/25/2005 5:13 PM Page 23
Page 176 of 225
6-25 To prevent the jack, jack handle, wheel
lug nut, wrench and spare tire from
rattling while the vehicle is in motion,
store them properly.
✻
NOTICE
Check the inflation pressures as
soon as possible after installing the
spare tire. Adjust it to the specified
pressure, if necessary.
Standard Tire : 210 kPa(30 psi)
Compact Spare Tire : 420 kPa(60
psi)
WARNING - Wheel Studs
If the studs are damaged, they
may lose their ability to retain
the wheel. This could lead to
the loss of the wheel and a
collision.
MS-CNA-Eng 6.QXD 7/25/2005 5:13 PM Page 25
Page 184 of 225
MAINTENANCE
7-8OWNER MAINTENANCEOWNER MAINTENANCE
SCHEDULEA qualified service technician should
perform these vehicle inspections at the
indicated intervals to ensure safe and
dependable operation.
Bring any problem to the attention of an
Authorized Kia Dealer as soon as
possible.WHEN REFUELING, CHECK:• Engine oil level
• Engine coolant level
• Brake and clutch fluid level
• Washer fluid level
AT LEAST MONTHLY• Tire inflation pressuresEVERY 6 MONTHS, CHECK:• Power steering fluid level
• Automatic transaxle fluid level
You can do the following scheduled
maintenance items if you have some
mechanical ability, a few basic tools and
if you closely follow the directions in
this manual.OWNER MAINTENANCE
PRECAUTIONSImproper or incomplete service may
result in problems. This section gives
instructions only for the maintenance
items that are easy to perform.As explained earlier in this section, several
procedures can be done only by a qualified
service technician with special tools.
Improper owner maintenance during the
warranty period may affect warranty
coverage. For details, read the separate
Kia Warranty and Consumer Information
Manual provided with the vehicle. If
you’re unsure about any servicing or
maintenance procedure, have it done by
an Authorized Kia Dealer.
CAUTION
Be careful when checking your
engine coolant level. The engine
compartment will be hot and you
could be burned.
WARNING - Maintenance
Work
Performing maintenance work
on a vehicle can be dangerous.
You can be seriously injured
while performing some
maintenance procedures. If you
lack sufficient knowledge,
experience or the proper tools
and equipment to do the work,
have it done by a qualified
technician.
MS-CNA-Eng 7.QXD 7/25/2005 5:09 PM Page 8
Page 185 of 225
7-9
WARNING - Loose
Clothing/Jewelry
Working under the hood with
the engine running is
dangerous. It is even more
dangerous when you wear
jewelry, long hair or loose
clothing. These can become
entangled in moving parts and
result in injury. Therefore, if you
must run the engine while
working under the hood, make
certain that you pull hair back,
remove all jewelry (especially
rings, bracelets, watches, and
necklaces) and all neckties,
scarves, and similar loose
clothing before getting near the
engine or cooling fans.
WARNING - Engine
Cooling Fans
Because your engine cooling
fans are electrically controlled,
they will run if the ignition
switch is on, even if the engine
is not running. This could cause
serious injury. To prevent this,
be sure the ignition is off, unless
you must run the engine while
performing maintenance or an
inspection.
MS-CNA-Eng 7.QXD 7/25/2005 5:09 PM Page 9
Page 188 of 225
MAINTENANCE
7-12ENGINE OIL AND OIL
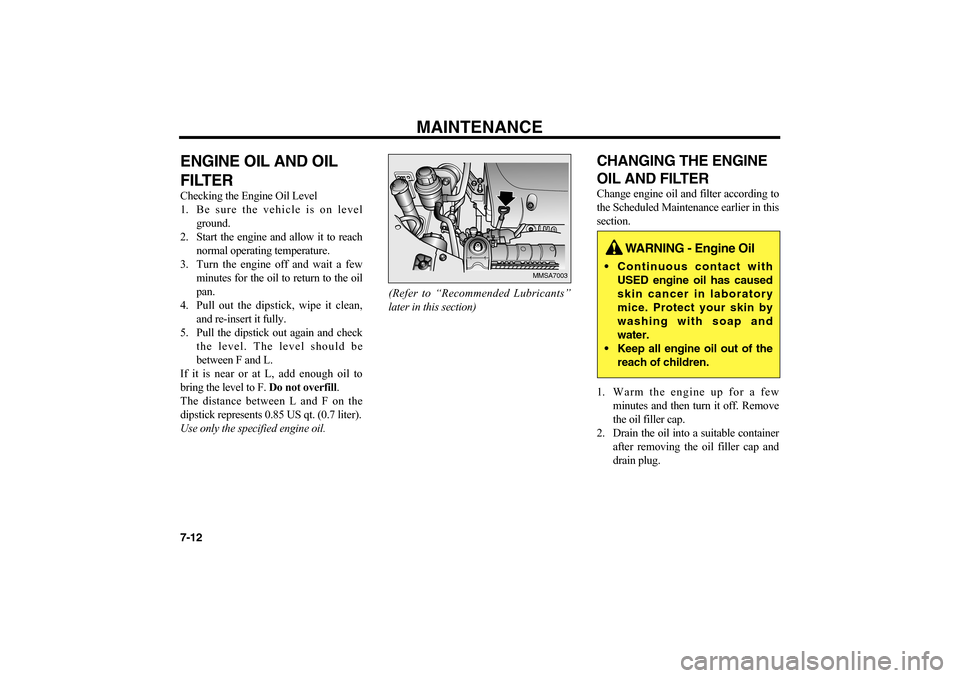
FILTERChecking the Engine Oil Level
1. Be sure the vehicle is on level
ground.
2. Start the engine and allow it to reach
normal operating temperature.
3. Turn the engine off and wait a few
minutes for the oil to return to the oil
pan.
4. Pull out the dipstick, wipe it clean,
and re-insert it fully.
5. Pull the dipstick out again and check
the level. The level should be
between F and L.
If it is near or at L, add enough oil to
bring the level to F. Do not overfill.
The distance between L and F on the
dipstick represents 0.85 US qt. (0.7 liter).
Use only the specified engine oil.(Refer to “Recommended Lubricants”
later in this section)
CHANGING THE ENGINE
OIL AND FILTERChange engine oil and filter according to
the Scheduled Maintenance earlier in this
section.
1. Warm the engine up for a few
minutes and then turn it off. Remove
the oil filler cap.
2. Drain the oil into a suitable container
after removing the oil filler cap and
drain plug.
MMSA7003
WARNING - Engine Oil
Continuous contact with
USED engine oil has caused
skin cancer in laboratory
mice. Protect your skin by
washing with soap and
water.
Keep all engine oil out of the
reach of children.
MS-CNA-Eng 7.QXD 7/25/2005 5:09 PM Page 12
Page 190 of 225
MAINTENANCE
7-14ENGINE COOLING
SYSTEMThe cooling system is a high-pressure
type with a reservoir and is filled with
year-round antifreeze coolant at the
factory.
Check the antifreeze protection and
coolant level at least once a year, at the
beginning of the winter season, and
before traveling to a colder climate.
CHECKING THE
COOLANT LEVEL
WARNING - Removing
Radiator Cap
Never attempt to remove the
radiator cap while the engine
is operating. Doing so might
lead to cooling system
and/or engine damage and
could result in serious
personal injury from
escaping hot coolant or
steam.
Turn the engine off and wait
until it has cooled. Even then,
use extreme care when
removing the radiator cap.
Wrap a thick towel around it,
and turn it counterclockwise
slowly to the first stop. Step
back while the pressure is
released from the cooling
system. When you are sure
all the pressure has been
released, press down on the
cap, using a thick towel, and
continue turning
counterclockwise to remove
it.
Even if the engine is not
operating, do not remove the
radiator cap or the drain plug
while the engine and radiator
are hot. Hot coolant and
steam may still blow out
under pressure, causing
serious injury.
MS-CNA-Eng 7.QXD 7/25/2005 5:09 PM Page 14
Page 195 of 225
7-19
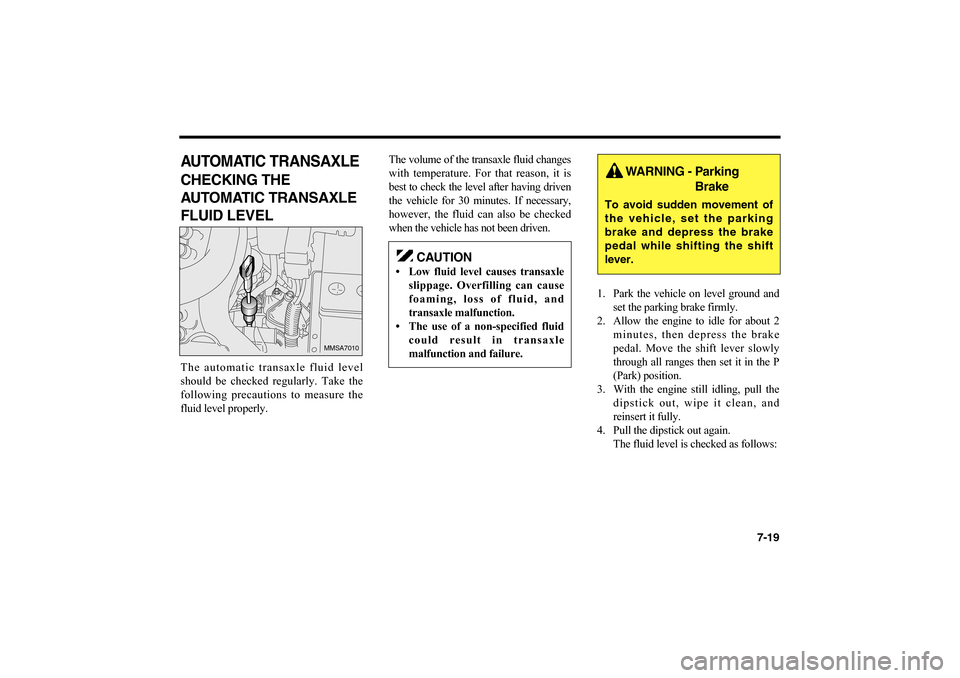
AUTOMATIC TRANSAXLECHECKING THE
AUTOMATIC TRANSAXLE
FLUID LEVELThe automatic transaxle fluid level
should be checked regularly. Take the
following precautions to measure the
fluid level properly.The volume of the transaxle fluid changes
with temperature. For that reason, it is
best to check the level after having driven
the vehicle for 30 minutes. If necessary,
however, the fluid can also be checked
when the vehicle has not been driven.
1. Park the vehicle on level ground and
set the parking brake firmly.
2. Allow the engine to idle for about 2
minutes, then depress the brake
pedal. Move the shift lever slowly
through all ranges then set it in the P
(Park) position.
3. With the engine still idling, pull the
dipstick out, wipe it clean, and
reinsert it fully.
4. Pull the dipstick out again.
The fluid level is checked as follows:
MMSA7010
CAUTION
• Low fluid level causes transaxle
slippage. Overfilling can cause
foaming, loss of fluid, and
transaxle malfunction.
• The use of a non-specified fluid
could result in transaxle
malfunction and failure.
WARNING - Parking
Brake
To avoid sudden movement of
the vehicle, set the parking
brake and depress the brake
pedal while shifting the shift
lever.
MS-CNA-Eng 7.QXD 7/25/2005 5:09 PM Page 19
Page 197 of 225
7-21
BODY LUBRICATIONAll moving points of the body, such as
doors, hood hinges and locks, should be
lubricated each time the engine oil is
changed.
Use a non-freezing lubricant on locks
during cold weather.
Make sure the engine hood secondary
latch keeps the hood from opening when
the primary latch is released.
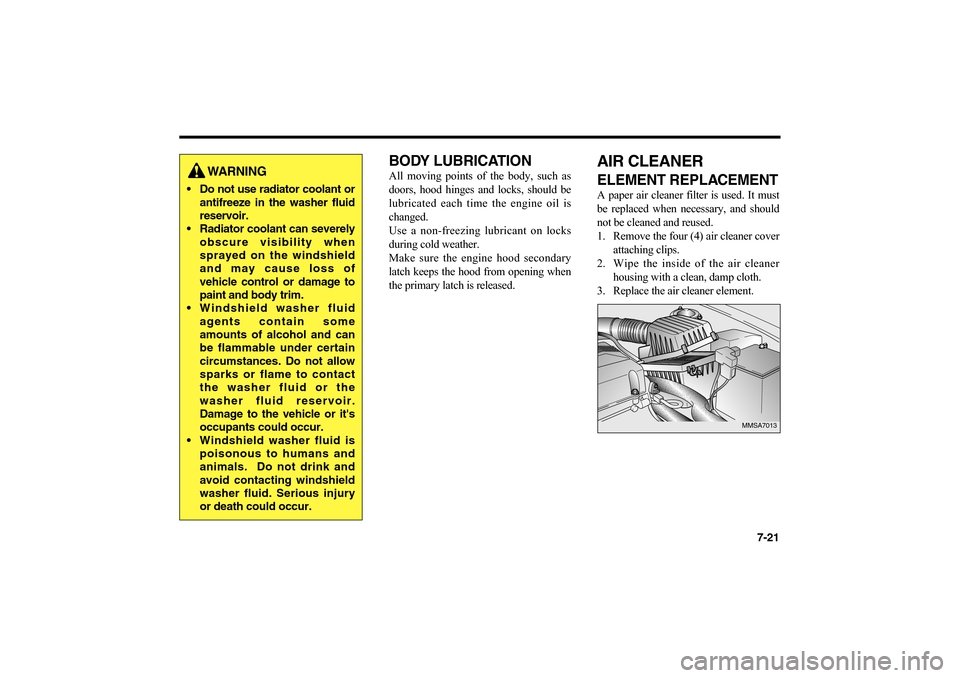
AIR CLEANERELEMENT REPLACEMENTA paper air cleaner filter is used. It must
be replaced when necessary, and should
not be cleaned and reused.
1. Remove the four (4) air cleaner cover
attaching clips.
2. Wipe the inside of the air cleaner
housing with a clean, damp cloth.
3. Replace the air cleaner element.
MMSA7013
WARNING
Do not use radiator coolant or
antifreeze in the washer fluid
reservoir.
Radiator coolant can severely
obscure visibility when
sprayed on the windshield
and may cause loss of
vehicle control or damage to
paint and body trim.
Windshield washer fluid
agents contain some
amounts of alcohol and can
be flammable under certain
circumstances. Do not allow
sparks or flame to contact
the washer fluid or the
washer fluid reservoir.
Damage to the vehicle or it's
occupants could occur.
Windshield washer fluid is
poisonous to humans and
animals. Do not drink and
avoid contacting windshield
washer fluid. Serious injury
or death could occur.
MS-CNA-Eng 7.QXD 7/25/2005 5:09 PM Page 21
Page 199 of 225
7-23
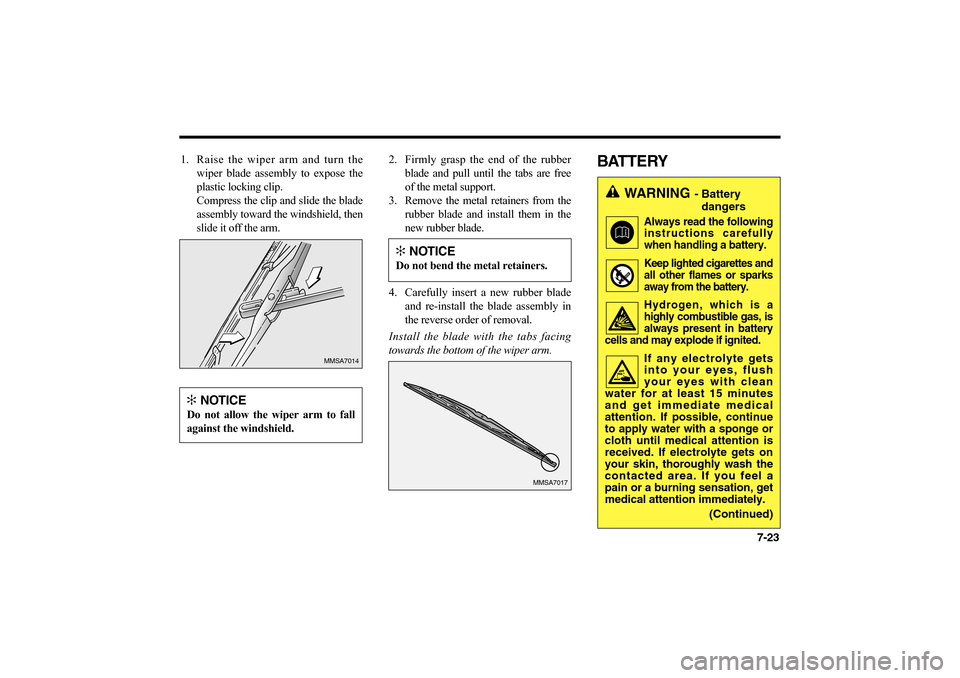
1. Raise the wiper arm and turn the
wiper blade assembly to expose the
plastic locking clip.
Compress the clip and slide the blade
assembly toward the windshield, then
slide it off the arm.2. Firmly grasp the end of the rubber
blade and pull until the tabs are free
of the metal support.
3. Remove the metal retainers from the
rubber blade and install them in the
new rubber blade.
4. Carefully insert a new rubber blade
and re-install the blade assembly in
the reverse order of removal.
Install the blade with the tabs facing
towards the bottom of the wiper arm.
BATTERY
MMSA7014
MMSA7017
✻
NOTICE
Do not allow the wiper arm to fall
against the windshield.
✻
NOTICE
Do not bend the metal retainers.
WARNING
- Battery
dangers
Always read the following
instructions carefully
when handling a battery.Keep lighted cigarettes and
all other flames or sparks
away from the battery.Hydrogen, which is a
highly combustible gas, is
always present in battery
cells and may explode if ignited.If any electrolyte gets
into your eyes, flush
your eyes with clean
water for at least 15 minutes
and get immediate medical
attention. If possible, continue
to apply water with a sponge or
cloth until medical attention is
received. If electrolyte gets on
your skin, thoroughly wash the
contacted area. If you feel a
pain or a burning sensation, get
medical attention immediately.
(Continued)
MS-CNA-Eng 7.QXD 7/25/2005 5:09 PM Page 23