ECO mode KIA Optima 2007 2.G User Guide
[x] Cancel search | Manufacturer: KIA, Model Year: 2007, Model line: Optima, Model: KIA Optima 2007 2.GPages: 294, PDF Size: 3.37 MB
Page 136 of 294
3 127
Knowing your vehicle
✽
✽NOTICE• Do not stick paper or tape etc., on the
label side or the recording side of any
discs, as it may cause a malfunction.
• The unit can play a multi-session CD- R (recordable CD) and CD-RW
(rewritable CD) that consists of more
than two sessions.
Please refer to the manual of CD-
R/CD-RW recorder or CD-R/CD-RW
software for more information on
finalization process.
• Depending on the recording status, some CD-Rs/CD-RWs may not play
on this unit.3. CD EJECT Button When the button is pressed with a
CD loaded, the CD will eject.
To eject all of the discs, press this but- ton for one second or more.4. TRACK UP/DOWN Button The desired track on the disc currently
being played can be selected using the
track number.
Press once to skip forward to the beginning of the next track. Press once to skip back to the
beginning of the track.
Press before playback begins to quickly move backward through a CD.
5. SCROLL ButtonPress the button, and you can check the file
names with more than 16 characters on
MP3 CD(max 34 characters).
The button doesn’t work on file names
less than 16 characters.6. FF/REW ButtonIf you want to fast forward or reverse
through the compact disc track, push and
hold the FF or REW button.
When you release the button, the compact
disc player will resume playing.
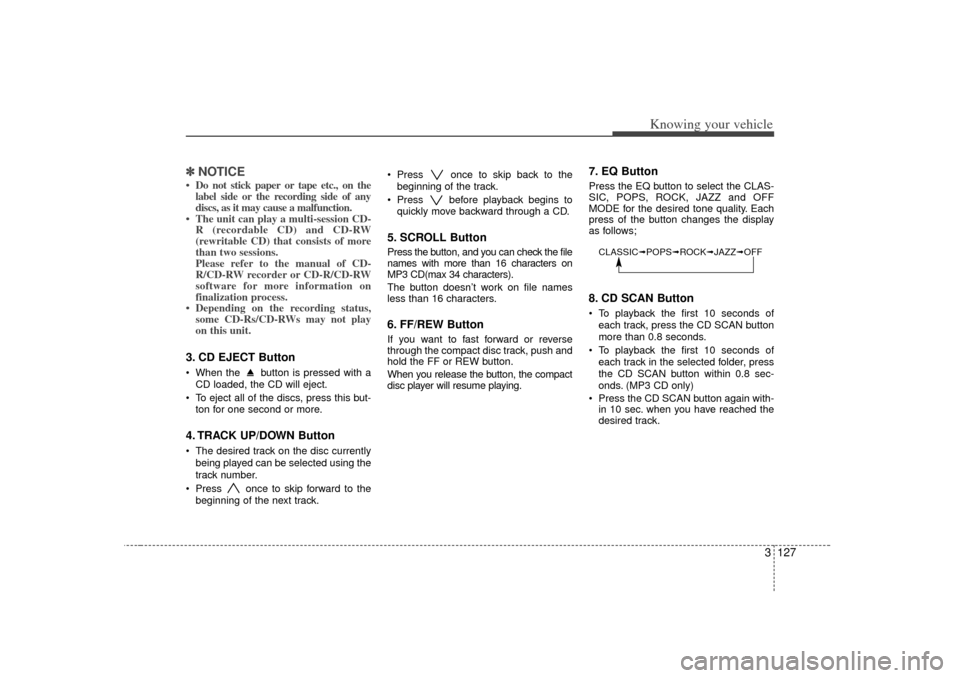
7. EQ ButtonPress the EQ button to select the CLAS-
SIC, POPS, ROCK, JAZZ and OFF
MODE for the desired tone quality. Each
press of the button changes the display
as follows;8. CD SCAN Button To playback the first 10 seconds ofeach track, press the CD SCAN button
more than 0.8 seconds.
To playback the first 10 seconds of each track in the selected folder, press
the CD SCAN button within 0.8 sec-
onds. (MP3 CD only)
Press the CD SCAN button again with- in 10 sec. when you have reached the
desired track.CLASSIC➟ POPS➟ROCK➟ JAZZ➟OFF
Page 137 of 294
Knowing your vehicle128
39. BOOKMARK (MARK) ButtonWhen the CD player unit is operating, the
desired track on the disc can be book-
marked by using the MARK button.
Press the MARK button for more than
0.8 seconds to bookmark the desired
track.
“M” will be displayed on the LCD and
“MEMORY(1~50)” will display for
approximately five seconds with beep
sound.
To play the bookmarked tracks, press
the MARK button within 0.8 seconds
and select the bookmarked track to
play.
To erase a bookmarked track, press the MARK button for more than 0.8 sec-
onds. The unit will beep once when the
bookmark is erased.
If you want to delete all tracks stored
using the Bookmark function, press FILE
SEARCH Knob in the Mark Play mode
for more than 0.8 seconds. You will hear
a beep sound and all tracks will be delet-
ed from Mark Memory with “MARK
DELETE ALL” displayed on the LCD.
✽ ✽ NOTICETracks stored on Mark Memory will be
automatically erased after you eject CDs
that contain those tracks. 10. REPEAT (RPT) Button To repeat the track you are currently
listening to, press the RPT button.
To cancel, press it again.
To repeat the music within selected CD, press the RPT button for more
than 0.8 seconds.
To cancel, press it again for more than
0.8 seconds.
To repeat the music within the current- ly played folder, press the RPT button
for more than 0.8 seconds.
To cancel, press it again(MP3 CD
only).
If you do not release RPT operation after all the tracks are played back, the
unit will play back again from the first
track.
This process will be continued until you
push the button again or turn the power
OFF then ON.
11. RANDOM (RDM) ButtonWith random, you can listen to the tracks
in random, rather than sequential order
on one disc.
To use random, do the following:
Press the RDM button to listen torecorded tracks in random sequence.
Press RDM again to cancel or turn the
power OFF then ON. The unit defaults
to playing tracks in sequential order.
To listen to the music within the select- ed folder in random order, press the
RDM button within a second. To can-
cel, press it again or turn the power
OFF then ON. (MP3 CD only)12. DISC UP/DOWN Button By pressing "DISC "/"DISC "while CD changer is playing you can
move backward or forward to the next
disc and playback automatically
begins.
If any of the slots do not contain a CD, your car audio will skip the empty slot
and play only those that contain a CD.
When switching CD’s, the LCD dis-
plays the selected CD’s number.
Page 147 of 294
49
Driving your vehicle
Moving up a steep grade from a
standing startTo move up a steep grade from a stand-
ing start, depress the brake pedal, shift
the shift lever to D (Drive). Select the
appropriate gear depending on load
weight and steepness of the grade, and
release the parking brake. Depress the
accelerator gradually while releasing the
service brakes.
When accelerating from a stop on a
steep hill, the vehicle may have a ten-
dency to roll backwards. Shifting the
shift lever into 2 (Second Gear) while
in Sport mode will help prevent the
vehicle from rolling backwards.Ignition key interlock systemThe ignition key cannot be removed
unless the shift lever is in the P (Park)
position. If the ignition switch is in any
other position, the key cannot be
removed.
Shift lock systemFor your safety, the Automatic Transaxle
has a shift lock system which prevents
shifting the transaxle out of P (Park)
unless the brake pedal is depressed.
To shift the transaxle out of P (Park):
1. Depress and hold the brake pedal.
2. Start the engine or turn the ignition tothe ON position.
3. Move the shift lever.
If the brake pedal is repeatedly
depressed and released with the shift
lever in the P (Park) position, a chattering
sound near the shift lever may be heard.
This is a normal condition.
Shift-lock overrideIf the shift lever should fail to move from
the P (Park) position with the brake pedal
depressed, continue depressing the
brake, then do the following:
1. Carefully remove the cap covering the S/Lock override access hole which is
located on the right side of the shift
lever.
2. Insert the screwdriver into the access hole and press down on the key.
3. Depress the lock release button and move the shift lever.
4. Have your vehicle inspected by an authorized Kia dealership immediately.
OMG045061
Page 163 of 294
425
Driving your vehicle
Speedometer The speedometer indicates the forward
speed of the vehicle.OdometerThe odometer indicates the total dis-
tance the vehicle has been driven.
TripmeterYou can choose the tripmeter A and trip-
meter B by pressing the tripmeter mode
button.
TRIP A: Tripmeter A (if equipped)
TRIP B: Tripmeter B (if equipped)
The tripmeter indicates the distance of
individual trips selected by the driver.
Tripmeter A and B can be reset to 0 by
pressing the reset button for 1 second or
more, and then releasing.
Tachometer The tachometer indicates the approxi-
mate number of engine revolutions per
minute (rpm).
Use the tachometer to select the correct
shift points and to prevent lugging and/or
over-revving the engine.
The tachometer pointer may move slight-
ly when the ignition switch is in ACC or
ON position with the engine OFF. This
movement is normal and will not affect
the accuracy of the tachometer once the
engine is running.✽ ✽NOTICEDo not operate the engine within the
tachometer's RED ZONE.
This may cause severe engine damage.
GAUGES
OMG045014
Page 165 of 294
427
Driving your vehicle
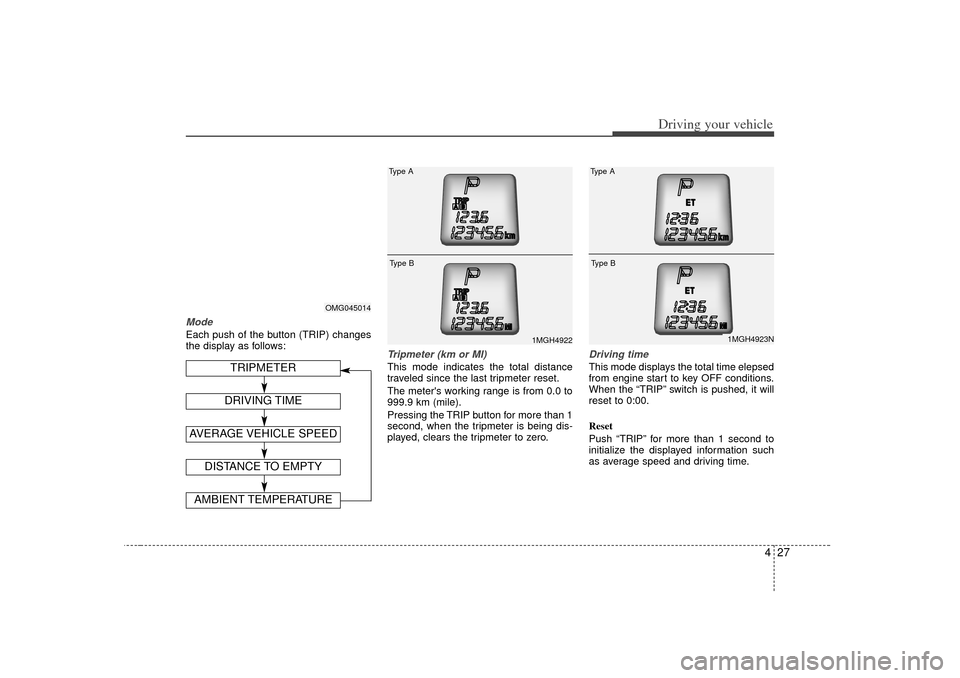
ModeEach push of the button (TRIP) changes
the display as follows:
Tripmeter (km or MI)This mode indicates the total distance
traveled since the last tripmeter reset.
The meter's working range is from 0.0 to
999.9 km (mile).
Pressing the TRIP button for more than 1
second, when the tripmeter is being dis-
played, clears the tripmeter to zero.
Driving timeThis mode displays the total time elepsed
from engine start to key OFF conditions.
When the “TRIP” switch is pushed, it will
reset to 0:00.
Reset
Push “TRIP” for more than 1 second to
initialize the displayed information such
as average speed and driving time.
OMG045014
1MGH4922
Type AType B
DISTANCE TO EMPTYAMBIENT TEMPERATURE
TRIPMETER
AVERAGE VEHICLE SPEED
DRIVING TIME
1MGH4923N
Type AType B
Page 171 of 294
433
Driving your vehicle
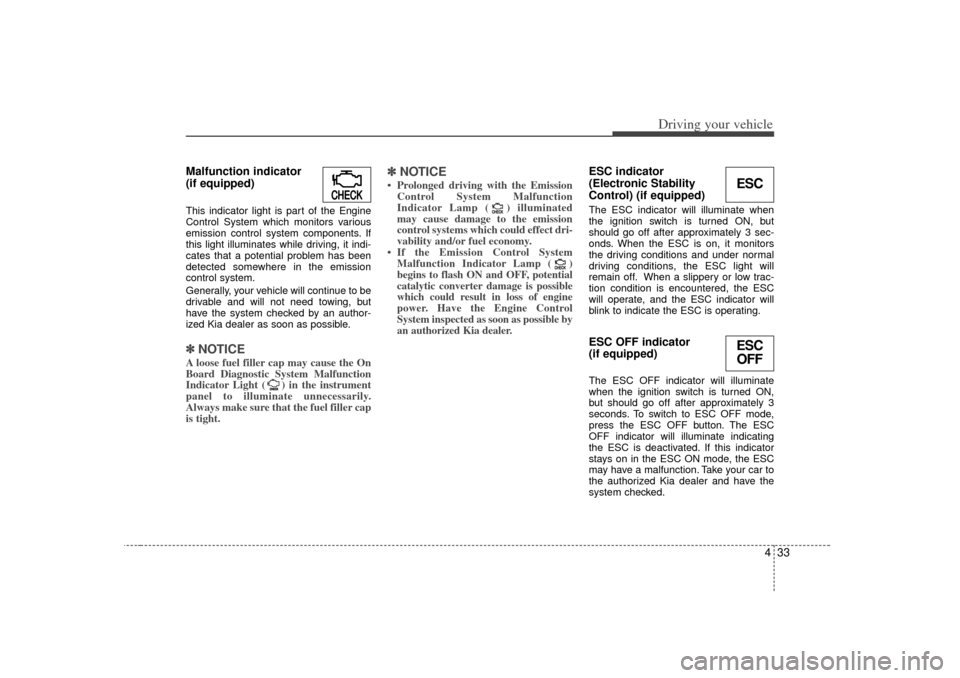
Malfunction indicator
(if equipped)This indicator light is part of the Engine
Control System which monitors various
emission control system components. If
this light illuminates while driving, it indi-
cates that a potential problem has been
detected somewhere in the emission
control system.
Generally, your vehicle will continue to be
drivable and will not need towing, but
have the system checked by an author-
ized Kia dealer as soon as possible.✽ ✽NOTICEA loose fuel filler cap may cause the On
Board Diagnostic System Malfunction
Indicator Light ( ) in the instrument
panel to illuminate unnecessarily.
Always make sure that the fuel filler cap
is tight.
✽ ✽NOTICE• Prolonged driving with the Emission
Control System Malfunction
Indicator Lamp ( ) illuminated
may cause damage to the emission
control systems which could effect dri-
vability and/or fuel economy.
•If the
Emission
Control System
Malfunction Indicator Lamp ( )
begins to flash ON and OFF, potential
catalytic converter damage is possible
which could result in loss of engine
power. Have the Engine Control
System inspected as soon as possible by
an authorized Kia dealer.
ESC indicator
(Electronic Stability
Control) (if equipped) The ESC indicator will illuminate when
the ignition switch is turned ON, but
should go off after approximately 3 sec-
onds. When the ESC is on, it monitors
the driving conditions and under normal
driving conditions, the ESC light will
remain off. When a slippery or low trac-
tion condition is encountered, the ESC
will operate, and the ESC indicator will
blink to indicate the ESC is operating.ESC OFF indicator
(if equipped)The ESC OFF indicator will illuminate
when the ignition switch is turned ON,
but should go off after approximately 3
seconds. To switch to ESC OFF mode,
press the ESC OFF button. The ESC
OFF indicator will illuminate indicating
the ESC is deactivated. If this indicator
stays on in the ESC ON mode, the ESC
may have a malfunction. Take your car to
the authorized Kia dealer and have the
system checked.
CHECK
CHECK
CHECK
CHECK
CHECKCHECK
ESCESC OFF
Page 192 of 294
Driving your vehicle54
4Air conditioning system opera-
tion tips If the vehicle has been parked in direct
sunlight during hot weather, open the
windows for a short time to let the hot
air inside the vehicle escape.
To help reduce moisture inside of win-
dows on rainy or humid days, decrease
the humidity inside the vehicle by oper-
ating the air conditioning system.
During air conditioning system opera-
tion, you may occasionally notice a
slight change in engine speed as the
air conditioning compressor cycles.
This is a normal system operation
characteristic.
Use the air conditioning system every
month if only for a few minutes to
ensure maximum system perform-
ance.
When using the air conditioning sys-
tem, you may notice clear water drip-
ping (or even pudding) on the ground
under the passenger side of the vehi-
cle. This is a normal system operation
characteristic.
Operating the air conditioning system
in the recirculated air position does
provide maximum cooling, however,
continual operation in this mode may
cause the air inside the vehicle to
become stale.
Checking the amount of air con-
ditioner refrigerant and compres-
sor lubricantWhen the amount of refrigerant is low,
the performance of the air conditioning is
reduced. Overfilling also has a bad influ-
ence on the air conditioning system.
Therefore, if abnormal operation is
found, have the system inspected by an
authorized Kia dealer.✽ ✽
NOTICEWhen the performance of the air condi-
tioning system is reduced it is important
that the correct type and amount of oil
and refrigerant is used. Otherwise, dam-
age to the compressor and abnormal
system operation may occur.
CAUTION
The air conditioning system should
be serviced by an authorized Kiadealer. Improper service may cause serious injury to the person per-forming the service.
Page 195 of 294
457
Driving your vehicle
Manual operation The heating and cooling system can be
controlled manually as well by pushing
buttons other than the AUTO button. In
this case, the system works sequentially
according to the order of buttons select-
ed.
When pressing any button except AUTO
button while automatic operation, the
functions of the buttons not selected will
be controlled automatically.
Press the AUTO button in order to con-
vert to full automatic control of the sys-
tem.
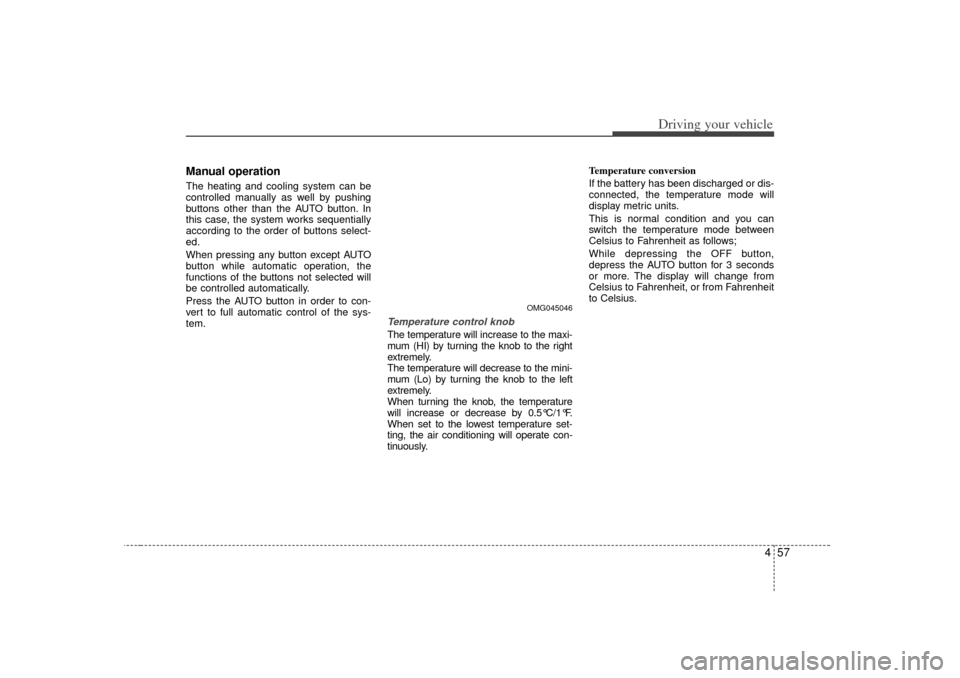
Temperature control knobThe temperature will increase to the maxi-
mum (HI) by turning the knob to the right
extremely.
The temperature will decrease to the mini-
mum (Lo) by turning the knob to the left
extremely.
When turning the knob, the temperature
will increase or decrease by 0.5°C/1°F.
When set to the lowest temperature set-
ting, the air conditioning will operate con-
tinuously. Temperature conversion
If the battery has been discharged or dis-
connected, the temperature mode will
display metric units.
This is normal condition and you can
switch the temperature mode between
Celsius to Fahrenheit as follows;
While depressing the OFF button,
depress the AUTO button for 3 seconds
or more. The display will change from
Celsius to Fahrenheit, or from Fahrenheit
to Celsius.
OMG045046
Page 200 of 294
Driving your vehicle62
4Air conditioning system opera-
tion tips If the vehicle has been parked in direct
sunlight during hot weather, open the
windows for a short time to let the hot
air inside the vehicle escape.
To help reduce moisture inside of win-
dows on rainy humid days, decrease
the humidity inside the vehicle by oper-
ating the air conditioning system.
During air conditioning system opera-
tion, you may occasionally notice a
slight change in engine speed as the
air conditioning compressor cycles on.
This is a normal system operation
characteristics.
Use the air conditioning system every
month if only for a few minutes to
ensure maximum system perform-
ance.
When using the air conditioning sys-
tem, you may notice clear water drip-
ping (or even pudding) on the ground
under the passenger side of the vehi-
cle. This is a normal system operation
characteristics.
Operating the air conditioning system
in the recirculated air position does
provide maximum cooling, however,
continual operation in this mode may
cause the air inside the vehicle to
become stale.
✽ ✽
NOTICEWhen using the air conditioning system,
monitor the temperature gauge closely
while driving up hills or in heavy traffic
when outside temperatures are high. Air
conditioning system operation may
cause engine overheating. Continue to
use the blower fan but turn the air con-
ditioning system off if the temperature
gauge indicates engine overheating.
Checking the amount of air con-
ditioner refrigerant and compres-
sor lubricantWhen the amount of refrigerant is low,
the performance of the air conditioning is
reduced. Overfilling also has a bad influ-
ence on the air conditioning system.
Therefore, if abnormal operation is
found, have the system inspected by an
authorized Kia dealer.✽ ✽NOTICEWhen the performance of the air condi-
tioning system is reduced it is important
that the correct type and amount of oil
and refrigerant is used. Otherwise, dam-
age to the compressor and abnormal
system operation may occur.
CAUTION
The air conditioning system should
be serviced by an authorized Kia dealer. Improper service may causeserious injury.
Page 203 of 294
465
Driving your vehicle
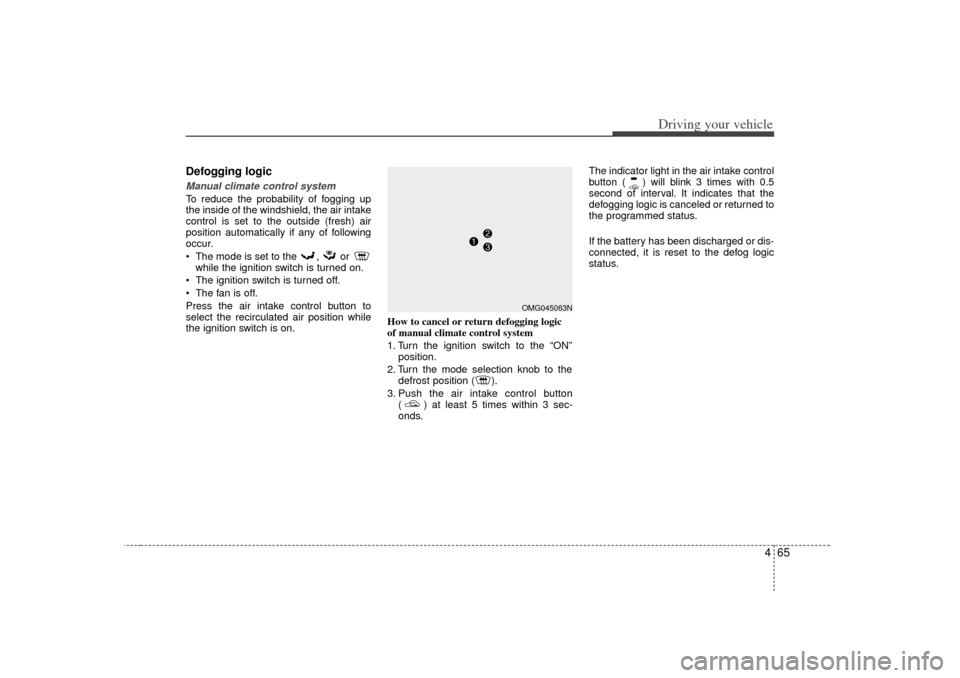
Defogging logicManual climate control systemTo reduce the probability of fogging up
the inside of the windshield, the air intake
control is set to the outside (fresh) air
position automatically if any of following
occur.
The mode is set to the , or
while the ignition switch is turned on.
The ignition switch is turned off.
The fan is off.
Press the air intake control button to
select the recirculated air position while
the ignition switch is on. How to cancel or return defogging logic
of manual climate control system
1. Turn the ignition switch to the
“ON”
position.
2. Turn the mode selection knob to the defrost position ( ).
3. Push the air intake control button ( ) at least 5 times within 3 sec-
onds. The indicator light in the air intake control
button ( ) will blink 3 times with 0.5
second of interval. It indicates that the
defogging logic is canceled or returned to
the programmed status.
If the battery has been discharged or dis-
connected, it is reset to the defog logic
status.
OMG045063N