KIA OPTIMA PHEV 2019 Owners Manual
Manufacturer: KIA, Model Year: 2019, Model line: OPTIMA PHEV, Model: KIA OPTIMA PHEV 2019Pages: 553, PDF Size: 11.97 MB
Page 231 of 553
4101
Features of your vehicle
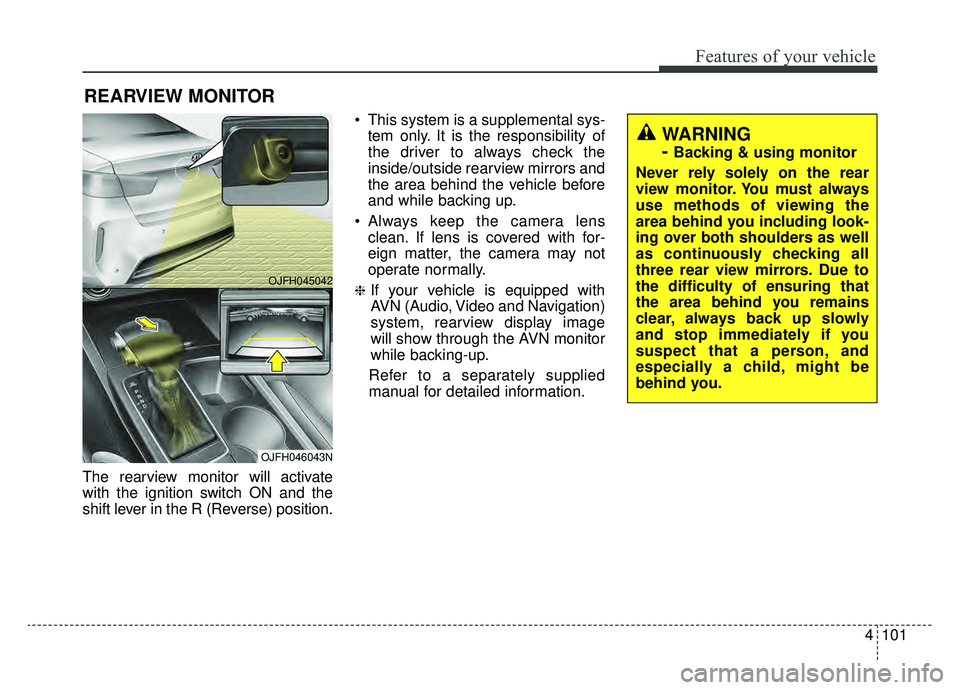
The rearview monitor will activate
with the ignition switch ON and the
shift lever in the R (Reverse) position. This system is a supplemental sys-
tem only. It is the responsibility of
the driver to always check the
inside/outside rearview mirrors and
the area behind the vehicle before
and while backing up.
Always keep the camera lens clean. If lens is covered with for-
eign matter, the camera may not
operate normally.
❈If your vehicle is equipped with
AVN (Audio, Video and Navigation)
system, rearview display image
will show through the AVN monitor
while backing-up.
Refer to a separately supplied
manual for detailed information.
REARVIEW MONITOR
WARNING
-
Backing & using monitor
Never rely solely on the rear
view monitor. You must always
use methods of viewing the
area behind you including look-
ing over both shoulders as well
as continuously checking all
three rear view mirrors. Due to
the difficulty of ensuring that
the area behind you remains
clear, always back up slowly
and stop immediately if you
suspect that a person, and
especially a child, might be
behind you.
OJFH045042
OJFH046043N
Page 232 of 553
Features of your vehicle
102
4
Battery saver function
The purpose of this feature is to
prevent the battery from being dis-
charged if the lights are left in the
ON position. The system automati-
cally shuts off the parking lights 30
seconds after the ignition key is
removed and the driver’s door is
opened and closed.
With this feature, the parking lights will turn off automatically if the driver
parks on the side of the road at night
and opens the driver’s side door.
If necessary, to keep the parking
lights on when the ignition key is
removed, perform the following:
1) Open the driver-side door.
2) Turn the parking lights OFF and ON again using the light switch
on the steering column.
Daytime running light
The Daytime Running Lights (DRL)
can make it easier for others to see the
front of your vehicle during the day.
DRL can be helpful in many different
driving conditions, and it is especially
helpful after dawn and before sunset.
The DRL system will turn the dedi-
cated lamp OFF when:
1. The headlight switch is ON.
2. The engine is OFF.
3. Engaging the parking brake.
Lighting control
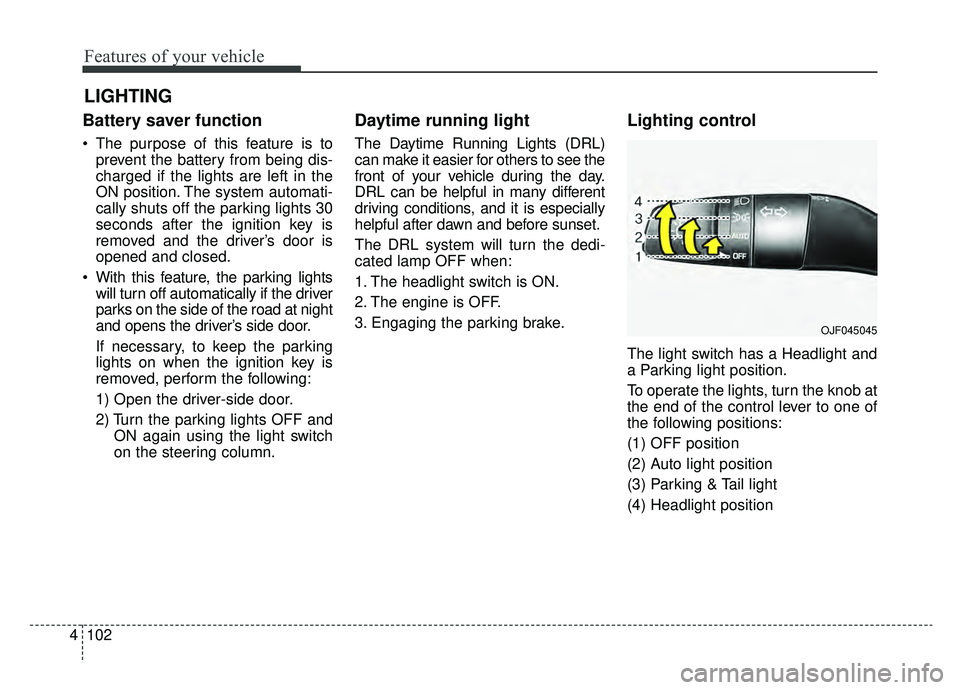
The light switch has a Headlight and
a Parking light position.
To operate the lights, turn the knob at
the end of the control lever to one of
the following positions:
(1) OFF position
(2) Auto light position
(3) Parking & Tail light
(4) Headlight position
LIGHTING
OJF045045
Page 233 of 553
4103
Features of your vehicle
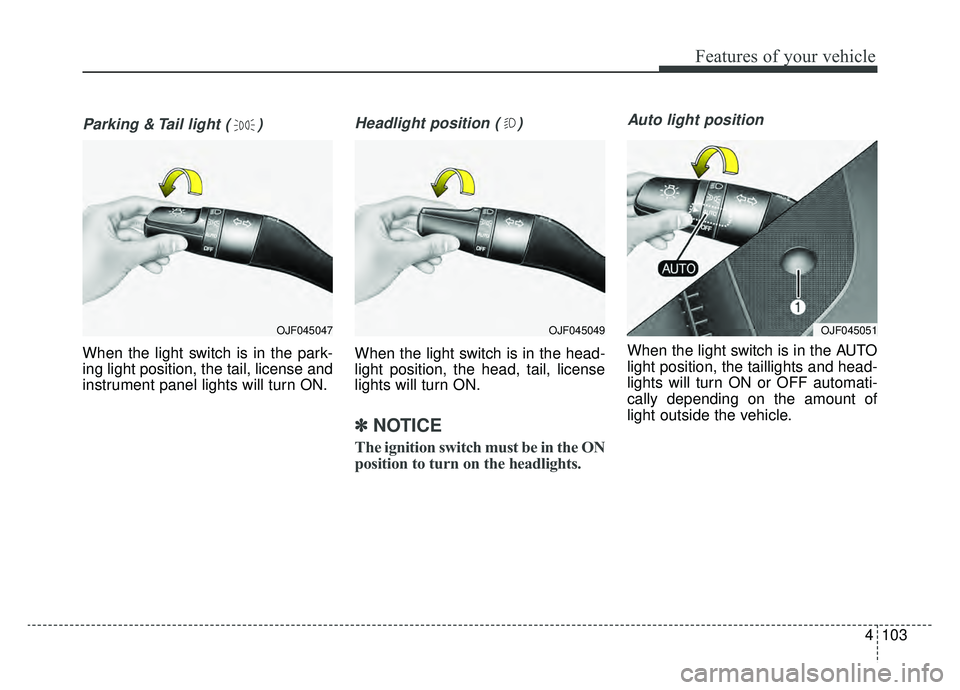
Parking & Tail light ( )
When the light switch is in the park-
ing light position, the tail, license and
instrument panel lights will turn ON.
Headlight position ( )
When the light switch is in the head-
light position, the head, tail, license
lights will turn ON.
✽ ✽NOTICE
The ignition switch must be in the ON
position to turn on the headlights.
Auto light position
When the light switch is in the AUTO
light position, the taillights and head-
lights will turn ON or OFF automati-
cally depending on the amount of
light outside the vehicle.
OJF045049OJF045051OJF045047
Page 234 of 553
Features of your vehicle
104
4
High beam operation
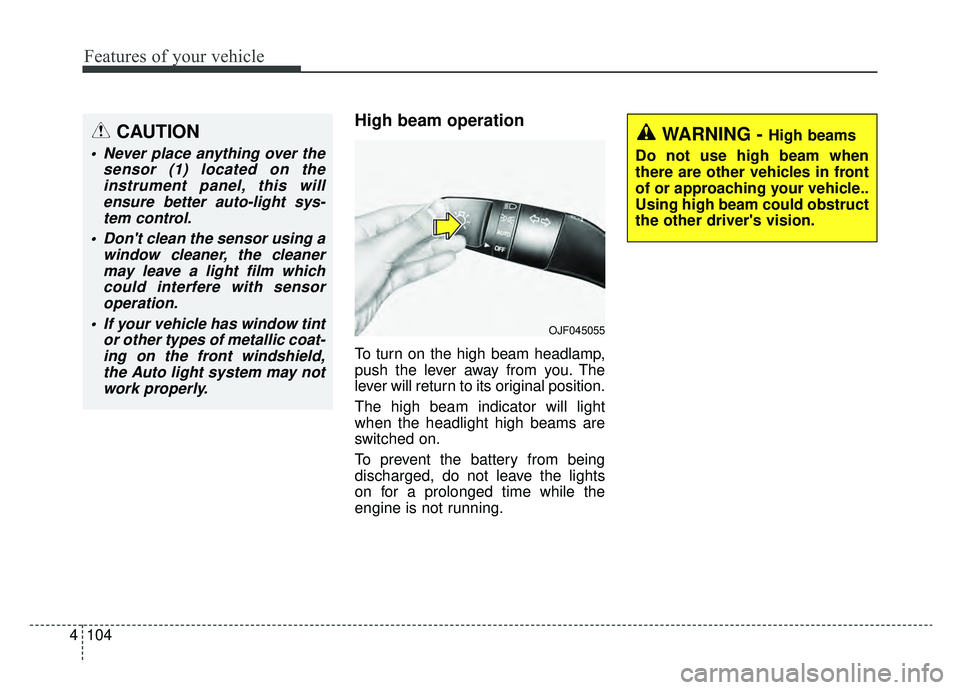
To turn on the high beam headlamp,
push the lever away from you. The
lever will return to its original position.
The high beam indicator will light
when the headlight high beams are
switched on.
To prevent the battery from being
discharged, do not leave the lights
on for a prolonged time while the
engine is not running.
WARNING - High beams
Do not use high beam when
there are other vehicles in front
of or approaching your vehicle..
Using high beam could obstruct
the other driver's vision.
OJF045055
CAUTION
Never place anything over the sensor (1) located on theinstrument panel, this willensure better auto-light sys-tem control.
Don't clean the sensor using a window cleaner, the cleanermay leave a light film whichcould interfere with sensoroperation.
If your vehicle has window tint or other types of metallic coat-ing on the front windshield,the Auto light system may notwork properly.
Page 235 of 553
4105
Features of your vehicle
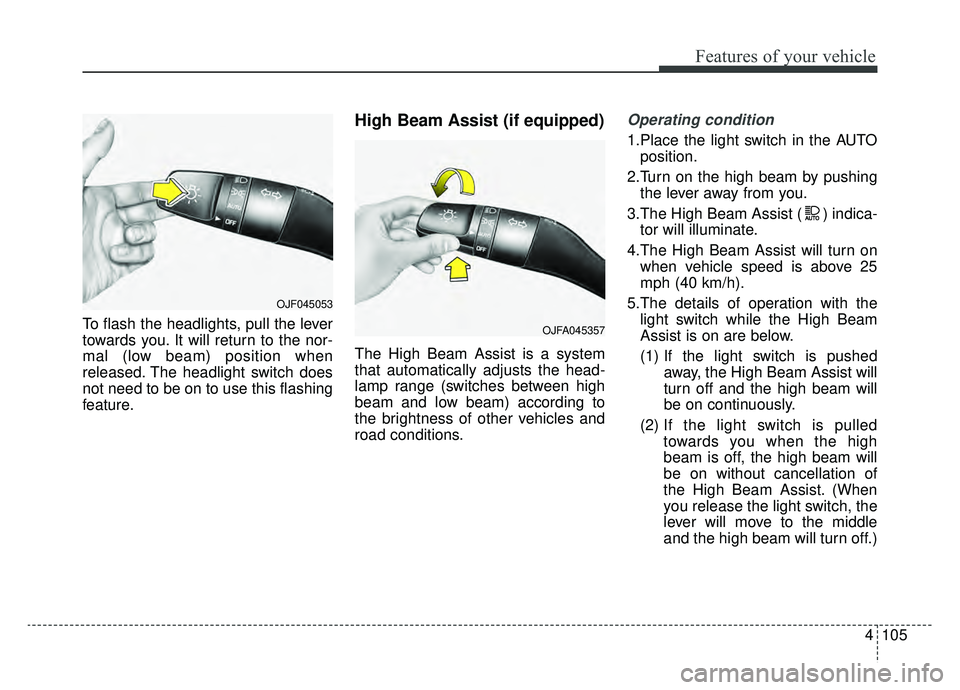
To flash the headlights, pull the lever
towards you. It will return to the nor-
mal (low beam) position when
released. The headlight switch does
not need to be on to use this flashing
feature.
High Beam Assist (if equipped)
The High Beam Assist is a system
that automatically adjusts the head-
lamp range (switches between high
beam and low beam) according to
the brightness of other vehicles and
road conditions.
Operating condition
1.Place the light switch in the AUTOposition.
2.Turn on the high beam by pushing the lever away from you.
3.The High Beam Assist ( ) indica- tor will illuminate.
4.The High Beam Assist will turn on when vehicle speed is above 25
mph (40 km/h).
5.The details of operation with the light switch while the High Beam
Assist is on are below.
(1) If the light switch is pushed away, the High Beam Assist will
turn off and the high beam will
be on continuously.
(2) If the light switch is pulled
towards you when the high
beam is off, the high beam will
be on without cancellation of
the High Beam Assist. (When
you release the light switch, the
lever will move to the middle
and the high beam will turn off.)
OJFA045357
OJF045053
Page 236 of 553
Features of your vehicle
106
4
(3) If the light switch is pulled
towards you when the high
beam is on by the High Beam
Assist, the low beam will be on
and the High Beam Assist will
turn off.
(4) If the light switch is turned to the headlamp position ( )
from AUTO position, the High
Beam Assist will turn off and
the low beam will be on contin-
uously. When the High Beam Assist is oper-
ating, the high beam switches to low
beam in the following conditions.
When the headlamp is detected
from the on-coming vehicle.
When the tail lamp is detected from the front vehicle.
When headlamp/tail lamp of bicy- cle/motorcycle is detected.
When the surrounding is sufficient- ly bright that high beams are not
needed.
When streetlights or other lights are detected.
When the light switch is not in the AUTO position.
When the High Beam Assist is off.
When vehicle speed is below 15 mph (24 km/h).Warning light and message
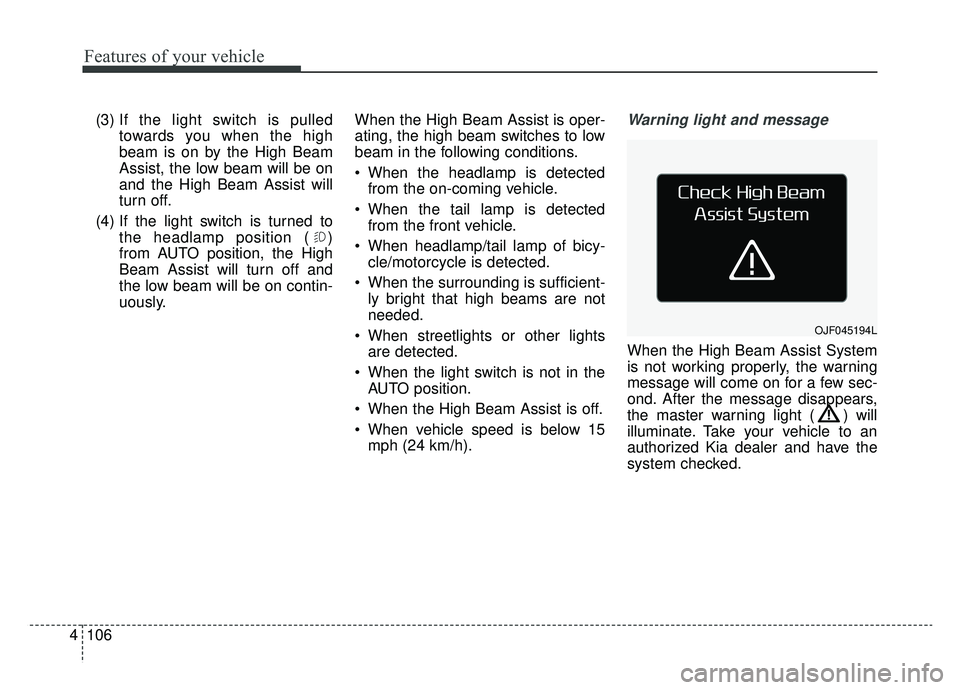
When the High Beam Assist System
is not working properly, the warning
message will come on for a few sec-
ond. After the message disappears,
the master warning light ( ) will
illuminate. Take your vehicle to an
authorized Kia dealer and have the
system checked.
OJF045194L
Page 237 of 553
4107
Features of your vehicle
(Continued)- When driving on a narrowcurved road, rough road,downhill or uphill.
- When only part of the vehicle in front is visible on a cross-road or curved road.
- When there is a traffic light, reflecting sign, flashing signor mirror ahead.
- When there is a temporary reflector or flash ahead (con-struction area).
- When the road conditions are bad such as being wet, iced orcovered with snow.
- When a vehicle suddenly appears from a curve.
- When the vehicle is tilted from a flat tire or being towed.
(Continued)(Continued) When front visibility is poor - When the lamp from a vehicleis covered with dust, snow orwater.
- When the light from a vehicle is not detected because ofexhaust fume, smoke, fog,snow, etc.
- When the front window is cov- ered with foreign matters.
- When it is hard to see because of fog, heavy rain or snow andetc.CAUTION
The driver must be cautious inthe following situations as theHigh Beam Assist system maynot operate:
When the light from on-coming or front vehicle is poor
- When the light from a vehicle is not detected because oflamp damage, hidden fromsight, etc.
- When the lamp of a vehicle is covered with dust, snow orwater.
When external condition is intervened
- When there is a similar shape lamp with the front vehicle'slamps.
- When the headlamp is not repaired or replaced at anauthorized Kia dealer.
- When the headlamp aiming is not properly adjusted.
(Continued)
Page 238 of 553
Features of your vehicle
108
4
✽ ✽
NOTICE
• Do not disassemble a front view
camera temporarily for tinted
window or attaching any types of
coatings and accessories. If you
disassemble the camera and
assemble it again, take your vehi-
cle to an authorized Kia dealer
and have the system checked to
need a calibration.
• When you replace or reinstall the windshield glass, front view cam-
era, take your vehicle to an
authorized Kia dealer and have
the system checked.
• Be careful that water does not get into the High Beam Assist unit and
do not remove or damage related
parts of the High Beam Assist sys-
tem.
• Do not place objects on the dash- board that reflect light such as
mirrors, white paper, etc. The sys-
tem may not be able to function if
sunlight is reflected. (Continued)(Continued)
• At times, the High Beam Assist
may not operate due to system
limitations. The system is for your
convenience only. It is the respon-
sibility of the driver to use safe
driving practices and always
check the road conditions for your
safety.
• When the system does not operate normally, change the lamp posi-
tion manually between the high
beam and low beam.
Turn signals and lane change
signals
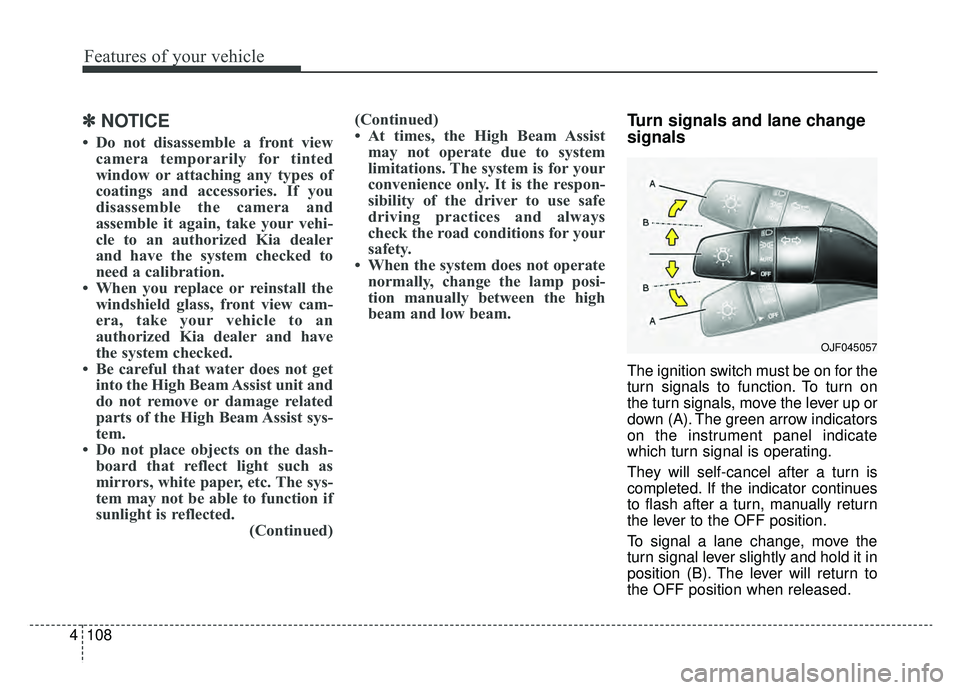
The ignition switch must be on for the
turn signals to function. To turn on
the turn signals, move the lever up or
down (A). The green arrow indicators
on the instrument panel indicate
which turn signal is operating.
They will self-cancel after a turn is
completed. If the indicator continues
to flash after a turn, manually return
the lever to the OFF position.
To signal a lane change, move the
turn signal lever slightly and hold it in
position (B). The lever will return to
the OFF position when released.
OJF045057
Page 239 of 553
4109
Features of your vehicle
If an indicator stays on and does not
flash or if it flashes abnormally, one of
the turn signal bulbs may be burned
out and will require replacement.
✽ ✽NOTICE
If an indicator flash is abnormally
quick or slow, a bulb may be burned
out or have a poor electrical connec-
tion in the circuit.
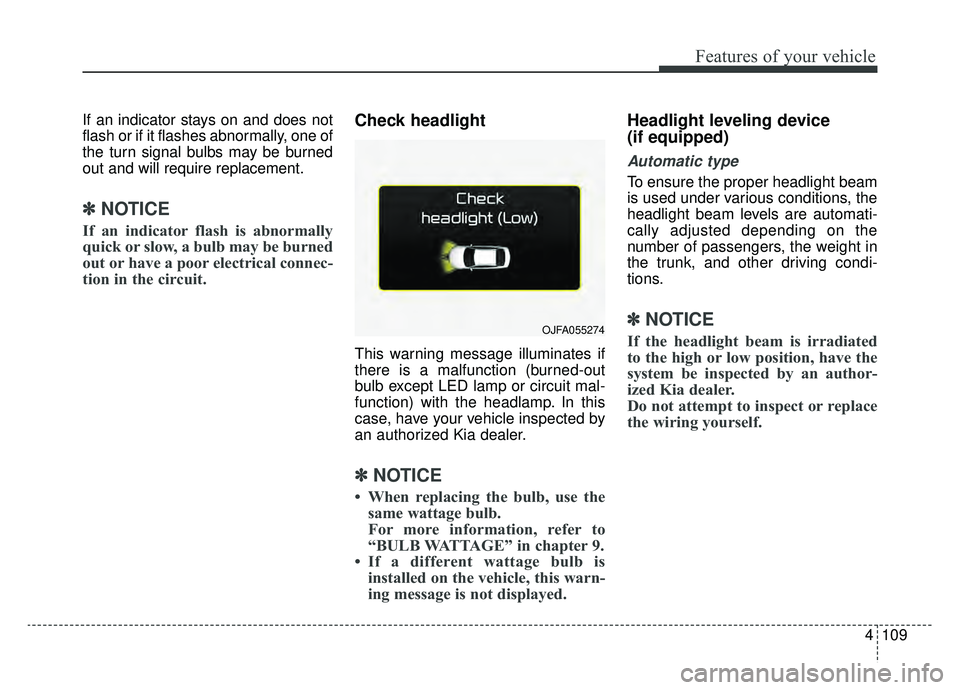
Check headlight
This warning message illuminates if
there is a malfunction (burned-out
bulb except LED lamp or circuit mal-
function) with the headlamp. In this
case, have your vehicle inspected by
an authorized Kia dealer.
✽ ✽NOTICE
• When replacing the bulb, use the
same wattage bulb.
For more information, refer to
“BULB WATTAGE” in chapter 9.
• If a different wattage bulb is installed on the vehicle, this warn-
ing message is not displayed.
Headlight leveling device
(if equipped)
Automatic type
To ensure the proper headlight beam
is used under various conditions, the
headlight beam levels are automati-
cally adjusted depending on the
number of passengers, the weight in
the trunk, and other driving condi-
tions.
✽ ✽ NOTICE
If the headlight beam is irradiated
to the high or low position, have the
system be inspected by an author-
ized Kia dealer.
Do not attempt to inspect or replace
the wiring yourself.OJFA055274
Page 240 of 553
Features of your vehicle
110
4
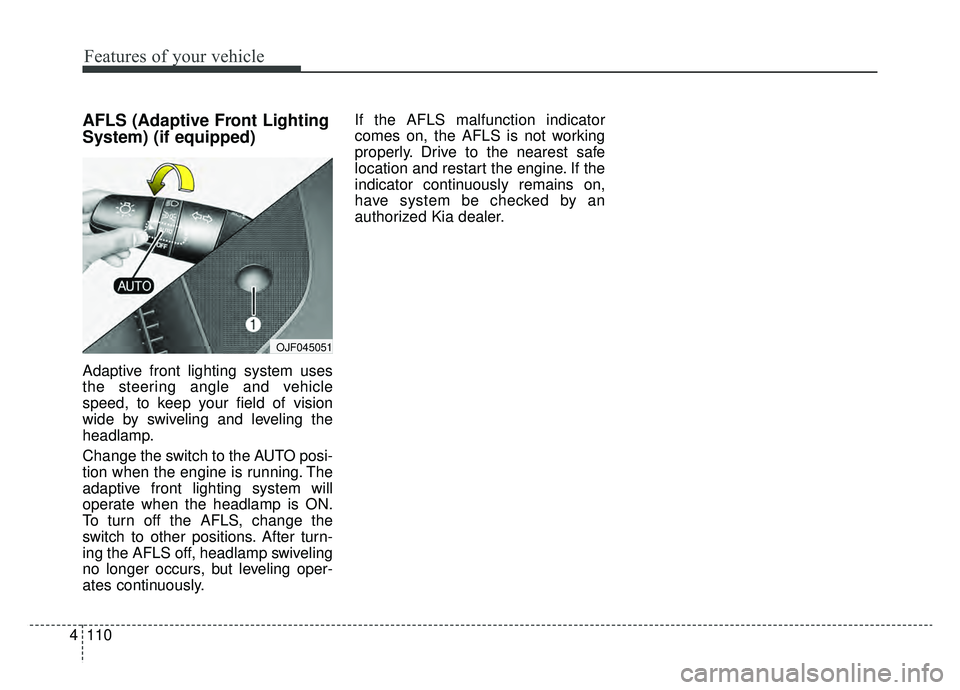
AFLS (Adaptive Front Lighting
System) (if equipped)
Adaptive front lighting system uses
the steering angle and vehicle
speed, to keep your field of vision
wide by swiveling and leveling the
headlamp.
Change the switch to the AUTO posi-
tion when the engine is running. The
adaptive front lighting system will
operate when the headlamp is ON.
To turn off the AFLS, change the
switch to other positions. After turn-
ing the AFLS off, headlamp swiveling
no longer occurs, but leveling oper-
ates continuously. If the AFLS malfunction indicator
comes on, the AFLS is not working
properly. Drive to the nearest safe
location and restart the engine. If the
indicator continuously remains on,
have system be checked by an
authorized Kia dealer.
OJF045051