display KIA OPTIMA PHEV 2019 Repair Manual
[x] Cancel search | Manufacturer: KIA, Model Year: 2019, Model line: OPTIMA PHEV, Model: KIA OPTIMA PHEV 2019Pages: 553, PDF Size: 11.97 MB
Page 473 of 553
Maintenance
46
8
3. Checking tire life (TIN : Tire
Identification Number)
Any tires that are over 6 years old,
based on the manufacturing date,
(including the spare tire) should be
replaced by new ones. You can find
the manufacturing date on the tire
sidewall (possibly on the inside of the
wheel), displaying the DOT Code.
The DOT Code is a series of num-
bers on a tire consisting of numbers
and English letters. The manufactur-
ing date is designated by the last four
digits (characters) of the DOT code.
DOT : XXXX XXXX OOOO
The front part of the DOT means a
plant code number, tire size and
tread pattern and the last four num-
bers indicate week and year manu-
factured.
For example:
DOT XXXX XXXX 1618 represents
that the tire was produced in the 16th
week of 2018.
4. Tire ply composition and mate-rial
The number of layers or plies of rub-
ber-coated fabric in the tire. Tire
manufacturers also must indicate the
materials in the tire, which include
steel, nylon, polyester, and others.
The letter "R" means radial ply con-
struction; the letter "D" means diago-
nal or bias ply construction; and the
letter "B" means belted-bias ply con-
struction.
5. Maximum permissible inflationpressure
This number is the greatest amount of
air pressure that should be put in the
tire. Do not exceed the maximum per-
missible inflation pressure. Refer to
the Tire and Loading Information label
for recommended inflation pressure.
6. Maximum load rating
This number indicates the maximum
load in kilograms and pounds that can
be carried by the tire. When replacing
the tires on the vehicle, always use a
tire that has the same load rating as
the factory installed tire.
7. Uniform tire quality grading
Quality grades can be found where
applicable on the tire sidewall
between tread shoulder and maxi-
mum section width.
For example:
TREADWEAR 440
TRACTION A
TEMPERATURE A
WARNING - Tire age
Replace tires within the recom-
mended time frame. Failure to
replace tires as recommended
can result in sudden tire failure,
which could lead to a loss of
control and an accident.
Page 483 of 553
Maintenance
56
8
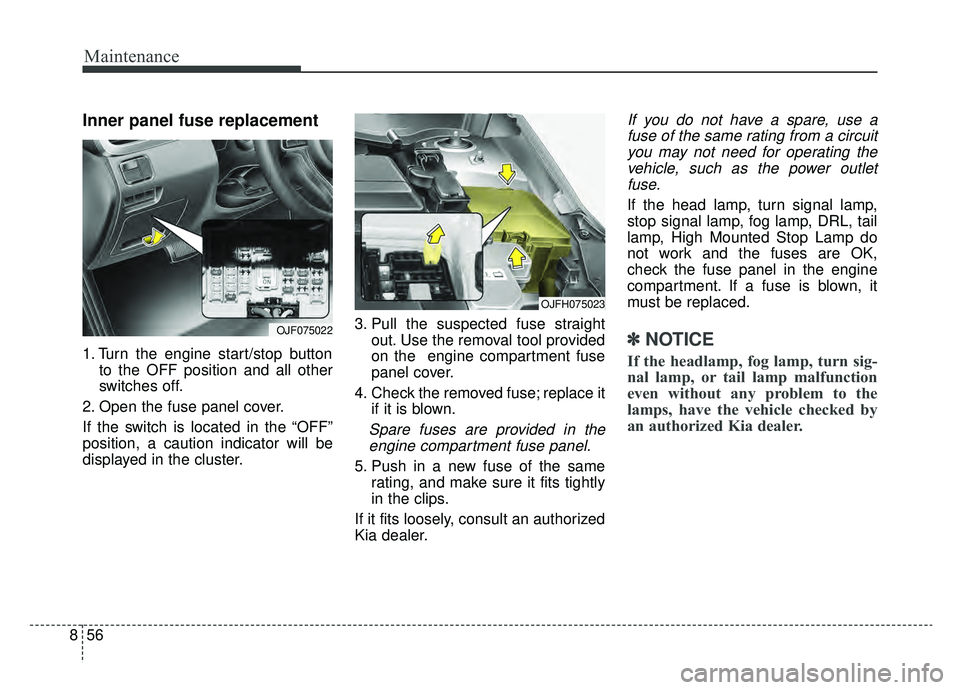
Inner panel fuse replacement
1. Turn the engine start/stop button
to the OFF position and all other
switches off.
2. Open the fuse panel cover.
If the switch is located in the “OFF”
position, a caution indicator will be
displayed in the cluster. 3. Pull the suspected fuse straight
out. Use the removal tool provided
on the engine compartment fuse
panel cover.
4. Check the removed fuse; replace it if it is blown.
Spare fuses are provided in theengine compartment fuse panel.
5. Push in a new fuse of the same rating, and make sure it fits tightly
in the clips.
If it fits loosely, consult an authorized
Kia dealer.
If you do not have a spare, use a fuse of the same rating from a circuityou may not need for operating thevehicle, such as the power outletfuse.
If the head lamp, turn signal lamp,
stop signal lamp, fog lamp, DRL, tail
lamp, High Mounted Stop Lamp do
not work and the fuses are OK,
check the fuse panel in the engine
compartment. If a fuse is blown, it
must be replaced.
✽ ✽ NOTICE
If the headlamp, fog lamp, turn sig-
nal lamp, or tail lamp malfunction
even without any problem to the
lamps, have the vehicle checked by
an authorized Kia dealer.
OJFH075023
OJF075022
Page 484 of 553
857
Maintenance
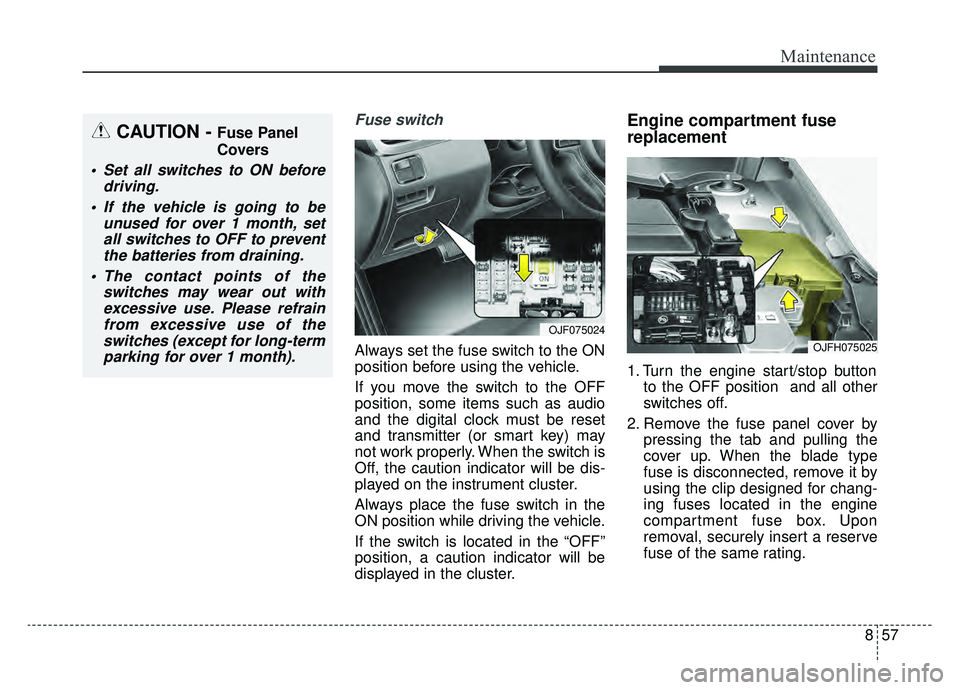
Fuse switch
Always set the fuse switch to the ON
position before using the vehicle.
If you move the switch to the OFF
position, some items such as audio
and the digital clock must be reset
and transmitter (or smart key) may
not work properly. When the switch is
Off, the caution indicator will be dis-
played on the instrument cluster.
Always place the fuse switch in the
ON position while driving the vehicle.
If the switch is located in the “OFF”
position, a caution indicator will be
displayed in the cluster.
Engine compartment fuse
replacement
1. Turn the engine start/stop buttonto the OFF position and all other
switches off.
2. Remove the fuse panel cover by pressing the tab and pulling the
cover up. When the blade type
fuse is disconnected, remove it by
using the clip designed for chang-
ing fuses located in the engine
compartment fuse box. Upon
removal, securely insert a reserve
fuse of the same rating.
OJF075024
OJFH075025
CAUTION - Fuse Panel
Covers
Set all switches to ON beforedriving.
If the vehicle is going to be unused for over 1 month, setall switches to OFF to preventthe batteries from draining.
The contact points of the switches may wear out withexcessive use. Please refrainfrom excessive use of theswitches (except for long-termparking for over 1 month).
Page 533 of 553
97
Specifications, Consumer information, Reporting safety defects
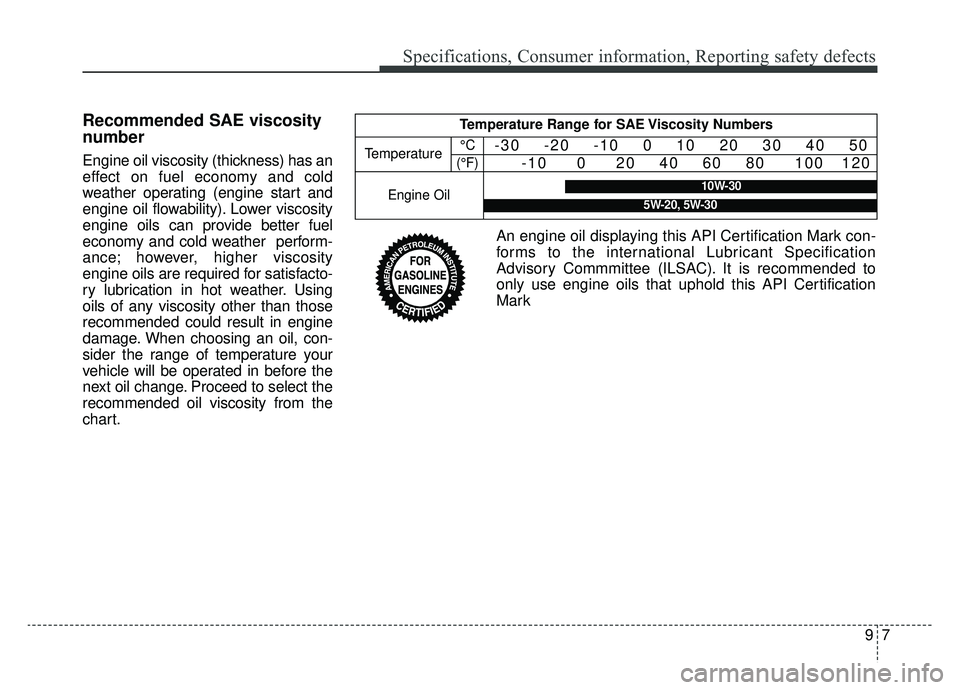
Recommended SAE viscosity
number
Engine oil viscosity (thickness) has an
effect on fuel economy and cold
weather operating (engine start and
engine oil flowability). Lower viscosity
engine oils can provide better fuel
economy and cold weather perform-
ance; however, higher viscosity
engine oils are required for satisfacto-
ry lubrication in hot weather. Using
oils of any viscosity other than those
recommended could result in engine
damage. When choosing an oil, con-
sider the range of temperature your
vehicle will be operated in before the
next oil change. Proceed to select the
recommended oil viscosity from the
chart.
Temperature Range for SAE Viscosity Numbers
Temperature°C
(°F)-30 -20 -10 0 10 20 30 40 50 -10 0 20 40 60 80 100 120
Engine Oil10W-30
5W-20, 5W-30
An engine oil displaying this API Certification Mark con-
forms to the international Lubricant Specification
Advisory Commmittee (ILSAC). It is recommended to
only use engine oils that uphold this API Certification
Mark
Page 547 of 553
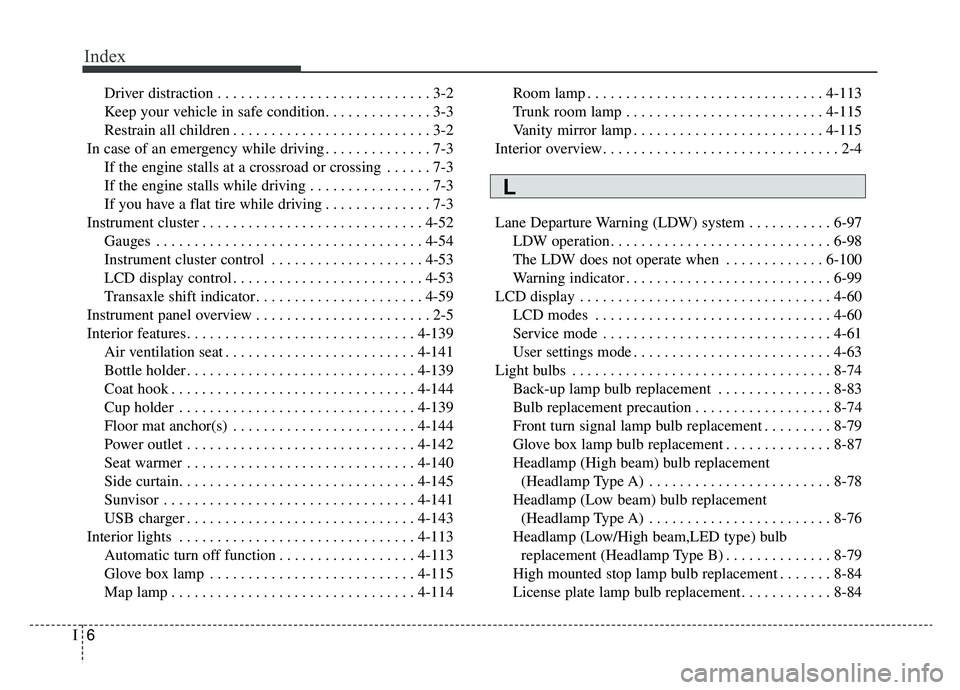
Index
6I
Driver distraction . . . . . . . . . . . . . . . . . . . . . . . . . . . . 3-2
Keep your vehicle in safe condition. . . . . . . . . . . . . . 3-3
Restrain all children . . . . . . . . . . . . . . . . . . . . . . . . . . 3-2
In case of an emergency while driving . . . . . . . . . . . . . . 7-3 If the engine stalls at a crossroad or crossing . . . . . . 7-3
If the engine stalls while driving . . . . . . . . . . . . . . . . 7-3
If you have a flat tire while driving . . . . . . . . . . . . . . 7-3
Instrument cluster . . . . . . . . . . . . . . . . . . . . . . . . . . . . . 4-52 Gauges . . . . . . . . . . . . . . . . . . . . . . . . . . . . . . . . . . . 4-\
54
Instrument cluster control . . . . . . . . . . . . . . . . . . . . 4-53
LCD display control . . . . . . . . . . . . . . . . . . . . . . . . . 4-53
Transaxle shift indicator . . . . . . . . . . . . . . . . . . . . . . 4-59
Instrument panel overview . . . . . . . . . . . . . . . . . . . . . . . 2-5
Interior features. . . . . . . . . . . . . . . . . . . . . . . . . . . . . . 4-139 Air ventilation seat . . . . . . . . . . . . . . . . . . . . . . . . . 4-141
Bottle holder . . . . . . . . . . . . . . . . . . . . . . . . . . . . . . 4-139
Coat hook . . . . . . . . . . . . . . . . . . . . . . . . . . . . . . . . 4-144
Cup holder . . . . . . . . . . . . . . . . . . . . . . . . . . . . . . . 4-139
Floor mat anchor(s) . . . . . . . . . . . . . . . . . . . . . . . . 4-144
Power outlet . . . . . . . . . . . . . . . . . . . . . . . . . . . . . . 4-142
Seat warmer . . . . . . . . . . . . . . . . . . . . . . . . . . . . . . 4-140
Side curtain. . . . . . . . . . . . . . . . . . . . . . . . . . . . . . . 4-145
Sunvisor . . . . . . . . . . . . . . . . . . . . . . . . . . . . . . . . . 4-141
USB charger . . . . . . . . . . . . . . . . . . . . . . . . . . . . . . 4-143
Interior lights . . . . . . . . . . . . . . . . . . . . . . . . . . . . . . . 4-113 Automatic turn off function . . . . . . . . . . . . . . . . . . 4-113
Glove box lamp . . . . . . . . . . . . . . . . . . . . . . . . . . . 4-115
Map lamp . . . . . . . . . . . . . . . . . . . . . . . . . . . . . . . . 4-114 Room lamp . . . . . . . . . . . . . . . . . . . . . . . . . . . . . . . 4-113
Trunk room lamp . . . . . . . . . . . . . . . . . . . . . . . . . . 4-115
Vanity mirror lamp . . . . . . . . . . . . . . . . . . . . . . . . . 4-115
Interior overview. . . . . . . . . . . . . . . . . . . . . . . . . . . . . . . 2-4
Lane Departure Warning (LDW) system . . . . . . . . . . . 6-97 LDW operation. . . . . . . . . . . . . . . . . . . . . . . . . . . . . 6-98
The LDW does not operate when . . . . . . . . . . . . . 6-100
Warning indicator . . . . . . . . . . . . . . . . . . . . . . . . . . . 6-99
LCD display . . . . . . . . . . . . . . . . . . . . . . . . . . . . . . . . . 4-60 LCD modes . . . . . . . . . . . . . . . . . . . . . . . . . . . . . . . 4-60
Service mode . . . . . . . . . . . . . . . . . . . . . . . . . . . . . . 4-61
User settings mode . . . . . . . . . . . . . . . . . . . . . . . . . . 4-63
Light bulbs . . . . . . . . . . . . . . . . . . . . . . . . . . . . . . . . . . 8-74\
Back-up lamp bulb replacement . . . . . . . . . . . . . . . 8-83
Bulb replacement precaution . . . . . . . . . . . . . . . . . . 8-74
Front turn signal lamp bulb replacement . . . . . . . . . 8-79
Glove box lamp bulb replacement . . . . . . . . . . . . . . 8-87
Headlamp (High beam) bulb replacement (Headlamp Type A) . . . . . . . . . . . . . . . . . . . . . . . . 8-78
Headlamp (Low beam) bulb replacement (Headlamp Type A) . . . . . . . . . . . . . . . . . . . . . . . . 8-76
Headlamp (Low/High beam,LED type) bulb replacement (Headlamp Type B) . . . . . . . . . . . . . . 8-79
High mounted stop lamp bulb replacement . . . . . . . 8-84
License plate lamp bulb replacement. . . . . . . . . . . . 8-84
L