clock KIA Rio 2008 2.G Owner's Manual
[x] Cancel search | Manufacturer: KIA, Model Year: 2008, Model line: Rio, Model: KIA Rio 2008 2.GPages: 219, PDF Size: 5.17 MB
Page 71 of 219
Knowing your vehicle
62 3
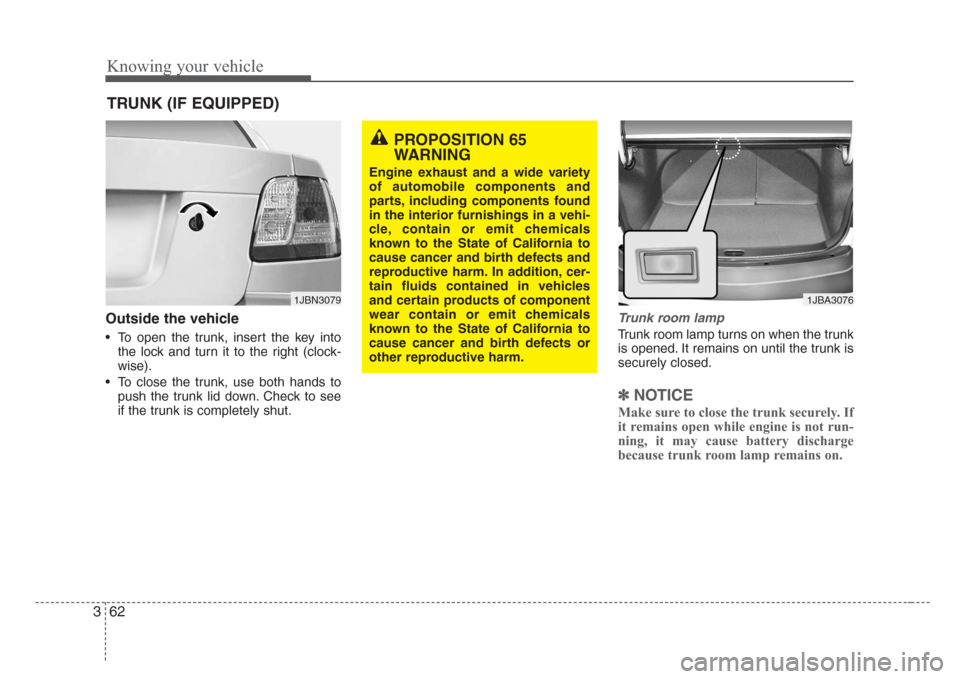
Outside the vehicle
• To open the trunk, insert the key into
the lock and turn it to the right (clock-
wise).
• To close the trunk, use both hands to
push the trunk lid down. Check to see
if the trunk is completely shut.
Trunk room lamp
Trunk room lamp turns on when the trunk
is opened. It remains on until the trunk is
securely closed.
✽
NOTICE
Make sure to close the trunk securely. If
it remains open while engine is not run-
ning, it may cause battery discharge
because trunk room lamp remains on.
TRUNK (IF EQUIPPED)
1JBN30791JBA3076
PROPOSITION 65
WARNING
Engine exhaust and a wide variety
of automobile components and
parts, including components found
in the interior furnishings in a vehi-
cle, contain or emit chemicals
known to the State of California to
cause cancer and birth defects and
reproductive harm. In addition, cer-
tain fluids contained in vehicles
and certain products of component
wear contain or emit chemicals
known to the State of California to
cause cancer and birth defects or
other reproductive harm.
Page 75 of 219
Knowing your vehicle
66 3
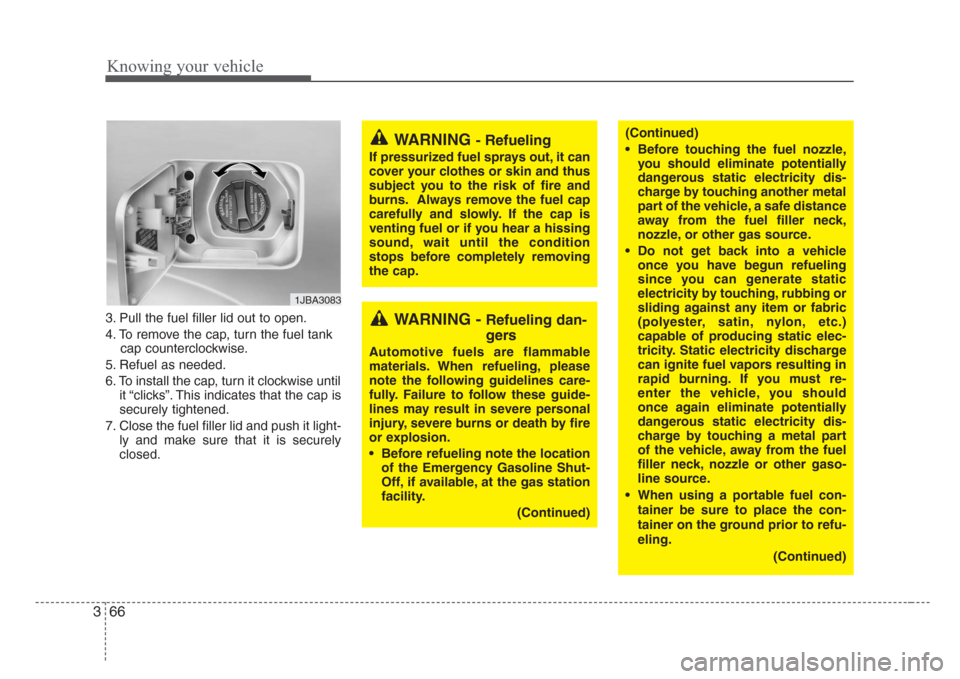
3. Pull the fuel filler lid out to open.
4. To remove the cap, turn the fuel tank
cap counterclockwise.
5. Refuel as needed.
6. To install the cap, turn it clockwise until
it “clicks”. This indicates that the cap is
securely tightened.
7. Close the fuel filler lid and push it light-
ly and make sure that it is securely
closed.
1JBA3083
WARNING - Refueling
If pressurized fuel sprays out, it can
cover your clothes or skin and thus
subject you to the risk of fire and
burns.Always remove the fuel cap
carefully and slowly. If the cap is
venting fuel or if you hear a hissing
sound, wait until the condition
stops before completely removing
the cap.
WARNING - Refueling dan-
gers
Automotive fuels are flammable
materials. When refueling, please
note the following guidelines care-
fully. Failure to follow these guide-
lines may result in severe personal
injury,severe burns or death by fire
or explosion.
• Before refueling note the location
of the Emergency Gasoline Shut-
Off, if available, at the gas station
facility.
(Continued)
(Continued)
• Before touching the fuel nozzle,
you should eliminate potentially
dangerous static electricity dis-
charge by touching another metal
part of the vehicle, a safe distance
away from the fuel filler neck,
nozzle, or other gas source.
• Do not get back into a vehicle
once you have begun refueling
since you can generate static
electricity by touching, rubbing or
sliding against any item or fabric
(polyester,satin, nylon, etc.)
capable of producing static elec-
tricity. Static electricity discharge
can ignite fuel vapors resulting in
rapid burning. If you must re-
enter the vehicle, you should
once again eliminate potentially
dangerous static electricity dis-
charge by touching a metal part
of the vehicle, away from the fuel
filler neck, nozzle or other gaso-
line source.
• When using a portable fuel con-
tainer be sure to place the con-
tainer on the ground prior to refu-
eling.
(Continued)
Page 84 of 219
375
Knowing your vehicle
✽
NOTICE
• Use the power outlet when the engine
is running, and remove a plug from
the power outlet after using the elec-
tric appliance. Using the power outlet
excessively or while the engine is not
running or leaving appliances plugged
into the power outlet when not in use
will cause battery discharge
• Only use the electric appliances which
are less than 12V and 10A in electric
capacity.
• Adjust the air-conditioner or heater to
the lowest operation level when you
have to use the power socket while
using air-conditioner or heater.
• Close the cover when not in use.
• Some electronic devices can cause
electronic interference when plugged
into a vehicle’s power outlet. These
devices may cause excessive audio
static and malfunctions in other elec-
tronic systems or devices used in your
vehicle.
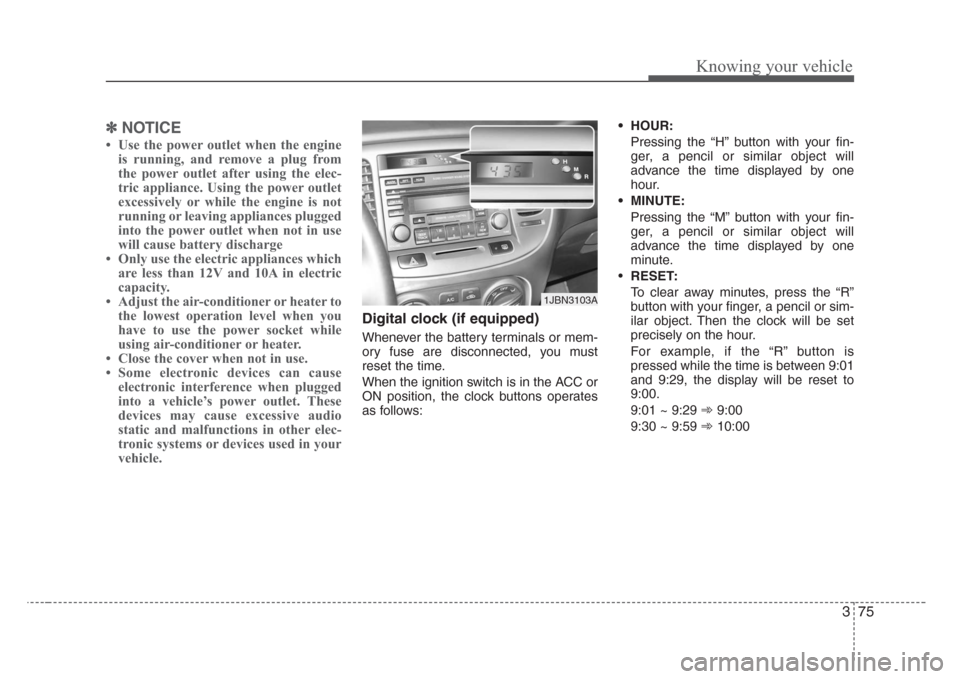
Digital clock (if equipped)
Whenever the battery terminals or mem-
ory fuse are disconnected, you must
reset the time.
When the ignition switch is in the ACC or
ON position, the clock buttons operates
as follows:• HOUR:
Pressing the “H” button with your fin-
ger, a pencil or similar object will
advance the time displayed by one
hour.
• MINUTE:
Pressing the “M” button with your fin-
ger, a pencil or similar object will
advance the time displayed by one
minute.
•RESET:
To clear away minutes, press the “R”
button with your finger, a pencil or sim-
ilar object. Then the clock will be set
precisely on the hour.
For example, if the “R” button is
pressed while the time is between 9:01
and 9:29, the display will be reset to
9:00.
9:01 ~ 9:29 ➾9:00
9:30 ~ 9:59 ➾10:00
1JBN3103A
Page 87 of 219
Knowing your vehicle
78 3
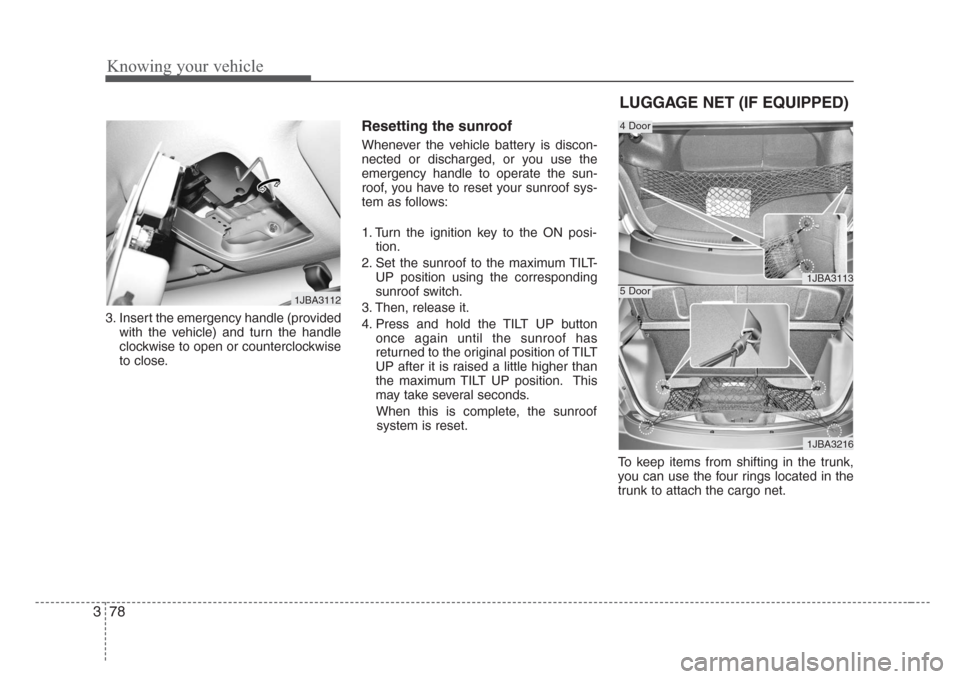
3. Insert the emergency handle (provided
with the vehicle) and turn the handle
clockwise to open or counterclockwise
to close.
Resetting the sunroof
Whenever the vehicle battery is discon-
nected or discharged, or you use the
emergency handle to operate the sun-
roof, you have to reset your sunroof sys-
tem as follows:
1. Turn the ignition key to the ON posi-
tion.
2. Set the sunroof to the maximum TILT-
UP position using the corresponding
sunroof switch.
3. Then, release it.
4. Press and hold the TILT UP button
once again until the sunroof has
returned to the original position of TILT
UP after it is raised a little higher than
the maximum TILT UP position. This
may take several seconds.
When this is complete, the sunroof
system is reset.
To keep items from shifting in the trunk,
you can use the four rings located in the
trunk to attach the cargo net.
1JBA3112
1JBA3113
1JBA3216
4 Door
5 Door
LUGGAGE NET (IF EQUIPPED)
Page 93 of 219
Knowing your vehicle
84 3
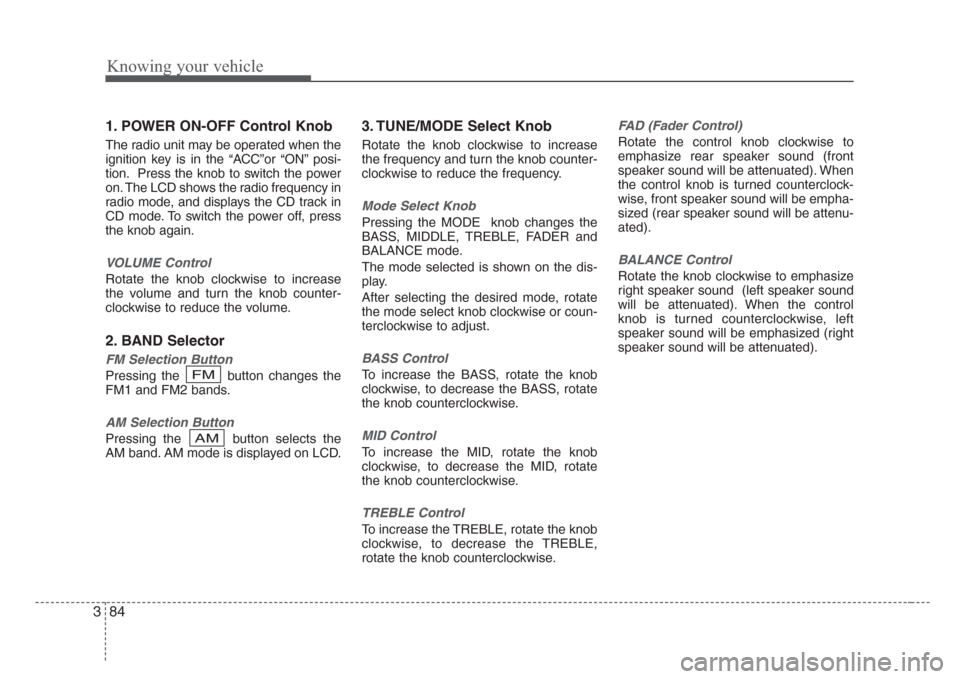
1. POWER ON-OFF Control Knob
The radio unit may be operated when the
ignition key is in the “ACC”or “ON” posi-
tion. Press the knob to switch the power
on. The LCD shows the radio frequency in
radio mode, and displays the CD track in
CD mode. To switch the power off, press
the knob again.
VOLUME Control
Rotate the knob clockwise to increase
the volume and turn the knob counter-
clockwise to reduce the volume.
2. BAND Selector
FM Selection Button
Pressing the button changes the
FM1 and FM2 bands.
AM Selection Button
Pressing the button selects the
AM band. AM mode is displayed on LCD.
3. TUNE/MODE Select Knob
Rotate the knob clockwise to increase
the frequency and turn the knob counter-
clockwise to reduce the frequency.
Mode Select Knob
Pressing the MODE knob changes the
BASS, MIDDLE, TREBLE, FADER and
BALANCE mode.
The mode selected is shown on the dis-
play.
After selecting the desired mode, rotate
the mode select knob clockwise or coun-
terclockwise to adjust.
BASS Control
To increase the BASS, rotate the knob
clockwise, to decrease the BASS, rotate
the knob counterclockwise.
MID Control
To increase the MID, rotate the knob
clockwise, to decrease the MID, rotate
the knob counterclockwise.
TREBLE Control
To increase the TREBLE, rotate the knob
clockwise, to decrease the TREBLE,
rotate the knob counterclockwise.
FAD (Fader Control)
Rotate the control knob clockwise to
emphasize rear speaker sound (front
speaker sound will be attenuated). When
the control knob is turned counterclock-
wise, front speaker sound will be empha-
sized (rear speaker sound will be attenu-
ated).
BALANCE Control
Rotate the knob clockwise to emphasize
right speaker sound (left speaker sound
will be attenuated). When the control
knob is turned counterclockwise, left
speaker sound will be emphasized (right
speaker sound will be attenuated).
AM
FM
Page 100 of 219
391
Knowing your vehicle
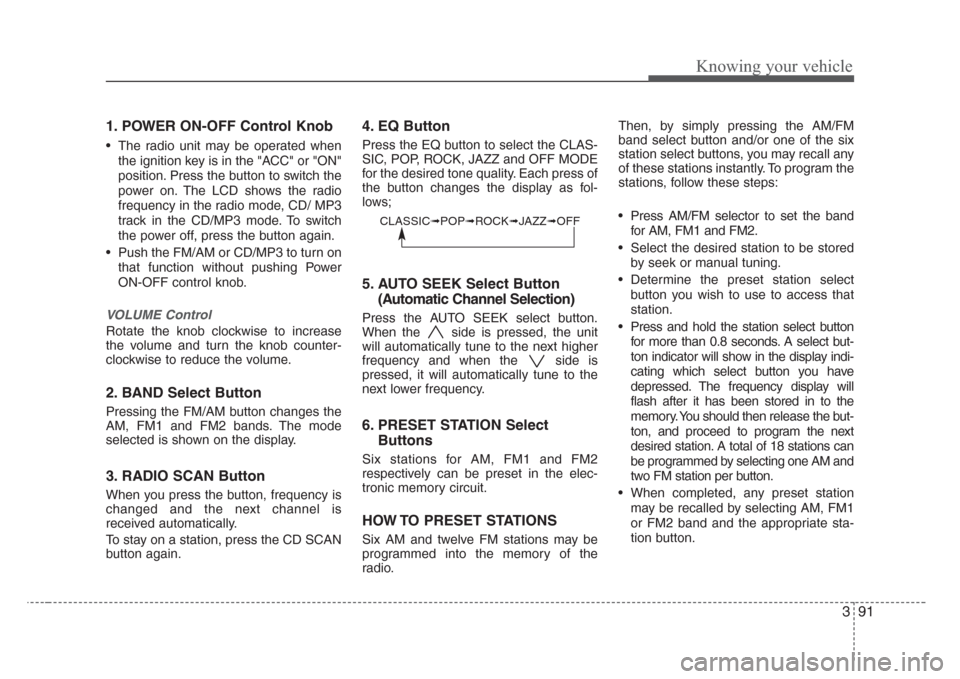
1. POWER ON-OFF Control Knob
• The radio unit may be operated when
the ignition key is in the "ACC" or "ON"
position. Press the button to switch the
power on. The LCD shows the radio
frequency in the radio mode, CD/ MP3
track in the CD/MP3 mode. To switch
the power off, press the button again.
• Push the FM/AM or CD/MP3 to turn on
that function without pushing Power
ON-OFF control knob.
VOLUME Control
Rotate the knob clockwise to increase
the volume and turn the knob counter-
clockwise to reduce the volume.
2. BAND Select Button
Pressing the FM/AM button changes the
AM, FM1 and FM2 bands. The mode
selected is shown on the display.
3. RADIO SCAN Button
When you press the button, frequency is
changed and the next channel is
received automatically.
To stay on a station, press the CD SCAN
button again.
4. EQ Button
Press the EQ button to select the CLAS-
SIC, POP, ROCK, JAZZ and OFF MODE
for the desired tone quality. Each press of
the button changes the display as fol-
lows;
5. AUTO SEEK Select Button
(Automatic Channel Selection)
Press the AUTO SEEK select button.
When the side is pressed, the unit
will automatically tune to the next higher
frequency and when the side is
pressed, it will automatically tune to the
next lower frequency.
6. PRESET STATION Select
Buttons
Six stations for AM, FM1 and FM2
respectively can be preset in the elec-
tronic memory circuit.
HOW TO PRESET STATIONS
Six AM and twelve FM stations may be
programmed into the memory of the
radio.Then, by simply pressing the AM/FM
band select button and/or one of the six
station select buttons, you may recall any
of these stations instantly. To program the
stations, follow these steps:
• Press AM/FM selector to set the band
for AM, FM1 and FM2.
• Select the desired station to be stored
by seek or manual tuning.
• Determine the preset station select
button you wish to use to access that
station.
• Press and hold the station select button
for more than 0.8 seconds. A select but-
ton indicator will show in the display indi-
cating which select button you have
depressed. The frequency display will
flash after it has been stored in to the
memory. You should then release the but-
ton, and proceed to program the next
desired station. A total of 18 stations can
be programmed by selecting one AM and
two FM station per button.
• When completed, any preset station
may be recalled by selecting AM, FM1
or FM2 band and the appropriate sta-
tion button.
CLASSIC➟POP➟ROCK➟JAZZ➟OFF
Page 101 of 219
Knowing your vehicle
92 3
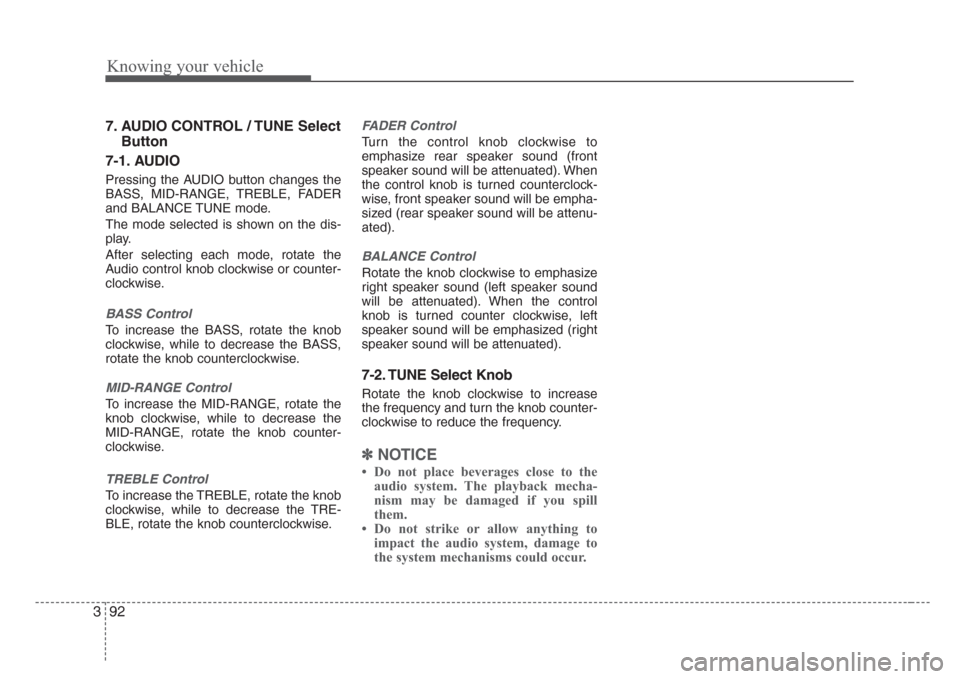
7. AUDIO CONTROL / TUNE Select
Button
7-1. AUDIO
Pressing the AUDIO button changes the
BASS, MID-RANGE, TREBLE, FADER
and BALANCE TUNE mode.
The mode selected is shown on the dis-
play.
After selecting each mode, rotate the
Audio control knob clockwise or counter-
clockwise.
BASS Control
To increase the BASS, rotate the knob
clockwise, while to decrease the BASS,
rotate the knob counterclockwise.
MID-RANGE Control
To increase the MID-RANGE, rotate the
knob clockwise, while to decrease the
MID-RANGE, rotate the knob counter-
clockwise.
TREBLE Control
To increase the TREBLE, rotate the knob
clockwise, while to decrease the TRE-
BLE, rotate the knob counterclockwise.
FADER Control
Turn the control knob clockwise to
emphasize rear speaker sound (front
speaker sound will be attenuated). When
the control knob is turned counterclock-
wise, front speaker sound will be empha-
sized (rear speaker sound will be attenu-
ated).
BALANCE Control
Rotate the knob clockwise to emphasize
right speaker sound (left speaker sound
will be attenuated). When the control
knob is turned counter clockwise, left
speaker sound will be emphasized (right
speaker sound will be attenuated).
7-2. TUNE Select Knob
Rotate the knob clockwise to increase
the frequency and turn the knob counter-
clockwise to reduce the frequency.
✽
NOTICE
• Do not place beverages close to the
audio system. The playback mecha-
nism may be damaged if you spill
them.
• Do not strike or allow anything to
impact the audio system, damage to
the system mechanisms could occur.
Page 105 of 219
Knowing your vehicle
96 3
✽
NOTICE
Tracks stored using the Bookmark func-
tion will be automatically erased after
you eject CDs that contain those tracks.
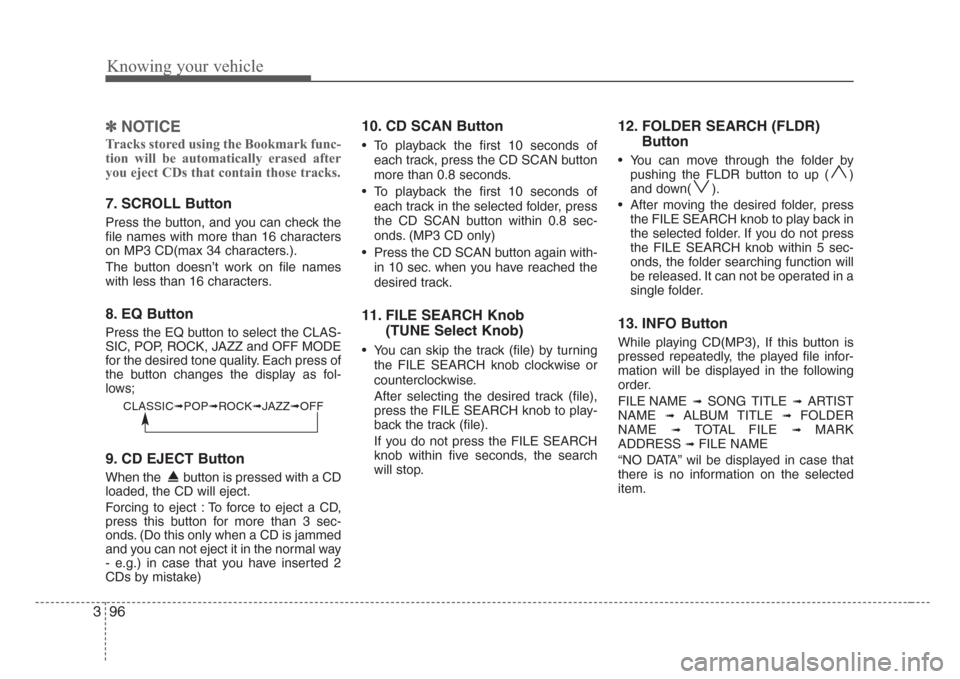
7. SCROLL Button
Press the button, and you can check the
file names with more than 16 characters
on MP3 CD(max 34 characters.).
The button doesn’t work on file names
with less than 16 characters.
8. EQ Button
Press the EQ button to select the CLAS-
SIC, POP, ROCK, JAZZ and OFF MODE
for the desired tone quality. Each press of
the button changes the display as fol-
lows;
9. CD EJECT Button
When the button is pressed with a CD
loaded, the CD will eject.
Forcing to eject : To force to eject a CD,
press this button for more than 3 sec-
onds. (Do this only when a CD is jammed
and you can not eject it in the normal way
- e.g.) in case that you have inserted 2
CDs by mistake)
10. CD SCAN Button
• To playback the first 10 seconds of
each track, press the CD SCAN button
more than 0.8 seconds.
• To playback the first 10 seconds of
each track in the selected folder, press
the CD SCAN button within 0.8 sec-
onds. (MP3 CD only)
• Press the CD SCAN button again with-
in 10 sec. when you have reached the
desired track.
11. FILE SEARCH Knob
(TUNE Select Knob)
• You can skip the track (file) by turning
the FILE SEARCH knob clockwise or
counterclockwise.
After selecting the desired track (file),
press the FILE SEARCH knob to play-
back the track (file).
If you do not press the FILE SEARCH
knob within five seconds, the search
will stop.
12. FOLDER SEARCH (FLDR)
Button
• You can move through the folder by
pushing the FLDR button to up ( )
and down( ).
• After moving the desired folder, press
the FILE SEARCH knob to play back in
the selected folder. If you do not press
the FILE SEARCH knob within 5 sec-
onds, the folder searching function will
be released. It can not be operated in a
single folder.
13. INFO Button
While playing CD(MP3), If this button is
pressed repeatedly, the played file infor-
mation will be displayed in the following
order.
FILE NAME
➟ SONG TITLE ➟ ARTIST
NAME
➟ ALBUM TITLE ➟ FOLDER
NAME
➟ TOTAL FILE ➟ MARK
ADDRESS
➟ FILE NAME
“NO DATA” wil be displayed in case that
there is no information on the selected
item.
CLASSIC➟POP➟ROCK➟JAZZ➟OFF
Page 165 of 219
611
In case of an emergency
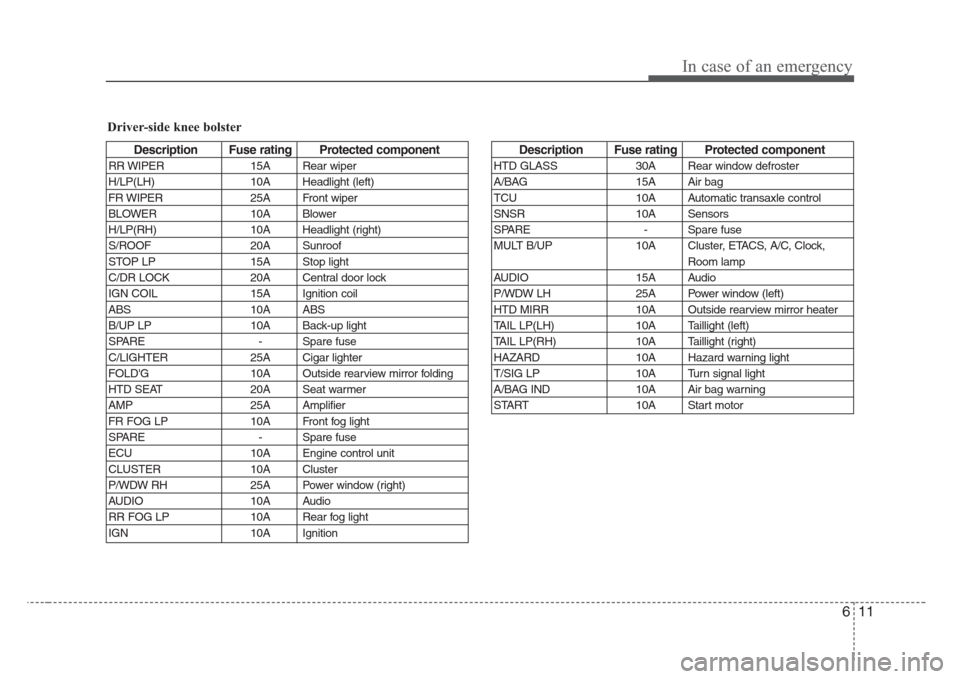
Driver-side knee bolster
Description Fuse rating Protected component
RR WIPER 15A Rear wiper
H/LP(LH) 10A Headlight (left)
FR WIPER 25A Front wiper
BLOWER 10A Blower
H/LP(RH) 10A Headlight (right)
S/ROOF 20A Sunroof
STOP LP 15A Stop light
C/DR LOCK 20A Central door lock
IGN COIL 15A Ignition coil
ABS 10A ABS
B/UP LP 10A Back-up light
SPARE - Spare fuse
C/LIGHTER 25A Cigar lighter
FOLD'G 10A Outside rearview mirror folding
HTD SEAT 20A Seat warmer
AMP 25A Amplifier
FR FOG LP 10A Front fog light
SPARE - Spare fuse
ECU 10A Engine control unit
CLUSTER 10A Cluster
P/WDW RH 25A Power window (right)
AUDIO 10A Audio
RR FOG LP 10A Rear fog light
IGN 10A Ignition
Description Fuse rating Protected component
HTD GLASS 30A Rear window defroster
A/BAG 15A Air bag
TCU 10A Automatic transaxle control
SNSR 10A Sensors
SPARE - Spare fuse
MULT B/UP 10A Cluster, ETACS, A/C, Clock,
Room lamp
AUDIO 15A Audio
P/WDW LH 25A Power window (left)
HTD MIRR 10A Outside rearview mirror heater
TAIL LP(LH) 10A Taillight (left)
TAIL LP(RH) 10A Taillight (right)
HAZARD 10A Hazard warning light
T/SIG LP 10A Turn signal light
A/BAG IND 10A Air bag warning
START 10A Start motor
Page 166 of 219
In case of an emergency
12 6
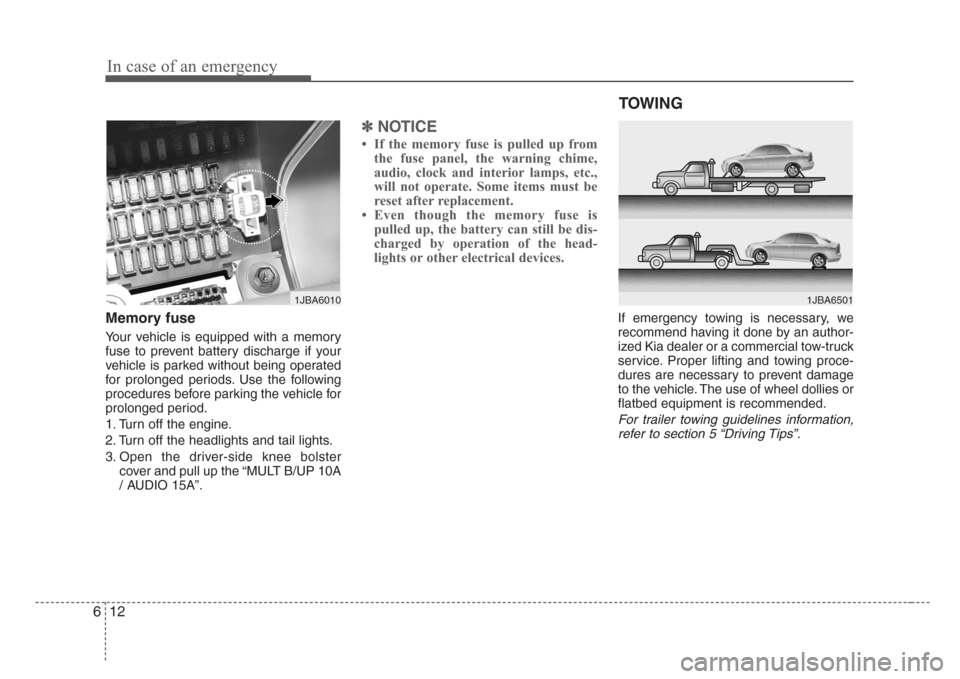
Memory fuse
Your vehicle is equipped with a memory
fuse to prevent battery discharge if your
vehicle is parked without being operated
for prolonged periods. Use the following
procedures before parking the vehicle for
prolonged period.
1. Turn off the engine.
2. Turn off the headlights and tail lights.
3. Open the driver-side knee bolster
cover and pull up the “MULT B/UP 10A
/ AUDIO 15A”.
✽
NOTICE
• If the memory fuse is pulled up from
the fuse panel, the warning chime,
audio, clock and interior lamps, etc.,
will not operate. Some items must be
reset after replacement.
• Even though the memory fuse is
pulled up, the battery can still be dis-
charged by operation of the head-
lights or other electrical devices.
If emergency towing is necessary, we
recommend having it done by an author-
ized Kia dealer or a commercial tow-truck
service. Proper lifting and towing proce-
dures are necessary to prevent damage
to the vehicle. The use of wheel dollies or
flatbed equipment is recommended.
For trailer towing guidelines information,
refer to section 5 “Driving Tips”.
1JBA6010
TOWING
1JBA6501