low oil pressure KIA RIO 2018 Owners Manual
[x] Cancel search | Manufacturer: KIA, Model Year: 2018, Model line: RIO, Model: KIA RIO 2018Pages: 490, PDF Size: 11.28 MB
Page 151 of 490
479
Features of your vehicle
If there is a malfunction with either
the alternator or electrical charging
system:
1. Drive carefully to the nearest safelocation and stop your vehicle.
2. Turn the engine off and check the alternator drive belt for looseness
or breakage.
If the belt is adjusted properly,
there may be a problem in the
electrical charging system.
In this case, have your vehicle
inspected by an authorized Kia
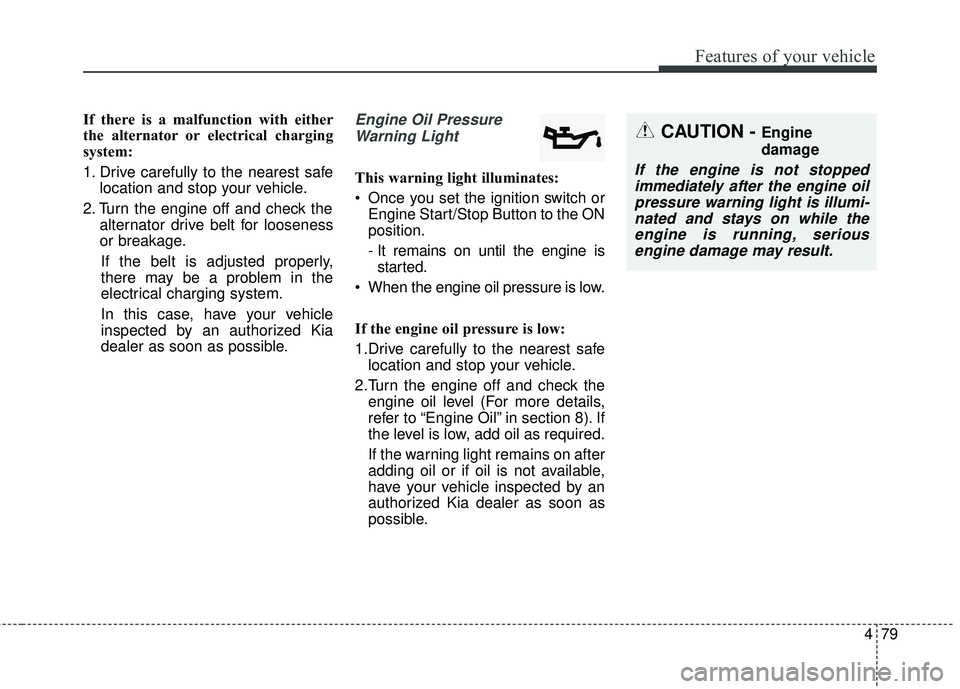
dealer as soon as possible.Engine Oil Pressure Warning Light
This warning light illuminates:
Once you set the ignition switch or Engine Start/Stop Button to the ON
position.
- It remains on until the engine isstarted.
When the engine oil pressure is low.
If the engine oil pressure is low:
1.Drive carefully to the nearest safe location and stop your vehicle.
2.Turn the engine off and check the engine oil level (For more details,
refer to “Engine Oil” in section 8). If
the level is low, add oil as required.
If the warning light remains on after
adding oil or if oil is not available,
have your vehicle inspected by an
authorized Kia dealer as soon as
possible.
CAUTION - Engine
damage
If the engine is not stopped immediately after the engine oilpressure warning light is illumi-nated and stays on while theengine is running, seriousengine damage may result.
Page 152 of 490
Features of your vehicle
80
4
If the warning light stays on while the
engine is running, there may be seri-
ous engine damage. In this case,
1. Stop the vehicle as soon as it is
safe to do so.
2. Turn off the engine and check the oil level. If the oil level is low, fill the
engine oil to the proper level.
3. Start the engine again. If the warn- ing light stays on after the engine
is started, turn the engine off
immediately. In this case, have
your vehicle inspected by an
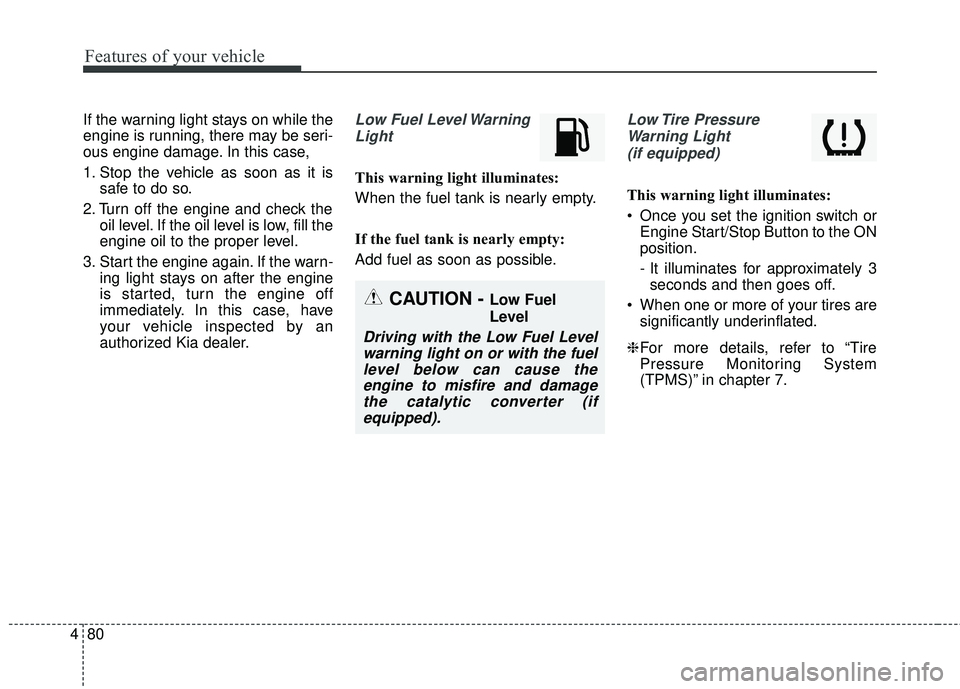
authorized Kia dealer.Low Fuel Level Warning
Light
This warning light illuminates:
When the fuel tank is nearly empty.
If the fuel tank is nearly empty:
Add fuel as soon as possible.
Low Tire PressureWarning Light (if equipped)
This warning light illuminates:
Once you set the ignition switch or Engine Start/Stop Button to the ON
position.
- It illuminates for approximately 3seconds and then goes off.
When one or more of your tires are significantly underinflated.
❈ For more details, refer to “Tire
Pressure Monitoring System
(TPMS)” in chapter 7.
CAUTION - Low Fuel
Level
Driving with the Low Fuel Level
warning light on or with the fuellevel below can cause theengine to misfire and damagethe catalytic converter (ifequipped).
Page 185 of 490
4113
Features of your vehicle
Checking the amount of air
conditioner refrigerant and
compressor lubricant
When the amount of refrigerant is
low, the performance of the air con-
ditioning is reduced. Overfilling also
has a negative influence on the air
conditioning system.
Therefore, if abnormal operation is
found, have the system inspected by
an authorized Kia dealer.The air conditioning system should
be serviced by an authorized Kia
dealer.Each symbols and specification on
air conditioning refrigerant label
means as below ;
1. Classification of refrigerant
2. Amount of refrigerant
3. Classification of Compressor lubri-
cant
Refer to chapter 9 for more detail loca-
tion of air conditioning refrigerant label.
CAUTION
It is important that the correct type and amount of oil and refrig-erant is used, otherwise damageto the vehicle may occur.
To prevent damage, the air con-ditioning system in your vehicleshould only be serviced bytrained and certified technicians.
WARNING
The oil and refrigerant in your
vehicle’s air conditioning sys-
tem is under very high pressure.
If proper service procedures are
not followed an explosion may
result. To reduce the risk of seri-
ous injury or death, the air con-
ditioning system in your vehicle
should only be serviced by
trained and certified technicians.
Page 221 of 490
Audio system
512 Driving while distracted can result
in a loss of vehicle control that may
lead to an accident, severe person-
al injury, and death. The driver’s
primary responsibility is in the safe
and legal operation of a vehicle,
and use of any handheld devices,
other equipment, or vehicle sys-
tems which take the driver’s eyes,
attention and focus away from the
safe operation of a vehicle or which
are not permissible by law should
never be used during operation of
the vehicle.
Adjust the volume to levels that allow the driver to hear sounds
from outside of the vehicle. Driving
in a state where external sounds
cannot be heard may lead to acci-
dents.
Pay attention to the volume setting when turning the device on. A sud-
den output of extreme volume
upon turning the device on could
lead to hearing impairment. (Adjust
the volume to a suitable levels
before turning off the device.) If you want to change the position
of device installation, please
inquire with your place of purchase
or service maintenance center.
Technical expertise is required to
install or disassemble the device.
Turn on the car ignition before using this device. Do not operate
the audio system for long periods
of time with the ignition turned off
as such operations may lead to
battery discharge.
In case of product malfunction, please contact your place of pur-
chase or After Service center.
Placing the audio system within an electromagnetic environment may
result in noise interference.
CAUTION
When cleaning the device, make sure to turn off theaudio system and use a dryand smooth cloth.
Do not place beverages close to the audio system. Spillingbeverages may lead to systemmalfunction.
Never use tough materials, chemical cloths, or solvents(alcohol, benzene, thinners,etc.) as such materials maydamage the device panel orcause color/quality deteriora-tion.
Prevent caustic solutions such as perfume and cosmeticoil from contacting the dash-board because they maycause damage or discol-oration.
CAUTION - LCD Monitor
Do not subject the device tosevere shock or impact. Directpressure onto the front side ofthe monitor may cause damageto the LCD or touch screen.
Page 364 of 490
87
Maintenance
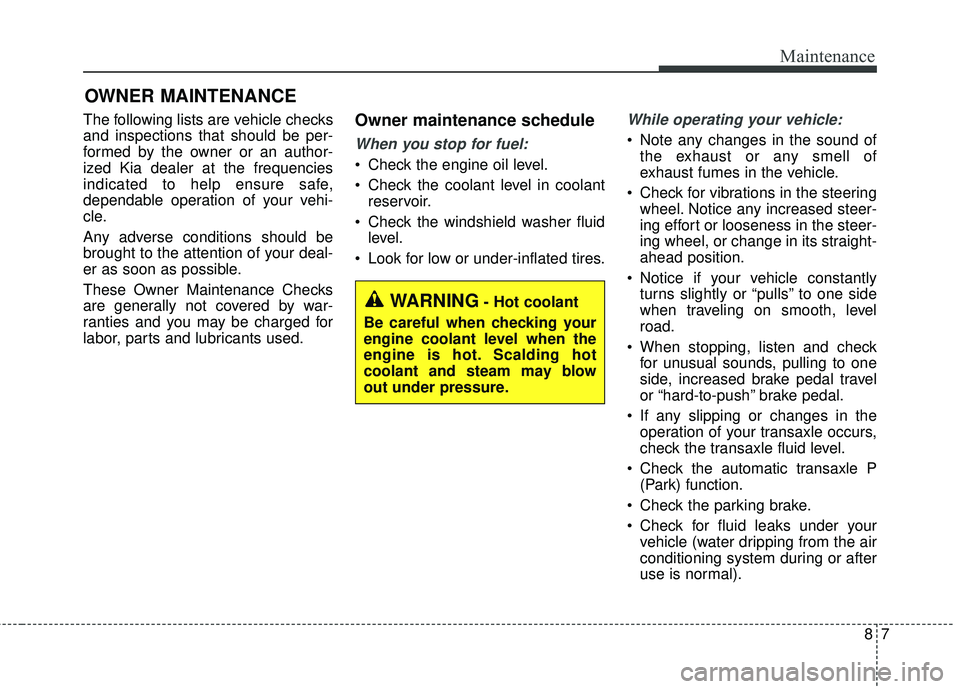
OWNER MAINTENANCE
The following lists are vehicle checks
and inspections that should be per-
formed by the owner or an author-
ized Kia dealer at the frequencies
indicated to help ensure safe,
dependable operation of your vehi-
cle.
Any adverse conditions should be
brought to the attention of your deal-
er as soon as possible.
These Owner Maintenance Checks
are generally not covered by war-
ranties and you may be charged for
labor, parts and lubricants used.Owner maintenance schedule
When you stop for fuel:
Check the engine oil level.
Check the coolant level in coolantreservoir.
Check the windshield washer fluid level.
Look for low or under-inflated tires.
While operating your vehicle:
Note any changes in the sound of the exhaust or any smell of
exhaust fumes in the vehicle.
Check for vibrations in the steering wheel. Notice any increased steer-
ing effort or looseness in the steer-
ing wheel, or change in its straight-
ahead position.
Notice if your vehicle constantly turns slightly or “pulls” to one side
when traveling on smooth, level
road.
When stopping, listen and check for unusual sounds, pulling to one
side, increased brake pedal travel
or “hard-to-push” brake pedal.
If any slipping or changes in the operation of your transaxle occurs,
check the transaxle fluid level.
Check the automatic transaxle P (Park) function.
Check the parking brake.
Check for fluid leaks under your vehicle (water dripping from the air
conditioning system during or after
use is normal).
WARNING- Hot coolant
Be careful when checking your
engine coolant level when the
engine is hot. Scalding hot
coolant and steam may blow
out under pressure.
Page 459 of 490
Maintenance
102
8
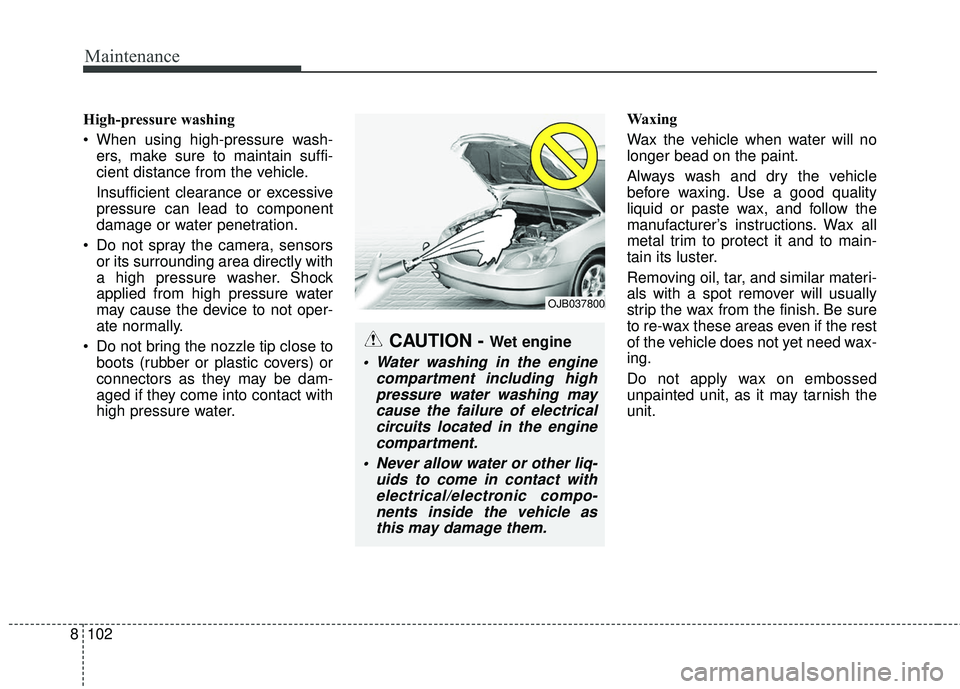
High-pressure washing
When using high-pressure wash-
ers, make sure to maintain suffi-
cient distance from the vehicle.
Insufficient clearance or excessive
pressure can lead to component
damage or water penetration.
Do not spray the camera, sensors or its surrounding area directly with
a high pressure washer. Shock
applied from high pressure water
may cause the device to not oper-
ate normally.
Do not bring the nozzle tip close to boots (rubber or plastic covers) or
connectors as they may be dam-
aged if they come into contact with
high pressure water. Waxing
Wax the vehicle when water will no
longer bead on the paint.
Always wash and dry the vehicle
before waxing. Use a good quality
liquid or paste wax, and follow the
manufacturer’s instructions. Wax all
metal trim to protect it and to main-
tain its luster.
Removing oil, tar, and similar materi-
als with a spot remover will usually
strip the wax from the finish. Be sure
to re-wax these areas even if the rest
of the vehicle does not yet need wax-
ing.
Do not apply wax on embossed
unpainted unit, as it may tarnish the
unit.
OJB037800
CAUTION - Wet engine
Water washing in the engine
compartment including highpressure water washing maycause the failure of electricalcircuits located in the enginecompartment.
Never allow water or other liq- uids to come in contact withelectrical/electronic compo-nents inside the vehicle asthis may damage them.
Page 465 of 490
Maintenance
108
8
Cleaning the leather seats
Remove all contaminations instant-
ly. Refer to instructions below for
removal of each contaminant.
Cosmetic products(sunscreen, foundation, etc.)
- Apply cleansing cream on a clothand wipe the contaminated point.
Wipe off the cream with a wet cloth
and remove water with a dry cloth.
Beverages(coffee, soft drink, etc.) - Apply a small amount of neutraldetergent and wipe until contami-
nations do not smear.
Oil - Remove oil instantly withabsorbable cloth and wipe with
stain remover for natural leather
only.
Chewing gum - Harden the gum with ice andremove gradually.
Fabric seat cover using precau-
tions (If equipped)
Please clean the fabric seats regu-
larly with a vacuum cleaner in con-
sideration of fabric material charac-
teristics. If they are heavily soiled
with beverage stains, etc., use a suit-
able interior cleaner. To prevent dam-
age to seat covers, wipe off the seat
covers down to the seams with a
large wiping motion and moderate
pressure using a soft sponge or
microfiber cloth.
Velcro closures on clothing or sharp
objects may cause snagging or
scratches on the surface of the seats.
Make sure not to rub such objects
against the surface.
CAUTION - Leather
When cleaning leather products(steering wheel, seats etc.), useneutral detergents or low alco-hol content solutions. If you usehigh alcohol content solutionsor acid/alkaline detergents, thecolor of the leather may fade orthe surface may get stripped off.
Page 484 of 490
Index
4I
Engine coolant ..............................................................8-29Changing the coolant ..................................................8-31
Checking the coolant level..........................................8-29\
Engine number ..............................................................9-11
Engine oil ......................................................................8-\
27 Changing the engine oil and filter ..............................8-28
Checking the engine oil level ....................................8-27
Engine start/stop button ..................................................6-8 Engine start/stop button position ..................................6-8
Illuminated Engine start/stop button ............................6-8
Explanation of scheduled maintenance items ..............8-22
Exterior overview ............................................................2-2
Fuel filler lid ..................................................................4-39 Closing the fuel filler lid ............................................4-39
Opening the fuel filler lid ..........................................4-39
Fuel requirements ............................................................1-3 Do not use methanol ....................................................1-4
Fuel Additives ..............................................................1-5
Gasoline containing alcohol and methanol ..................1-3
Fuses ........................................................................\
......8-60 Engine compartment fuse replacement ......................8-64
Fuse/relay panel description ......................................8-66
Inner panel fuse replacement ......................................8-62
Memory fuse ..............................................................8-63 Hood ........................................................................\
......4-37
Closing the hood ........................................................4-38
Hood open warning ....................................................4-38
Opening the hood ........................................................4-37
How to use this manual ..................................................1-2
If the engine overheats ....................................................7-6
If the engine will not start ..............................................7-4 If engine turns over normally but does not start ..........7-4
If the engine doesn't turn over or turns over slowly ....7-4
If you have a flat tire (with spare tire) ..........................7-26 Changing tires ............................................................7-28
Jack and tools ..............................................................7-26
Jack label ....................................................................7-35\
Removing and storing the spare tire ..........................7-27
If you have a flat tire (with Tire Mobility Kit)..............7-18 Checking the tire inflation pressure ............................7-24
Components of the Tire Mobility Kit ........................7-20
Distributing the sealant ..............................................7-23
Introduction ................................................................7-18
Notes on the safe use of the Tire Mobility Kit ..........7-19
Technical data ............................................................7-25
Using the Tire Mobility Kit ........................................7-21
F
H
I