heating KIA RIO HATCHBACK 2012 Owners Manual
[x] Cancel search | Manufacturer: KIA, Model Year: 2012, Model line: RIO HATCHBACK, Model: KIA RIO HATCHBACK 2012Pages: 385, PDF Size: 9.68 MB
Page 10 of 385
I7
Index
Maintenance schedule··················\
··················\
··················\
7-7
Maintenance under severe usage conditions ·················7-20\
Normal maintenance schedule··················\
··················\
···7-8
Maintenance services ··················\
··················\
··················\
·7-3
Manual climate control system··················\
··················\
··4-81 Air conditioning ··················\
··················\
··················\
····4-86
Climate control air filter ··················\
··················\
··········4-89
Heating and air conditioning ··················\
··················\
···4-82
Manual transaxle··················\
··················\
··················\
······5-12
Memory fuse ··················\
··················\
··················\
············7-51
Mirrors ··················\
··················\
··················\
··················\
···4-38 Day/night rearview mirror ··················\
··················\
·······4-38
Folding the outside rearviwe mirror ··················\
··········4-40
Inside rearview mirror ··················\
··················\
·············4-38
Outside rearview mirror ··················\
··················\
··········4-38
Remote control ··················\
··················\
··················\
······4-39
Multi fuse ··················\
··················\
··················\
·················7-53\
Occupant detection system ··················\
··················\
········3-36
Odometer ··················\
··················\
··················\
·················4-44\
Oil (Engine) ··················\
··················\
··················\
·············7-25
Outside rearview mirror··················\
··················\
·············4-38
Outside rearview mirror remote control ··················\
······4-39
Overheats ··················\
··················\
··················\
··················\
·6-7
Owner maintenance ··················\
··················\
··················\
···7-5 Parking brake ··················\
··················\
··················\
···5-22,7-31
Power brakes ··················\
··················\
··················\
············5-21
Power outlet ··················\
··················\
··················\
·············4-99
Power window lock button ··················\
··················\
········4-25
Pre-tensioner seat belt··················\
··················\
················3-17
Push starting··················\
··················\
··················\
···············6-6
Rear seat··················\
··················\
··················\
··················\
···3-9
Rearview camera··················\
··················\
··················\
······4-69
Recommended cold tire inflation pressures ··················\
7-37
Recommended lubricants and capacities ··················\
·······8-5
Recommended SAE viscosity number ··················\
········8-6
Refrigerant label ··················\
··················\
··················\
········8-8
Remote control (Mirror) ··················\
··················\
············4-39
Remote keyless entry ··················\
··················\
··················\
·4-7
Remote(or Smart) key battery replacement ··················\
···4-9
Road warning ··················\
··················\
··················\
·············6-2
Rocking the vehicle ··················\
··················\
··················\
·5-44
Roof antenna ··················\
··················\
··················\
··········4-102
O
P
R
Page 29 of 385
37
Safety features of your vehicle
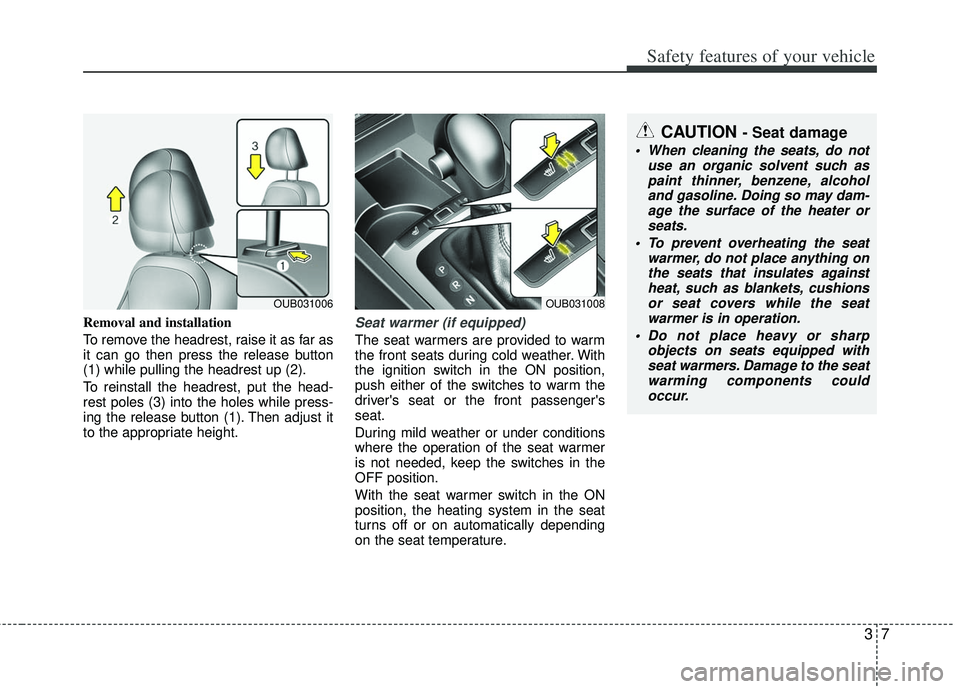
Removal and installation
To remove the headrest, raise it as far as
it can go then press the release button
(1) while pulling the headrest up (2).
To reinstall the headrest, put the head-
rest poles (3) into the holes while press-
ing the release button (1). Then adjust it
to the appropriate height.Seat warmer (if equipped)
The seat warmers are provided to warm
the front seats during cold weather. With
the ignition switch in the ON position,
push either of the switches to warm the
driver's seat or the front passenger's
seat.
During mild weather or under conditions
where the operation of the seat warmer
is not needed, keep the switches in the
OFF position.
With the seat warmer switch in the ON
position, the heating system in the seat
turns off or on automatically depending
on the seat temperature.
OUB031006OUB031008
CAUTION - Seat damage
When cleaning the seats, do notuse an organic solvent such aspaint thinner, benzene, alcohol and gasoline. Doing so may dam-age the surface of the heater orseats.
To prevent overheating the seat warmer, do not place anything onthe seats that insulates against heat, such as blankets, cushionsor seat covers while the seat warmer is in operation.
Do not place heavy or sharp objects on seats equipped withseat warmers. Damage to the seatwarming components couldoccur.
Page 30 of 385
Safety features of your vehicle
83
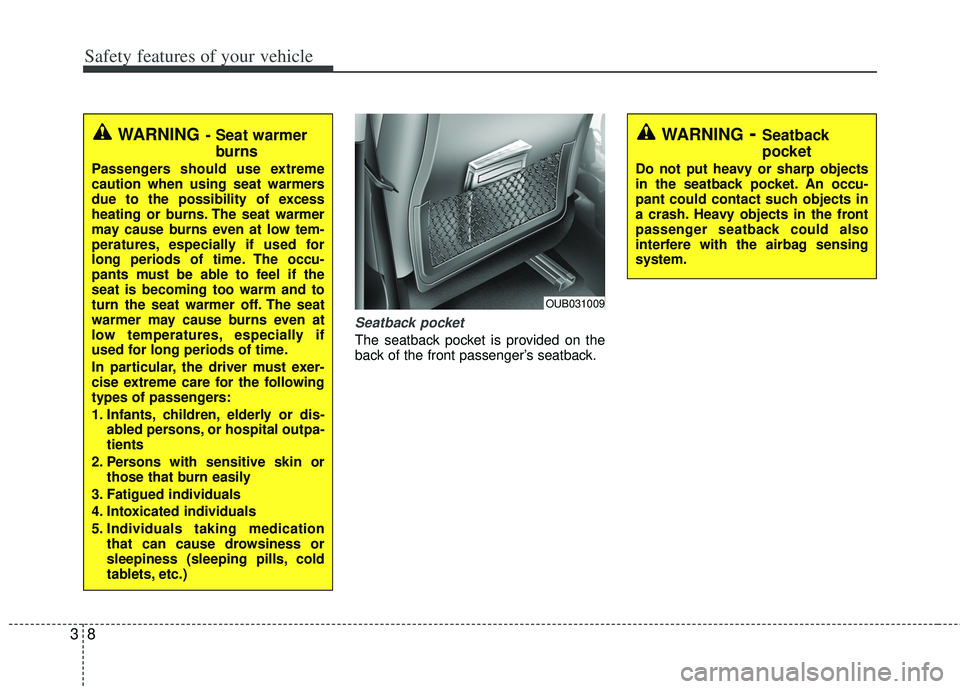
Seatback pocket
The seatback pocket is provided on the
back of the front passenger’s seatback.
WARNING- Seat warmerburns
Passengers should use extreme
caution when using seat warmers
due to the possibility of excess
heating or burns. The seat warmer
may cause burns even at low tem-
peratures, especially if used for
long periods of time. The occu-
pants must be able to feel if the
seat is becoming too warm and to
turn the seat warmer off. The seat
warmer may cause burns even at
low temperatures, especially if
used for long periods of time.
In particular, the driver must exer-
cise extreme care for the following
types of passengers:
1. Infants, children, elderly or dis-
abled persons, or hospital outpa-
tients
2. Persons with sensitive skin or those that burn easily
3. Fatigued individuals
4. Intoxicated individuals
5. Individuals taking medication that can cause drowsiness or
sleepiness (sleeping pills, cold
tablets, etc.)
WARNING- Seatback
pocket
Do not put heavy or sharp objects
in the seatback pocket. An occu-
pant could contact such objects in
a crash. Heavy objects in the front
passenger seatback could also
interfere with the airbag sensing
system.
OUB031009
Page 111 of 385
Features of your vehicle
36
4
Tilt and telescoping (if equipped)
steering
Tilt steering allows you to adjust the
steering wheel before you drive. You can
also raise it to give your legs more room
when you exit and enter the vehicle.
The steering wheel should be positioned
so that it is comfortable for you to drive,
while permitting you to see the instru-
ment panel warning lights and gauges.
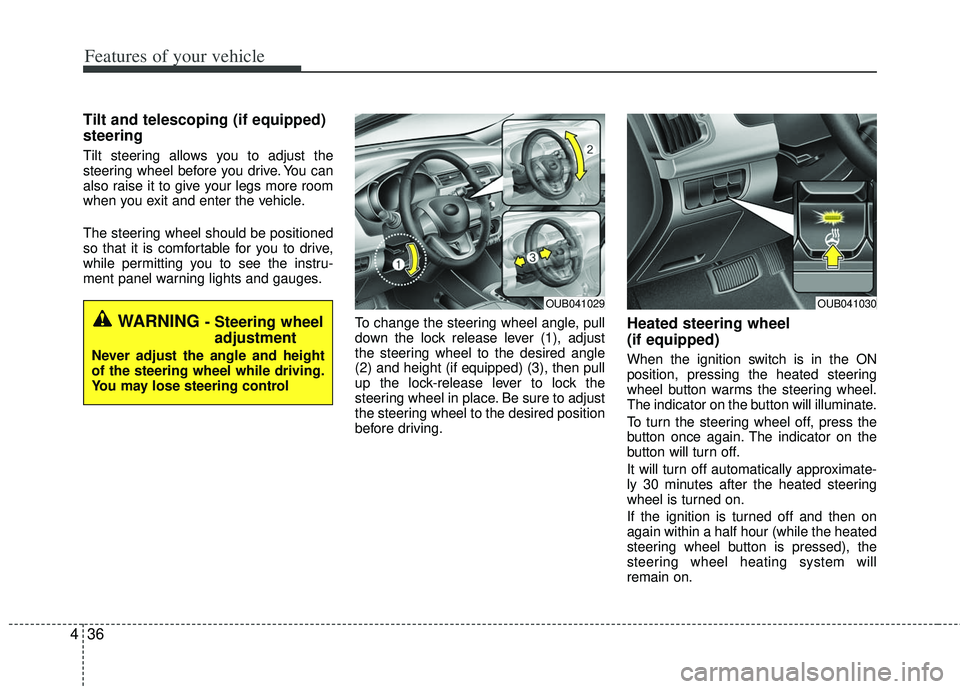
To change the steering wheel angle, pull
down the lock release lever (1), adjust
the steering wheel to the desired angle
(2) and height (if equipped) (3), then pull
up the lock-release lever to lock the
steering wheel in place. Be sure to adjust
the steering wheel to the desired position
before driving.
Heated steering wheel
(if equipped)
When the ignition switch is in the ON
position, pressing the heated steering
wheel button warms the steering wheel.
The indicator on the button will illuminate.
To turn the steering wheel off, press the
button once again. The indicator on the
button will turn off.
It will turn off automatically approximate-
ly 30 minutes after the heated steering
wheel is turned on.
If the ignition is turned off and then on
again within a half hour (while the heated
steering wheel button is pressed), the
steering wheel heating system will
remain on.
WARNING - Steering wheeladjustment
Never adjust the angle and height
of the steering wheel while driving.
You may lose steering control
OUB041029OUB041030
Page 118 of 385
443
Features of your vehicle
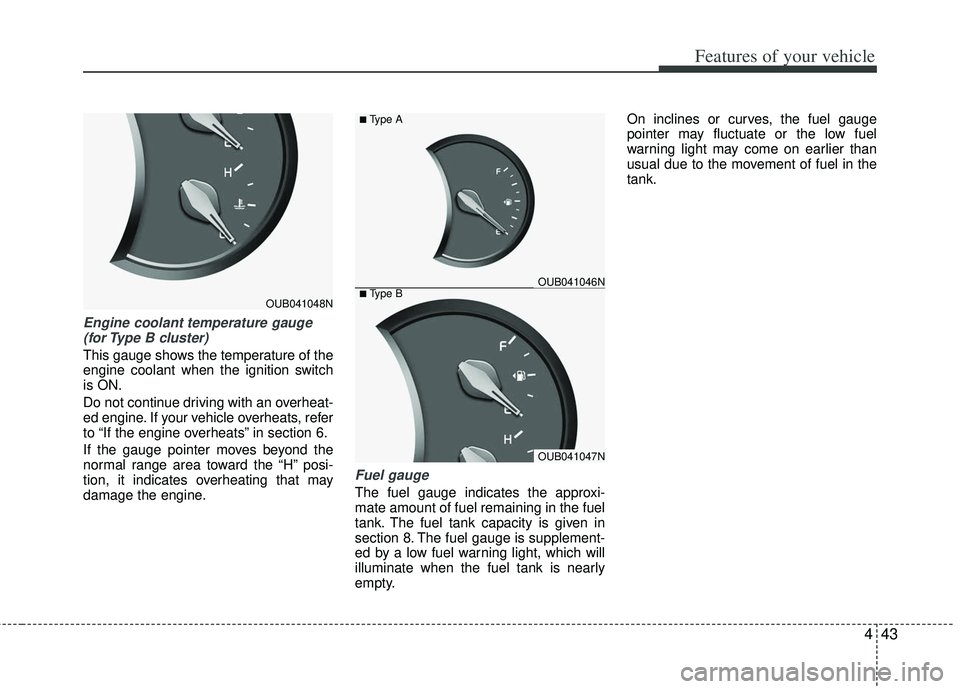
Engine coolant temperature gauge(for Type B cluster)
This gauge shows the temperature of the
engine coolant when the ignition switch
is ON.
Do not continue driving with an overheat-
ed engine. If your vehicle overheats, refer
to “If the engine overheats” in section 6.
If the gauge pointer moves beyond the
normal range area toward the “H” posi-
tion, it indicates overheating that may
damage the engine.
Fuel gauge
The fuel gauge indicates the approxi-
mate amount of fuel remaining in the fuel
tank. The fuel tank capacity is given in
section 8. The fuel gauge is supplement-
ed by a low fuel warning light, which will
illuminate when the fuel tank is nearly
empty. On inclines or curves, the fuel gauge
pointer may fluctuate or the low fuel
warning light may come on earlier than
usual due to the movement of fuel in the
tank.
OUB041048N■Type BOUB041046N
OUB041047N
■Type A
Page 132 of 385
457
Features of your vehicle
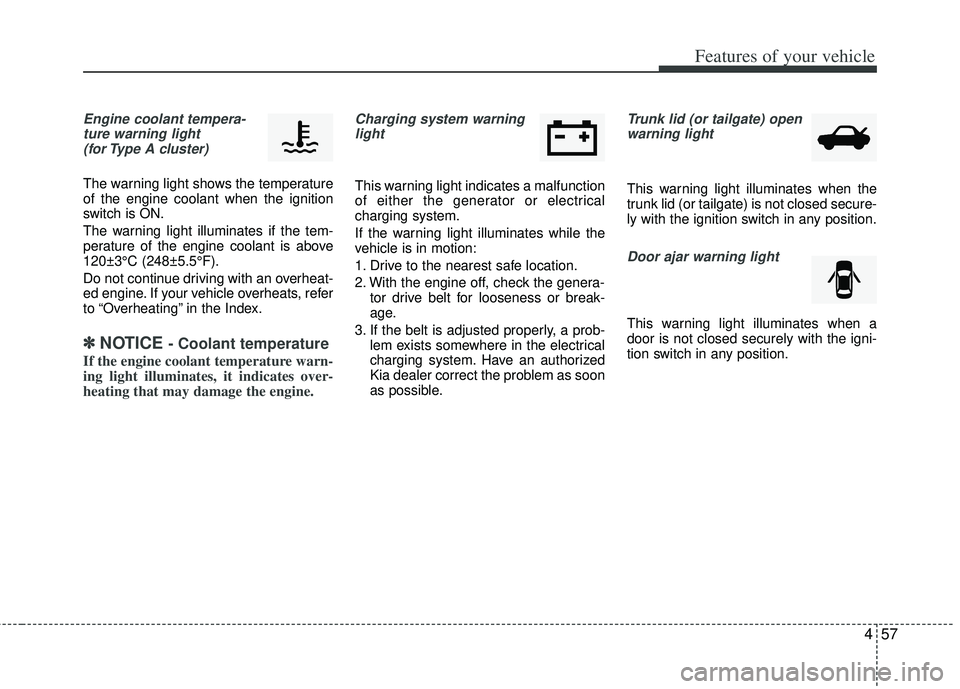
Engine coolant tempera-ture warning light (for Type A cluster)
The warning light shows the temperature
of the engine coolant when the ignition
switch is ON.
The warning light illuminates if the tem-
perature of the engine coolant is above
120±3°C (248±5.5°F).
Do not continue driving with an overheat-
ed engine. If your vehicle overheats, refer
to “Overheating” in the Index.
✽ ✽ NOTICE - Coolant temperature
If the engine coolant temperature warn-
ing light illuminates, it indicates over-
heating that may damage the engine.
Charging system warning
light
This warning light indicates a malfunction
of either the generator or electrical
charging system.
If the warning light illuminates while the
vehicle is in motion:
1. Drive to the nearest safe location.
2. With the engine off, check the genera- tor drive belt for looseness or break-
age.
3. If the belt is adjusted properly, a prob- lem exists somewhere in the electrical
charging system. Have an authorized
Kia dealer correct the problem as soon
as possible.
Trunk lid (or tailgate) openwarning light
This warning light illuminates when the
trunk lid (or tailgate) is not closed secure-
ly with the ignition switch in any position.
Door ajar warning light
This warning light illuminates when a
door is not closed securely with the igni-
tion switch in any position.
Page 157 of 385
Features of your vehicle
82
4
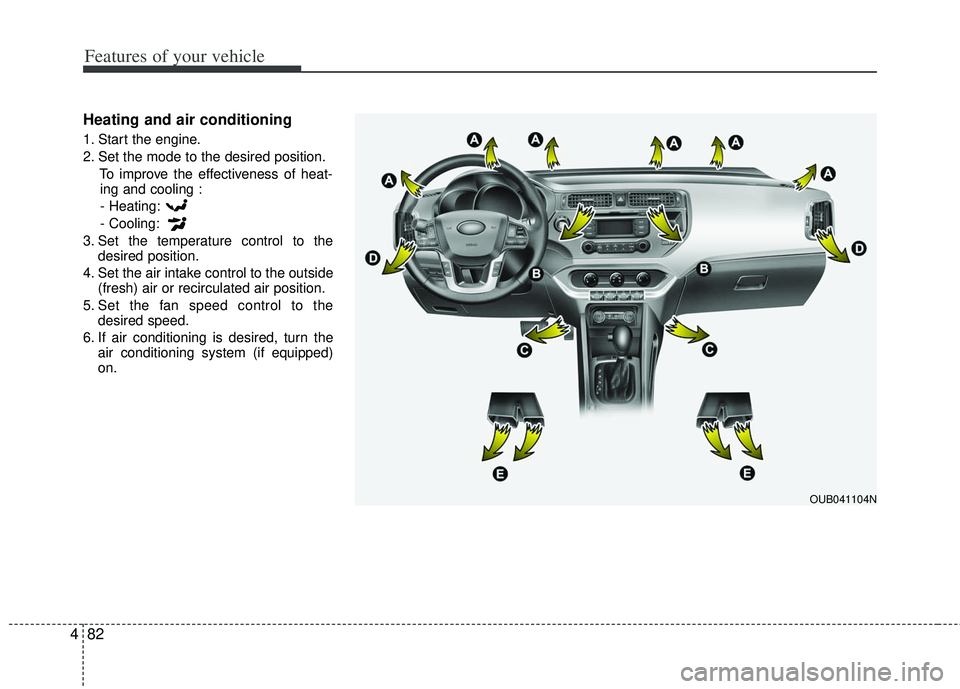
Heating and air conditioning
1. Start the engine.
2. Set the mode to the desired position.
To improve the effectiveness of heat-ing and cooling :
- Heating:
- Cooling:
3. Set the temperature control to the desired position.
4. Set the air intake control to the outside (fresh) air or recirculated air position.
5. Set the fan speed control to the desired speed.
6. If air conditioning is desired, turn the air conditioning system (if equipped)
on.
OUB041104N
Page 160 of 385
485
Features of your vehicle
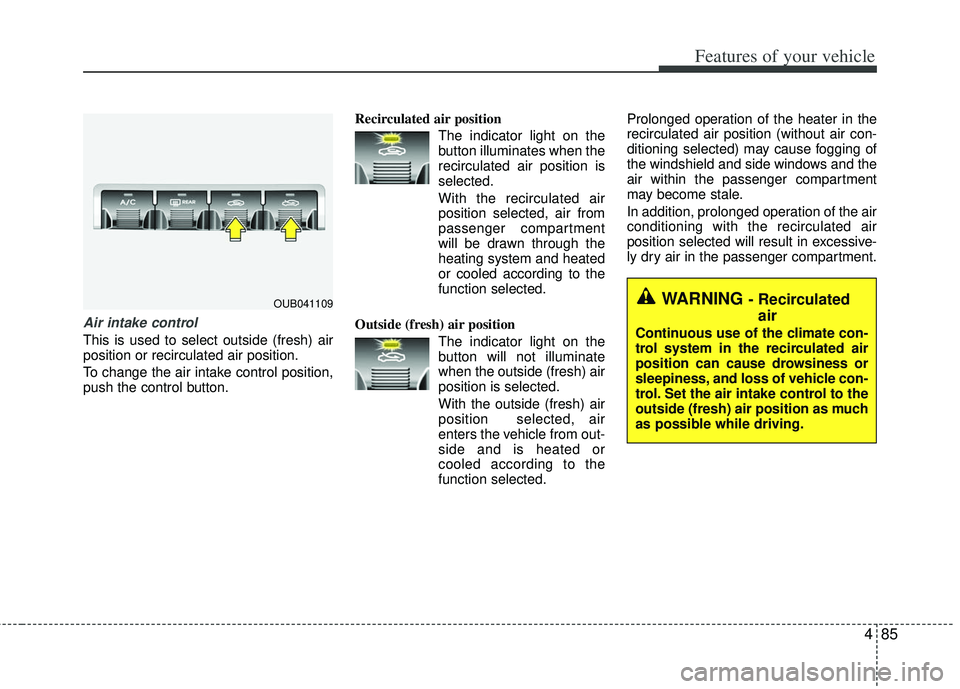
Air intake control
This is used to select outside (fresh) air
position or recirculated air position.
To change the air intake control position,
push the control button.Recirculated air position
The indicator light on the
button illuminates when the
recirculated air position is
selected.
With the recirculated air position selected, air from
passenger compartment
will be drawn through the
heating system and heated
or cooled according to the
function selected.
Outside (fresh) air position The indicator light on the
button will not illuminate
when the outside (fresh) air
position is selected.
With the outside (fresh) air
position selected, air
enters the vehicle from out-
side and is heated or
cooled according to the
function selected. Prolonged operation of the heater in the
recirculated air position (without air con-
ditioning selected) may cause fogging of
the windshield and side windows and the
air within the passenger compartment
may become stale.
In addition, prolonged operation of the air
conditioning with the recirculated air
position selected will result in excessive-
ly dry air in the passenger compartment.
OUB041109WARNING - Recirculated
air
Continuous use of the climate con-
trol system in the recirculated air
position can cause drowsiness or
sleepiness, and loss of vehicle con-
trol. Set the air intake control to the
outside (fresh) air position as much
as possible while driving.
Page 162 of 385
487
Features of your vehicle
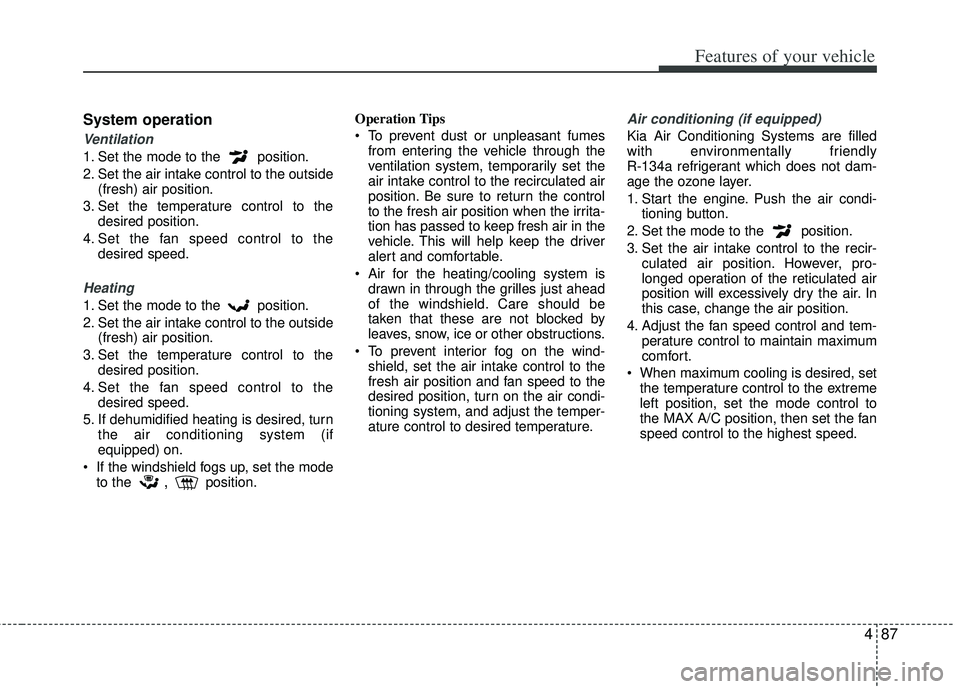
System operation
Ventilation
1. Set the mode to the position.
2. Set the air intake control to the outside(fresh) air position.
3. Set the temperature control to the desired position.
4. Set the fan speed control to the desired speed.
Heating
1. Set the mode to the position.
2. Set the air intake control to the outside(fresh) air position.
3. Set the temperature control to the desired position.
4. Set the fan speed control to the desired speed.
5. If dehumidified heating is desired, turn the air conditioning system (if
equipped) on.
If the windshield fogs up, set the mode to the
,position. Operation Tips
To prevent dust or unpleasant fumes
from entering the vehicle through the
ventilation system, temporarily set the
air intake control to the recirculated air
position. Be sure to return the control
to the fresh air position when the irrita-
tion has passed to keep fresh air in the
vehicle. This will help keep the driver
alert and comfortable.
Air for the heating/cooling system is drawn in through the grilles just ahead
of the windshield. Care should be
taken that these are not blocked by
leaves, snow, ice or other obstructions.
To prevent interior fog on the wind- shield, set the air intake control to the
fresh air position and fan speed to the
desired position, turn on the air condi-
tioning system, and adjust the temper-
ature control to desired temperature.
Air conditioning (if equipped)
Kia Air Conditioning Systems are filled
with environmentally friendly
R-134a refrigerant which does not dam-
age the ozone layer.
1. Start the engine. Push the air condi- tioning button.
2. Set the mode to the position.
3. Set the air intake control to the recir- culated air position. However, pro-
longed operation of the reticulated air
position will excessively dry the air. In
this case, change the air position.
4. Adjust the fan speed control and tem- perature control to maintain maximum
comfort.
When maximum cooling is desired, set the temperature control to the extreme
left position, set the mode control to
the MAX A/C position, then set the fan
speed control to the highest speed.
Page 163 of 385
Features of your vehicle
88
4
Air conditioning system operation tips
If the vehicle has been parked in direct
sunlight during hot weather, open the
windows for a short time to let the hot
air inside the vehicle escape.
To help reduce moisture inside of the windows on rainy or humid days,
decrease the humidity inside the vehi-
cle by operating the air conditioning
system.
During air conditioning system opera- tion, you may occasionally notice a
slight change in engine speed as the
air conditioning compressor cycles.
This is a normal system operation
characteristic.
Use the air conditioning system every month only for a few minutes to ensure
maximum system performance.
When using the air conditioning sys- tem, you may notice clear water drip-
ping (or even puddling) on the ground
under the passenger side of the vehi-
cle. This is a normal system operation
characteristic. Operating the air conditioning system
in the recirculated air position provides
maximum cooling, however, continual
operation in this mode may cause the
air inside the vehicle to become stale.
During cooling operation, you may occasionally notice a misty air flow
because of rapid cooling and humid air
intake. This is a normal system opera-
tion characteristic.CAUTION - Excessive AC
While using the air conditioningsystem, monitor the temperaturegauge closely while driving up hillsor in heavy traffic when outsidetemperatures are high. Air condi- tioning system operation maycause engine overheating andpotential engine damage. Continueto use the blower fan but turn theair conditioning system off if thetemperature gauge indicatesengine overheating.