mirror KIA Sedona 2006 1.G User Guide
[x] Cancel search | Manufacturer: KIA, Model Year: 2006, Model line: Sedona, Model: KIA Sedona 2006 1.GPages: 347, PDF Size: 4.11 MB
Page 115 of 347
Features of your vehicle106
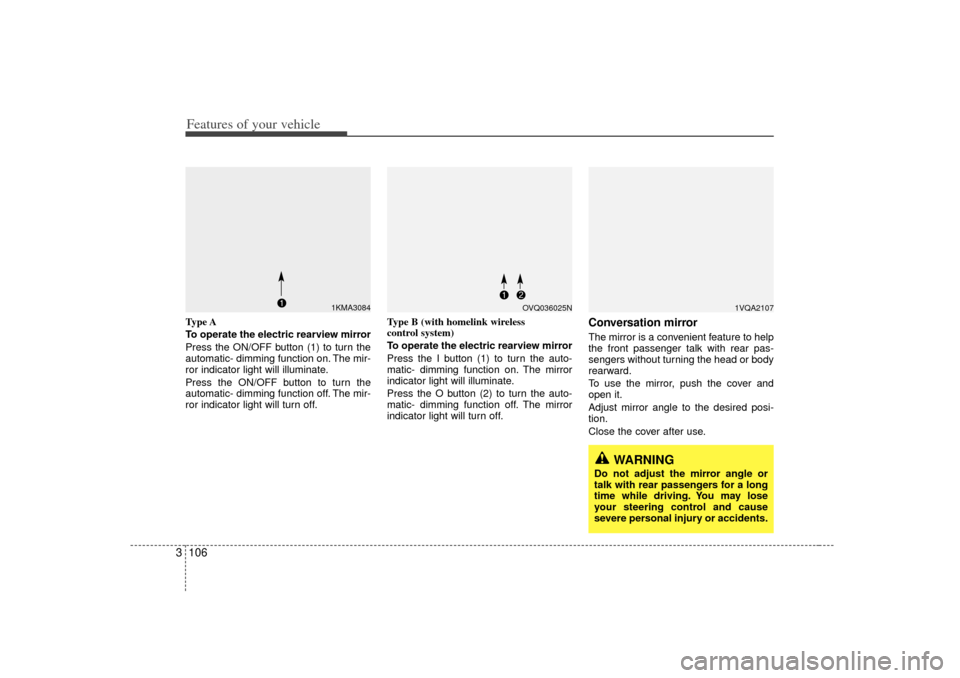
3Type A
To operate the electric rearview mirror
Press the ON/OFF button (1) to turn the
automatic- dimming function on. The mir-
ror indicator light will illuminate.
Press the ON/OFF button to turn the
automatic- dimming function off. The mir-
ror indicator light will turn off. Type B (with homelink wireless
control system)
To operate the electric rearview mirror
Press the I button (1) to turn the auto-
matic- dimming function on. The mirror
indicator light will illuminate.
Press the O button (2) to turn the auto-
matic- dimming function off. The mirror
indicator light will turn off.
Conversation mirrorThe mirror is a convenient feature to help
the front passenger talk with rear pas-
sengers without turning the head or body
rearward.
To use the mirror, push the cover and
open it.
Adjust mirror angle to the desired posi-
tion.
Close the cover after use.
1VQA2107
WARNING
Do not adjust the mirror angle or
talk with rear passengers for a long
time while driving. You may lose
your steering control and cause
severe personal injury or accidents.
1KMA3084
OVQ036025N
Page 143 of 347
Features of your vehicle134
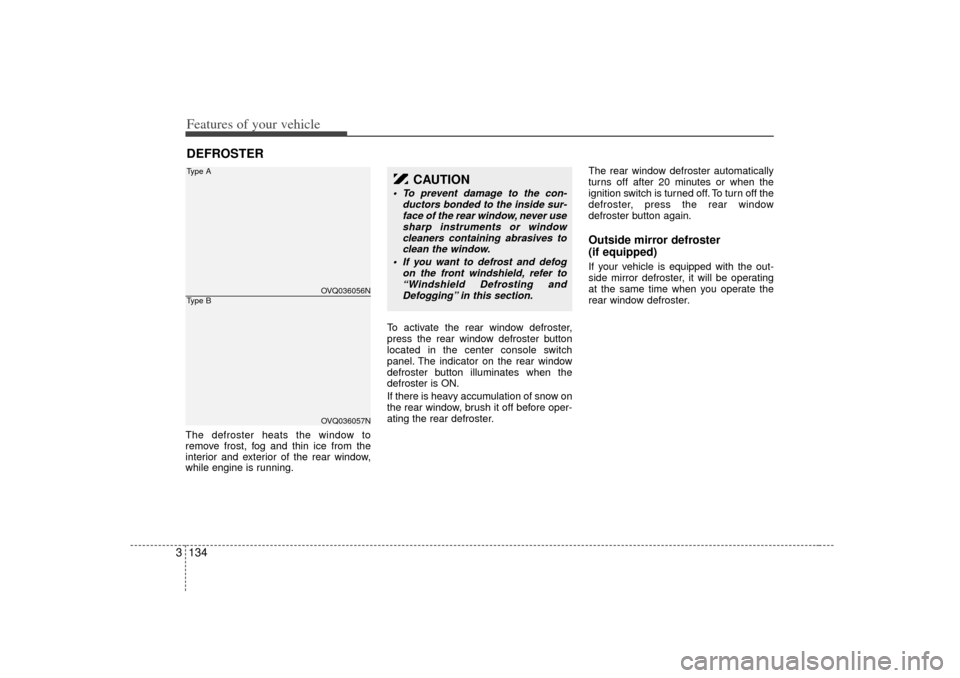
3The defroster heats the window to
remove frost, fog and thin ice from the
interior and exterior of the rear window,
while engine is running. To activate the rear window defroster,
press the rear window defroster button
located in the center console switch
panel. The indicator on the rear window
defroster button illuminates when the
defroster is ON.
If there is heavy accumulation of snow on
the rear window, brush it off before oper-
ating the rear defroster.The rear window defroster automatically
turns off after 20 minutes or when the
ignition switch is turned off. To turn off the
defroster, press the rear window
defroster button again.
Outside mirror defroster
(if equipped)If your vehicle is equipped with the out-
side mirror defroster, it will be operating
at the same time when you operate the
rear window defroster.
DEFROSTER
OVQ036056NOVQ036057N
Type AType B
CAUTION
To prevent damage to the con-
ductors bonded to the inside sur-face of the rear window, never usesharp instruments or windowcleaners containing abrasives to clean the window.
If you want to defrost and defog on the front windshield, refer to“Windshield Defrosting andDefogging” in this section.
Page 170 of 347
3 161
Features of your vehicle
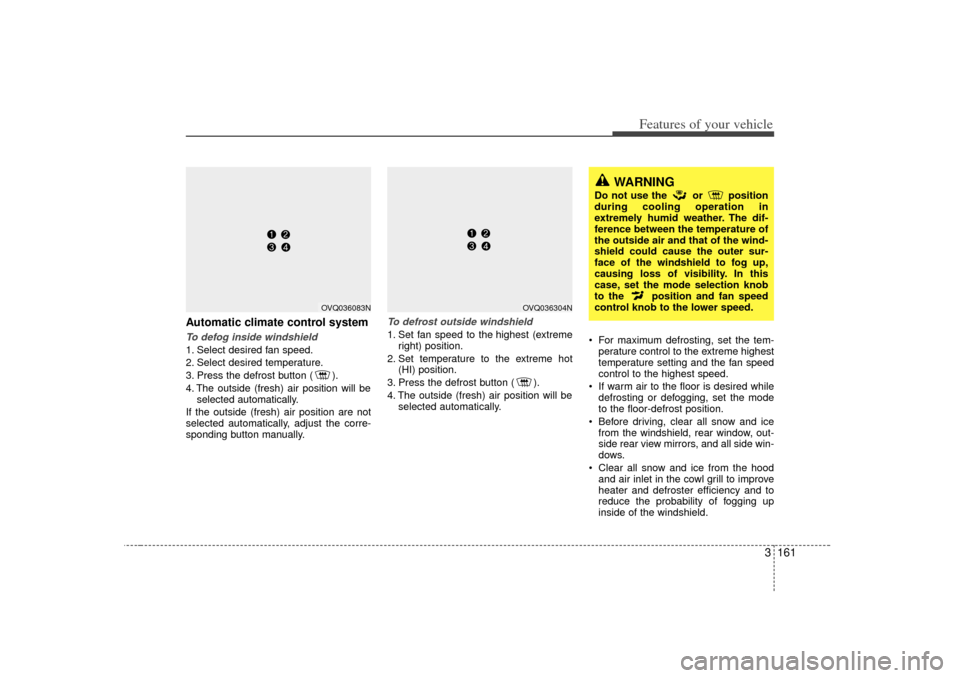
Automatic climate control systemTo defog inside windshield 1. Select desired fan speed.
2. Select desired temperature.
3. Press the defrost button ( ).
4. The outside (fresh) air position will beselected automatically.
If the outside (fresh) air position are not
selected automatically, adjust the corre-
sponding button manually.
To defrost outside windshield 1. Set fan speed to the highest (extreme right) position.
2. Set temperature to the extreme hot (HI) position.
3. Press the defrost button ( ).
4. The outside (fresh) air position will be selected automatically. For maximum defrosting, set the tem-
perature control to the extreme highest
temperature setting and the fan speed
control to the highest speed.
If warm air to the floor is desired while defrosting or defogging, set the mode
to the floor-defrost position.
Before driving, clear all snow and ice from the windshield, rear window, out-
side rear view mirrors, and all side win-
dows.
Clear all snow and ice from the hood and air inlet in the cowl grill to improve
heater and defroster efficiency and to
reduce the probability of fogging up
inside of the windshield.
OVQ036304N
WARNING
Do not use the or position
during cooling operation in
extremely humid weather. The dif-
ference between the temperature of
the outside air and that of the wind-
shield could cause the outer sur-
face of the windshield to fog up,
causing loss of visibility. In this
case, set the mode selection knob
to the position and fan speed
control knob to the lower speed.
OVQ036083N
Page 174 of 347

3 165
Features of your vehicle
Your new mirror comes with an integrat-
ed HomeLink Universal Transceiver,
which allows you to program the mirror to
activate your garage door(s), estate gate,
home lighting, etc. The mirror actually
learns the codes from your various exist-
ing transmitters.
ProgrammingYour vehicle may require the ignition
switch to be turned to the ACC position
for programming and/or operation of
HomeLink. It is also recommended that a
new battery be replaced in the hand-held
transmitter of the device being pro-
grammed to HomeLink for quicker train-
ing and accurate transmission of the
radio-frequency.
Follow these steps to train your
HomeLink mirror:
HOMELINK® WIRELESS CONTROL SYSTEM (IF EQUIPPED)
WARNING
When programming theHomeLink® Wireless Control
System, you may be operating a
garage door or gate operator.
Make sure that people and objects
are out of the way of the moving
door or gate to prevent potential
harm or damage.
(Continued)
(Continued)
Do not use HomeLink with anygarage door opener that lacks the
safety stop and reverse feature as
required by federal safety stan-
dards. (This includes any garage
door opener model manufactured
before April 1, 1982.) A garage
door opener which cannot detect
an object, signaling the door to
stop and reverse, does not meet
current federal safety standards.
Using a garage door opener with-
out these features increases risk
of serious injury or death. For
more information, call 1-800-355-
3515 or on the internet at
www.homelink.com.
Retain the original transmitter for future programming procedures
(i.e., new vehicle purchase). It is
also suggested that upon the sale
of the vehicle, the programmed
HomeLink buttons be erased for
security purposes (follow step 1
in the “Programming” portion of
this text).
OVQ036305N
Glare detection sensor
Indicator light
Homelink buttons
Page 175 of 347
Features of your vehicle166
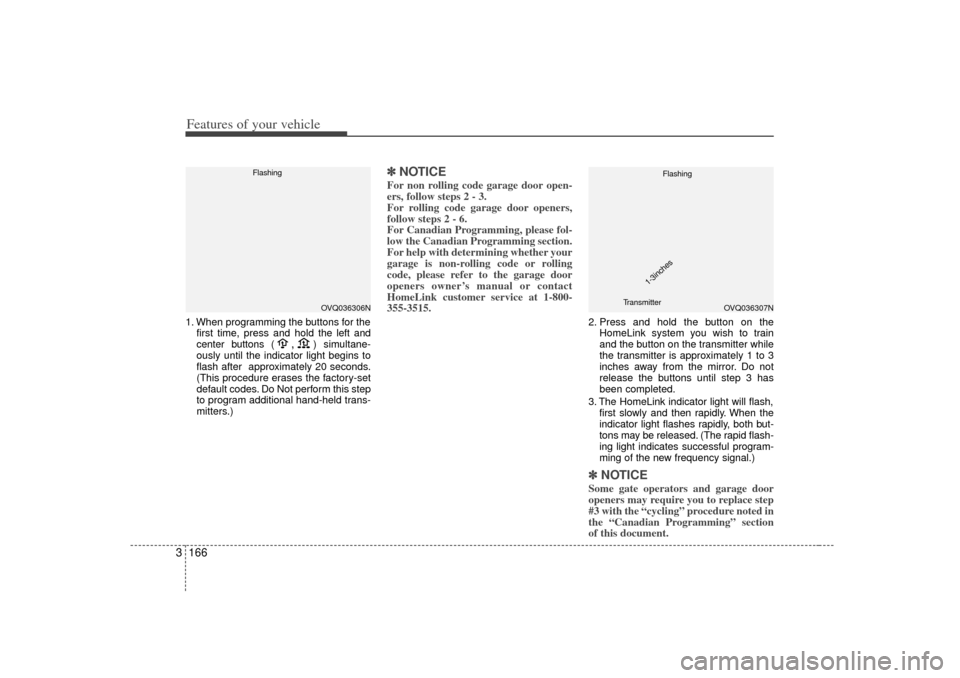
31. When programming the buttons for the
first time, press and hold
the left and
center buttons (
,
)simultane-
ously until the indicator light begins to
flash after approximately 20 seconds.
(This procedure erases the factory-set
default codes. Do Not perform this step
to program additional hand-held trans-
mitters.)
✽ ✽ NOTICEFor non rolling code garage door open-
ers, follow steps 2 - 3.
For rolling code garage door openers,
follow steps 2 - 6.
For Canadian Programming, please fol-
low the Canadian Programming section.
For help with determining whether your
garage is non-rolling code or rolling
code, please refer to the garage door
openers owner’s manual or contact
HomeLink customer service at 1-800-
355-3515.
2. Press and hold the button on the
HomeLink system you wish to train
and the button on the transmitter while
the transmitter is approximately 1 to 3
inches away from the mirror. Do not
release the buttons until step 3 has
been completed.
3. The HomeLink indicator light will flash, first slowly and then rapidly. When the
indicator light flashes rapidly, both but-
tons may be released. (The rapid flash-
ing light indicates successful program-
ming of the new frequency signal.)✽ ✽NOTICESome gate operators and garage door
openers may require you to replace step
#3 with the “cycling” procedure noted in
the “Canadian Programming” section
of this document.
OVQ036306N
Flashing
OVQ036307N
Flashing
1-3inches
Transmitter
Page 185 of 347
Features of your vehicle176
3Rear✽
✽
NOTICEDo not hang heavy bags, since those may
damage the holder.
Clothes hanger Sunvisor
Use the sunvisor to shield direct light
through the front or side windows.
To use a sunvisor, pull it downward.
To use a sunvisor for a side window, pull
it downward, unsnap it from the bracket
(1) and swing it to the side (2).
Adjust the sunvisor forward or backward
(3).
To use the vanity mirror, pull down the
visor and pull up the mirror cover (4).
1VQA2201
CAUTION
Do not hang heavy clothes, since
those may damage the hook.
OVQ036308N
OVQ036233N
Page 186 of 347
3 177
Features of your vehicle
CAUTION
- Vanity mirror (if equipped)
Close the vanity mirror cover
securely and return the sunvisor to its original position after use. If thevanity mirror is not closed securely,the lamp will stay on and couldresult in battery discharge and pos- sible sunvisor damage.
1VQA21881VQA2190
Front (Type B)Rear
1VQA2188A1VQA2189
Front (Type A)Center (if equipped)(1) : It can be used when the ignition switch is in ACC or ON position.
(2), (3), (4) : It can be used regardless of the ignition switch position.Power outletThe power outlets are designed to provide power for mobile telephones or other
devices designed to operate with vehicle electrical systems. The devices should
draw less than 10 amps with the engine running.
Page 239 of 347
Driving your vehicle24Before entering vehicle:• Be sure that all windows, outside mir-ror(s), and outside lights are clean.
Check the condition of the tires.
Check under the vehicle for any sign of leaks.
Be sure there are no obstacles behind you if you intend to back up.Necessary inspections Fluid levels, such as engine oil, engine
coolant, brake fluid, and washer fluid
should be checked on a regular basis,
with the exact interval depending on the
fluid. Further details are provided in
Section 6, Maintenance.
Before starting Close and lock all doors.
Position the seat so that all controls areeasily reached.
Adjust the inside and outside rearview mirrors.
Be sure that all lights work.
Check all gauges.
Check the operation of warning lights when the ignition switch is turned to
the ON position.
Release the parking brake and make sure the brake warning light goes out.
For safe operation, be sure you are famil-
iar with your vehicle and its equipment.
BEFORE DRIVING
WARNING
- Driving under
the influence of alcohol or
drugs
Drinking and driving is dangerous.
Drunk driving is the number one
contributor to the highway death
toll each year. Even a small amount
of alcohol will affect your reflexes,
perceptions and judgement. Driving
while under the influence of drugs
is as dangerous or more dangerous
than driving drunk.
You are much more likely to have a
serious accident if you drink or take
drugs and drive.
If you are drinking or taking drugs,
don’t drive. Do not ride with a driv-
er who has been drinking or taking
drugs. Choose a designated driver
or call a cab.
Page 264 of 347
427
Driving your vehicle
Driving at night Because night driving presents more
hazards than driving in the daylight, here
are some important tips to remember:
Slow down and keep more distancebetween you and other vehicles, as it
may be more difficult to see at night,
especially in areas where there may
not be any street lights.
Adjust your mirrors to reduce the glare from other driver's headlights.
Keep your headlights clean and prop- erly aimed on vehicles not equipped
with the automatic headlight aiming
feature. Dirty or improperly aimed
headlights will make it much more diffi-
cult to see at night.
Avoid staring directly at the headlights of oncoming vehicles. You could be
temporarily blinded, and it will take
several seconds for your eyes to read-
just to the darkness.
Driving in the rain Rain and wet roads can make driving
dangerous, especially if you’re not pre-
pared for the slick pavement. Here are a
few things to consider when driving in the
rain:
A heavy rainfall will make it harder tosee and will increase the distance
needed to stop your vehicle, so slow
down.
Keep your windshield wiping equip- ment in good shape. Replace your
windshield wiper blades when they
show signs of streaking or missing
areas on the windshield.
If your tires are not in good condition, making a quick stop on wet pavement
can cause a skid and possibly lead to
an accident. Be sure your tires are in
good shape.
Turn on your headlights to make it eas- ier for others to see you.
Driving too fast through large puddles can affect your brakes. If you must go
through puddles, try to drive through
them slowly.
If you believe you may have gotten your brakes wet, apply them lightly
while driving until normal braking oper-
ation returns.
Driving in flooded areas Avoid driving through flooded areas
unless you are sure the water is no high-
er than the bottom of the wheel hub.
Drive through any water slowly. Allow
adequate stopping distance because
brake performance may be affected.
After driving through water, dry the
brakes by gently applying them several
times while the vehicle is moving slowly.
Page 267 of 347
Driving your vehicle30
4Safety chains You should always attach chains
between your vehicle and your trailer.
Cross the safety chains under the tongue
of the trailer so that the tongue will not
drop to the road if it becomes separated
from the hitch.
Instructions about safety chains may be
provided by the hitch manufacturer or by
the trailer manufacturer. Follow the man-
ufacturer’s recommendation for attaching
safety chains. Always leave just enough
slack so you can turn with your trailer.
And, never allow safety chains to drag on
the ground.
Trailer brakes If your trailer weighs more than the max-
imum trailer weight without trailer brakes
loaded, then it needs its own brakes and
they must be adequate. Be sure to read
and follow the instructions for the trailer
brakes so you’ll be able to install, adjust
and maintain them properly.
Don’t tap into your vehicle's brake sys-
tem.
Driving with a trailer Towing a trailer requires a certain
amount of experience. Before setting out
for the open road, you must get to know
your trailer. Acquaint yourself with the
feel of handling and braking with the
added weight of the trailer. And always
keep in mind that the vehicle you are
driving is now a good deal longer and not
nearly so responsive as your vehicle is
by itself.
Before you start, check the trailer hitch
and platform, safety chains, electrical
connector(s), lights, tires and mirror
adjustment. If the trailer has electric
brakes, start your vehicle and trailer mov-
ing and then apply the trailer brake con-
troller by hand to be sure the brakes are
working. This lets you check your electri-
cal connection at the same time.
During your trip, check occasionally to be
sure that the load is secure, and that the
lights and any trailer brakes are still work-
ing.
WARNING
- Trailer brakes
Do not use a trailer with its own
brakes unless you are absolutely
certain that you have properly set
up the brake system. This is not a
task for amateurs. Use an experi-
enced, competent trailer shop for
this work.