KIA Sedona 2006 1.G Owner's Manual
Manufacturer: KIA, Model Year: 2006, Model line: Sedona, Model: KIA Sedona 2006 1.GPages: 347, PDF Size: 4.11 MB
Page 271 of 347
Driving your vehicle34
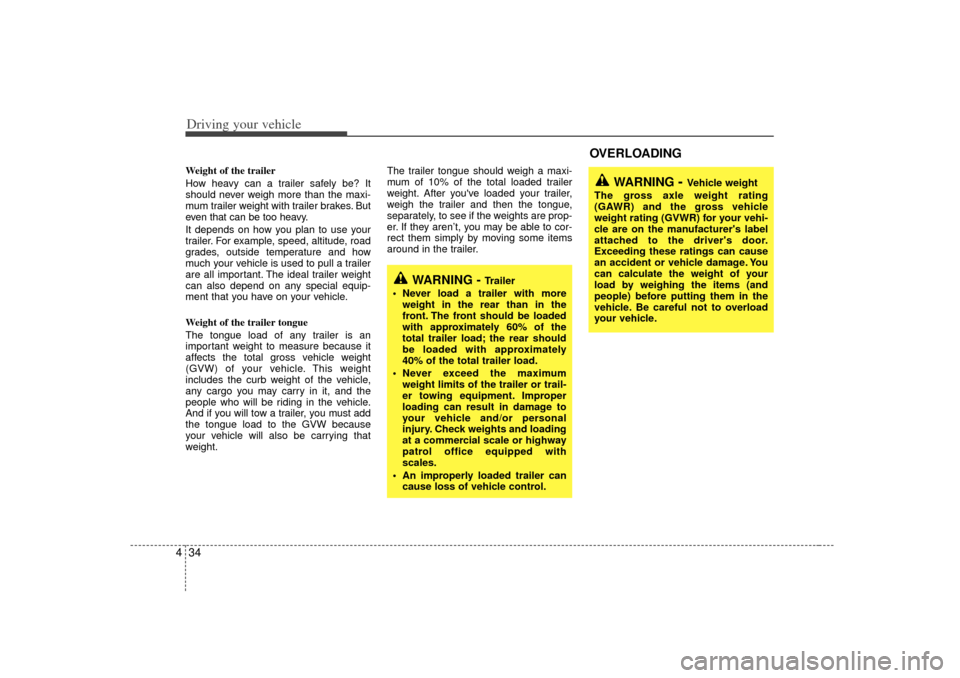
4Weight of the trailer
How heavy can a trailer safely be? It
should never weigh more than the maxi-
mum trailer weight with trailer brakes. But
even that can be too heavy.
It depends on how you plan to use your
trailer. For example, speed, altitude, road
grades, outside temperature and how
much your vehicle is used to pull a trailer
are all important. The ideal trailer weight
can also depend on any special equip-
ment that you have on your vehicle.
Weight of the trailer tongue
The tongue load of any trailer is an
important weight to measure because it
affects the total gross vehicle weight
(GVW) of your vehicle. This weight
includes the curb weight of the vehicle,
any cargo you may carry in it, and the
people who will be riding in the vehicle.
And if you will tow a trailer, you must add
the tongue load to the GVW because
your vehicle will also be carrying that
weight. The trailer tongue should weigh a maxi-
mum of 10% of the total loaded trailer
weight. After you've loaded your trailer,
weigh the trailer and then the tongue,
separately, to see if the weights are prop-
er. If they aren’t, you may be able to cor-
rect them simply by moving some items
around in the trailer.
WARNING -
Trailer
Never load a trailer with more weight in the rear than in the
front. The front should be loaded
with approximately 60% of the
total trailer load; the rear should
be loaded with approximately
40% of the total trailer load.
Never exceed the maximum weight limits of the trailer or trail-
er towing equipment. Improper
loading can result in damage to
your vehicle and/or personal
injury. Check weights and loading
at a commercial scale or highway
patrol office equipped with
scales.
An improperly loaded trailer can cause loss of vehicle control.
WARNING
- Vehicle weight
The gross axle weight rating
(GAWR) and the gross vehicle
weight rating (GVWR) for your vehi-
cle are on the manufacturer's label
attached to the driver's door.
Exceeding these ratings can cause
an accident or vehicle damage. You
can calculate the weight of your
load by weighing the items (and
people) before putting them in the
vehicle. Be careful not to overload
your vehicle.
OVERLOADING
Page 272 of 347
435
Driving your vehicle
Vehicle identification number
(VIN) Tire specification / pressure label
Engine numberLABEL INFORMATION There are several important labels and identification numbers located on your vehicle. The label locations are identified in the illus-
trations shown.
OVQ076001NOVQ066023N
OVQ076002N
Identification label (if equipped)Frame number
VIN (if equipped)
OVQ076003NOVQ066022N
Page 273 of 347
5
Road warning / 5-2
Emergency starting / 5-2
If the engine overheats / 5-5
Tires pressure monitoring system (TPMS) / 5-6
If you have a flat tire / 5-10
Towing / 5-19
What to do in an emergency
Page 274 of 347
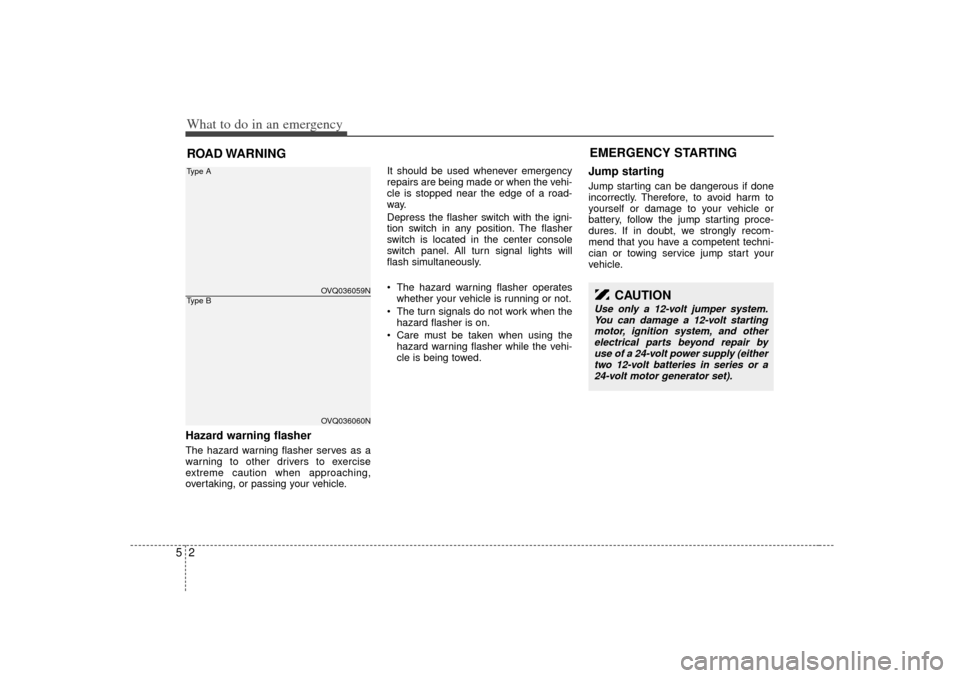
What to do in an emergency25ROAD WARNING Hazard warning flasher The hazard warning flasher serves as a
warning to other drivers to exercise
extreme caution when approaching,
overtaking, or passing your vehicle.It should be used whenever emergency
repairs are being made or when the vehi-
cle is stopped near the edge of a road-
way.
Depress the flasher switch with the igni-
tion switch in any position. The flasher
switch is located in the center console
switch panel. All turn signal lights will
flash simultaneously.
• The hazard warning flasher operates
whether your vehicle is running or not.
The turn signals do not work when the hazard flasher is on.
Care must be taken when using the hazard warning flasher while the vehi-
cle is being towed.
Jump starting Jump starting can be dangerous if done
incorrectly. Therefore, to avoid harm to
yourself or damage to your vehicle or
battery, follow the jump starting proce-
dures. If in doubt, we strongly recom-
mend that you have a competent techni-
cian or towing service jump start your
vehicle.EMERGENCY STARTING
CAUTION
Use only a 12-volt jumper system.You can damage a 12-volt starting motor, ignition system, and otherelectrical parts beyond repair by use of a 24-volt power supply (eithertwo 12-volt batteries in series or a 24-volt motor generator set).
OVQ036059NOVQ036060N
Type AType B
Page 275 of 347
53
What to do in an emergency
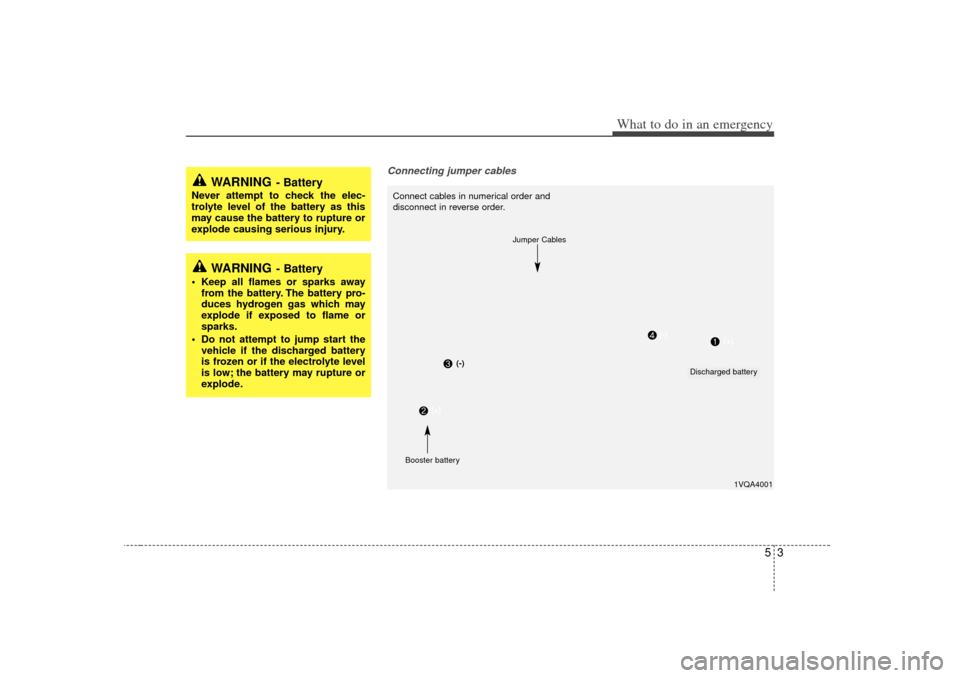
Connecting jumper cables
WARNING
- Battery
• Keep all flames or sparks awayfrom the battery. The battery pro-
duces hydrogen gas which may
explode if exposed to flame or
sparks.
Do not attempt to jump start the vehicle if the discharged battery
is frozen or if the electrolyte level
is low; the battery may rupture or
explode.
WARNING
- Battery
Never attempt to check the elec-
trolyte level of the battery as this
may cause the battery to rupture or
explode causing serious injury.
1VQA4001
Connect cables in numerical order and
disconnect in reverse order.
Discharged battery
Jumper Cables
Booster battery
(-)
(+)
(+)
(-)
Page 276 of 347
What to do in an emergency45Jump starting procedure 1. Make sure the booster battery is 12-volt and that its negative terminal is
grounded.
2. If the booster battery is in another vehicle, do not allow the vehicles to
touch.
3. Turn off all unnecessary electrical loads.
4. Connect the jumper cables in the exact sequence shown in the previous illus-
tration. First connect one end of a
jumper cable to the positive terminal of
the discharged battery (1), then con-
nect the other end to the positive ter-
minal on the booster battery (2).
Proceed to connect one end of the
other jumper cable to the negative ter-
minal of the booster battery (3), then
the other end to a solid, stationary,
metallic point (for example, the engine
lifting bracket) away from the battery
(4). Do not connect it to or near any
part that moves when the engine is
cranked. Do not allow the jumper cables to con-
tact anything except the correct bat-
tery terminals or the correct ground.
Do not lean over the battery when
making connections.
5. Start the engine of the vehicle with the booster battery and let it run at 2,000
rpm, then start the engine of the vehi-
cle with the discharged battery.
If the cause of your battery discharging isnot apparent, you should have your vehi-cle checked by an Authorized Kia Dealer.
Push-starting Vehicles equipped with automatic
transaxle cannot be push-started.
Follow the directions in this section for
jump-starting.
CAUTION
Never tow a vehicle to start itbecause the sudden surge forwardwhen the engine starts could cause a collision with the tow vehicle.
CAUTION
- Battery cables
Do not connect the jumper cablefrom the negative terminal of thebooster battery to the negative ter-minal of the discharged battery. This can cause the discharged bat-tery to overheat and crack, releas-ing battery acid.
Page 277 of 347
55
What to do in an emergency
IF THE ENGINE OVERHEATS If your temperature gauge indicates over-
heating, if you experience a loss of
power, or if you hear a loud knocking or
pinging noise, the engine has probably
overheated. Should any of these symp-
toms occur, use the following procedure:
1. Turn on the hazard warning flasher,then drive to the nearest safe location
and stop your vehicle; set the auto-
matic transaxle in P (Park) and apply
the parking brake.
2. Make sure the air conditioner is off.
3. If coolant or steam is boiling out of the radiator, stop the engine and call an
Authorized Kia Dealer for assistance.
If coolant is not boiling out, allow the engine to idle and open the hood to
permit the engine to cool gradually.
If the temperature does not go down with the engine idling, stop the engine
and allow sufficient time for it to cool. 4. The coolant level should then be
checked. If the level in the reservoir is
low, look for leaks at the radiator
hoses and connections, heater hoses
and connections, radiator, and water
pump. If you find a major leak or
another problem that may have
caused the engine to overheat, do not
operate the engine until it has been
corrected. Call an Authorized Kia
Dealer for assistance. If you do not
find a leak or other problem, carefully
add coolant to the reservoir.
If the engine frequently overheats, have
the cooling system checked and repairedby an Authorized Kia Dealer.
WARNING
- Removing
radiator cap
Do not remove the radiator cap
when the engine and radiator are
hot. Scalding hot coolant and steam
may blow out under pressure. This
could cause serious injury.
Page 278 of 347
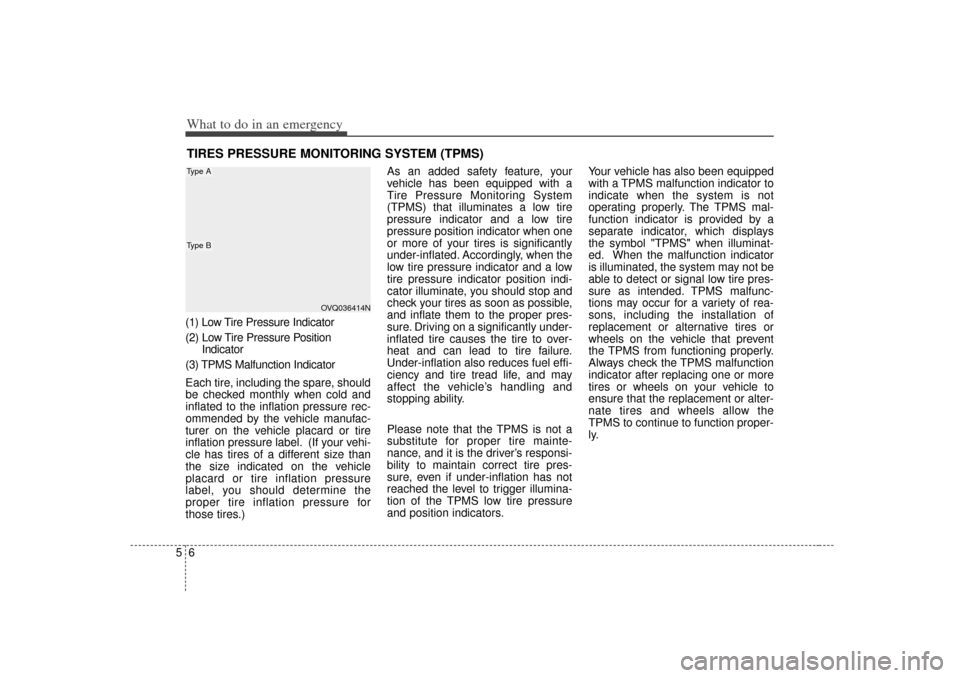
What to do in an emergency65TIRES PRESSURE MONITORING SYSTEM (TPMS)(1) Low Tire Pressure Indicator
(2) Low Tire Pressure PositionIndicator
(3) TPMS Malfunction Indicator
Each tire, including the spare, should
be checked monthly when cold and
inflated to the inflation pressure rec-
ommended by the vehicle manufac-
turer on the vehicle placard or tire
inflation pressure label. (If your vehi-
cle has tires of a different size than
the size indicated on the vehicle
placard or tire inflation pressure
label, you should determine the
proper tire inflation pressure for
those tires.) As an added safety feature, your
vehicle has been equipped with a
Tire Pressure Monitoring System
(TPMS) that illuminates a low tire
pressure indicator and a low tire
pressure position indicator when one
or more of your tires is significantly
under-inflated. Accordingly, when the
low tire pressure indicator and a low
tire pressure indicator position indi-
cator illuminate, you should stop and
check your tires as soon as possible,
and inflate them to the proper pres-
sure. Driving on a significantly under-
inflated tire causes the tire to over-
heat and can lead to tire failure.
Under-inflation also reduces fuel effi-
ciency and tire tread life, and may
affect the vehicle’s handling and
stopping ability.
Please note that the TPMS is not a
substitute for proper tire mainte-
nance, and it is the driver’s responsi-
bility to maintain correct tire pres-
sure, even if under-inflation has not
reached the level to trigger illumina-
tion of the TPMS low tire pressure
and position indicators.
Your vehicle has also been equipped
with a TPMS malfunction indicator to
indicate when the system is not
operating properly. The TPMS mal-
function indicator is provided by a
separate indicator, which displays
the symbol "TPMS" when illuminat-
ed. When the malfunction indicator
is illuminated, the system may not be
able to detect or signal low tire pres-
sure as intended. TPMS malfunc-
tions may occur for a variety of rea-
sons, including the installation of
replacement or alternative tires or
wheels on the vehicle that prevent
the TPMS from functioning properly.
Always check the TPMS malfunction
indicator after replacing one or more
tires or wheels on your vehicle to
ensure that the replacement or alter-
nate tires and wheels allow the
TPMS to continue to function proper-
ly.
OVQ036414N
Type AType B
Page 279 of 347
57
What to do in an emergency
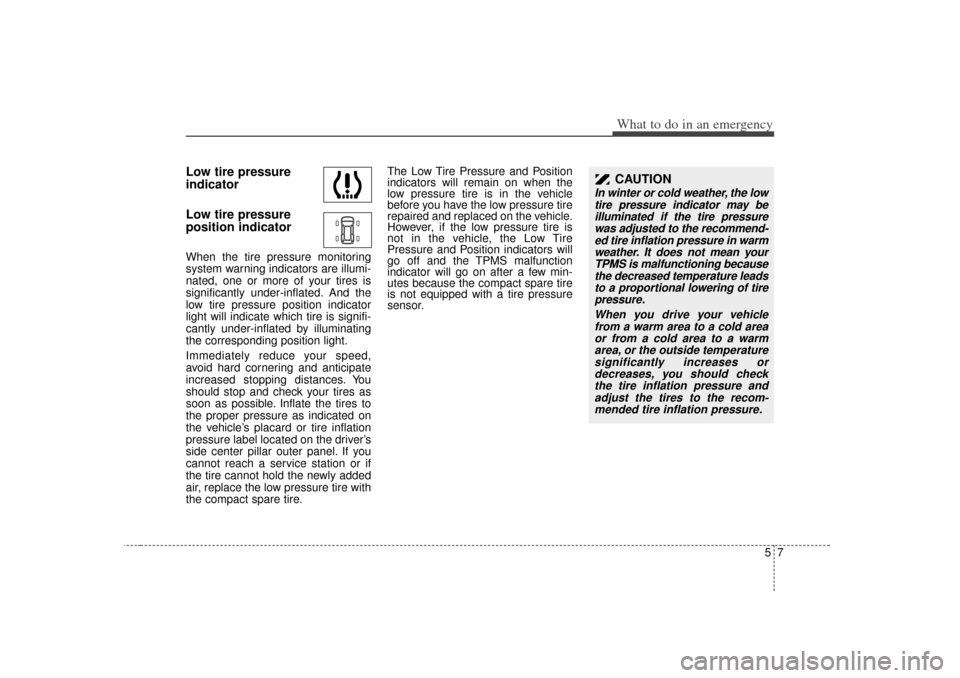
Low tire pressure
indicator
Low tire pressure
position indicatorWhen the tire pressure monitoring
system warning indicators are illumi-
nated, one or more of your tires is
significantly under-inflated. And the
low tire pressure position indicator
light will indicate which tire is signifi-
cantly under-inflated by illuminating
the corresponding position light.
Immediately reduce your speed,
avoid hard cornering and anticipate
increased stopping distances. You
should stop and check your tires as
soon as possible. Inflate the tires to
the proper pressure as indicated on
the vehicle’s placard or tire inflation
pressure label located on the driver’s
side center pillar outer panel. If you
cannot reach a service station or if
the tire cannot hold the newly added
air, replace the low pressure tire with
the compact spare tire.The Low Tire Pressure and Position
indicators will remain on when the
low pressure tire is in the vehicle
before you have the low pressure tire
repaired and replaced on the vehicle.
However, if the low pressure tire is
not in the vehicle, the Low Tire
Pressure and Position indicators will
go off and the TPMS malfunction
indicator will go on after a few min-
utes because the compact spare tire
is not equipped with a tire pressure
sensor.
CAUTION
In winter or cold weather, the low
tire pressure indicator may beilluminated if the tire pressurewas adjusted to the recommend-ed tire inflation pressure in warmweather. It does not mean yourTPMS is malfunctioning becausethe decreased temperature leadsto a proportional lowering of tirepressure.
When you drive your vehiclefrom a warm area to a cold areaor from a cold area to a warmarea, or the outside temperaturesignificantly increases ordecreases, you should checkthe tire inflation pressure andadjust the tires to the recom-mended tire inflation pressure.
Page 280 of 347
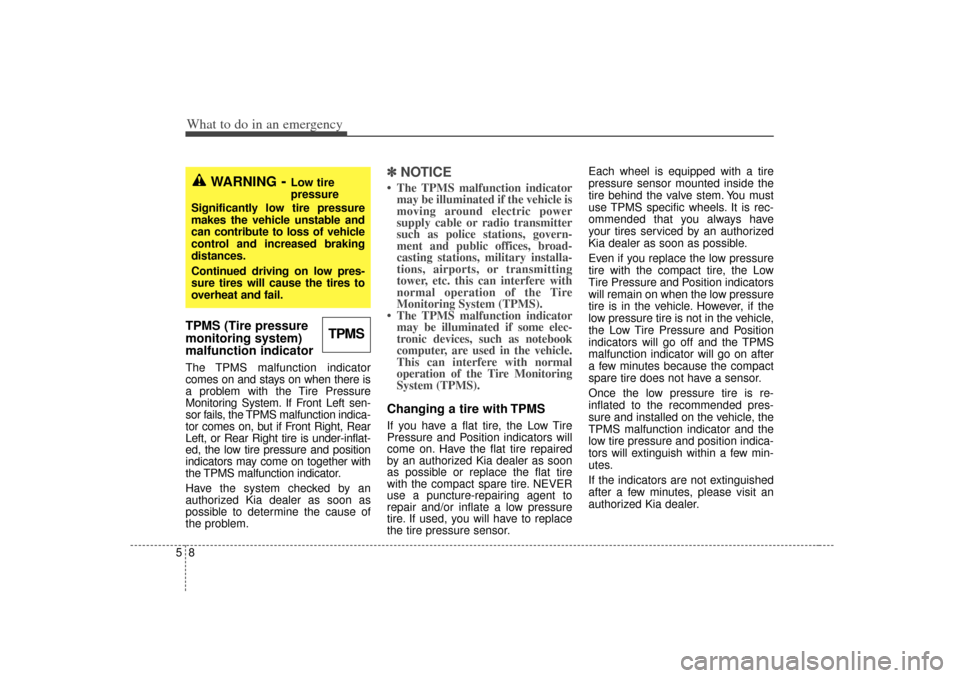
What to do in an emergency85TPMS (Tire pressure
monitoring system)
malfunction indicatorThe TPMS malfunction indicator
comes on and stays on when there is
a problem with the Tire Pressure
Monitoring System. If Front Left sen-
sor fails, the TPMS malfunction indica-
tor comes on, but if Front Right, Rear
Left, or Rear Right tire is under-inflat-
ed, the low tire pressure and position
indicators may come on together with
the TPMS malfunction indicator.
Have the system checked by an
authorized Kia dealer as soon as
possible to determine the cause of
the problem.
✽ ✽NOTICE• The TPMS malfunction indicator
may be illuminated if the vehicle is
moving around electric power
supply cable or radio transmitter
such as police stations, govern-
ment and public offices, broad-
casting stations, military installa-
tions, airports, or transmitting
tower, etc. this can interfere with
normal operation of the Tire
Monitoring System (TPMS).
• The TPMS malfunction indicator may be illuminated if some elec-
tronic devices, such as notebook
computer, are used in the vehicle.
This can interfere with normal
operation of the Tire Monitoring
System (TPMS).Changing a tire with TPMSIf you have a flat tire, the Low Tire
Pressure and Position indicators will
come on. Have the flat tire repaired
by an authorized Kia dealer as soon
as possible or replace the flat tire
with the compact spare tire. NEVER
use a puncture-repairing agent to
repair and/or inflate a low pressure
tire. If used, you will have to replace
the tire pressure sensor. Each wheel is equipped with a tire
pressure sensor mounted inside the
tire behind the valve stem. You must
use TPMS specific wheels. It is rec-
ommended that you always have
your tires serviced by an authorized
Kia dealer as soon as possible.
Even if you replace the low pressure
tire with the compact tire, the Low
Tire Pressure and Position indicators
will remain on when the low pressure
tire is in the vehicle. However, if the
low pressure tire is not in the vehicle,
the Low Tire Pressure and Position
indicators will go off and the TPMS
malfunction indicator will go on after
a few minutes because the compact
spare tire does not have a sensor.
Once the low pressure tire is re-
inflated to the recommended pres-
sure and installed on the vehicle, the
TPMS malfunction indicator and the
low tire pressure and position indica-
tors will extinguish within a few min-
utes.
If the indicators are not extinguished
after a few minutes, please visit an
authorized Kia dealer.
TPMS
WARNING
- Low tire
pressure
Significantly low tire pressure
makes the vehicle unstable and
can contribute to loss of vehicle
control and increased braking
distances.
Continued driving on low pres-
sure tires will cause the tires to
overheat and fail.