engine KIA Sephia 2007 2.G User Guide
[x] Cancel search | Manufacturer: KIA, Model Year: 2007, Model line: Sephia, Model: KIA Sephia 2007 2.GPages: 300, PDF Size: 2.91 MB
Page 89 of 300
379
1
2
3
4
5
6
7
8
9
Knowing your vehicle
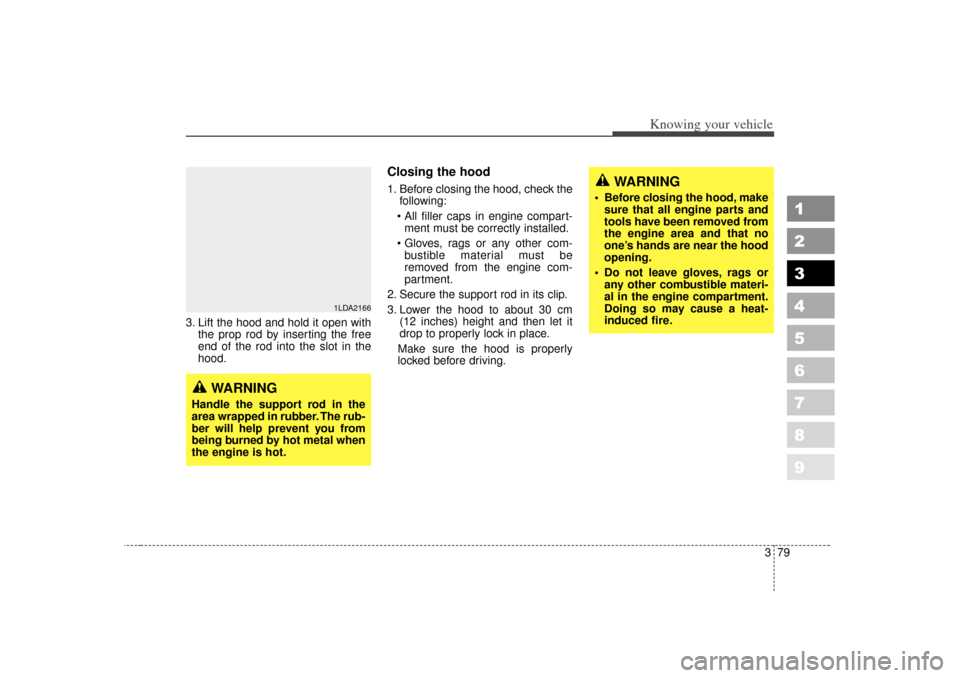
3. Lift the hood and hold it open withthe prop rod by inserting the free
end of the rod into the slot in the
hood.
Closing the hood1. Before closing the hood, check thefollowing:
All filler caps in engine compart- ment must be correctly installed.
Gloves, rags or any other com- bustible material must be
removed from the engine com-
partment.
2. Secure the support rod in its clip.
3. Lower the hood to about 30 cm (12 inches) height and then let it
drop to properly lock in place.
Make sure the hood is properly
locked before driving.
1LDA2166
WARNING
Handle the support rod in the
area wrapped in rubber. The rub-
ber will help prevent you from
being burned by hot metal when
the engine is hot.
WARNING
Before closing the hood, make sure that all engine parts and
tools have been removed from
the engine area and that no
one’s hands are near the hood
opening.
Do not leave gloves, rags or any other combustible materi-
al in the engine compartment.
Doing so may cause a heat-
induced fire.
Page 90 of 300
Knowing your vehicle80
3
1
2
3
4
5
6
7
8
9
WARNING
If pressurized fuel sprays out, it
can cause serious injuries.
Always remove the fuel cap
carefully and slowly. If the cap is
venting fuel or if you hear a
hissing sound, wait until the
condition stops before com-
pletely removing the cap.
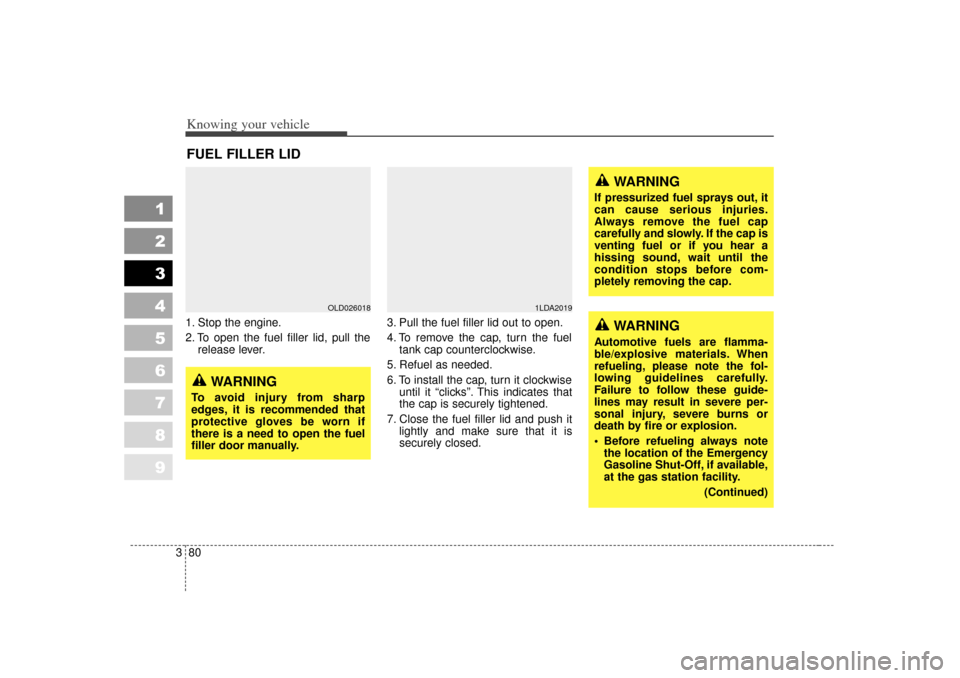
1. Stop the engine.
2. To open the fuel filler lid, pull the
release lever. 3. Pull the fuel filler lid out to open.
4. To remove the cap, turn the fuel
tank cap counterclockwise.
5. Refuel as needed.
6. To install the cap, turn it clockwise until it “clicks”. This indicates that
the cap is securely tightened.
7. Close the fuel filler lid and push it lightly and make sure that it is
securely closed.FUEL FILLER LID
1LDA2019
OLD026018
WARNING
To avoid injury from sharp
edges, it is recommended that
protective gloves be worn if
there is a need to open the fuel
filler door manually.
WARNING
Automotive fuels are flamma-
ble/explosive materials. When
refueling, please note the fol-
lowing guidelines carefully.
Failure to follow these guide-
lines may result in severe per-
sonal injury, severe burns or
death by fire or explosion.
Before refueling always notethe location of the Emergency
Gasoline Shut-Off, if available,
at the gas station facility.
(Continued)
Page 91 of 300
381
1
2
3
4
5
6
7
8
9
Knowing your vehicle
(Continued)
Before touching the fuel noz-zle or fuel filler cap, you
should eliminate potentially
dangerous static electricity
discharge by touching anoth-
er metal part of the front of the
vehicle, a safe distance away
from the fuel filler neck, noz-
zle, or other gas source.
Do not get back into a vehicle once you have begun refuel-
ing. Do not touch, rub or slide
against any item or fabric
(polyester, satin, nylon, etc.)
capable of producing static
electricity. Static electricity
discharge can ignite fuel
vapors resulting in explosion.
If you must re-enter the vehi-
cle, you should once again
eliminate potentially danger-
ous static electricity dis-
charge by touching a metal
part of the vehicle, away from
the fuel filler neck, nozzle or
other gasoline source.
(Continued)
(Continued)
When using a portable fuelcontainer be sure to place the
container on the ground prior
to refueling. Static electricity
discharge from the container
can ignite fuel vapors causing
a fire. Once refueling has
begun, contact with the vehi-
cle should be maintained until
the filling is complete. Use
only portable fuel containers
designed to carry and store
gasoline.
Do not use cellular phones around a gas station or while
refueling any vehicle. Electric
current and/or electronic
interference from cellular
phones can potentially ignite
fuel vapors causing a fire. If
you must use your cellular
phone, use it in a place away
from the gas station.
(Continued)
(Continued)
When refueling always shutthe engine off. Sparks pro-
duced by electrical compo-
nents related to the engine
can ignite fuel vapors causing
a fire. Always insure that the
engine is OFF before and dur-
ing refueling. Once refueling
is complete, check to make
sure the fuel filler cap and
door are securely closed,
before starting the engine.
Do not light any fire around a gas station. DO NOT use
matches or a lighter and DO
NOT SMOKE or leave a lit cig-
arette in your vehicle while at
a gas station especially during
refueling. Automotive fuel is
highly flammable and can,
when ignited, result in explo-
sion by flames.
(Continued)
Page 92 of 300
Knowing your vehicle82
3
1
2
3
4
5
6
7
8
9
Auto fuel cutoff switch
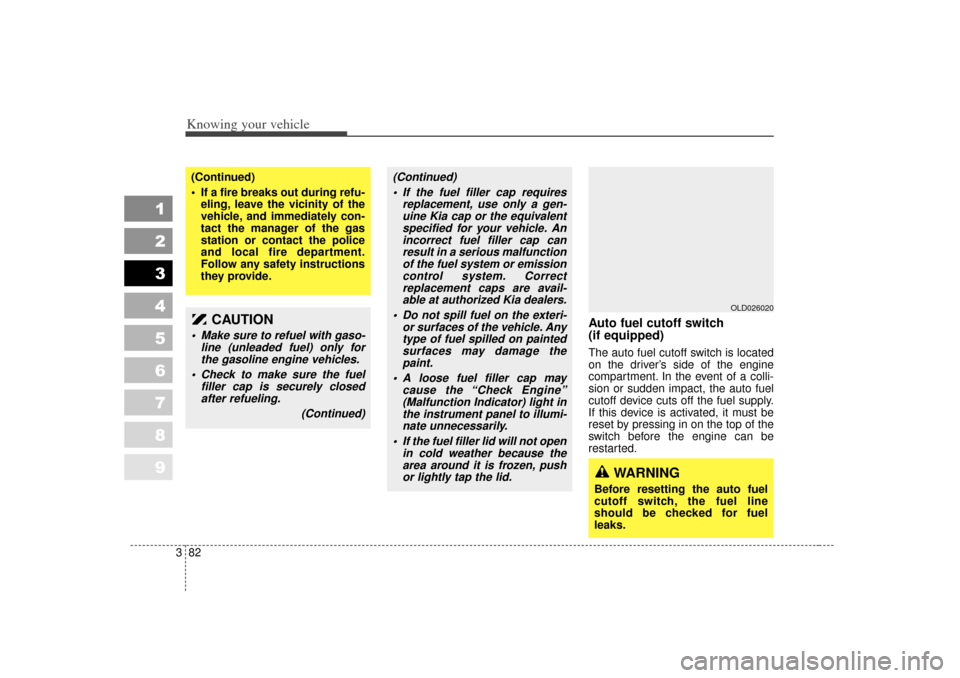
(if equipped)The auto fuel cutoff switch is located
on the driver’ s side of the engine
compartment. In the event of a colli-
sion or sudden impact, the auto fuel
cutoff device cuts off the fuel supply.
If this device is activated, it must be
reset by pressing in on the top of the
switch before the engine can be
restarted.
(Continued)
If a fire breaks out during refu- eling, leave the vicinity of the
vehicle, and immediately con-
tact the manager of the gas
station or contact the police
and local fire department.
Follow any safety instructions
they provide.
(Continued)
If the fuel filler cap requires replacement, use only a gen-uine Kia cap or the equivalentspecified for your vehicle. Anincorrect fuel filler cap canresult in a serious malfunctionof the fuel system or emissioncontrol system. Correctreplacement caps are avail-able at authorized Kia dealers.
Do not spill fuel on the exteri- or surfaces of the vehicle. Anytype of fuel spilled on paintedsurfaces may damage thepaint.
A loose fuel filler cap may cause the “Check Engine”(Malfunction Indicator) light inthe instrument panel to illumi-nate unnecessarily.
If the fuel filler lid will not open in cold weather because thearea around it is frozen, pushor lightly tap the lid.
CAUTION
Make sure to refuel with gaso- line (unleaded fuel) only forthe gasoline engine vehicles.
Check to make sure the fuel filler cap is securely closedafter refueling.
(Continued)
OLD026020
WARNING
Before resetting the auto fuel
cutoff switch, the fuel line
should be checked for fuel
leaks.
Page 96 of 300
Knowing your vehicle86
3
1
2
3
4
5
6
7
8
9
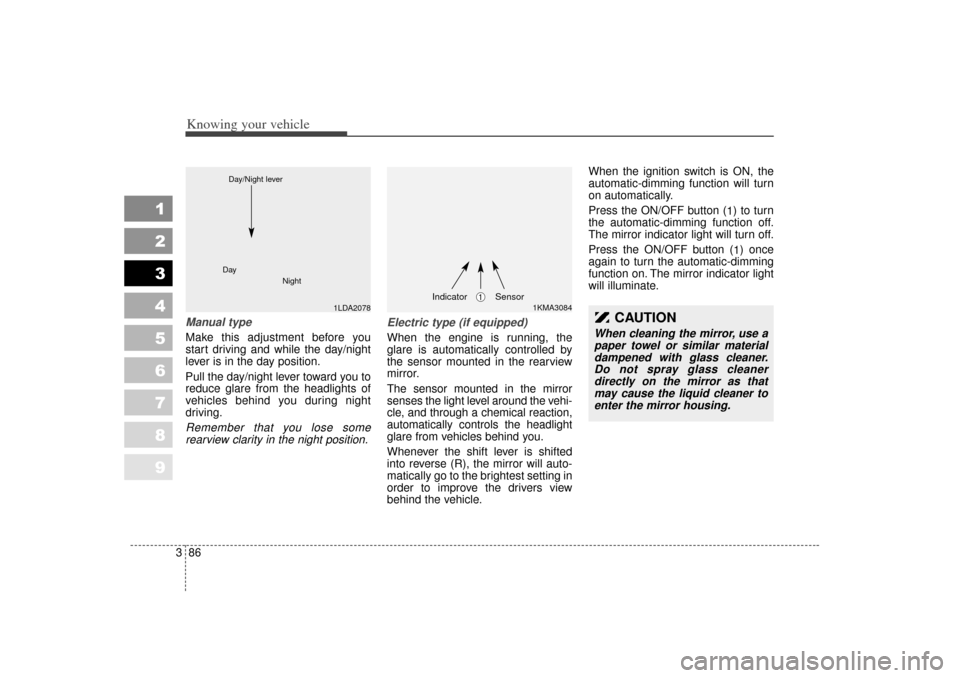
Manual type Make this adjustment before you
start driving and while the day/night
lever is in the day position.
Pull the day/night lever toward you to
reduce glare from the headlights of
vehicles behind you during night
driving.Remember that you lose some
rearview clarity in the night position. Electric type (if equipped)
When the engine is running, the
glare is automatically controlled by
the sensor mounted in the rearview
mirror.
The sensor mounted in the mirror
senses the light level around the vehi-
cle, and through a chemical reaction,
automatically controls the headlight
glare from vehicles behind you.
Whenever the shift lever is shifted
into reverse (R), the mirror will auto-
matically go to the brightest setting in
order to improve the drivers view
behind the vehicle. When the ignition switch is ON, the
automatic-dimming function will turn
on automatically.
Press the ON/OFF button (
1) to turn
the automatic-dimming function off.
The mirror indicator light will turn off.
Press the ON/OFF button ( 1) once
again to turn the automatic-dimming
function on. The mirror indicator light
will illuminate.
1LDA2078
Day
Night
Day/Night lever
1KMA3084
➀
Sensor
Indicator
CAUTION
When cleaning the mirror, use apaper towel or similar materialdampened with glass cleaner.Do not spray glass cleanerdirectly on the mirror as thatmay cause the liquid cleaner toenter the mirror housing.
Page 100 of 300

Knowing your vehicle90
3
1
2
3
4
5
6
7
8
9
Cigarette lighterFrontTo operate the cigarette lighter, press
it in and release it. When it is heated,
it automatically pops out ready for
use.
If the engine is not running, the igni-
tion switch must be in the ACC posi-
tion for the lighter to operate.
AshtrayFront The front ashtray may be opened by
pushing in the ashtray lid. To clean
the ashtray, the plastic receptacle
should be removed by lifting the plas-
tic ash receptacle upward and pulling
it out.
INTERIOR FEATURES
WARNING
- Ashtray use
Do not use the vehicle’s ash- trays as waste receptacles.
Putting lit cigarettes or match- es in an ashtray with other
combustible materials may
cause a fire.
OLD026148
OLD026147
CAUTION
Do not hold the lighter in after it is already heated because itwill overheat.
Only a genuine Kia lighter should be used in the ciga-rette lighter socket. The use ofplug-in accessories (shavers,hand-held vacuums, and cof-fee pots, for example) maydamage the socket or causeelectrical failure.
If the lighter does not pop out within 30 seconds, remove itto prevent overheating.
Page 102 of 300

Knowing your vehicle92
3
1
2
3
4
5
6
7
8
9
SunvisorUse the sunvisor to shield direct light
through the front or side windows.
To use a sunvisor, pull it downward.
To use a sunvisor for a side window,
pull it downward, unsnap it from the
bracket (
1) and swing it to the side.
To use the vanity mirror, pull down
the visor and pull up the mirror cover
( 2 ).
Power socket (if equipped)The power outlets are designed to
provide power for mobile telephones
or other devices designed to operate
with vehicle electrical systems. The
devices should draw less than 10
amps with the engine running.
1LDN2151
OLD026150
CAUTION
Close the vanity mirror cover
securely and return the sunvi-sor to its original position afteruse. If the vanity mirror is notclosed securely, the lamp (ifequipped) will stay on and couldresult in battery discharge andpossible sunvisor damage.
Page 103 of 300
393
1
2
3
4
5
6
7
8
9
Knowing your vehicle
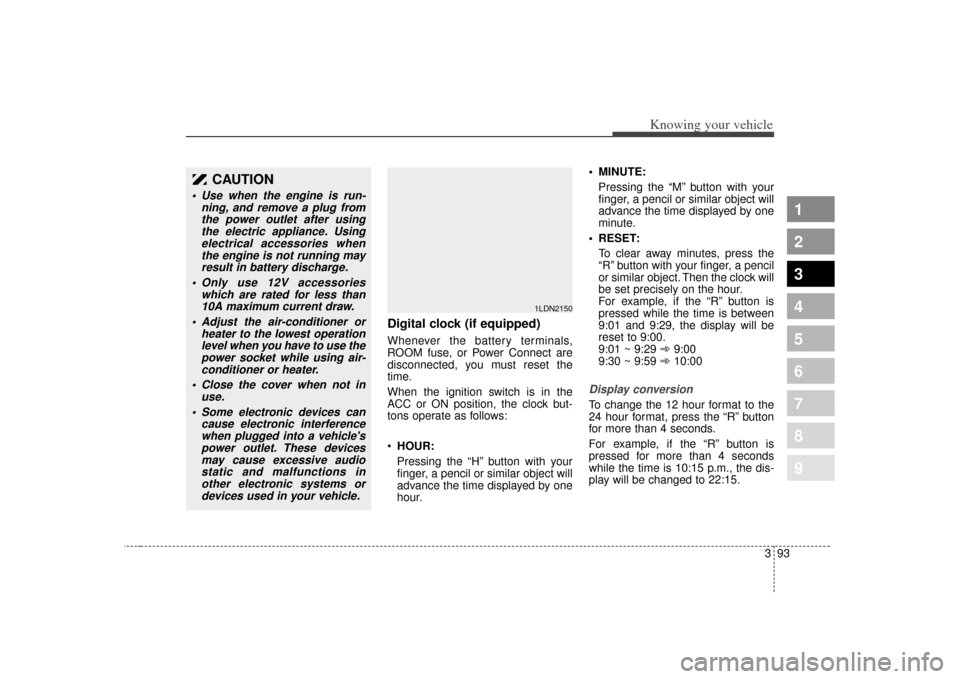
Digital clock (if equipped)Whenever the battery terminals,
ROOM fuse, or Power Connect are
disconnected, you must reset the
time.
When the ignition switch is in the
ACC or ON position, the clock but-
tons operate as follows:
•HOUR:
Pressing the “H” button with your
finger, a pencil or similar object will
advance the time displayed by one
hour. MINUTE:
Pressing the “M” button with your
finger, a pencil or similar object will
advance the time displayed by one
minute.
RESET: To clear away minutes, press the
“R” button with your finger, a pencil
or similar object. Then the clock will
be set precisely on the hour.
For example, if the “R” button is
pressed while the time is between
9:01 and 9:29, the display will be
reset to 9:00.
9:01 ~ 9:29 ➾ 9:00
9:30 ~ 9:59 ➾ 10:00
Display conversionTo change the 12 hour format to the
24 hour format, press the “R” button
for more than 4 seconds.
For example, if the “R” button is
pressed for more than 4 seconds
while the time is 10:15 p.m., the dis-
play will be changed to 22:15.
1LDN2150
CAUTION
Use when the engine is run-
ning, and remove a plug fromthe power outlet after usingthe electric appliance. Usingelectrical accessories whenthe engine is not running mayresult in battery discharge.
Only use 12V accessories which are rated for less than10A maximum current draw.
Adjust the air-conditioner or heater to the lowest operationlevel when you have to use thepower socket while using air-conditioner or heater.
Close the cover when not in use.
Some electronic devices can cause electronic interferencewhen plugged into a vehicle'spower outlet. These devicesmay cause excessive audiostatic and malfunctions inother electronic systems ordevices used in your vehicle.
Page 109 of 300

399
1
2
3
4
5
6
7
8
9
Knowing your vehicle
How car audio worksAM and FM radio signals are broad-
cast from transmitter towers located
around your city. They are intercept-
ed by the radio antenna on your car.
This signal is then received by the
radio and sent to your car speakers.
When a strong radio signal has
reached your vehicle, the precise
engineering of your audio system
ensures the best possible quality
reproduction.However, in some cases the signal
coming to your vehicle may not be
strong and clear. This can be due to
factors such as the distance from the
radio station, closeness of other
strong radio stations or the presence
of buildings, bridges or other large
obstructions in the area.
AM broadcasts can be received at
greater distances than FM broad-
casts. This is because AM radio
waves are transmitted at low fre-
quencies. These long, low frequency
radio waves can follow the curvature
of the earth rather than travelling
straight out into the atmosphere. In
addition, they curve around obstruc-
tions so that they can provide better
signal coverage.AUDIO SYSTEM
¢¢¢
JBM001
¢¢¢
¢¢¢JBM002
FM reception AM reception
Page 134 of 300
1
2
3
4
5
6
7
8
9
Ignition switch / 4-2
Starting the engine / 4-4
Manual transaxle / 4-5
Automatic transaxle / 4-6
Brake system / 4-11
Steering wheel / 4-18
Cruise control / 4-21
Traction control system / 4-25
Instrument cluster / 4-28
Gauges / 4-29
Warnings and indicators / 4-31
Lighting / 4-39
Wipers and washers / 4-43
Defroster / 4-45
Hazard warning flasher / 4-46
Manual climate control system / 4-47
Windshield defrosting and defogging / 4-56
Theft-alarm system / 4-58
Driving your vehicle