window KIA Sephia 2009 2.G User Guide
[x] Cancel search | Manufacturer: KIA, Model Year: 2009, Model line: Sephia, Model: KIA Sephia 2009 2.GPages: 291, PDF Size: 2.63 MB
Page 87 of 291

377
1
2
3
4
5
6
7
8
9
Knowing your vehicle
Manual remote control (if equipped)To adjust an outside mirror, move the
control lever which is located at the
forward inside area of the window
frame.
Electric remote control (if equipped)The electric remote control mirror
switch allows you to adjust the posi-
tion of the left and right outside
rearview mirrors. To adjust the posi-
tion of either mirror, move the lever
( 1 ) to R or L to select the right side
mirror or the left side mirror, then
press a corresponding point ( ) on
the mirror adjustment control to posi-
tion the selected mirror up, down, left
or right.
After adjustment, put the lever into
neutral position to prevent the inad-
vertent adjustment.
1LDN2080
➀
CAUTION
The mirrors stop moving when they reach the maximumadjusting angles, but themotor continues to operatewhile the switch is depressed.Do not depress the switchlonger than necessary, themotor may be damaged.
Do not attempt to adjust the outside rearview mirror byhands. Doing so may damagethe parts.
1LDA2081
Page 88 of 291
Knowing your vehicle78
3
1
2
3
4
5
6
7
8
9
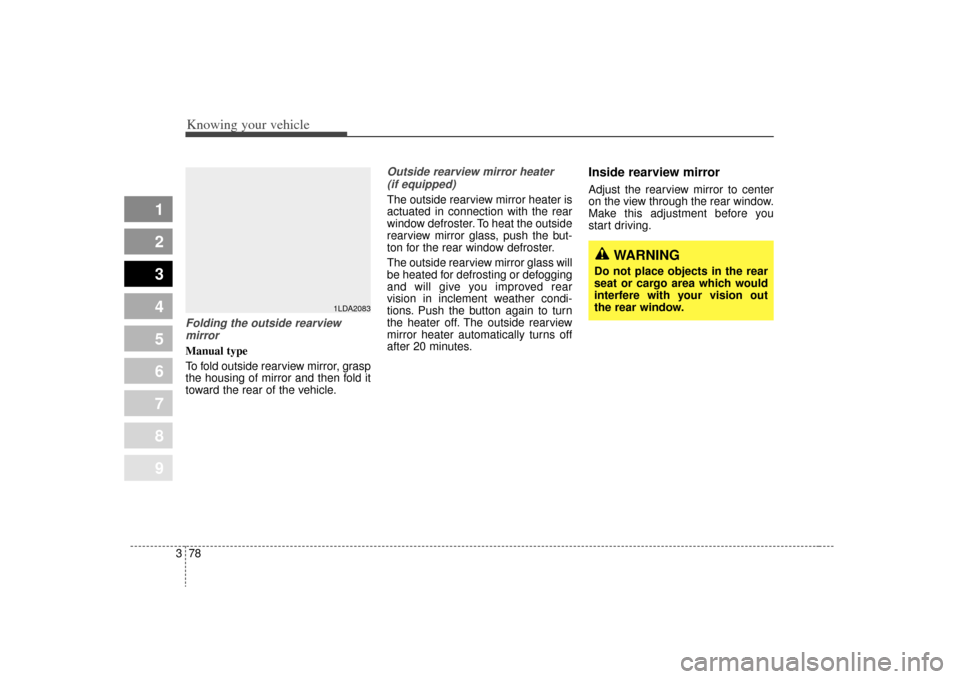
Folding the outside rearview
mirrorManual type
To fold outside rearview mirror, grasp
the housing of mirror and then fold it
toward the rear of the vehicle.
Outside rearview mirror heater (if equipped) The outside rearview mirror heater is
actuated in connection with the rear
window defroster. To heat the outside
rearview mirror glass, push the but-
ton for the rear window defroster.
The outside rearview mirror glass will
be heated for defrosting or defogging
and will give you improved rear
vision in inclement weather condi-
tions. Push the button again to turn
the heater off. The outside rearview
mirror heater automatically turns off
after 20 minutes.
Inside rearview mirror Adjust the rearview mirror to center
on the view through the rear window.
Make this adjustment before you
start driving.
WARNING
Do not place objects in the rear
seat or cargo area which would
interfere with your vision out
the rear window.
1LDA2083
Page 95 of 291
385
1
2
3
4
5
6
7
8
9
Knowing your vehicle
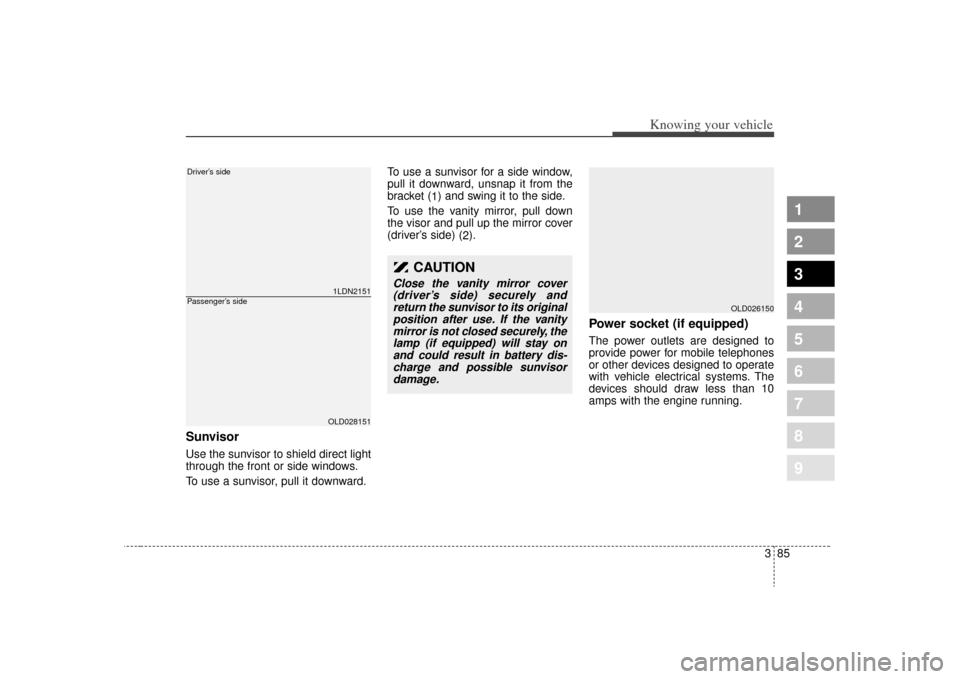
SunvisorUse the sunvisor to shield direct light
through the front or side windows.
To use a sunvisor, pull it downward.To use a sunvisor for a side window,
pull it downward, unsnap it from the
bracket (
1) and swing it to the side.
To use the vanity mirror, pull down
the visor and pull up the mirror cover
(driver’s side) ( 2).
Power socket (if equipped)The power outlets are designed to
provide power for mobile telephones
or other devices designed to operate
with vehicle electrical systems. The
devices should draw less than 10
amps with the engine running.
OLD026150
CAUTION
Close the vanity mirror cover
(driver’s side) securely andreturn the sunvisor to its originalposition after use. If the vanitymirror is not closed securely, thelamp (if equipped) will stay onand could result in battery dis-charge and possible sunvisordamage.
1LDN2151OLD028151
Driver’s sidePassenger’s side
Page 105 of 291
395
Knowing your vehicle
1
2
3
4
5
6
7
8
9
Care of disc (if equipped) If the temperature inside the car istoo high, open the car windows for
ventilation before using your car
audio.
It is illegal to copy and use MP3/WMA/AAC/WAVE files with-
out permission (If equipped with
M465, use only MP3/WMA, if
equipped with M445, use only CD-
DA). Use CDs that are created only
by lawful means.
Do not apply volatile agents such as benzene and thinner, normal
cleaners and magnetic sprays
made for analogue disc onto CDs.
To prevent the disc surface from getting damaged. Hold and carry
CDs by the edges or the edges of
the center hole only.
Clean the disc surface with a piece of soft cloth before playback (wipe
it from the center to the outside
edge).
Do not damage the disc surface or attach pieces of sticky tape or
paper onto it. Make sure on undesirable matter
other than CDs are inserted into
the CD player (Do not insert more
than one CD at a time).
Keep CDs in their cases after use to protect them from scratches or
dirt.
Depending on the type of CD- R/CD-RW CDs, certain CDs may
not operate normally according to
manufacturing companies or mak-
ing and recording methods. In such
circumstances, if you still continue
to use those CDs, they may cause
the malfunction of your car audio
system.
✽ ✽ NOTICE -
Playing an
Incompatible Copy-Protected
Audio CD
Some copy-protected CDs, which do
not comply with the international
audio CD standards (Red Book),
may not play on your car audio.
Please note that if you try to play
copy protected CDs and the CD
player of your car audio is not per-
forming to your expectation, this
may be caused by those CDs and not
a defect in the device itself. Please
replace those CDs.
Page 168 of 291
Driving your vehicle42
4
1
2
3
4
5
6
7
8
9
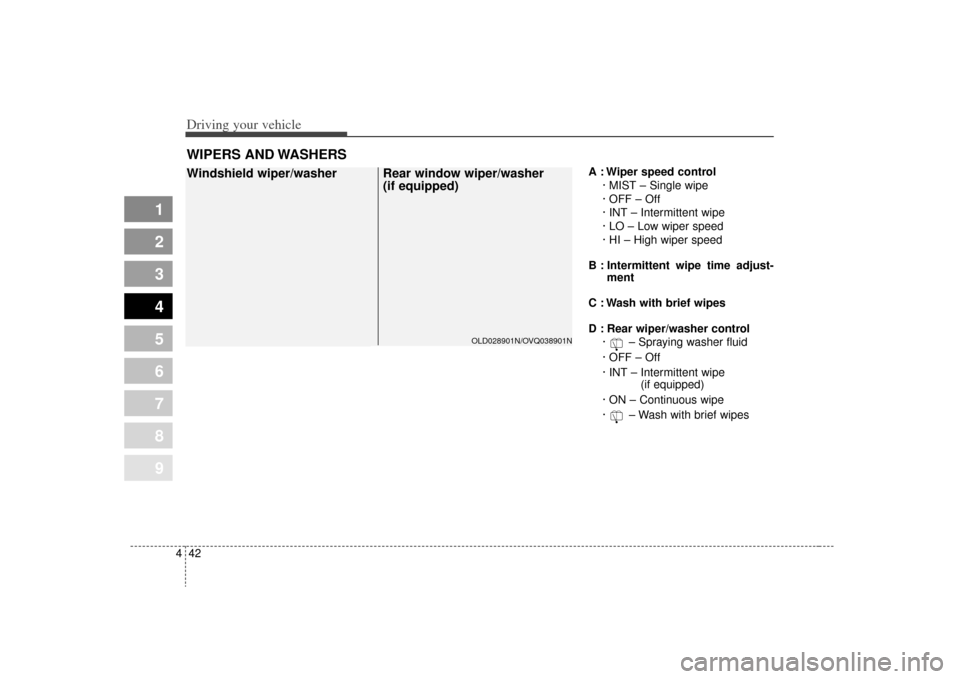
A : Wiper speed control
· MIST – Single wipe
· OFF – Off
· INT – Intermittent wipe
· LO – Low wiper speed
· HI – High wiper speed
B : Intermittent wipe time adjust- ment
C : Wash with brief wipes
D : Rear wiper/washer control · – Spraying washer fluid
· OFF – Off
· INT – Intermittent wipe (if equipped)
· ON – Continuous wipe
· – Wash with brief wipes
WIPERS AND WASHERS
OLD028901N/OVQ038901N
Windshield wiper/washer Rear window wiper/washer (if equipped)
Page 170 of 291
Driving your vehicle44
4
1
2
3
4
5
6
7
8
9
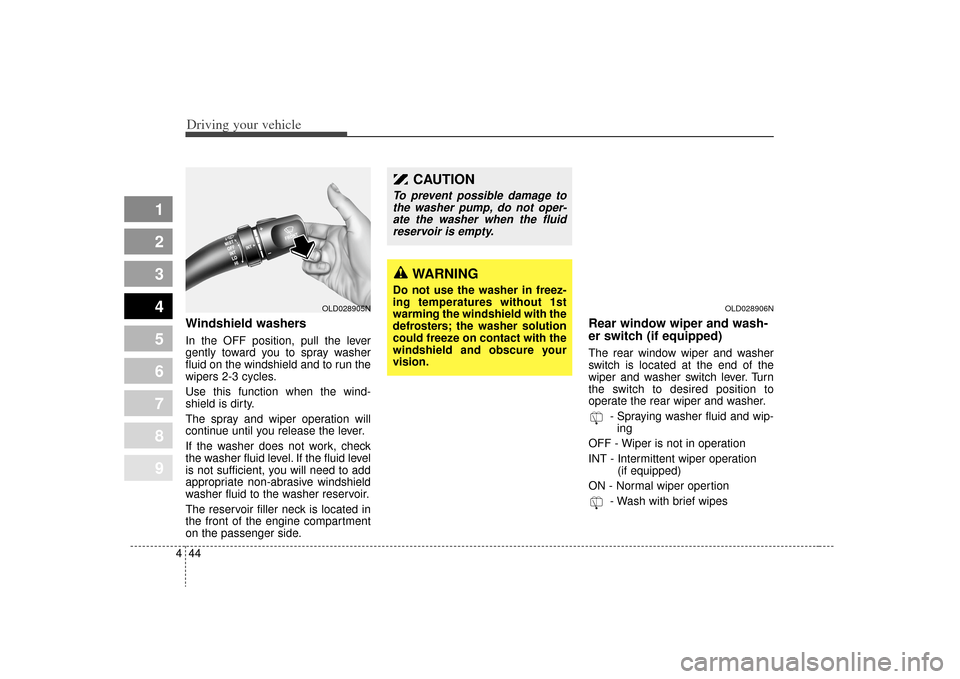
Windshield washers In the OFF position, pull the lever
gently toward you to spray washer
fluid on the windshield and to run the
wipers 2-3 cycles.
Use this function when the wind-
shield is dirty.
The spray and wiper operation will
continue until you release the lever.
If the washer does not work, check
the washer fluid level. If the fluid level
is not sufficient, you will need to add
appropriate non-abrasive windshield
washer fluid to the washer reservoir.
The reservoir filler neck is located in
the front of the engine compartment
on the passenger side.
Rear window wiper and wash-
er switch (if equipped)The rear window wiper and washer
switch is located at the end of the
wiper and washer switch lever. Turn
the switch to desired position to
operate the rear wiper and washer.
- Spraying washer fluid and wip-ing
OFF - Wiper is not in operation
INT - Intermittent wiper operation (if equipped)
ON - Normal wiper opertion - Wash with brief wipes
WARNING
Do not use the washer in freez-
ing temperatures without 1st
warming the windshield with the
defrosters; the washer solution
could freeze on contact with the
windshield and obscure your
vision.
CAUTION
To prevent possible damage tothe washer pump, do not oper-ate the washer when the fluidreservoir is empty.
OLD028905N
OLD028906N
Page 171 of 291
445
1
2
3
4
5
6
7
8
9
Driving your vehicle
The defroster heats the window to
remove frost, fog and thin ice from
the interior and exterior of the rear
window, while engine is running.To activate the rear window
defroster, press the rear window
defroster button located in the center
console switch panel. The indicator
in the instrument cluster illuminates
when the defroster is ON.
If your vehicle is equipped with the
outside mirror defroster, it will be
operating at the same time when you
operate the rear window defroster.
If there is heavy accumulation of
snow on the rear window, brush it off
before operating the rear defroster.
The rear window defroster automati-
cally turns off after 20 minutes or
when the ignition switch is turned off.
To turn off the defroster, press the
rear window defroster button again.DEFROSTER
OLD029116
CAUTION
To prevent damage to the con-
ductors bonded to the insidesurface of the rear window,never use sharp instrumentsor window cleaners contain-ing abrasives to clean the win-dow.
To prevent the battery from being discharged, operate thedefroster only while theengine is running.
If you want to defrost and defog on the front windshield,refer to “Windshield Defrostingand Defogging” in this section.
Page 173 of 291

447
1
2
3
4
5
6
7
8
9
Driving your vehicle
MANUAL CLIMATE CONTROL SYSTEM (IF EQUIPPED)
OLD029120
1. Fan speed control knob
2. Mode selection knob
3. Temperature control knob4. Rear window defroster button
5. Air intake control button
6. Air conditioning button (if equipped)
1
2
3
5
4
6
Page 176 of 291

Driving your vehicle50
4
1
2
3
4
5
6
7
8
9
Face position
Air flow is directed toward
the upper body and face.
Additionally, each outlet
can be controlled to direct
the air discharged from
the outlet.
(outlet port: B, D)
Face - floor position
Air flow is directed towardsthe face and the floor. The
air to the floor is warmer
than the air to the face
(except when the temper-
ature control is set to the
extreme cold position).
(outlet port: B, D, C, E)
Floor position
Most of the air flow is
directed to the floor, with a
small amount of the air
being directed to the wind-
shield and side window
defroster.
(outlet port: C, E, A, D)
Floor - defrost position
Most of the air flow is
directed to the floor and
the windshield with a small
amount directed to the
side window defrosters.
(outlet port: A, C, E, D)
Defrost position
Most of the air flow is
directed to the windshield
with a small amount of air
directed to the side win-
dow defrosters.
(outlet port: A, D)
Instrument panel ventsIf air flow control is not satisfactory,
check the instrument panel vents.
The outlet port (B, D) can be opened
or closed separately using the verti-
cal thumbwheel. To close the vent,
rotate it upward to the maximum
position. To open the vent, rotate it
downward.
Also, you can adjust the direction of
air delivery from these vents using
vertical or horizontal thumbwheels
as shown.
OLD026122
Page 180 of 291
Driving your vehicle54
4
1
2
3
4
5
6
7
8
9
When maximum cooling is desired,
set the temperature control to the
extreme left position and set the air
intake control to the recirculated air
position, then set the fan speed
control to the highest speed.✽ ✽ NOTICE• When using the air conditioning
system, monitor the temperature
gauge closely while driving up
hills or in heavy traffic when out-
side temperatures are high. Air
conditioning system operation
may cause engine overheating.
Continue to use the blower fan but
turn the air conditioning system
off if the temperature gauge indi-
cates engine overheating.
• With opening the windows in humid weather air conditioning
may cause to make water drops.
Be careful because excessive water
drop may cause to damage electri-
cal equipment. In this case, close
the windows and turn on the air
conditioning system.
Air conditioning system oper-
ation tips If the vehicle has been parked in
direct sunlight during hot weather,
open the windows for a short time
to let the hot air inside the vehicle
escape.
To help reduce moisture inside of windows on rainy humid days,
decrease the humidity inside the
vehicle by operating the air condi-
tioning system.
During air conditioning system operation, you may occasionally
notice a slight change in engine
speed at idle as the air condition-
ing compressor cycles on. This is a
normal system operation charac-
teristics.
Use the air conditioning system every month if only for a few min-
utes to ensure maximum system
performance.
When using the air conditioning system, you may notice clear water
dripping (or even puddling) on the
ground under the passenger side
of the vehicle. This is a normal sys-
tem operation characteristics. The air conditioning system
includes a function that automati-
cally turns the air conditioning
compressor off if engine coolant
temperature approaches an over
heating level. The air conditioning
compressor operation will resume
once engine coolant temperature
returns to the normal range. Also,
the air conditioning compressor is
automatically turned off for a few
seconds when the accelerator is
fully depressed (wide open throt-
tle).
When operating the air condition- ing system use the outside (fresh)
air position.
Operating the air conditioning sys- tem in the recirculated air position
does provide maximum cooling,
however, continual operation in this
mode may cause the air inside the
vehicle to become stale.