set clock KIA Sorento 2007 1.G Owner's Manual
[x] Cancel search | Manufacturer: KIA, Model Year: 2007, Model line: Sorento, Model: KIA Sorento 2007 1.GPages: 325, PDF Size: 5.01 MB
Page 99 of 325
Knowing your vehicle90
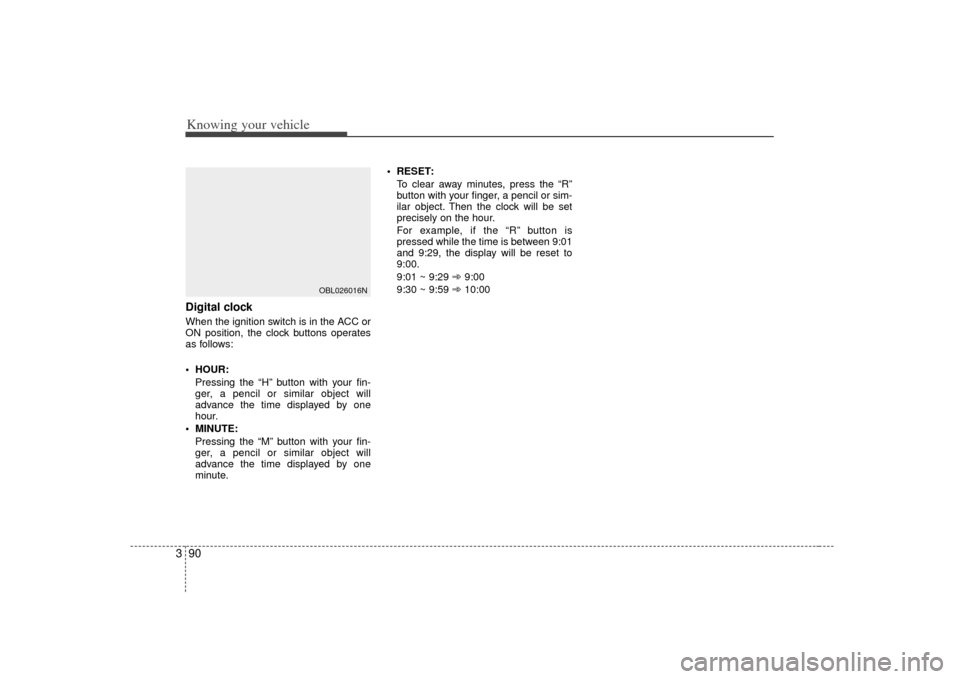
3Digital clockWhen the ignition switch is in the ACC or
ON position, the clock buttons operates
as follows:
HOUR:
Pressing the “H” button with your fin-
ger, a pencil or similar object will
advance the time displayed by one
hour.
MINUTE: Pressing the “M” button with your fin-
ger, a pencil or similar object will
advance the time displayed by one
minute. RESET:
To clear away minutes, press the “R”
button with your finger, a pencil or sim-
ilar object. Then the clock will be set
precisely on the hour.
For example, if the “R” button is
pressed while the time is between 9:01
and 9:29, the display will be reset to
9:00.
9:01 ~ 9:29 ➾ 9:00
9:30 ~ 9:59 ➾ 10:00
OBL026016N
Page 102 of 325
393
Knowing your vehicle
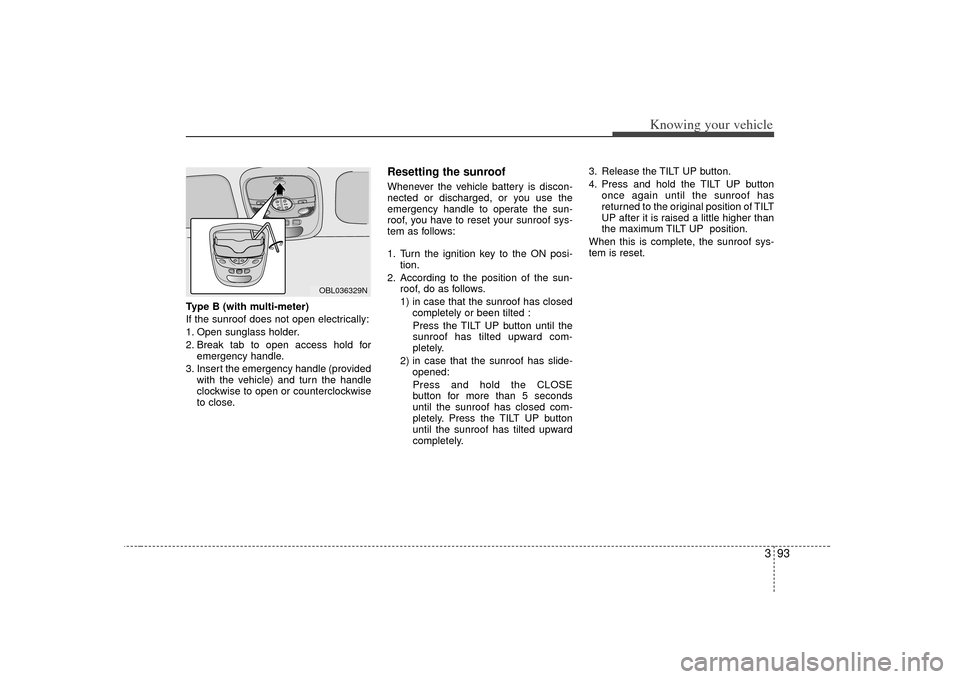
Type B (with multi-meter)
If the sunroof does not open electrically:
1. Open sunglass holder.
2. Break tab to open access hold foremergency handle.
3. Insert the emergency handle (provided with the vehicle) and turn the handle
clockwise to open or counterclockwise
to close.
Resetting the sunroofWhenever the vehicle battery is discon-
nected or discharged, or you use the
emergency handle to operate the sun-
roof, you have to reset your sunroof sys-
tem as follows:
1. Turn the ignition key to the ON posi- tion.
2. According to the position of the sun- roof, do as follows.
1) in case that the sunroof has closed completely or been tilted :
Press the TILT UP button until the
sunroof has tilted upward com-
pletely.
2) in case that the sunroof has slide- opened:
Press and hold the CLOSE
button for more than 5 seconds
until the sunroof has closed com-
pletely. Press the TILT UP button
until the sunroof has tilted upward
completely. 3. Release the TILT UP button.
4. Press and hold the TILT UP button
once again until the sunroof has
returned to the original position of TILT
UP after it is raised a little higher than
the maximum TILT UP position.
When this is complete, the sunroof sys-
tem is reset.
OBL036329N
Page 115 of 325
Knowing your vehicle106
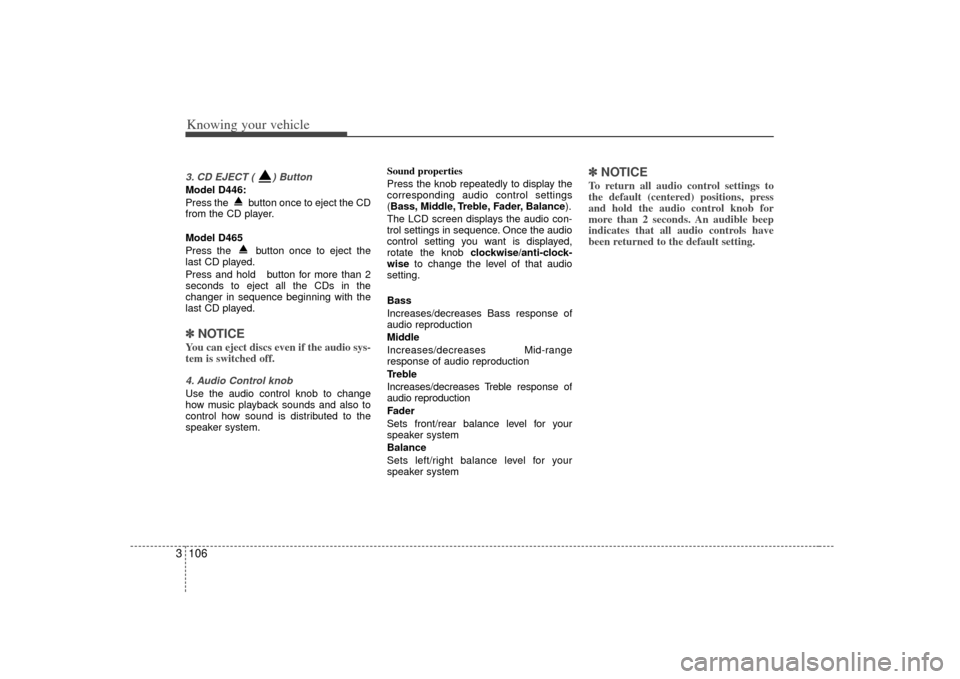
33. CD EJECT ( ) ButtonModel D446:
Press the button once to eject the CD
from the CD player.
Model D465
Press the button once to eject the
last CD played.
Press and hold button for more than 2
seconds to eject all the CDs in the
changer in sequence beginning with the
last CD played.✽ ✽
NOTICEYou can eject discs even if the audio sys-
tem is switched off.4. Audio Control knobUse the audio control knob to change
how music playback sounds and also to
control how sound is distributed to the
speaker system. Sound properties
Press the knob repeatedly to display the
corresponding audio control settings
(Bass, Middle, Treble, Fader, Balance
).
The LCD screen displays the audio con-
trol settings in sequence. Once the audio
control setting you want is displayed,
rotate the knob clockwise/anti-clock-
wise to change the level of that audio
setting.
Bass
Increases/decreases Bass response of
audio reproduction
Middle
Increases/decreases Mid-range
response of audio reproduction
Treble
Increases/decreases Treble response of
audio reproduction
Fader
Sets front/rear balance level for your
speaker system
Balance
Sets left/right balance level for your
speaker system
✽ ✽ NOTICETo return all audio control settings to
the default (centered) positions, press
and hold the audio control knob for
more than 2 seconds. An audible beep
indicates that all audio controls have
been returned to the default setting.
Page 118 of 325
3 109
Knowing your vehicle
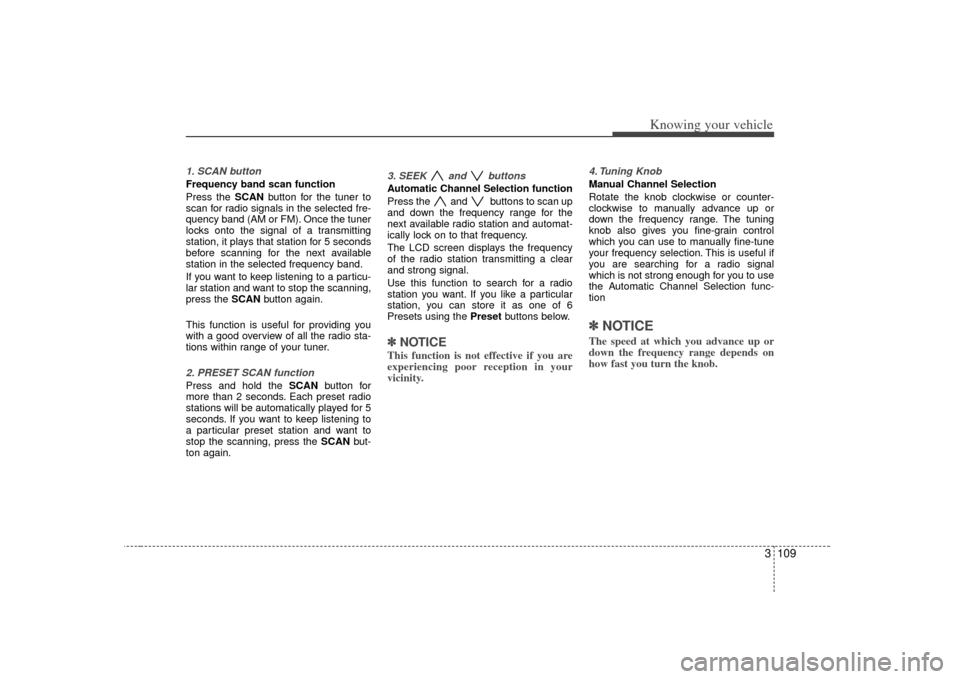
1. SCAN buttonFrequency band scan function
Press the SCANbutton for the tuner to
scan for radio signals in the selected fre-
quency band (AM or FM). Once the tuner
locks onto the signal of a transmitting
station, it plays that station for 5 seconds
before scanning for the next available
station in the selected frequency band.
If you want to keep listening to a particu-
lar station and want to stop the scanning,
press the SCAN button again.
This function is useful for providing you
with a good overview of all the radio sta-
tions within range of your tuner.2. PRESET SCAN functionPress and hold the SCAN button for
more than 2 seconds. Each preset radio
stations will be automatically played for 5
seconds. If you want to keep listening to
a particular preset station and want to
stop the scanning, press the SCAN but-
ton again.
3. SEEK and buttonsAutomatic Channel Selection function
Press the and buttons to scan up
and down the frequency range for the
next available radio station and automat-
ically lock on to that frequency.
The LCD screen displays the frequency
of the radio station transmitting a clear
and strong signal.
Use this function to search for a radio
station you want. If you like a particular
station, you can store it as one of 6
Presets using the Preset buttons below.✽ ✽
NOTICEThis function is not effective if you are
experiencing poor reception in your
vicinity.
4. Tuning KnobManual Channel Selection
Rotate the knob clockwise or counter-
clockwise to manually advance up or
down the frequency range. The tuning
knob also gives you fine-grain control
which you can use to manually fine-tune
your frequency selection. This is useful if
you are searching for a radio signal
which is not strong enough for you to use
the Automatic Channel Selection func-
tion✽ ✽NOTICEThe speed at which you advance up or
down the frequency range depends on
how fast you turn the knob.
Page 261 of 325
613
In case of an emergency
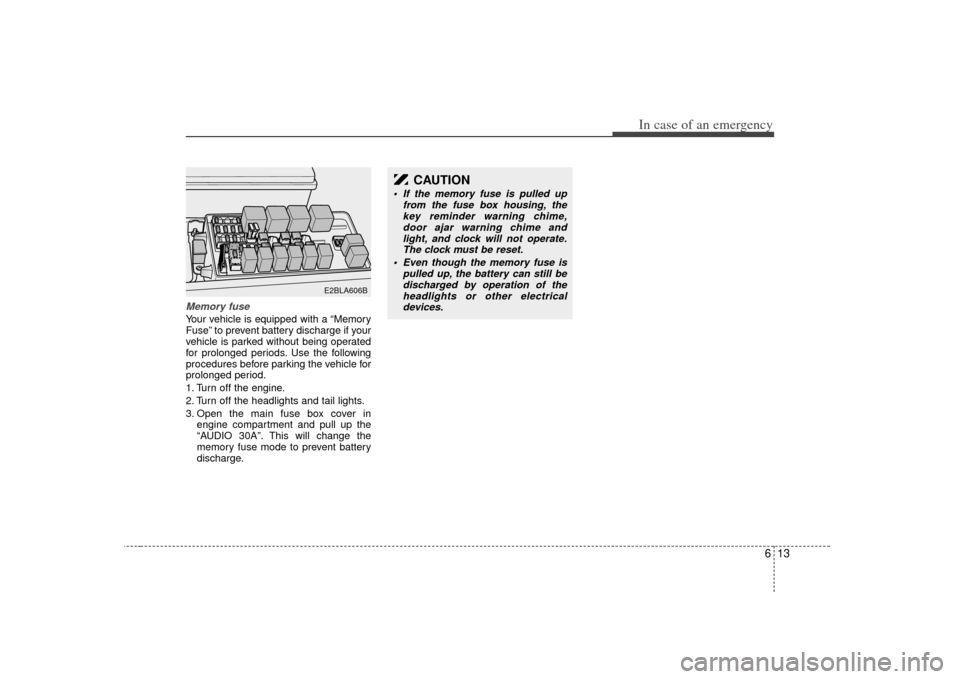
Memory fuseYour vehicle is equipped with a “Memory
Fuse” to prevent battery discharge if your
vehicle is parked without being operated
for prolonged periods. Use the following
procedures before parking the vehicle for
prolonged period.
1. Turn off the engine.
2. Turn off the headlights and tail lights.
3. Open the main fuse box cover inengine compartment and pull up the
“AUDIO 30A”. This will change the
memory fuse mode to prevent battery
discharge.
E2BLA606B
CAUTION
If the memory fuse is pulled up from the fuse box housing, thekey reminder warning chime,door ajar warning chime and light, and clock will not operate.The clock must be reset.
Even though the memory fuse is pulled up, the battery can still bedischarged by operation of theheadlights or other electricaldevices.
Page 270 of 325

In case of an emergency22
6Tire replacement 1. Park on a level surface and apply
the parking brake firmly.
2. Shift into R (Reverse) with manual transmission or P (Park) with auto-
matic transmission.
3. Activate the hazard warning flash- er. 4. Remove the wheel lug nut wrench,
jack, jack handle, and spare tire
from the vehicle.
5. Block both the front and rear of the wheel that is diagonally opposite
the jack position.
6. Loosen the wheel lug nuts coun-terclockwise one turn each, but do
not remove any nut until the tire
has been raised off the ground.
E2BLA618
E2BLA619A
WARNING
- Changing
tires
To prevent vehicle movements
while changing a tire, always set
the parking brake fully, and
always block the wheel diago-
nally opposite the wheel being
changed.
Page 297 of 325
Maintenance24
7Battery recharging Your vehicle has a maintenance-free,
calcium-based battery.
If the battery becomes discharged in a
short time (because, for example, the
headlights or interior lights were left on
while the vehicle was not in use),
recharge it by slow charging (trickle)
for 10 hours.
If the battery gradually discharges because of high electric load while the
vehicle is being used, recharge it at 20-
30A for two hours.Items to be reset after the battery hasbeen discharged or the battery hasbeen disconnected. Clock (See Chapter 3)
Trip computer (See Chapter 4)
Compass (See Chapter 4)
Climate control system (See Chapter 4)
Audio (See Chapter 3)
WARNING
- Recharging battery
When recharging the battery,
observe the following precautions:
The battery must be removed
from the vehicle and placed in an
area with good ventilation.
Do not allow cigarettes, sparks, or flame near the battery.
Watch the battery during charg- ing, and stop or reduce the charg-
ing rate if the battery cells begin
gassing (boiling) violently or if
the temperature of the electrolyte
of any cell exceeds 49°C (120°F).
Wear eye protection when check- ing the battery during charging.
Disconnect the battery charger in the following order.
1. Turn off the battery charger main switch.
2. Unhook the negative clamp from the negative battery terminal.
3. Unhook the positive clamp from the positive battery terminal.
CAUTION
Before performing maintenance or recharging the battery, turn offall accessories and stop theengine.
The negative battery cable must be removed first and installed lastwhen the battery is disconnected.