ECO mode KIA Soul 2010 1.G Owner's Manual
[x] Cancel search | Manufacturer: KIA, Model Year: 2010, Model line: Soul, Model: KIA Soul 2010 1.GPages: 314, PDF Size: 6.39 MB
Page 2 of 314
i
Thank you for choosing a KIA vehicle.
When you require service, remember that your KIA Dealer
knows your vehicle best. Your dealer has factory-trained tech-
nicians, recommended special tools, genuine KIA replacement
parts and is dedicated to your complete satisfaction.
Because subsequent owners require this important information
as well, this publication should remain with the vehicle if it is
sold.
This manual will familiarize you with operational, mainte-
nance and safety information about your new vehicle. It is sup-
plemented by a Warranty and Consumer Information manual
that provides important information on all warranties regarding
your vehicle.
We urge you to read these publications carefully and follow the
recommendations to help assure enjoyable and safe operation
of your new vehicle.
KIA offers a great variety of options, components and features
for its various models. Therefore, some of the equipment
described in this manual, along with the various illustrations,
may not be applicable to your particular vehicle.
The information and specifications provided in this manual
were accurate at the time of printing. KIA reserves the right to
discontinue or change specifications or design at any time
without notice and without incurring any obligation. If you
have questions, always check with your KIA dealer.
We assure you of our continuing interest in your motoring
pleasure and satisfaction in your KIA vehicle.
© 2009 Kia Canada Inc.
All rights reserved. Reproduction by any means, electronic or
mechanical, including photocopying, recording, or by any
information storage and retrieval system or translation in
whole or part is not permitted without written authorization
from Kia Canada Inc..
Printed in KoreaForeword
Page 29 of 314
Safety features of your vehicle16
3
C020106AUNSeat belts - Front passenger and rear
seat 3-point system with combinationlocking retractorTo fasten your seat belt:
Combination retractor type seat belts are
installed in the rear seat positions to help
accommodate the installation of child
restraint systems. Although a combina-
tion retractor is also installed in the front
passenger seat position, it is strongly
recommended that children always be
seated in the rear seat. NEVER place
any infant restraint system in the front
seat of the vehicle.
This type of seat belt combines the fea-
tures of both an emergency locking
retractor seat belt and an automatic lock-
ing retractor seat belt. To fasten your seat
belt, pull it out of the retractor and insert
the metal tab into the buckle. There will
be an audible "click" when the tab locks
into the buckle. When not securing a
child restraint, the seat belt operates in
the same way as the driver's seat belt
(Emergency Locking Retractor Type). It
automatically adjusts to the proper length
only after the lap belt portion of the seat
belt is adjusted manually so that it fits
snugly around your hips. When the seat belt is fully extended from
the retractor to allow the installation of a
child restraint system, the seat belt oper-
ation changes to allow the belt to retract,
but not to extend (Automatic Locking
Retractor Type). Refer to “Using a child
restraint system” in this section.
✽ ✽
NOTICEAlthough the combination retractor
provides the same level of protection for
seated passengers in either emergency
or automatic locking modes, it is recom-
mended that seated passengers use the
emergency locking feature for improved
convenience. The automatic locking
function is intended to facilitate child
restraint installation. To convert from
the automatic locking feature to the
emergency locking operation mode,
allow the unbuckled seat belt to fully
retract.
B200A02NF
WARNING
You should place the lap belt por-
tion as low as possible and snugly
across your hips, not on your waist.
If the lap belt is located too high on
your waist, it may increase the
chance of injury in the event of a
collision. Both arms should not be
under or over the belt. Rather, one
should be over and the other under,
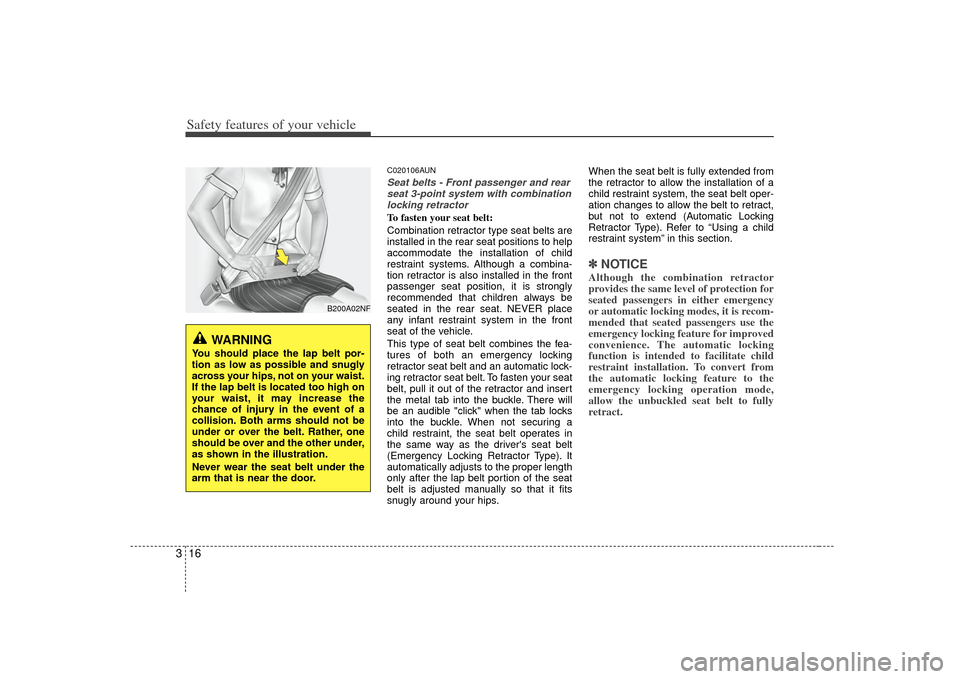
as shown in the illustration.
Never wear the seat belt under the
arm that is near the door.
Page 40 of 314
327
Safety features of your vehicle
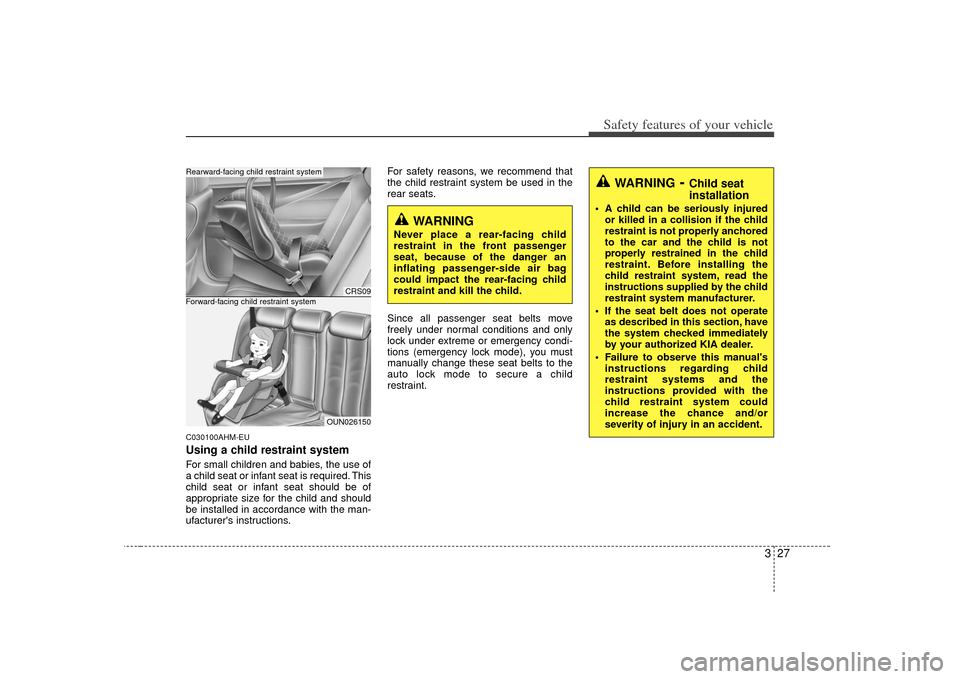
C030100AHM-EUUsing a child restraint systemFor small children and babies, the use of
a child seat or infant seat is required. This
child seat or infant seat should be of
appropriate size for the child and should
be installed in accordance with the man-
ufacturer's instructions.For safety reasons, we recommend that
the child restraint system be used in the
rear seats.
Since all passenger seat belts move
freely under normal conditions and only
lock under extreme or emergency condi-
tions (emergency lock mode), you must
manually change these seat belts to the
auto lock mode to secure a child
restraint.
CRS09
OUN026150
Forward-facing child restraint systemRearward-facing child restraint system
WARNING
Never place a rear-facing child
restraint in the front passenger
seat, because of the danger an
inflating passenger-side air bag
could impact the rear-facing child
restraint and kill the child.
WARNING
- Child seat
installation
A child can be seriously injured
or killed in a collision if the child
restraint is not properly anchored
to the car and the child is not
properly restrained in the child
restraint. Before installing the
child restraint system, read the
instructions supplied by the child
restraint system manufacturer.
If the seat belt does not operate as described in this section, have
the system checked immediately
by your authorized KIA dealer.
Failure to observe this manual's instructions regarding child
restraint systems and the
instructions provided with the
child restraint system could
increase the chance and/or
severity of injury in an accident.
Page 108 of 314
Features of your vehicle36
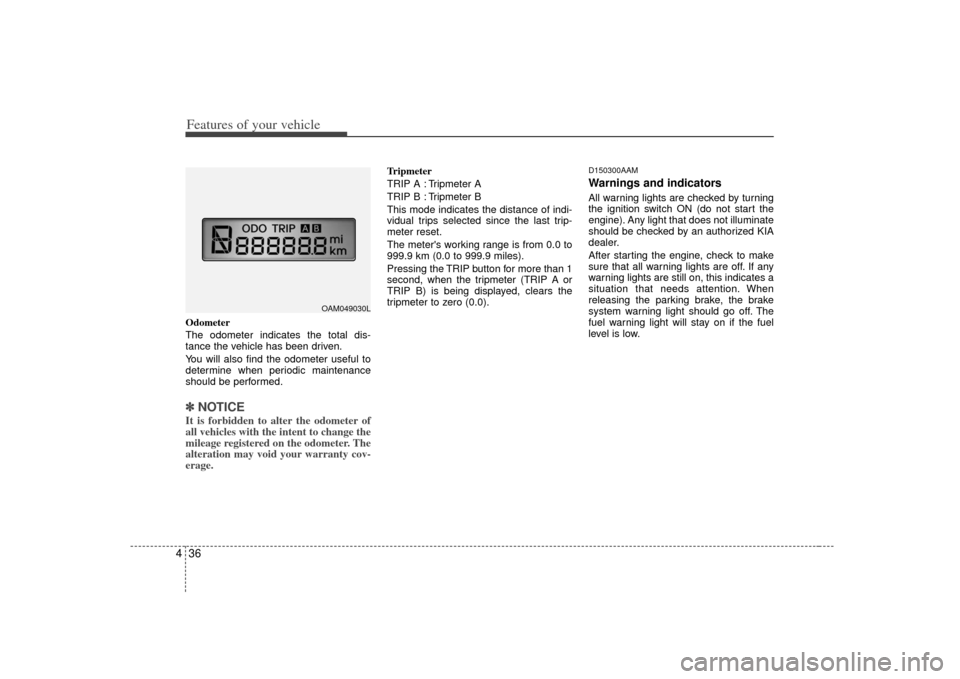
4Odometer
The odometer indicates the total dis-
tance the vehicle has been driven.
You will also find the odometer useful to
determine when periodic maintenance
should be performed.✽ ✽
NOTICEIt is forbidden to alter the odometer of
all vehicles with the intent to change the
mileage registered on the odometer. The
alteration may void your warranty cov-
erage.
Tripmeter
TRIP A : Tripmeter A
TRIP B : Tripmeter B
This mode indicates the distance of indi-
vidual trips selected since the last trip-
meter reset.
The meter's working range is from 0.0 to
999.9 km (0.0 to 999.9 miles).
Pressing the TRIP button for more than 1
second, when the tripmeter (TRIP A or
TRIP B) is being displayed, clears the
tripmeter to zero (0.0).
D150300AAMWarnings and indicatorsAll warning lights are checked by turning
the ignition switch ON (do not start the
engine). Any light that does not illuminate
should be checked by an authorized KIA
dealer.
After starting the engine, check to make
sure that all warning lights are off. If any
warning lights are still on, this indicates a
situation that needs attention. When
releasing the parking brake, the brake
system warning light should go off. The
fuel warning light will stay on if the fuel
level is low.
OAM049030L
Page 116 of 314
Features of your vehicle44
4
D150323AAM-EUESC (Electronic Stability
Control) indicator (if equipped)The ESC indicator will illuminate when
the ignition switch is turned ON, but
should go off after approximately 3 sec-
onds. When the ESC is on, it monitors
the driving conditions and under normal
driving conditions, the ESC indicator will
remain off. When a slippery or low trac-
tion condition is encountered, the ESC
will operate, and the ESC indicator will
blink to indicate the ESC is operating.
If this indicator illuminates and stays on,
the ESC may have malfunctioned. Take
your vehicle to an authorized KIA dealer
and have the system checked.
D150324AAM-EUESC OFF indicator (if equipped)The ESC OFF indicator will illuminate
when the ignition switch is turned ON,
but should go off after approximately 3
seconds. To switch to ESC OFF mode,
press the ESC OFF button. The ESC
OFF indicator will illuminate indicating
the ESC is deactivated.
CAUTION
If the Emission Control System
Malfunction Indicator Light illumi- nates, potential catalytic converterdamage is possible. This couldresult in loss of engine power. Have the Engine Control System inspect-ed as soon as possible by anauthorized KIA dealer.
CAUTION
Prolonged driving with the EmissionControl System MalfunctionIndicator Light illuminated may cause damage to the emission con-trol systems which could effect dri- vability and/or fuel economy.
Page 136 of 314
Features of your vehicle64
4Air conditioning system operation tips
If the vehicle has been parked in direct
sunlight during hot weather, open the
windows for a short time to let the hot
air inside the vehicle escape.
To help reduce moisture inside of the windows on rainy or humid days,
decrease the humidity inside the vehi-
cle by operating the air conditioning
system.
During air conditioning system opera- tion, you may occasionally notice a
slight change in engine speed as the
air conditioning compressor cycles.
This is a normal system operation
characteristic.
Use the air conditioning system every month only for a few minutes to ensure
maximum system performance. When using the air conditioning sys-
tem, you may notice clear water drip-
ping (or even puddling) on the ground
under the passenger side of the vehi-
cle. This is a normal system operation
characteristic.
Operating the air conditioning system in the recirculated air position provides
maximum cooling, however, continual
operation in this mode may cause the
air inside the vehicle to become stale.
During cooling operation, you may occasionally notice a misty air flow
because of rapid cooling and humid air
intake. This is a normal system opera-
tion characteristic.
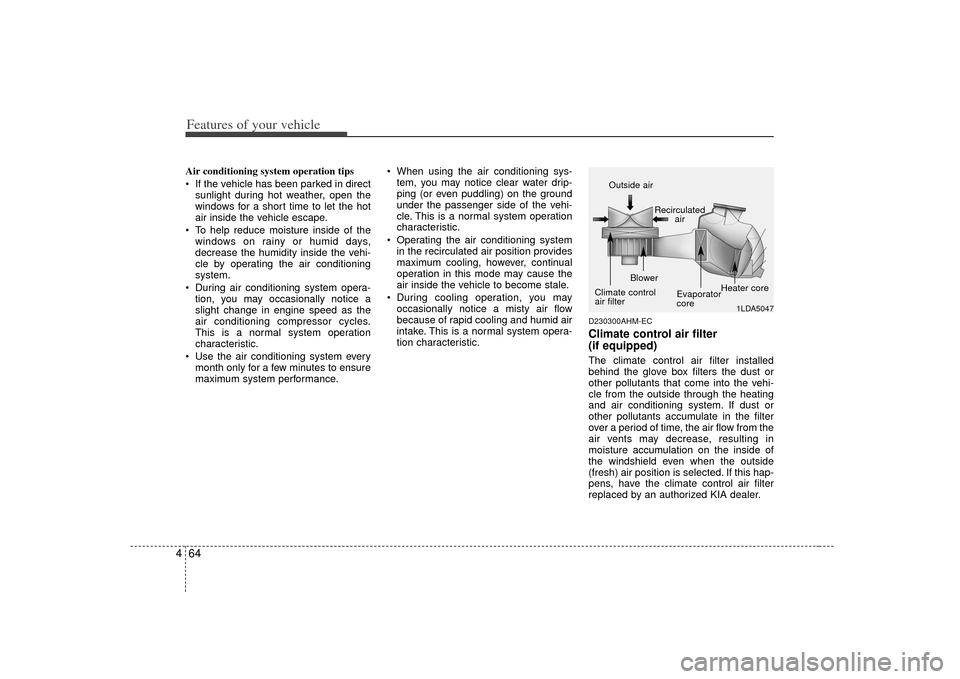
D230300AHM-ECClimate control air filter
(if equipped)The climate control air filter installed
behind the glove box filters the dust or
other pollutants that come into the vehi-
cle from the outside through the heating
and air conditioning system. If dust or
other pollutants accumulate in the filter
over a period of time, the air flow from the
air vents may decrease, resulting in
moisture accumulation on the inside of
the windshield even when the outside
(fresh) air position is selected. If this hap-
pens, have the climate control air filter
replaced by an authorized KIA dealer.
1LDA5047
Outside air
Recirculatedair
Climate control
air filter Blower
Evaporator
coreHeater core
Page 139 of 314
467
Features of your vehicle
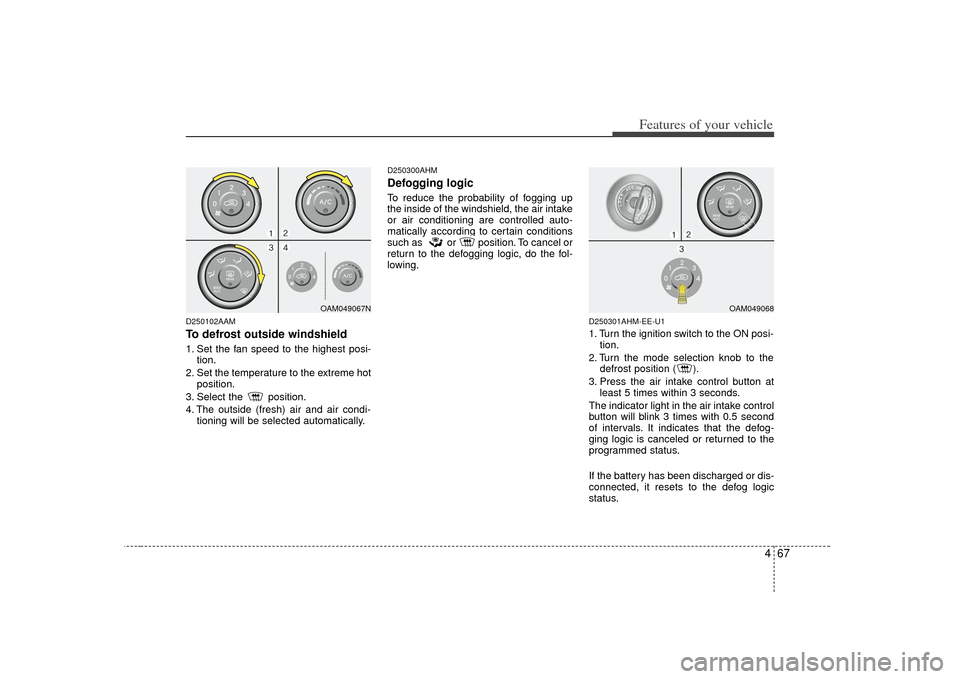
D250102AAMTo defrost outside windshield1. Set the fan speed to the highest posi-tion.
2. Set the temperature to the extreme hot position.
3. Select the position.
4. The outside (fresh) air and air condi- tioning will be selected automatically.
D250300AHMDefogging logicTo reduce the probability of fogging up
the inside of the windshield, the air intake
or air conditioning are controlled auto-
matically according to certain conditions
such as or position. To cancel or
return to the defogging logic, do the fol-
lowing.
D250301AHM-EE-U11. Turn the ignition switch to the ON posi-tion.
2. Turn the mode selection knob to the defrost position ( ).
3. Press the air intake control button at least 5 times within 3 seconds.
The indicator light in the air intake control
button will blink 3 times with 0.5 second
of intervals. It indicates that the defog-
ging logic is canceled or returned to the
programmed status.
If the battery has been discharged or dis-
connected, it resets to the defog logic
status.
OAM049067N
OAM049068
Page 148 of 314
Features of your vehicle76
4VOLUME ( / ) (1)• Push up the lever to increase volume.
Push down the lever to decrease vol-
ume.SEEK/PRESET ( / ) (2)If the SEEK/PRESET button is pressed
for 0.8 second or more, it will work as fol-
lows in each mode.
RADIO mode
It will function as the AUTO SEEK select
button.
CDP mode
It will function as the FF/REW button.
CDC mode
It will function as the DISC UP/DOWN
button.
If the SEEK/PRESET button is pressed
for less than 0.8 second, it will work as
follows in each mode.
RADIO mode
It will function as the PRESET STATION
select buttons. CDP mode
It will function as the TRACK UP/DOWN
button.
CDC mode
It will function as the TRACK UP/DOWN
button.
MODE (3)Press the button to select Radio or CD
(compact disc).MUTE (4) Press the MUTE button to cancel the
sound.
Press the MUTE button again to acti- vate the sound.
Detailed information for audio control
buttons is described in the following
pages in this section.
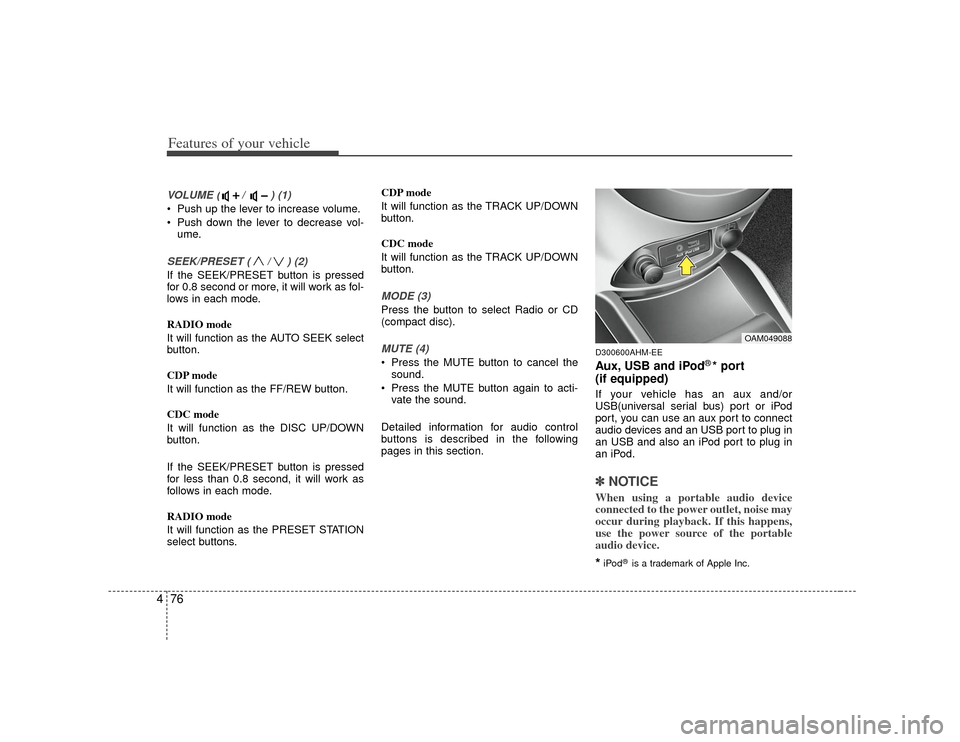
D300600AHM-EEAux, USB and iPod
®* port
(if equipped)
If your vehicle has an aux and/or
USB(universal serial bus) port or iPod
port, you can use an aux port to connect
audio devices and an USB port to plug in
an USB and also an iPod port to plug in
an iPod.✽ ✽ NOTICEWhen using a portable audio device
connected to the power outlet, noise may
occur during playback. If this happens,
use the power source of the portable
audio device.*iPod
®is a trademark of Apple Inc.
OAM049088
Page 154 of 314
Features of your vehicle82
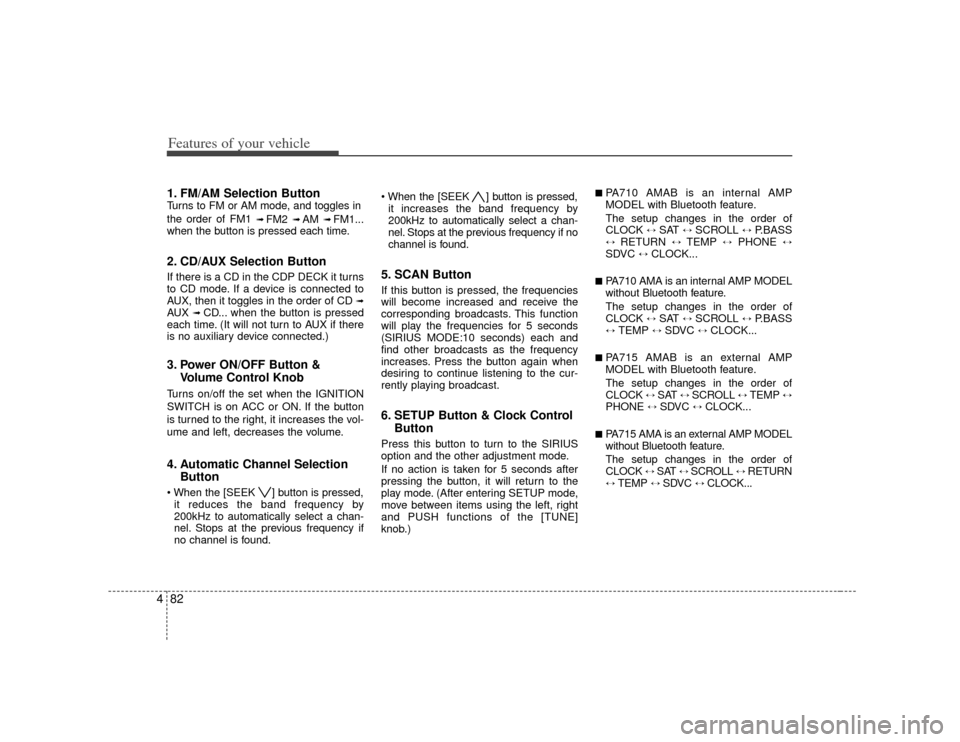
41. FM/AM Selection ButtonTurns to FM or AM mode, and toggles in
the order of FM1
➟ FM2
➟ AM
➟ FM1...
when the button is pressed each time.
2. CD/AUX Selection ButtonIf there is a CD in the CDP DECK it turns
to CD mode. If a device is connected to
AUX, then it toggles in the order of CD
➟
AUX
➟CD... when the button is pressed
each time. (It will not turn to AUX if there
is no auxiliary device connected.)
3. Power ON/OFF Button & Volume Control KnobTurns on/off the set when the IGNITION
SWITCH is on ACC or ON. If the button
is turned to the right, it increases the vol-
ume and left, decreases the volume.4. Automatic Channel SelectionButton ] button is pressed,
it reduces the band frequency by
200kHz to automatically select a chan-
nel. Stops at the previous frequency if
no channel is found. ] button is pressed,
it increases the band frequency by
200kHz to automatically select a chan-
nel. Stops at the previous frequency if no
channel is found.
5. SCAN ButtonIf this button is pressed, the frequencies
will become increased and receive the
corresponding broadcasts. This function
will play the frequencies for 5 seconds
(SIRIUS MODE:10 seconds) each and
find other broadcasts as the frequency
increases. Press the button again when
desiring to continue listening to the cur-
rently playing broadcast.6. SETUP Button & Clock Control ButtonPress this button to turn to the SIRIUS
option and the other adjustment mode.
If no action is taken for 5 seconds after
pressing the button, it will return to the
play mode. (After entering SETUP mode,
move between items using the left, right
and PUSH functions of the [TUNE]
knob.)
■ PA710 AMAB is an internal AMP
MODEL with Bluetooth feature.
The setup changes in the order of
CLOCK
↔
SAT
↔
SCROLL
↔
P.BASS
↔
RETURN
↔
TEMP
↔
PHONE
↔
SDVC
↔
CLOCK...
■ PA710 AMA is an internal AMP MODEL
without Bluetooth feature.
The setup changes in the order of
CLOCK
↔
SAT
↔
SCROLL
↔
P.BASS
↔
TEMP
↔
SDVC
↔
CLOCK...
■ PA715 AMAB is an external AMP
MODEL with Bluetooth feature.
The setup changes in the order of
CLOCK
↔ SAT
↔ SCROLL
↔ TEMP
↔
PHONE
↔
SDVC
↔
CLOCK...
■ PA715 AMA is an external AMP MODEL
without Bluetooth feature.
The setup changes in the order of
CLOCK
↔ SAT
↔ SCROLL
↔ RETURN
↔
TEMP
↔
SDVC
↔
CLOCK...
Page 158 of 314
Features of your vehicle86
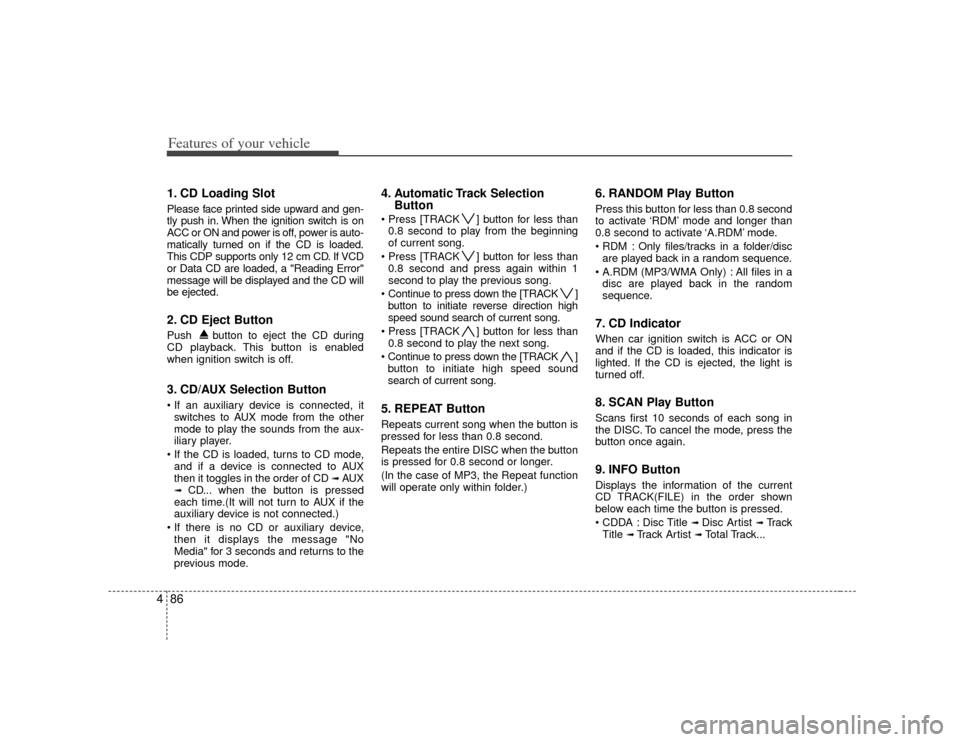
41. CD Loading SlotPlease face printed side upward and gen-
tly push in. When the ignition switch is on
ACC or ON and power is off, power is auto-
matically turned on if the CD is loaded.
This CDP supports only 12 cm CD. If VCD
or Data CD are loaded, a "Reading Error"
message will be displayed and the CD will
be ejected.2. CD Eject ButtonPush button to eject the CD during
CD playback. This button is enabled
when ignition switch is off.3. CD/AUX Selection Button
switches to AUX mode from the other
mode to play the sounds from the aux-
iliary player.
and if a device is connected to AUX
then it toggles in the order of CD
➟AUX
➟
CD... when the button is pressed
each time.(It will not turn to AUX if the
auxiliary device is not connected.)
then it displays the message "No
Media" for 3 seconds and returns to the
previous mode.
4. Automatic Track Selection Button ] button for less than
0.8 second to play from the beginning
of current song.
] button for less than 0.8 second and press again within 1
second to play the previous song.
Continue to press down the [TRACK ] button to initiate reverse direction high
speed sound search of current song.
] button for less than 0.8 second to play the next song.
Continue to press down the [TRACK ] button to initiate high speed sound
search of current song.5. REPEAT ButtonRepeats current song when the button is
pressed for less than 0.8 second.
Repeats the entire DISC when the button
is pressed for 0.8 second or longer.
(In the case of MP3, the Repeat function
will operate only within folder.)
6. RANDOM Play ButtonPress this button for less than 0.8 second
to activate ‘RDM’ mode and longer than
0.8 second to activate ‘A.RDM’ mode.
Only files/tracks in a folder/disc are played back in a random sequence.
All files in a disc are played back in the random
sequence.7. CD Indicator When car ignition switch is ACC or ON
and if the CD is loaded, this indicator is
lighted. If the CD is ejected, the light is
turned off.8. SCAN Play ButtonScans first 10 seconds of each song in
the DISC. To cancel the mode, press the
button once again.9. INFO ButtonDisplays the information of the current
CD TRACK(FILE) in the order shown
below each time the button is pressed.
Disc Title
➟ Disc Artist
➟Tr a c k
Title
➟ Track Artist
➟Total Track...