key KIA Spectra 2007 2.G Owner's Guide
[x] Cancel search | Manufacturer: KIA, Model Year: 2007, Model line: Spectra, Model: KIA Spectra 2007 2.GPages: 300, PDF Size: 2.91 MB
Page 99 of 300
389
1
2
3
4
5
6
7
8
9
Knowing your vehicle
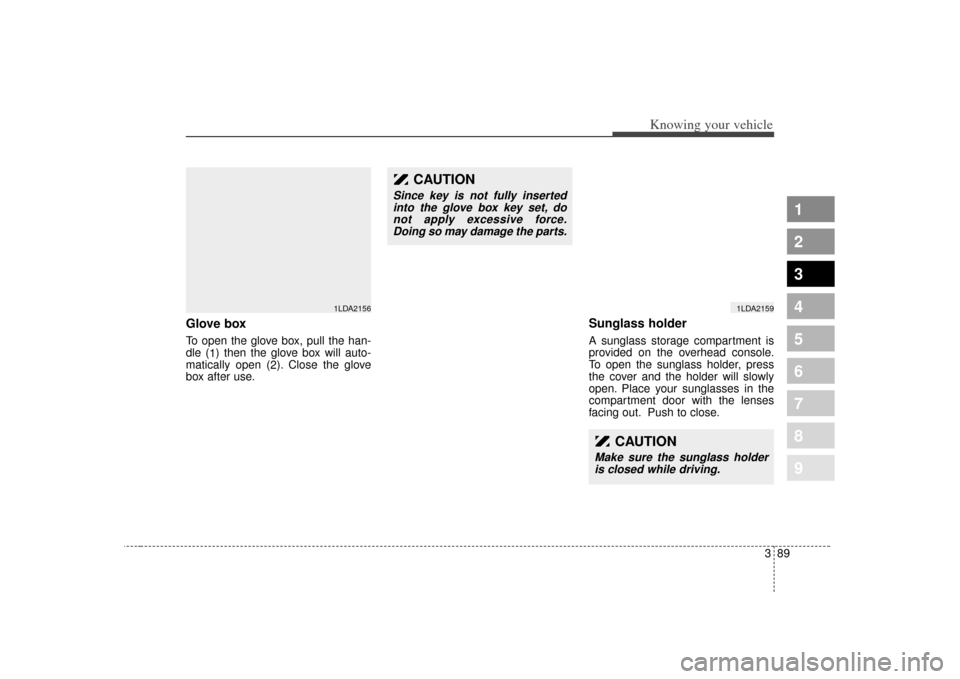
Glove boxTo open the glove box, pull the han-
dle (1) then the glove box will auto-
matically open ( 2). Close the glove
box after use.
Sunglass holder A sunglass storage compartment is
provided on the overhead console.
To open the sunglass holder, press
the cover and the holder will slowly
open. Place your sunglasses in the
compartment door with the lenses
facing out. Push to close.
1LDA2156
CAUTION
Since key is not fully inserted into the glove box key set, donot apply excessive force.Doing so may damage the parts.
CAUTION
Make sure the sunglass holderis closed while driving.
1LDA2159
Page 106 of 300
Knowing your vehicle96
3
1
2
3
4
5
6
7
8
9
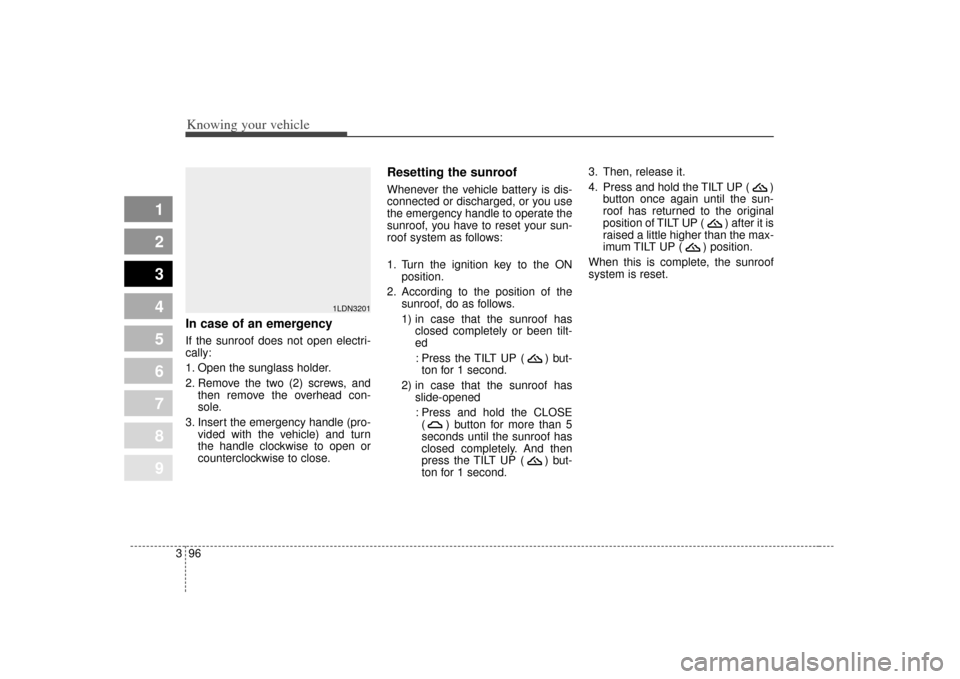
In case of an emergency If the sunroof does not open electri-
cally:
1. Open the sunglass holder.
2. Remove the two (2) screws, and
then remove the overhead con-
sole.
3. Insert the emergency handle (pro- vided with the vehicle) and turn
the handle clockwise to open or
counterclockwise to close.
Resetting the sunroofWhenever the vehicle battery is dis-
connected or discharged, or you use
the emergency handle to operate the
sunroof, you have to reset your sun-
roof system as follows:
1. Turn the ignition key to the ON position.
2. According to the position of the sunroof, do as follows.
1) in case that the sunroof hasclosed completely or been tilt-
ed
: Press the TILT UP ( ) but- ton for 1 second.
2) in case that the sunroof has slide-opened
: Press and hold the CLOSE ( ) button for more than 5
seconds until the sunroof has
closed completely. And then
press the TILT UP ( ) but-
ton for 1 second. 3. Then, release it.
4. Press and hold the TILT UP ( )
button once again until the sun-
roof has returned to the original
position of TILT UP ( ) after it is
raised a little higher than the max-
imum TILT UP ( ) position.
When this is complete, the sunroof
system is reset.
1LDN3201
Page 114 of 300
Knowing your vehicle104
3
1
2
3
4
5
6
7
8
9
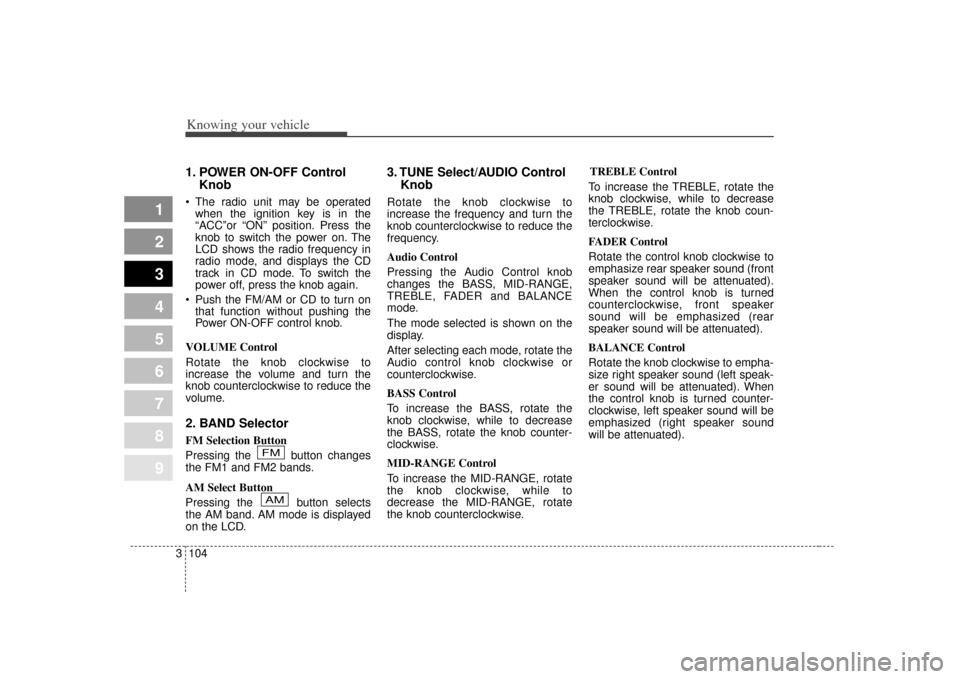
1. POWER ON-OFF Control
Knob The radio unit may be operated
when the ignition key is in the
“ACC”or “ON” position. Press the
knob to switch the power on. The
LCD shows the radio frequency in
radio mode, and displays the CD
track in CD mode. To switch the
power off, press the knob again.
Push the FM/AM or CD to turn on that function without pushing the
Power ON-OFF control knob.
VOLUME Control
Rotate the knob clockwise to
increase the volume and turn the
knob counterclockwise to reduce the
volume.2. BAND SelectorFM Selection Button
Pressing the button changes
the FM1 and FM2 bands.
AM Select Button
Pressing the button selects
the AM band. AM mode is displayed
on the LCD.
3. TUNE Select/AUDIO Control KnobRotate the knob clockwise to
increase the frequency and turn the
knob counterclockwise to reduce the
frequency.
Audio Control
Pressing the Audio Control knob
changes the BASS, MID-RANGE,
TREBLE, FADER and BALANCE
mode.
The mode selected is shown on the
display.
After selecting each mode, rotate the
Audio control knob clockwise or
counterclockwise.
BASS Control
To increase the BASS, rotate the
knob clockwise, while to decrease
the BASS, rotate the knob counter-
clockwise.
MID-RANGE Control
To increase the MID-RANGE, rotate
the knob clockwise, while to
decrease the MID-RANGE, rotate
the knob counterclockwise. TREBLE Control
To increase the TREBLE, rotate the
knob clockwise, while to decrease
the TREBLE, rotate the knob coun-
terclockwise.
FADER Control
Rotate the control knob clockwise to
emphasize rear speaker sound (front
speaker sound will be attenuated).
When the control knob is turned
counterclockwise, front speaker
sound will be emphasized (rear
speaker sound will be attenuated).
BALANCE Control
Rotate the knob clockwise to empha-
size right speaker sound (left speak-
er sound will be attenuated). When
the control knob is turned counter-
clockwise, left speaker sound will be
emphasized (right speaker sound
will be attenuated).
AMFM
Page 121 of 300
3 111
Knowing your vehicle
1
2
3
4
5
6
7
8
9
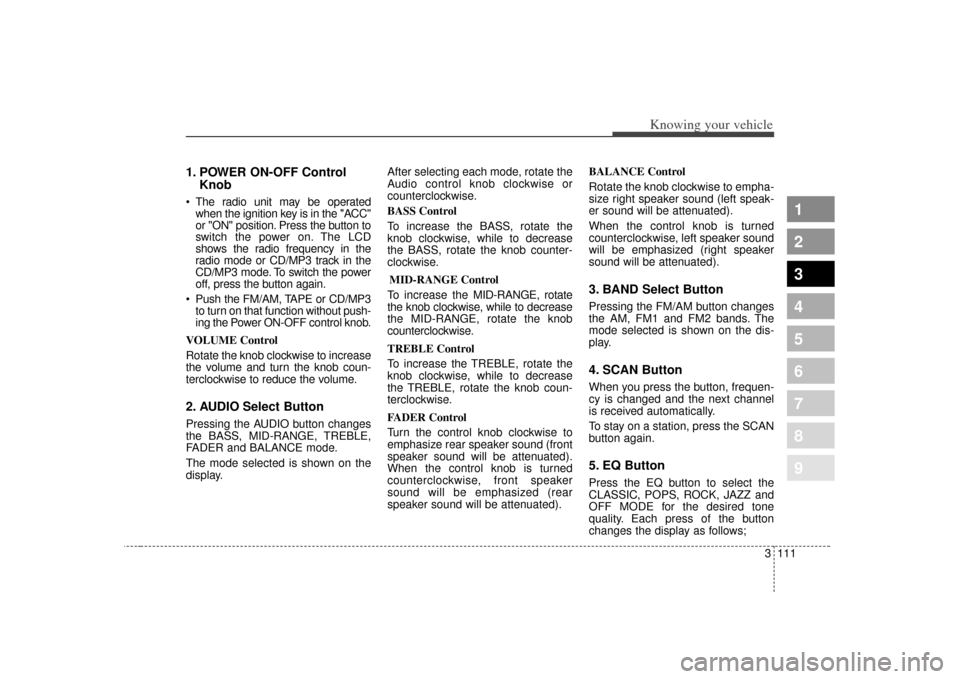
1. POWER ON-OFF ControlKnob The radio unit may be operated
when the ignition key is in the "ACC"
or "ON" position. Press the button to
switch the power on. The LCD
shows the radio frequency in the
radio mode or CD/MP3 track in the
CD/MP3 mode. To switch the power
off, press the button again.
Push the FM/AM, TAPE or CD/MP3 to turn on that function without push-
ing the Power ON-OFF control knob.
VOLUME Control
Rotate the knob clockwise to increase
the volume and turn the knob coun-
terclockwise to reduce the volume.2. AUDIO Select ButtonPressing the AUDIO button changes
the BASS, MID-RANGE, TREBLE,
FADER and BALANCE mode.
The mode selected is shown on the
display. After selecting each mode, rotate the
Audio control knob clockwise or
counterclockwise.
BASS Control
To increase the BASS, rotate the
knob clockwise, while to decrease
the BASS, rotate the knob counter-
clockwise.
MID-RANGE Control
To increase the MID-RANGE, rotate
the knob clockwise, while to decrease
the MID-RANGE, rotate the knob
counterclockwise.
TREBLE Control
To increase the TREBLE, rotate the
knob clockwise, while to decrease
the TREBLE, rotate the knob coun-
terclockwise.
FADER Control
Turn the control knob clockwise to
emphasize rear speaker sound (front
speaker sound will be attenuated).
When the control knob is turned
counterclockwise, front speaker
sound will be emphasized (rear
speaker sound will be attenuated). BALANCE Control
Rotate the knob clockwise to empha-
size right speaker sound (left speak-
er sound will be attenuated).
When the control knob is turned
counterclockwise, left speaker sound
will be emphasized (right speaker
sound will be attenuated).
3. BAND Select ButtonPressing the FM/AM button changes
the AM, FM1 and FM2 bands. The
mode selected is shown on the dis-
play.4. SCAN ButtonWhen you press the button, frequen-
cy is changed and the next channel
is received automatically.
To stay on a station, press the SCAN
button again.5. EQ ButtonPress the EQ button to select the
CLASSIC, POPS, ROCK, JAZZ and
OFF MODE for the desired tone
quality. Each press of the button
changes the display as follows;
Page 135 of 300
Driving your vehicle24
1
2
3
4
5
6
7
8
9
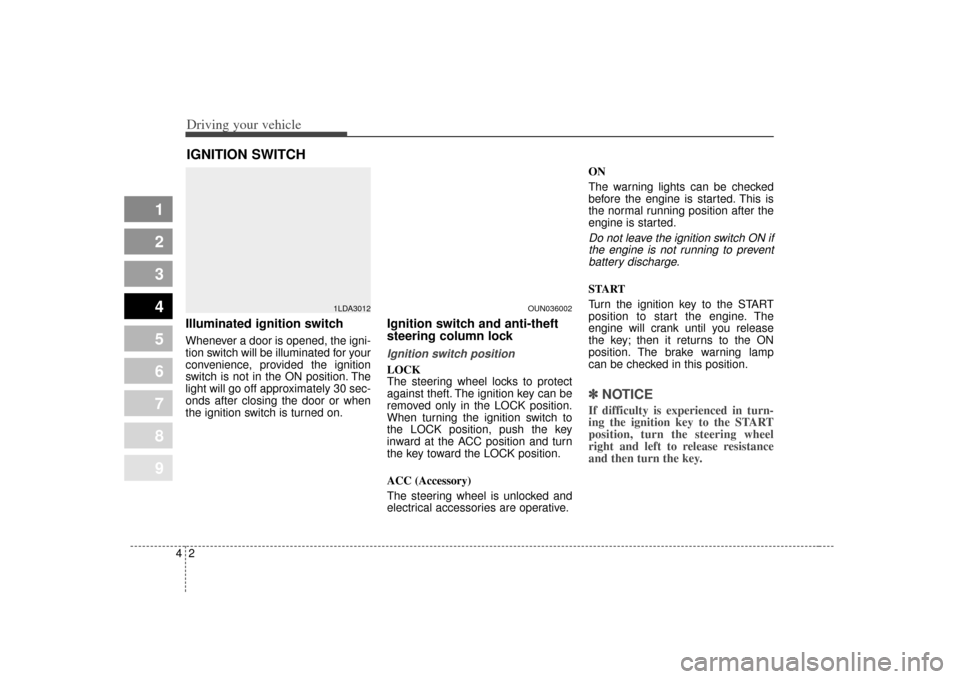
Illuminated ignition switchWhenever a door is opened, the igni-
tion switch will be illuminated for your
convenience, provided the ignition
switch is not in the ON position. The
light will go off approximately 30 sec-
onds after closing the door or when
the ignition switch is turned on.
Ignition switch and anti-theft
steering column lock Ignition switch positionLOCK
The steering wheel locks to protect
against theft. The ignition key can be
removed only in the LOCK position.
When turning the ignition switch to
the LOCK position, push the key
inward at the ACC position and turn
the key toward the LOCK position.
ACC (Accessory)
The steering wheel is unlocked and
electrical accessories are operative.ON
The warning lights can be checked
before the engine is started. This is
the normal running position after the
engine is started.
Do not leave the ignition switch ON if
the engine is not running to preventbattery discharge.START
Turn the ignition key to the START
position to start the engine. The
engine will crank until you release
the key; then it returns to the ON
position. The brake warning lamp
can be checked in this position.✽ ✽ NOTICEIf difficulty is experienced in turn-
ing the ignition key to the START
position, turn the steering wheel
right and left to release resistance
and then turn the key.
IGNITION SWITCH
1LDA3012
OUN036002
Page 136 of 300

43
1
2
3
4
5
6
7
8
9
Driving your vehicle
WARNING -
Ignition key
• Never turn the ignition switch to LOCK or ACC while the
vehicle is moving. This would
result in loss of directional
control and braking function,
which could cause an immedi-
ate accident.
The anti-theft steering column lock is not a substitute for the
parking brake. Before leaving
the driver’s seat, always make
sure the shift lever is engaged
in 1st gear for manual
transaxle or P (Park) for auto-
matic transaxle, set the park-
ing brake fully and shut the
engine off. Unexpected and
sudden vehicle movement
may occur if these precau-
tions are not taken.
(Continued)
(Continued)
Never reach for the ignitionswitch, or any other controls
through the steering wheel
while the vehicle is in motion.
The presence of your hand or
arm in this area could cause a
loss of vehicle control, an
accident and serious bodily
injury or death.
Do not place any movable objects around the driver’s
seat as they may move while
driving, interfere with the driv-
er and lead to an accident.
Page 137 of 300
Driving your vehicle44
1
2
3
4
5
6
7
8
9
1. Make sure the parking brake isapplied.
2. Manual Transaxle - Depress the
clutch pedal fully and shift the
transaxle into Neutral. Keep the
clutch pedal depressed while turn-
ing the ignition switch to the start
position. The starter will not oper-
ate if the clutch pedal is not fully
depressed.
Automatic Transaxle - Place the
transaxle shift lever in P (Park).
Depress the brake pedal fully.
You can also start the engine when the shift lever is in the N(Neutral) position.
3. Turn the ignition switch to START and hold it there until the engine
starts (a maximum of 10 seconds),
then release the key.
4. In extremely cold weather (below -18°C / 0°F) or after the vehicle
has not been operated for several
days, let the engine warm up with-
out depressing the accelerator.Whether the engine is cold or warm,it should be started withoutdepressing the accelerator.
The starter will not operate if:
Manual Transaxle - the clutch
pedal is not fully depressed.
Automatic Transaxle - the shift
lever is NOT in the P (Park) or N
(Neutral) position.
STARTING THE ENGINE
CAUTION
If the engine stalls while you are in motion, do not attempt tomove the shift lever to the P(Park) position. If traffic androad conditions permit, you mayput the shift lever in the N(Neutral) position while thevehicle is still moving and turnthe ignition switch to the STARTposition in an attempt to restartthe engine.
WARNING
Always wear appropriate shoes
when operating your vehicle.
Unsuitable shoes (high heels,
ski boots,etc.) may interfere
with your ability to use the
brake and accelerator pedal,
and the clutch (if equipped).
CAUTION
Do not engage the starter formore than 10 seconds. If theengine stalls or fails to start,wait 5 to 10 seconds before re-engaging the starter. Improperuse of the starter may damageit.
Page 141 of 300
Driving your vehicle84
1
2
3
4
5
6
7
8
9
Transaxle rangesP (park)This position locks the transaxle and
prevents the front wheels from rotat-
ing. Always come to a complete stop
before shifting into this position.
R (reverse)Use this position to drive the vehicle
backward.
(Continued)
Before leaving the driver’sseat, always make sure the
shift lever is in the P (PARK)
position. Set the parking
brake fully, shut the engine off
and take the key with you.
Unexpected and sudden vehi-
cle movement can occur if you
do not follow these precau-
tions in the order specified.
WARNING
Shifting into P (Park) while thevehicle is in motion will cause
the drive wheels to lock which
will cause you to lose control
of the vehicle.
Do not use the P (Park) posi- tion in place of the parking
brake. Always make sure the
shift lever is latched in the P
(Park) position so that it can-
not be moved unless the lock
release button is pushed in,
AND set the parking brake
fully.
(Continued)
CAUTION
Always come to a complete stopbefore shifting into or out of R(Reverse); you may damage thetransaxle if you shift into Rwhile the vehicle is in motion,except as explained in “Rockingthe Vehicle”, in this manual.
CAUTION
The transaxle may be damagedif you shift into P (Park) whilethe vehicle is in motion.
Page 143 of 300
Driving your vehicle10
4
1
2
3
4
5
6
7
8
9
Moving up a steep grade from
a standing startTo move up a steep grade from a
standing start, depress the brake
pedal, shift the shift lever to D
(Drive). Select the appropriate gear
depending on load weight and steep-
ness of the grade, and release the
parking brake. Depress the accelera-
tor gradually while releasing the
service brakes.
Shift lock systemFor your safety, the Automatic
Transaxle has a shift lock system
which prevents shifting the transaxle
out of P (Park) unless the brake
pedal is depressed.
To shift the transaxle out of P (Park):
1. Depress and hold the brake pedal.
2. Start the engine or turn the ignition
to the ON position.
3. Depress the lock release button and move the shift lever.
When the ignition switch is in the
LOCK position, the transaxle cannot
be shifted from P (Park).
Ignition key interlock systemThe ignition key cannot be removed
unless the shift lever is in the P
(Park) position. If the ignition switch
is in any other position, the key can-
not be removed.
WARNING
Always fully depress the brake
pedal before and while shifting
out of the P (Park) position into
another position to avoid inad-
vertent motion of the vehicle
which could injure persons in or
around the car.
Page 164 of 300
431
1
2
3
4
5
6
7
8
9
Driving your vehicle
Warning lights / audible indi-
cators Checking operation All warning lights are checked by
turning the ignition switch ON (do not
start the engine). Any light that does
not illuminate should be checked by
an Authorized Kia Dealer.
After starting the engine, check to
make sure that all warning lights are
off. If any are still on, this indicates a
situation that needs attention. When
releasing the parking brake, the
brake system warning light should go
off. The fuel warning light will stay on
if the fuel level is low.
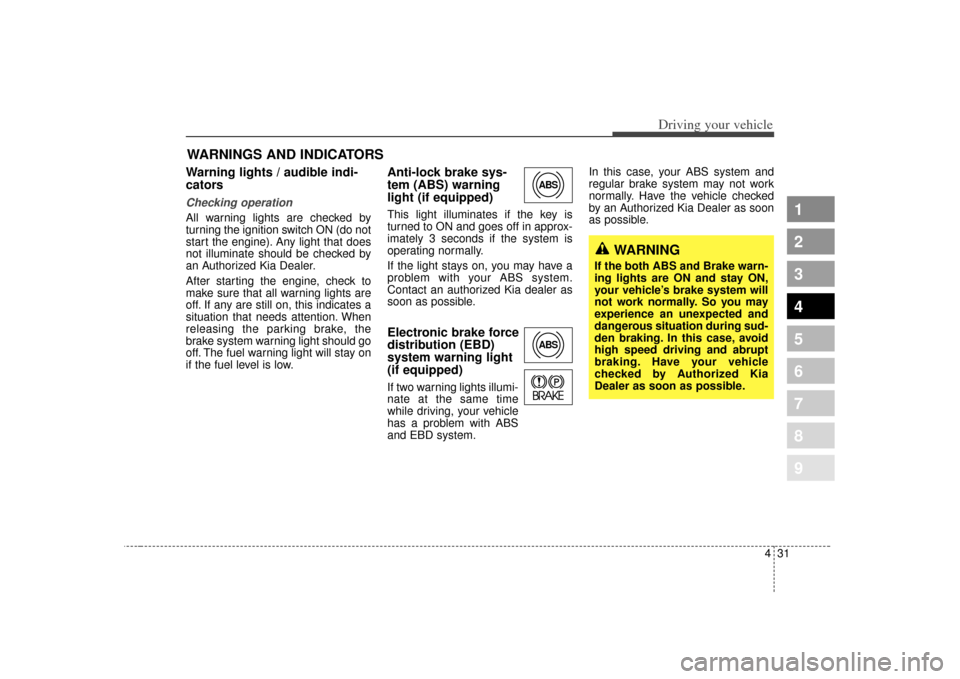
Anti-lock brake sys-
tem (ABS) warning
light (if equipped) This light illuminates if the key is
turned to ON and goes off in approx-
imately 3 seconds if the system is
operating normally.
If the light stays on, you may have a
problem with your ABS system.
Contact an authorized Kia dealer as
soon as possible.Electronic brake force
distribution (EBD)
system warning light
(if equipped)If two warning lights illumi-
nate at the same time
while driving, your vehicle
has a problem with ABS
and EBD system.In this case, your ABS system and
regular brake system may not work
normally. Have the vehicle checked
by an Authorized Kia Dealer as soon
as possible.
WARNINGS AND INDICATORS
ABSABS
WARNING
If the both ABS and Brake warn-
ing lights are ON and stay ON,
your vehicle’s brake system will
not work normally. So you may
experience an unexpected and
dangerous situation during sud-
den braking. In this case, avoid
high speed driving and abrupt
braking. Have your vehicle
checked by Authorized Kia
Dealer as soon as possible.