audio KIA SPECTRA5 2009 Owner's Manual
[x] Cancel search | Manufacturer: KIA, Model Year: 2009, Model line: SPECTRA5, Model: KIA SPECTRA5 2009Pages: 291, PDF Size: 2.63 MB
Page 123 of 291

3 113
Knowing your vehicle
1
2
3
4
5
6
7
8
9
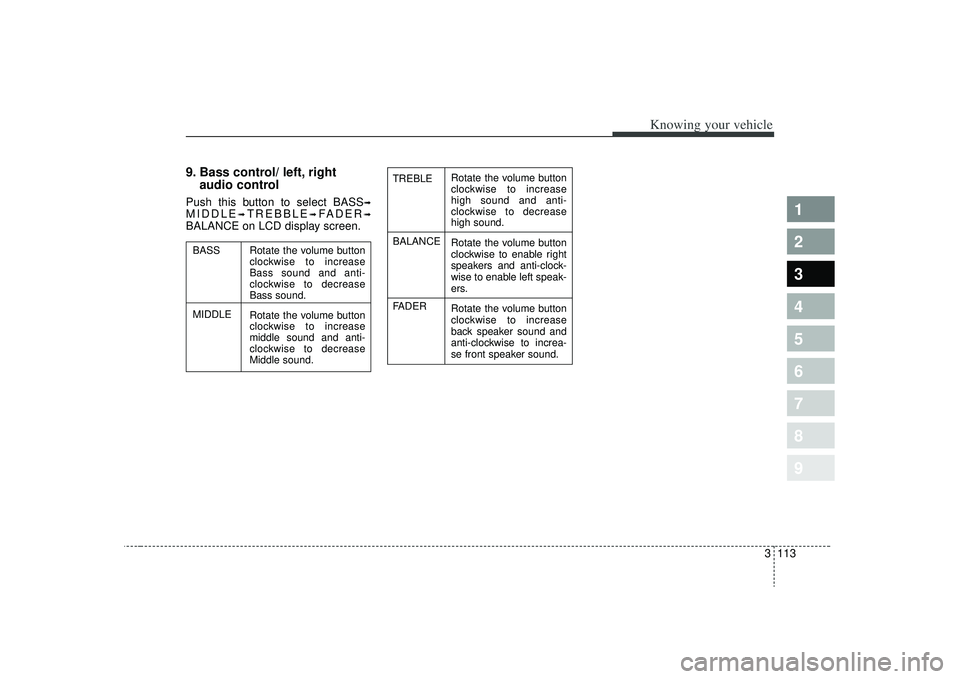
9. Bass control/ left, rightaudio controlPush this button to select BASS
➟
MIDDLE
➟TREBBLE
➟FADER
➟
BALANCE on LCD display screen.
Rotate the volume button
clockwise to increase
high sound and anti-
clockwise to decrease
high sound.
Rotate the volume button
clockwise to enable right
speakers and anti-clock-
wise to enable left speak-
ers.
Rotate the volume button
clockwise to increase
back speaker sound and
anti-clockwise to increa-
se front speaker sound.
TREBLE
BALANCE
FADER
Rotate the volume button
clockwise to increase
Bass sound and anti-
clockwise to decrease
Bass sound.
Rotate the volume button
clockwise to increase
middle sound and anti-
clockwise to decrease
Middle sound.
BASS
MIDDLE
Page 222 of 291

613
In case of an emergency
1
2
3
4
5
6
7
8
9
Fuse replacement Driver-side knee bolster
1. Turn the ignition switch and allother switches off.
2. Pull the suspected fuse straight out. Use the removal tool provided
on the cover.
3. Check the removed fuse; replace it if it is blown.
Spare fuses are provided in thefuse panel in engine compart-ment.
4. Push in a new fuse of the same rating, and make sure it fits tightly
in the clips.
If it fits loosely, consult an Authorized
Kia Dealer.
If you do not have a spare, use a fuse of the same rating from a circuityou may not need for operating thevehicle, such as the audio fuse.If the headlights or other electrical
components do not work and the
fuses are OK, check the fuse block in
the engine compartment. If a fuse is
blown, it must be replaced.
1LDA4003
1LDN4022
WARNING
- Fuse replace-
ment
Never replace a fuse with any- thing but another fuse of the
same rating.
A higher capacity fuse could cause damage and possibly a
fire.
Never install a wire instead of the proper fuse - even as a
temporary repair. It may cause
extensive wiring damage and
possibly a fire.
Do not use a screwdriver or any other metal object to
remove fuses because it may
cause a short circuit and dam-
age the system.
Page 226 of 291

617
In case of an emergency
1
2
3
4
5
6
7
8
9
Driver-side knee bolster
Description Fuse rating Protected component
START10A Start motor
SRF/D_LOCK 20A Sunroof, Door lock
HAZARD 10A Hazard warning flasher
A/CON 10A Air conditioner
CLUSTER 10A Cluster
RKE 10A Remote keyless entry
S/HTR 20A Seat warmer
C/LIGHTER 15A Cigar lighter
A/BAG 15A Air bag
R/WIPER 15A Rear wiper
AUDIO 10A Audio
ABS 10A Anti-lock brake system
ACC/PWR 15A Accessory / Power socket
ROOM 15A Room lamp
IGN 10A Ignition
ECU 10A Engine control unit
TAIL RH 10A Tail light (right)
T/SIG 10A Turn signal light
RR/HTR 30A Rear window defroster
P/WDW LH 25A Power window (left)
HTD/MIRR 10A Outside rearview mirror heater
P/WDW RH 25A Power window (right)
TAIL LH 10A Tail light (left)
Description Fuse rating Protected component
RR/HTR - Rear window defroster relay
RESISTOR - Resistor
P/WDW - Power window relay
POWER - Accessory / Power socket relay
TAIL - Tail light relay
Page 227 of 291

In case of an emergency18
6
1
2
3
4
5
6
7
8
9
Memory fuseYour vehicle is equipped with a mem-
ory fuse to prevent battery discharge
if your vehicle is parked without
being operated for prolonged peri-
ods. Use the following procedures
before parking the vehicle for pro-
longed period. 1. Turn off the engine.
2. Turn off the headlights and tail
lights.
3. Open the driver-side knee bolster cover and pull up the “ROOM
15A”.
✽ ✽NOTICE• If the memory fuse is pulled up
from the fuse panel, the warning
chime, audio, clock and intetrior
lamps, etc., will not operate. Some
items must be reset after replace-
ment. (Refer to “Items to be
reset···.” on page 7-26)
• Even though the memory fuse is pulled up, the battery can still be
discharged by operation of the
headlights or other electrical
devices.
1LDA4004
Memory fuse
Page 264 of 291

Maintenance26
7
1
2
3
4
5
6
7
8
9
For best battery service : Keep the battery securely mount-
ed.
Keep the battery top clean and dry.
Keep the terminals and connec- tions clean, tight, and coated with
petroleum jelly or terminal grease.
Rinse any spilled electrolyte from the battery immediately with a
solution of water and baking soda.
If the vehicle is not going to be used for an extended time, discon-
nect the battery cables.
Battery recharging Your vehicle has a maintenance-free,
calcium-based battery.
If the battery becomes dischargedin a short time (because, for exam-
ple, the headlights or interior lights
were left on while the vehicle was
not in use), recharge it by slow
charging (trickle) for 10 hours.
If the battery gradually discharges because of high electric load while
the vehicle is being used, recharge
it at 20-30A for two hours.
Items to be reset after the batteryhas been discharged or the bat-tery has been disconnected. Clock (See section 3)
Climate control system (See section 4)
Audio (See section 3)
Sunroof (See section 3)
1LDE5028
Page 289 of 291

Index29
1
2
3
4
5
6
7
8
9
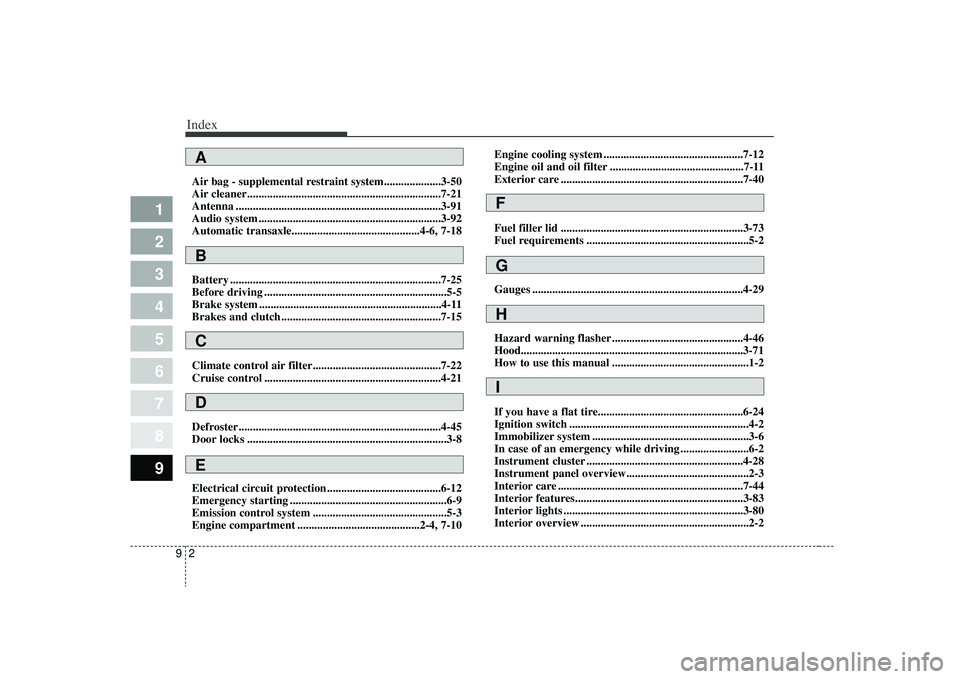
Air bag - supplemental restraint system....................3-50
Air cleaner....................................................................7-21\
Antenna ........................................................................\
3-91
Audio system ................................................................3-92
Automatic transaxle.............................................4-6, 7-18
Battery ........................................................................\
..7-25
Before driving ................................................................5-5
Brake system ................................................................4-11
Brakes and clutch ........................................................7-15
Climate control air filter.............................................7-22
Cruise control ..............................................................4-21
Defroster .......................................................................4\
-45
Door locks ......................................................................3-\
8
Electrical circuit protection........................................6-12
Emergency starting .......................................................6-9
Emission control system ...............................................5-3
Engine compartment ...........................................2-4, 7-10 Engine cooling system .................................................7-12
Engine oil and oil filter ...............................................7-11
Exterior care ................................................................7-40
Fuel filler lid ................................................................3-73
Fuel requirements .........................................................5-2
Gauges ........................................................................\
..4-29
Hazard warning flasher ..............................................4-46
Hood....................................................................\
..........3-71
How to use this manual ................................................1-2
If you have a flat tire...................................................6-24
Ignition switch ...............................................................4-2
Immobilizer system .......................................................3-6
In case of an emergency while driving ........................6-2
Instrument cluster .......................................................4-28
Instrument panel overview...........................................2-3
Interior care .................................................................7-44
Interior features...........................................................3-83
Interior lights ...............................................................3-80
Interior overview ...........................................................2-2ABCDE
GFHI