mirror KIA Sportage 2007 JE_ / 2.G Owner's Manual
[x] Cancel search | Manufacturer: KIA, Model Year: 2007, Model line: Sportage, Model: KIA Sportage 2007 JE_ / 2.GPages: 350, PDF Size: 3.58 MB
Page 8 of 350
Your vehicle at a glance22
1
2
3
4
5
6
7
8
9
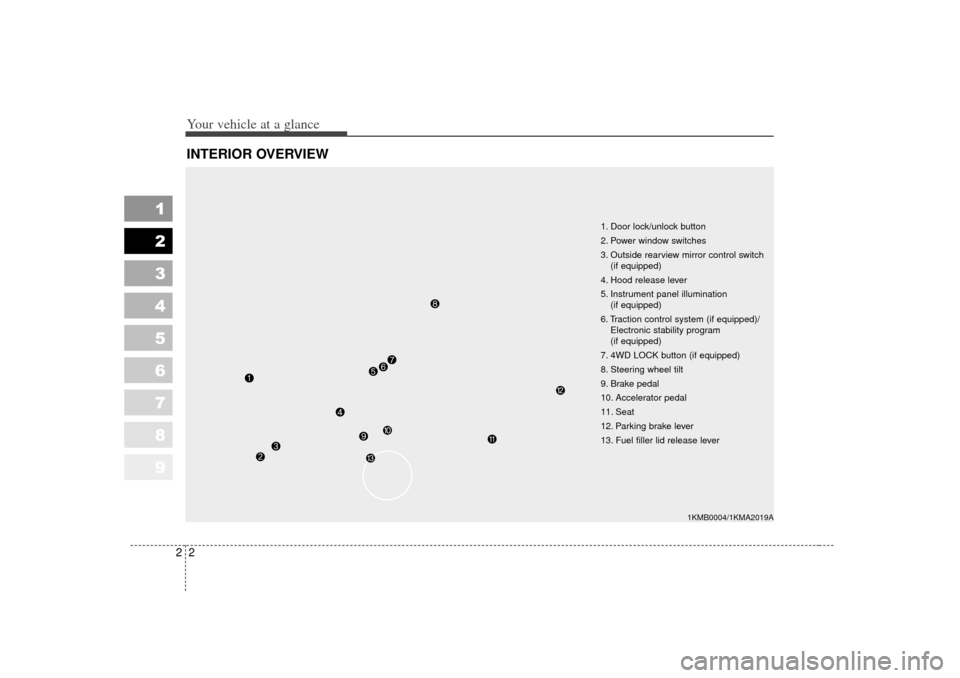
INTERIOR OVERVIEW
1. Door lock/unlock button
2. Power window switches
3. Outside rearview mirror control switch(if equipped)
4. Hood release lever
5. Instrument panel illumination (if equipped)
6. Traction control system (if equipped)/ Electronic stability program
(if equipped)
7. 4WD LOCK button (if equipped)
8. Steering wheel tilt
9. Brake pedal
10. Accelerator pedal
11. Seat
12. Parking brake lever
13. Fuel filler lid release lever
1KMB0004/1KMA2019A
Page 10 of 350
101
2
3
4
5
6
7
8
9
Keys / 3-2
Remote keyless entry / 3-3
Theft-alarm system / 3-5
Immobilizer system / 3-7
Door locks / 3-9
Window / 3-16
Seat / 3-19
Safety belts / 3-30
Airbags-supplemental restraint system / 3-54
Hood / 3-80
Fuel filler lid / 3-82
Mirrors / 3-85
Interior lights / 3-89
Storage compartment / 3-91
Interior features / 3-94
Sunroof / 3-100
Luggage net / 3-104
Tonneau cover / 3-105
Luggage center box / 3-107
Roof rack / 3-108
Antenna / 3-109
Knowing your vehicle
10
Page 75 of 350
Knowing your vehicle66
3
1
2
3
4
5
6
7
8
9
(Continued)
If the driver brakes the vehicle
heavily in an urgent situa-
tions, occupants will be
thrown forward. If front pas-
sengers are not wearing the
safety belts, they will be
directly in front of the storage
compartment when inflation
occurs. In that situation, seri-
ous injury or death is possi-
ble.
Never allow front passenger to put their hands or feet on
the instrument panel or put
their face close to the instru-
ment panel. The airbag will
impact the front passenger
when it inflates.
(Continued)
(Continued)
Never allow children/old and feeble persons/pregnant
women to sit on the front pas-
senger’s seat. Do not put child
restraint systems on the front
passenger’s seat either. They
may be seriously injured by
the airbag inflation when
airbag deploys.
Do not put objects or stickers on the instrument panel. Do
not apply any accessory on
the front windshield glass or
do not install aftermarket mir-
rors or accessories on the fac-
tory installed rearview mirror.
These may interfere with the
deployment of airbag inflation
or could hit your body at high
speed and cause severe bodi-
ly injury and even death.
WARNING
The front seat passenger’sairbag is much larger than the
steering wheel airbag and
inflates with considerably
more force. It can seriously
hurt or kill a passenger who is
not in the proper position and
wearing the safety belt proper-
ly. The front passengers
should always move their seat
as far back as practical and sit
back in their seat.
It is essential that the front passengers always wear their
safety belts, even when the
vehicle is moving in a parking
lot or up a driveway into
garage. (Continued)
Page 94 of 350
385
1
2
3
4
5
6
7
8
9
Knowing your vehicle
Outside rearview mirror Be sure to adjust mirror angles
before driving.
Your vehicle is equipped with both
left-hand and right-hand outside
rearview mirrors. The mirrors can be
adjusted remotely with the control
levers or remote switch, depending
on the type of mirror control installed.
The mirror heads can be folded back
to prevent damage during an auto-
matic car wash or when passing in a
narrow street.
✽ ✽NOTICEDo not scrape ice off the mirror
face; this may damage the surface of
the glass. If ice should restrict move-
ment of the mirror, do not force the
mirror for adjustment. To remove
ice, use a deicer spray, or a sponge
or soft cloth with very warm water.
Manual remote control
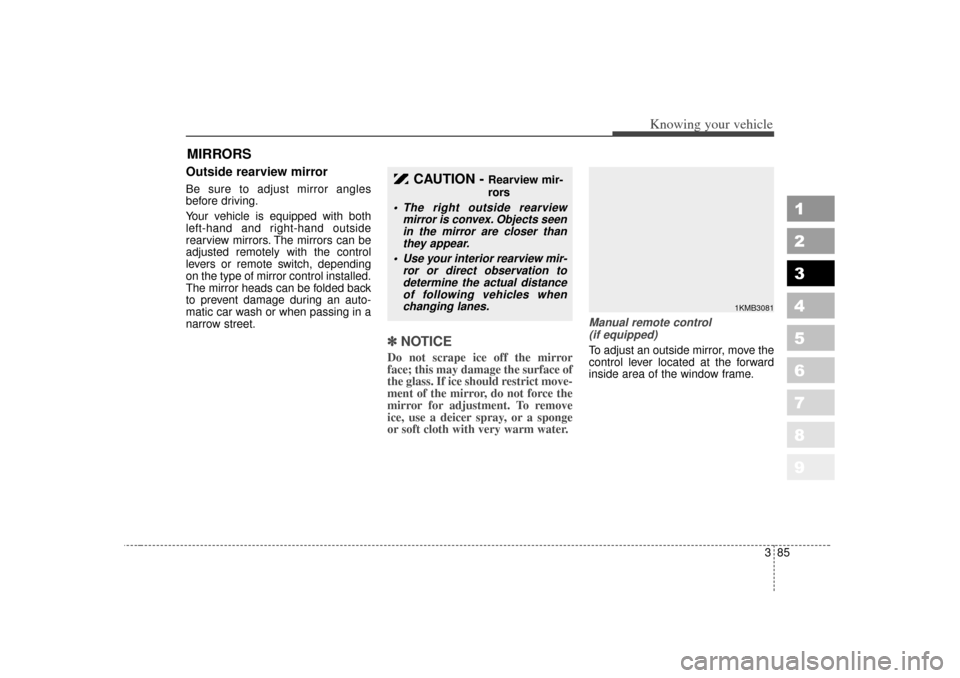
(if equipped)To adjust an outside mirror, move the
control lever located at the forward
inside area of the window frame.
MIRRORS
CAUTION -
Rearview mir-
rors
The right outside rearview mirror is convex. Objects seenin the mirror are closer thanthey appear.
Use your interior rearview mir- ror or direct observation todetermine the actual distanceof following vehicles whenchanging lanes.
1KMB3081
Page 95 of 350
Knowing your vehicle86
3
1
2
3
4
5
6
7
8
9
Electric remote control
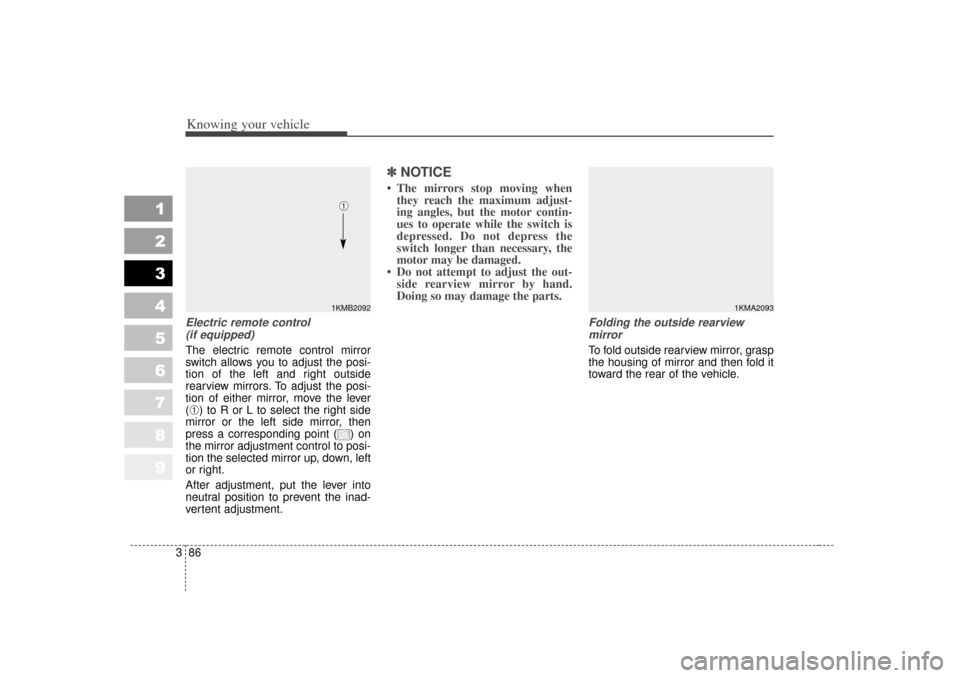
(if equipped)The electric remote control mirror
switch allows you to adjust the posi-
tion of the left and right outside
rearview mirrors. To adjust the posi-
tion of either mirror, move the lever
(➀) to R or L to select the right side
mirror or the left side mirror, then
press a corresponding point ( ) on
the mirror adjustment control to posi-
tion the selected mirror up, down, left
or right.
After adjustment, put the lever into
neutral position to prevent the inad-
vertent adjustment.
✽ ✽ NOTICE• The mirrors stop moving when
they reach the maximum adjust-
ing angles, but the motor contin-
ues to operate while the switch is
depressed. Do not depress the
switch longer than necessary, the
motor may be damaged.
• Do not attempt to adjust the out- side rearview mirror by hand.
Doing so may damage the parts.
Folding the outside rearview
mirrorTo fold outside rearview mirror, grasp
the housing of mirror and then fold it
toward the rear of the vehicle.
1KMB2092➀
1KMA2093
Page 96 of 350
387
1
2
3
4
5
6
7
8
9
Knowing your vehicle
Outside rearview mirror heater (if equipped) The outside rearview mirror heater is
actuated in connection with the rear
window defroster. To heat the outside
rearview mirror glass, push the but-
ton for the rear window defroster.
The rearview mirror heater (and rear
window defroster) will not operate
unless the engine is running.
The outside rearview mirror glass will
be heated for defrosting or defogging
and will give you improved rear
vision in inclement weather condi-
tions. Push the button again to turn
the heater off. The outside rearview
mirror heater automatically turns off
after 20 minutes.
Day/night rearview mirror Adjust the rearview mirror to center
on the view through the rear window.
Make this adjustment before you
start driving.
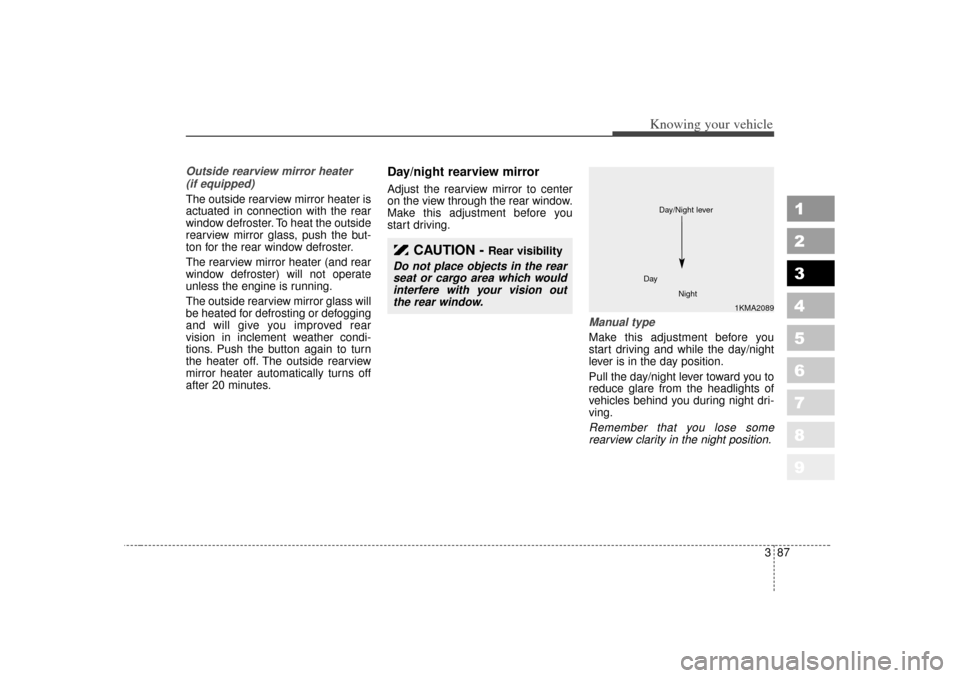
Manual type Make this adjustment before you
start driving and while the day/night
lever is in the day position.
Pull the day/night lever toward you to
reduce glare from the headlights of
vehicles behind you during night dri-
ving.Remember that you lose somerearview clarity in the night position.
CAUTION -
Rear visibility
Do not place objects in the rearseat or cargo area which wouldinterfere with your vision outthe rear window.
1KMA2089
Day
Night
Day/Night lever
Page 97 of 350
Knowing your vehicle88
3
1
2
3
4
5
6
7
8
9
Electric type (if equipped)The electric day/night rearview mir-
ror automatically controls the glare
from the headlights of the car behind
you in nighttime or low light driving
conditions. The sensor mounted in
the mirror senses the light level
around the vehicle, and through a
chemical reaction, automatically
controls the headlight glare from
vehicles behind you.
When the engine is running, the
glare is automatically controlled by
the sensor mounted in the rearview
mirror.
Whenever the shift lever is shifted
into reverse (R), the mirror will auto-
matically go to the brightest setting in
order to improve the drivers view
behind the vehicle.✽ ✽
NOTICEWhen cleaning the mirror, use a
paper towel or similar material
dampened with glass cleaner. Do not
spray glass cleaner directly on the
mirror as that may cause the liquid
cleaner to enter the mirror housing.
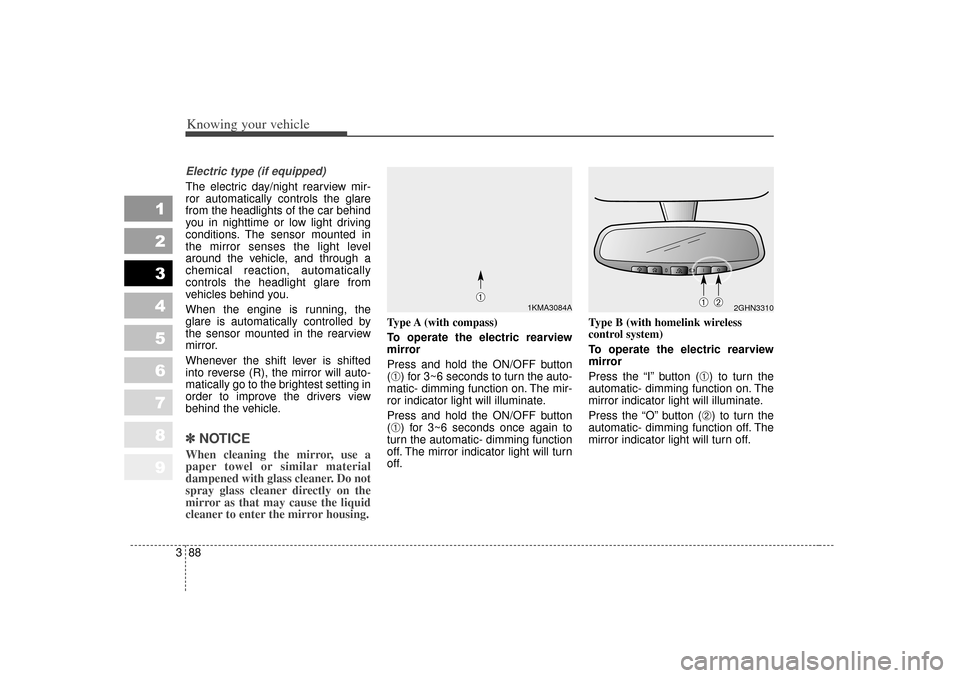
Type A (with compass)
To operate the electric rearview
mirror
Press and hold the ON/OFF button
(➀) for 3~6 seconds to turn the auto-
matic- dimming function on. The mir-
ror indicator light will illuminate.
Press and hold the ON/OFF button
(➀) for 3~6 seconds once again to
turn the automatic- dimming function
off. The mirror indicator light will turn
off. Type B (with homelink wireless
control system)
To operate the electric rearview
mirror
Press the “I” button (
➀) to turn the
automatic- dimming function on. The
mirror indicator light will illuminate.
Press the “O” button (➁) to turn the
automatic- dimming function off. The
mirror indicator light will turn off.
2GHN3310
➀
➁
1KMA3084A
➀
Page 105 of 350
Knowing your vehicle96
3
1
2
3
4
5
6
7
8
9
FrontCups or small beverage cans may be
placed in the cup holders.
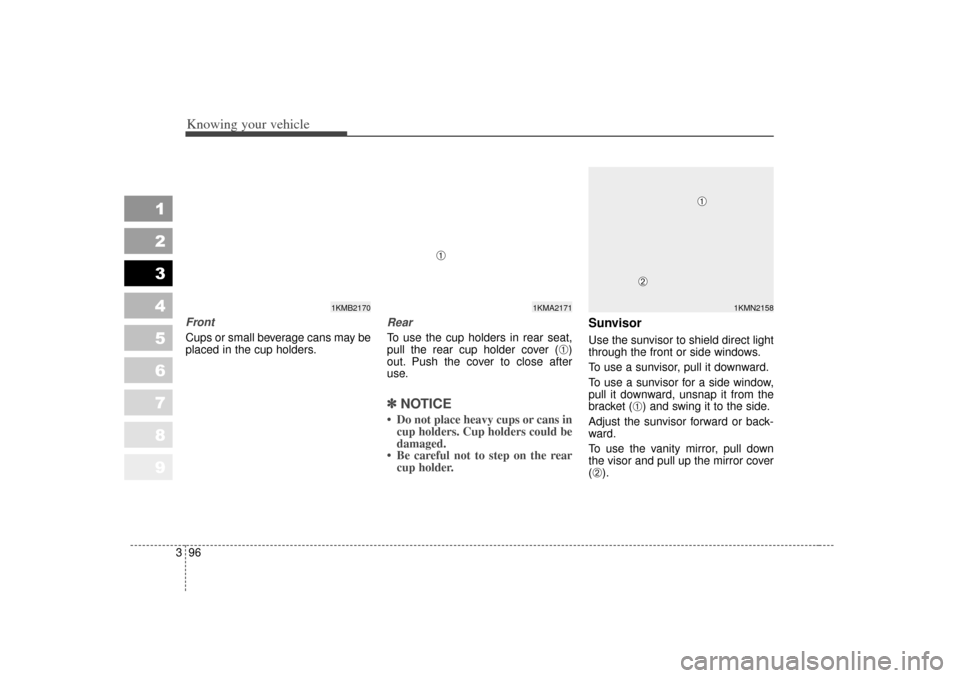
RearTo use the cup holders in rear seat,
pull the rear cup holder cover (
➀)
out. Push the cover to close after
use.
✽ ✽ NOTICE• Do not place heavy cups or cans in
cup holders. Cup holders could be
damaged.
• Be careful not to step on the rear cup holder.
SunvisorUse the sunvisor to shield direct light
through the front or side windows.
To use a sunvisor, pull it downward.
To use a sunvisor for a side window,
pull it downward, unsnap it from the
bracket (
➀) and swing it to the side.
Adjust the sunvisor forward or back-
ward.
To use the vanity mirror, pull down
the visor and pull up the mirror cover
(
➁).
1KMA2171
1KMB2170
➀
1KMN2158
➀
➁
Page 106 of 350
397
1
2
3
4
5
6
7
8
9
Knowing your vehicle
✽ ✽NOTICEClose the vanity mirror cover
securely and return the sunvisor to
its original position after use.
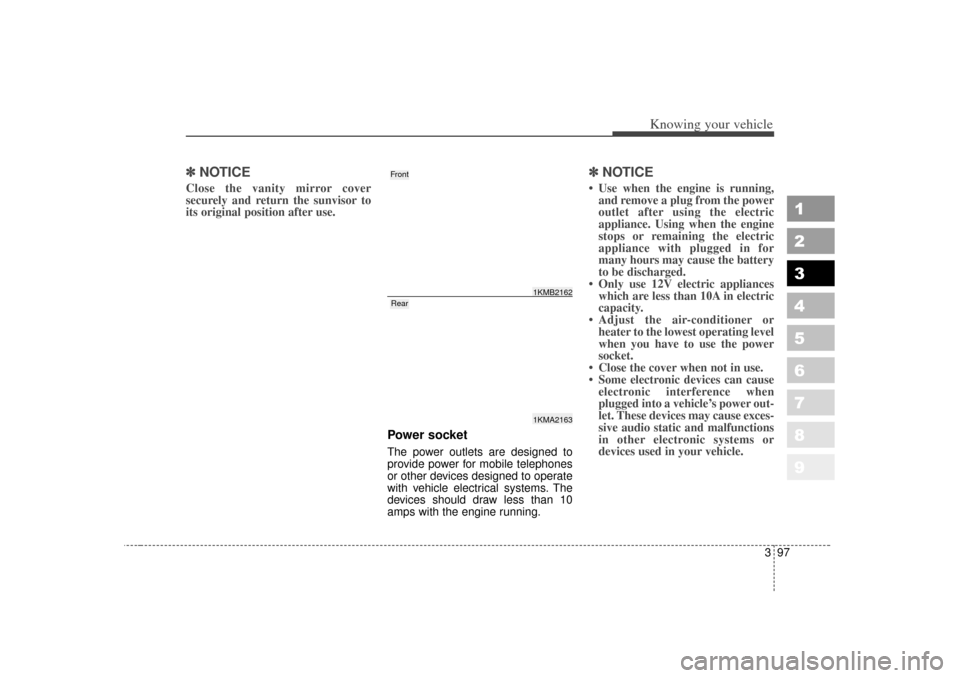
Power socketThe power outlets are designed to
provide power for mobile telephones
or other devices designed to operate
with vehicle electrical systems. The
devices should draw less than 10
amps with the engine running.
✽ ✽NOTICE• Use when the engine is running,
and remove a plug from the power
outlet after using the electric
appliance. Using when the engine
stops or remaining the electric
appliance with plugged in for
many hours may cause the battery
to be discharged.
• Only use 12V electric appliances which are less than 10A in electric
capacity.
• Adjust the air-conditioner or heater to the lowest operating level
when you have to use the power
socket.
• Close the cover when not in use.
• Some electronic devices can cause electronic interference when
plugged into a vehicle’s power out-
let. These devices may cause exces-
sive audio static and malfunctions
in other electronic systems or
devices used in your vehicle.
1KMA21631KMB2162
FrontRear
Page 172 of 350
Driving your vehicle54
4
1
2
3
4
5
6
7
8
9
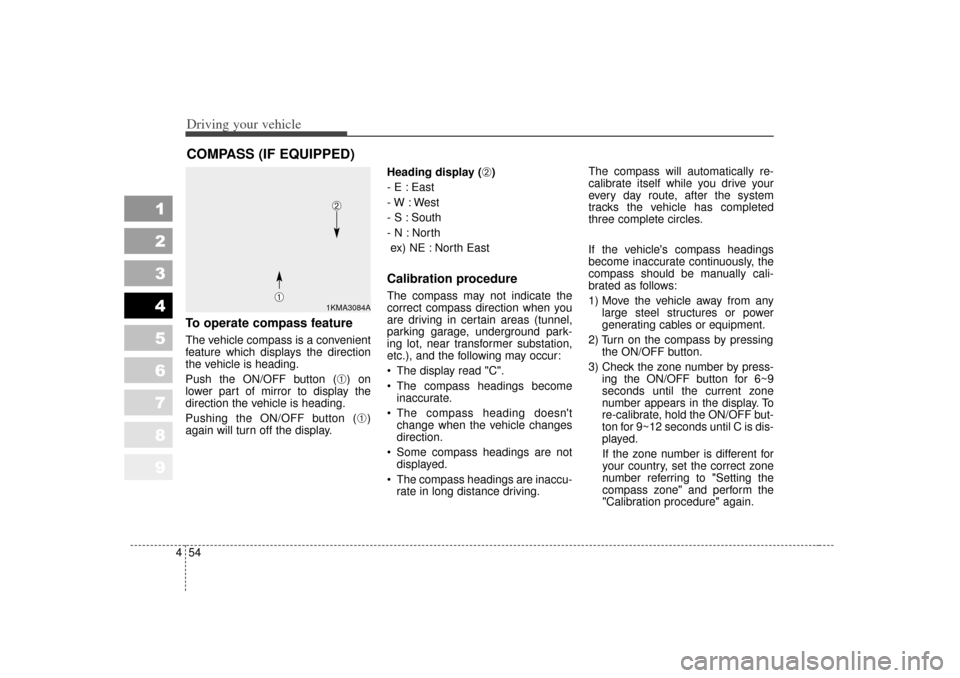
To operate compass featureThe vehicle compass is a convenient
feature which displays the direction
the vehicle is heading.
Push the ON/OFF button (
➀) on
lower part of mirror to display the
direction the vehicle is heading.
Pushing the ON/OFF button (➀)
again will turn off the display. Heading display (
➁)
- E : East
- W : West
- S : South
- N : North ex) NE : North East
Calibration procedureThe compass may not indicate the
correct compass direction when you
are driving in certain areas (tunnel,
parking garage, underground park-
ing lot, near transformer substation,
etc.), and the following may occur:
The display read "C".
The compass headings become inaccurate.
The compass heading doesn't change when the vehicle changes
direction.
Some compass headings are not displayed.
The compass headings are inaccu- rate in long distance driving. The compass will automatically re-
calibrate itself while you drive your
every day route, after the system
tracks the vehicle has completed
three complete circles.
If the vehicle's compass headings
become inaccurate continuously, the
compass should be manually cali-
brated as follows:
1) Move the vehicle away from any
large steel structures or power
generating cables or equipment.
2) Turn on the compass by pressing the ON/OFF button.
3) Check the zone number by press- ing the ON/OFF button for 6~9
seconds until the current zone
number appears in the display. To
re-calibrate, hold the ON/OFF but-
ton for 9~12 seconds until C is dis-
played.
If the zone number is different for
your country, set the correct zone
number referring to "Setting the
compass zone" and perform the
"Calibration procedure" again.
COMPASS (IF EQUIPPED)
1KMA3084A
➀
➁