reset KIA Sportage 2008 JE_ / 2.G Owner's Manual
[x] Cancel search | Manufacturer: KIA, Model Year: 2008, Model line: Sportage, Model: KIA Sportage 2008 JE_ / 2.GPages: 350, PDF Size: 6.42 MB
Page 27 of 350
Knowing your vehicle
18 3
1
2
3
4
5
6
7
8
9
Window opening and closing
The driver’s door has a master power
window switch that controls all the
windows in the vehicle. To open or
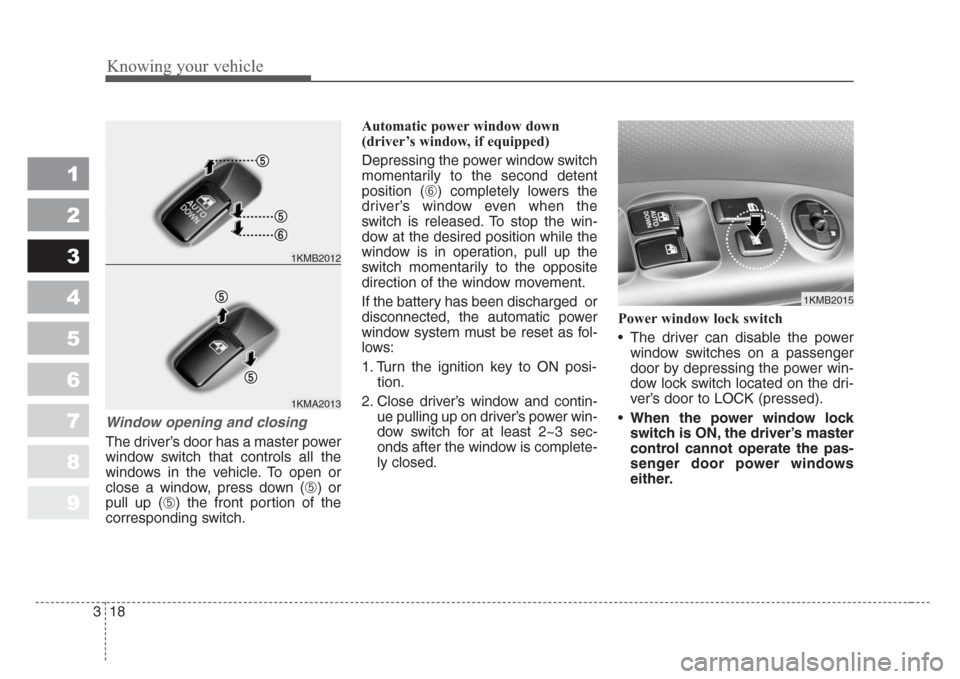
close a window, press down (
➄) or
pull up (
➄) the front portion of the
corresponding switch.Automatic power window down
(driver’s window, if equipped)
Depressing the power window switch
momentarily to the second detent
position (
➅) completely lowers the
driver’s window even when the
switch is released. To stop the win-
dow at the desired position while the
window is in operation, pull up the
switch momentarily to the opposite
direction of the window movement.
If the battery has been discharged or
disconnected, the automatic power
window system must be reset as fol-
lows:
1. Turn the ignition key to ON posi-
tion.
2. Close driver’s window and contin-
ue pulling up on driver’s power win-
dow switch for at least 2~3 sec-
onds after the window is complete-
ly closed.Power window lock switch
• The driver can disable the power
window switches on a passenger
door by depressing the power win-
dow lock switch located on the dri-
ver’s door to LOCK (pressed).
•When the power window lock
switch is ON, the driver’s master
control cannot operate the pas-
senger door power windows
either.
1KMA2013
1KMB2012
1KMB2015
Page 107 of 350
Knowing your vehicle
98 3
1
2
3
4
5
6
7
8
9
Digital clock
Whenever the battery terminals,
ROOM LP fuse, or Power Connect
are disconnected, you must reset the
time.
When the ignition switch is in the
ACC or ON position, the clock but-
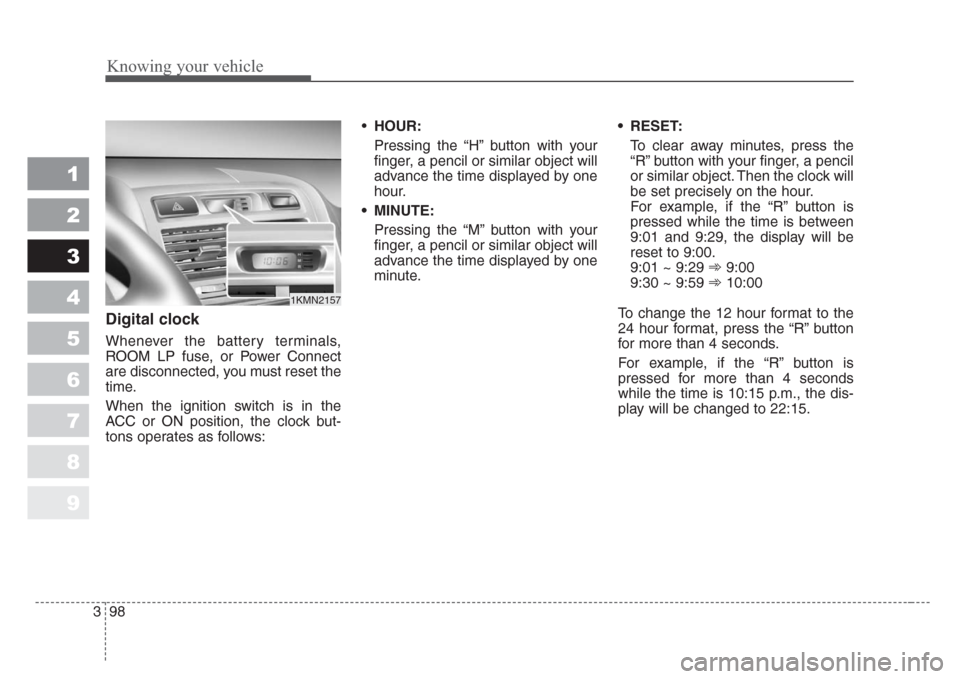
tons operates as follows:•HOUR:
Pressing the “H” button with your
finger, a pencil or similar object will
advance the time displayed by one
hour.
• MINUTE:
Pressing the “M” button with your
finger, a pencil or similar object will
advance the time displayed by one
minute.• RESET:
To clear away minutes, press the
“R” button with your finger, a pencil
or similar object. Then the clock will
be set precisely on the hour.
For example, if the “R” button is
pressed while the time is between
9:01 and 9:29, the display will be
reset to 9:00.
9:01 ~ 9:29 ➾9:00
9:30 ~ 9:59 ➾10:00
To change the 12 hour format to the
24 hour format, press the “R” button
for more than 4 seconds.
For example, if the “R” button is
pressed for more than 4 seconds
while the time is 10:15 p.m., the dis-
play will be changed to 22:15.
1KMN2157
Page 112 of 350
3 103
1
2
3
4
5
6
7
8
9
Knowing your vehicle
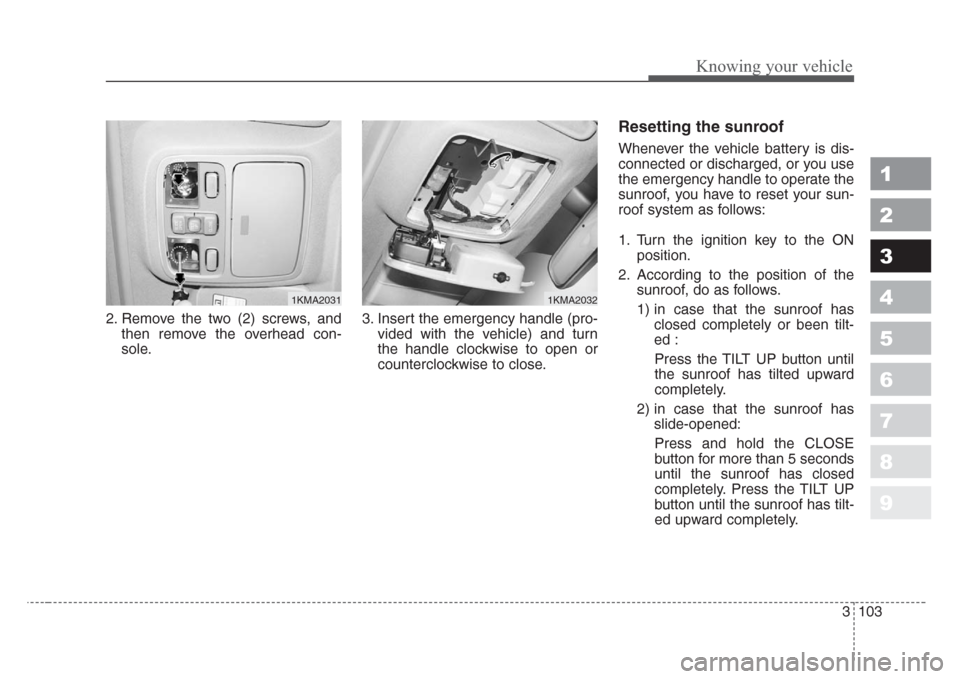
2. Remove the two (2) screws, and
then remove the overhead con-
sole.3. Insert the emergency handle (pro-
vided with the vehicle) and turn
the handle clockwise to open or
counterclockwise to close.
Resetting the sunroof
Whenever the vehicle battery is dis-
connected or discharged, or you use
the emergency handle to operate the
sunroof, you have to reset your sun-
roof system as follows:
1. Turn the ignition key to the ON
position.
2. According to the position of the
sunroof, do as follows.
1) in case that the sunroof has
closed completely or been tilt-
ed :
Press the TILT UP button until
the sunroof has tilted upward
completely.
2) in case that the sunroof has
slide-opened:
Press and hold the CLOSE
button for more than 5 seconds
until the sunroof has closed
completely. Press the TILT UP
button until the sunroof has tilt-
ed upward completely.
1KMA20311KMA2032
Page 113 of 350
Knowing your vehicle
104 3
1
2
3
4
5
6
7
8
9
3. Release the TILT UP button.
4. Press and hold the TILT UP button
once again until the sunroof has
returned to the original position of
TILT UP after it is raised a little
higher than the maximum TILT UP
position.
When this is complete, the sunroof
system is reset.
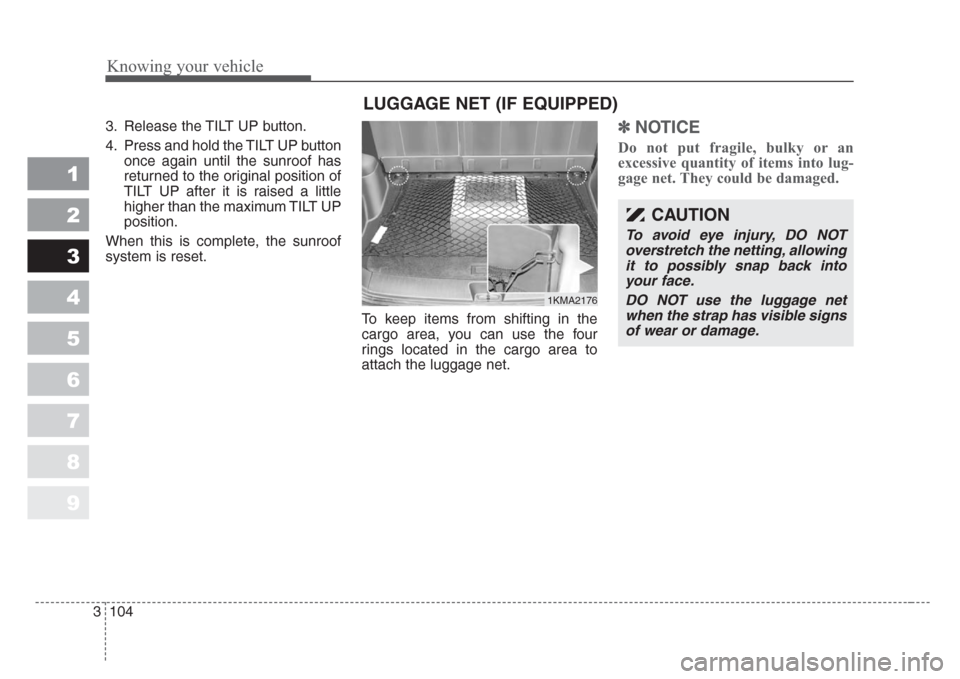
To keep items from shifting in the
cargo area, you can use the four
rings located in the cargo area to
attach the luggage net.✽
NOTICE
Do not put fragile, bulky or an
excessive quantity of items into lug-
gage net. They could be damaged.
1KMA2176
LUGGAGE NET (IF EQUIPPED)
CAUTION
To a v oid eye injury, DO NOT
overstretch the netting, allowing
it to possibly snap back into
your face.
DO NOT use the luggage net
when the strap has visible signs
of wear or damage.
Page 148 of 350
Driving your vehicle
30 4
1
2
3
4
5
6
7
8
9
Each of these actions will cancel
cruise control operation (the “SET”
indicator light in the instrument clus-
ter will go OFF), but it will not turn the
system off. If you wish to resume
cruise control operation, push up the
RES/ACC
( + / RES)switch located
on your steering wheel. You will
return to your previously preset
speed.
To turn cruise control off, do
one of the following:
• Push the CRUISE ON-OFF button
(the CRUISE indicator light in the
instrument cluster will go OFF).
• Turn the ignition off.
Both of these actions cancel cruise
control operation. If you want to
resume cruise control operation,
repeat the steps provided in “To Set
Cruise Control Speed” on the previ-
ous page.
To increase cruise control set
speed:
Follow either of these procedures:
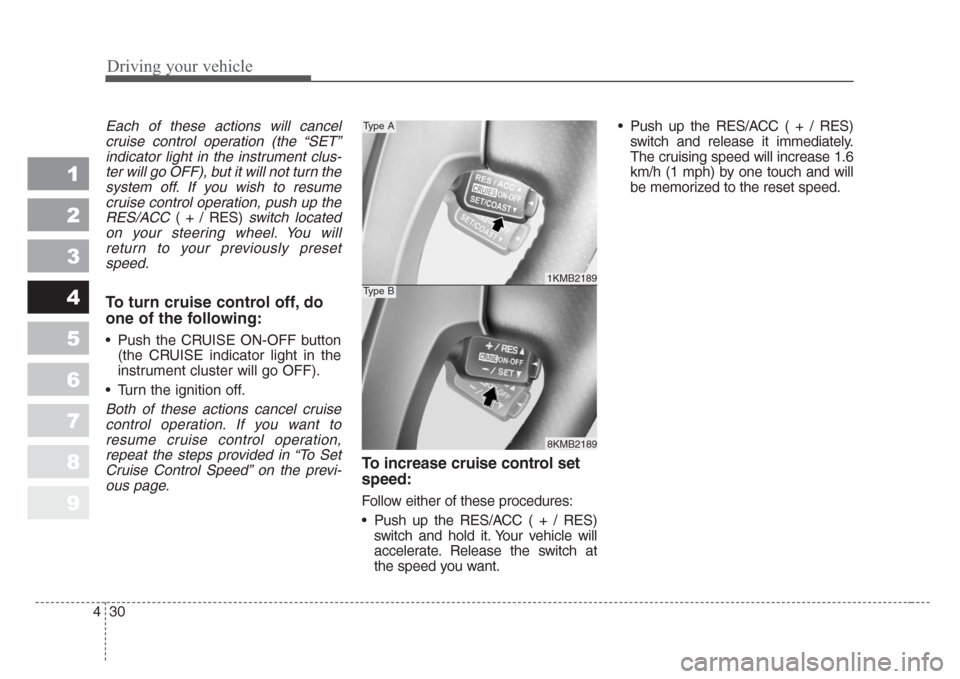
• Push up the RES/ACC ( + / RES)
switch and hold it. Your vehicle will
accelerate. Release the switch at
the speed you want.• Push up the RES/ACC ( + / RES)
switch and release it immediately.
The cruising speed will increase 1.6
km/h (1 mph) by one touch and will
be memorized to the reset speed.
1KMB2189
8KMB2189
Type A
Type B
Page 149 of 350
431
Driving your vehicle
1
2
3
4
5
6
7
8
9
To temporarily accelerate with
the cruise control on
If you want to speed up temporarily
when the cruise control is on,
depress the accelerator pedal.
Increased speed will not interfere
with cruise control operation or
change the set speed.
To return to the set speed, take your
foot off the accelerator.
To decrease the cruising
speed:
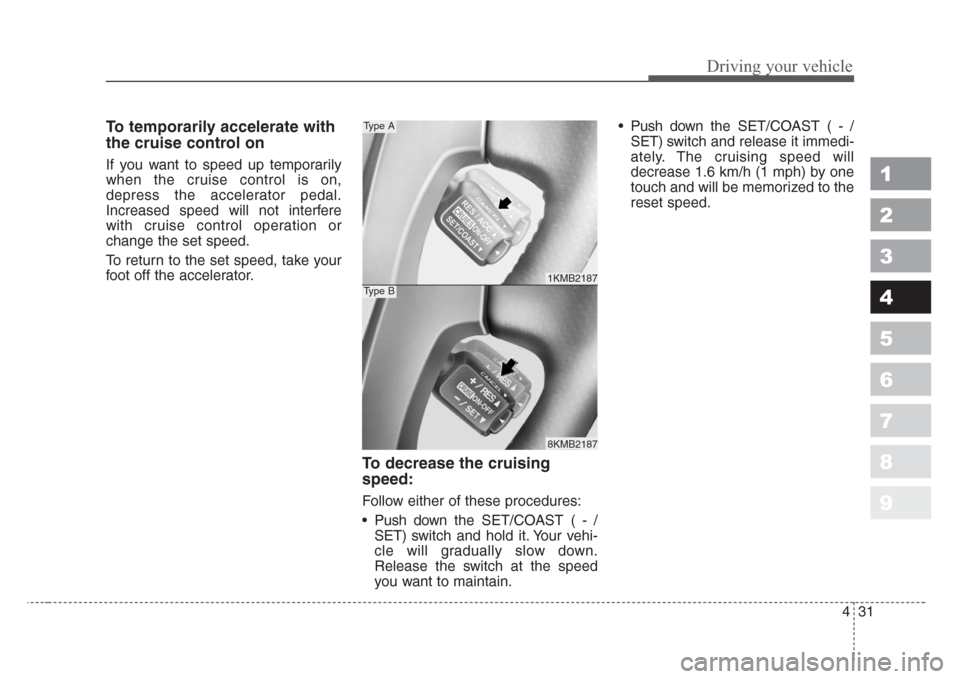
Follow either of these procedures:
• Push downthe SET/COAST ( - /
SET) switch and hold it. Your vehi-
cle will gradually slow down.
Release the switch at the speed
you want to maintain.• Push downthe SET/COAST ( - /
SET) switch and release it immedi-
ately. The cruising speed will
decrease 1.6 km/h (1 mph) by one
touch and will be memorized to the
reset speed.
1KMB2187
8KMB2187
Type A
Type B
Page 160 of 350
Driving your vehicle
42 4
1
2
3
4
5
6
7
8
9
Tripmeter (trip odometer)
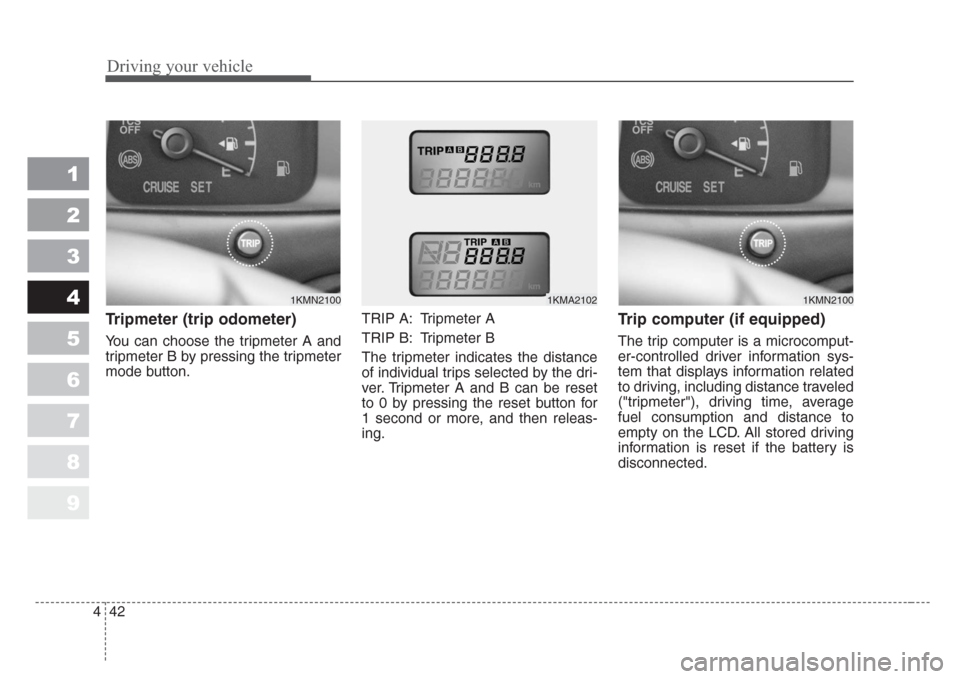
You can choose the tripmeter A and
tripmeter B by pressing the tripmeter
mode button.TRIP A: Tripmeter A
TRIP B: Tripmeter B
The tripmeter indicates the distance
of individual trips selected by the dri-
ver. Tripmeter A and B can be reset
to 0 by pressing the reset button for
1 second or more, and then releas-
ing.
Trip computer (if equipped)
The trip computer is a microcomput-
er-controlled driver information sys-
tem that displays information related
to driving, including distance traveled
("tripmeter"), driving time, average
fuel consumption and distance to
empty on the LCD. All stored driving
information is reset if the battery is
disconnected.
1KMN21001KMA21021KMN2100
Page 161 of 350
443
Driving your vehicle
1
2
3
4
5
6
7
8
9
Mode
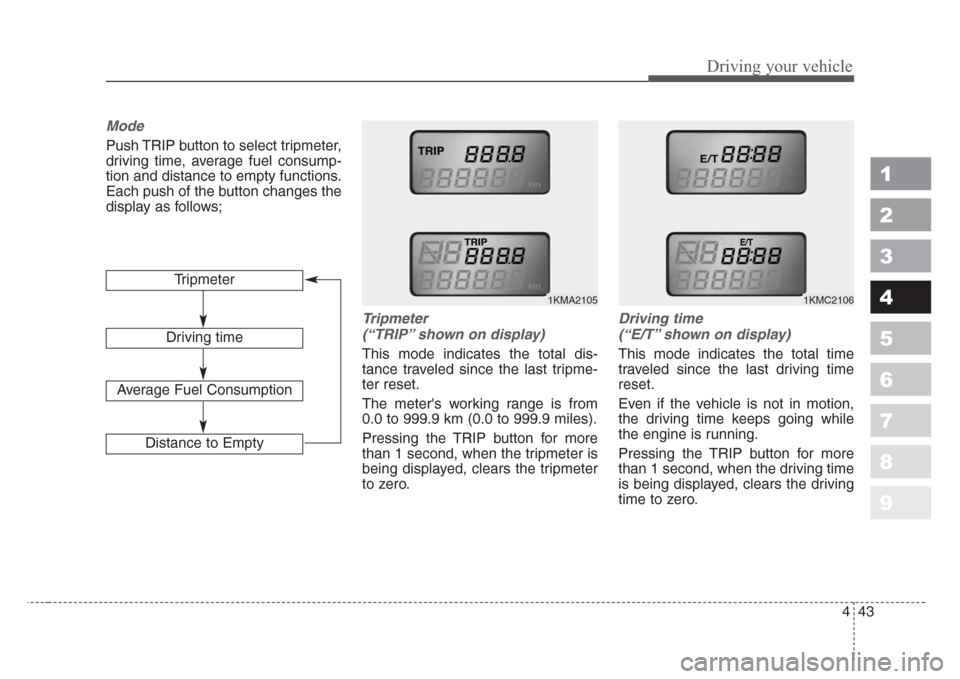
Push TRIP button to select tripmeter,
driving time, average fuel consump-
tion and distance to empty functions.
Each push of the button changes the
display as follows;
Tripmeter
(“TRIP”shown on display)
This mode indicates the total dis-
tance traveled since the last tripme-
ter reset.
The meter's working range is from
0.0 to 999.9 km (0.0 to 999.9 miles).
Pressing the TRIP button for more
than 1 second, when the tripmeter is
being displayed, clears the tripmeter
to zero.
Driving time
(“E/T”shown on display)
This mode indicates the total time
traveled since the last driving time
reset.
Even if the vehicle is not in motion,
the driving time keeps going while
the engine is running.
Pressing the TRIP button for more
than 1 second, when the driving time
is being displayed, clears the driving
time to zero. Tripmeter
Driving time
Average Fuel Consumption
Distance to Empty
1KMA21051KMC2106
Page 162 of 350
Driving your vehicle
44 4
1
2
3
4
5
6
7
8
9
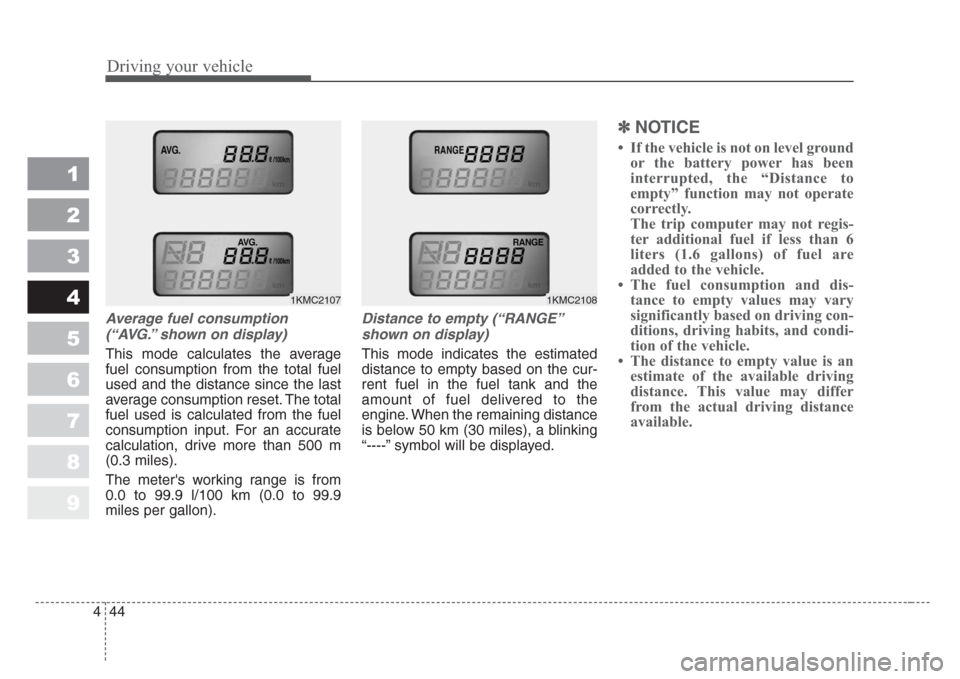
Average fuel consumption
(“AVG.” shown on display)
This mode calculates the average
fuel consumption from the total fuel
used and the distance since the last
average consumption reset. The total
fuel used is calculated from the fuel
consumption input. For an accurate
calculation, drive more than 500 m
(0.3 miles).
The meter's working range is from
0.0 to 99.9 l/100 km (0.0 to 99.9
miles per gallon).
Distance to empty (“RANGE”
shown on display)
This mode indicates the estimated
distance to empty based on the cur-
rent fuel in the fuel tank and the
amount of fuel delivered to the
engine. When the remaining distance
is below 50 km (30 miles), a blinking
“----” symbol will be displayed.
✽
NOTICE
• If the vehicle is not on level ground
or the battery power has been
interrupted, the “Distance to
empty” function may not operate
correctly.
The trip computer may not regis-
ter additional fuel if less than 6
liters (1.6 gallons) of fuel are
added to the vehicle.
• The fuel consumption and dis-
tance to empty values may vary
significantly based on driving con-
ditions, driving habits, and condi-
tion of the vehicle.
• The distance to empty value is an
estimate of the available driving
distance. This value may differ
from the actual driving distance
available.
1KMC21071KMC2108
Page 195 of 350
477
Driving your vehicle
1
2
3
4
5
6
7
8
9
Manual operation
The heating and cooling system can
be controlled manually as well by
pushing buttons other than the AUTO
button. In this case, the system
works sequentially according to the
order of buttons selected.
When pressing any button except
AUTO button while automatic opera-
tion, the functions of the buttons not
selected will be controlled automati-
cally.
Press the AUTO button in order to
convert to full automatic control of
the system.
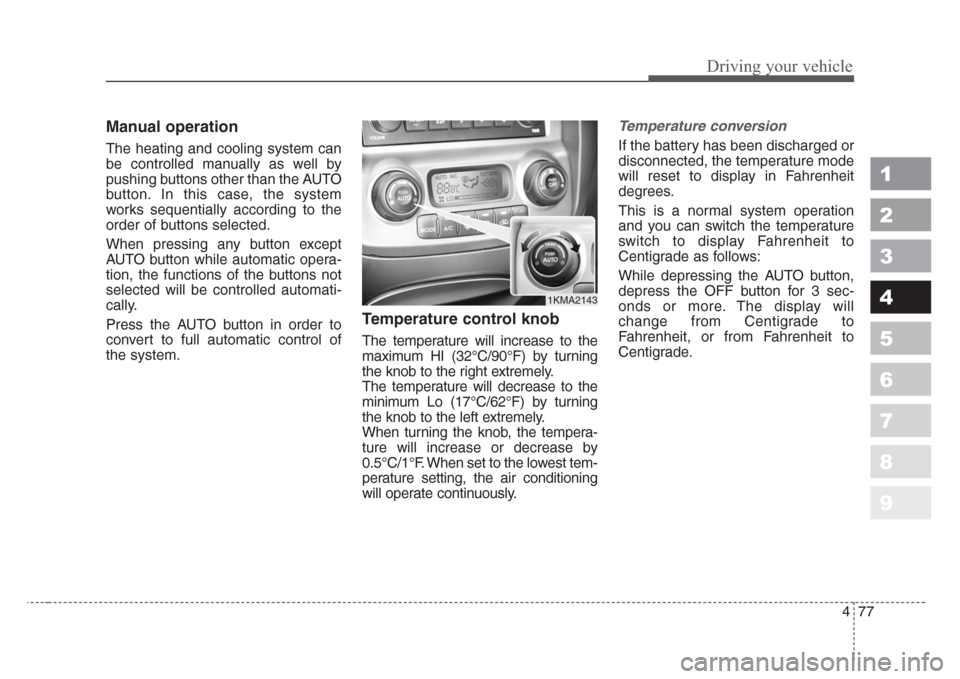
Temperature control knob
The temperature will increase to the
maximum HI (32°C/90°F) by turning
the knob to the right extremely.
The temperature will decrease to the
minimum Lo (17°C/62°F) by turning
the knob to the left extremely.
When turning the knob, the tempera-
ture will increase or decrease by
0.5°C/1°F. When set to the lowest tem-
perature setting, the air conditioning
will operate continuously.
Temperature conversion
If the battery has been discharged or
disconnected, the temperature mode
will reset to display in Fahrenheit
degrees.
This is a normal system operation
and you can switch the temperature
switch to display Fahrenheit to
Centigrade as follows:
While depressing the AUTO button,
depress the OFF button for 3 sec-
onds or more. The display will
change from Centigrade to
Fahrenheit, or from Fahrenheit to
Centigrade.
1KMA2143