wheel KIA Sportage 2009 JE_ / 2.G User Guide
[x] Cancel search | Manufacturer: KIA, Model Year: 2009, Model line: Sportage, Model: KIA Sportage 2009 JE_ / 2.GPages: 371, PDF Size: 3.5 MB
Page 88 of 371
379
1
2
3
4
5
6
7
8
9
Knowing your vehicle
When repairing or scrapping thevehicle Repairing the steering wheel, instrument panel, center console
or roofs, or installing a car audio
system around the center console
or painting the front metal sheet
could disable the airbag system.
Have such repairs and mainte-
nance performed by an authorized
Kia dealer.
Special care must be taken in scrapping or junking an airbag-
equipped vehicle. Always refer
such activities to a qualified profes-
sional.
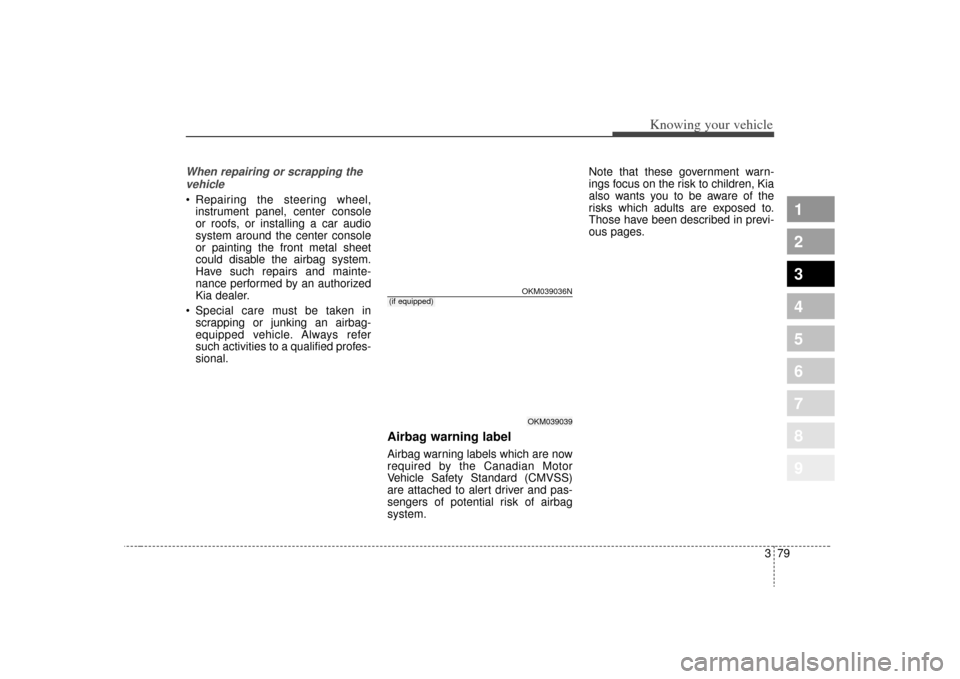
Airbag warning labelAirbag warning labels which are now
required by the Canadian Motor
Vehicle Safety Standard (CMVSS)
are attached to alert driver and pas-
sengers of potential risk of airbag
system. Note that these government warn-
ings focus on the risk to children, Kia
also wants you to be aware of the
risks which adults are exposed to.
Those have been described in previ-
ous pages.
OKM039036NOKM039039
(if equipped)
Page 148 of 371
1
2
3
4
5
6
7
8
9
Ignition switch / 4-2
Starting the engine / 4-4
Manual transaxle / 4-5
Automatic transaxle / 4-6
Four wheel drive (4WD) / 4-12
Brake system / 4-18
Steering wheel / 4-25
Cruise control system / 4-28
Electronic stability control / 4-32
Instrument cluster / 4-35
Gauges / 4-36
Warnings and indicators / 4-41
Compass / 4-49
Lighting / 4-52
Wipers and washers / 4-56
Defroster / 4-59
Hazard warning flasher / 4-60
Manual climate control system / 4-61
Automatic climate control system / 4-70
Windshield defrosting and defogging / 4-81
Driving your vehicle
10
Page 149 of 371
Driving your vehicle24
1
2
3
4
5
6
7
8
9
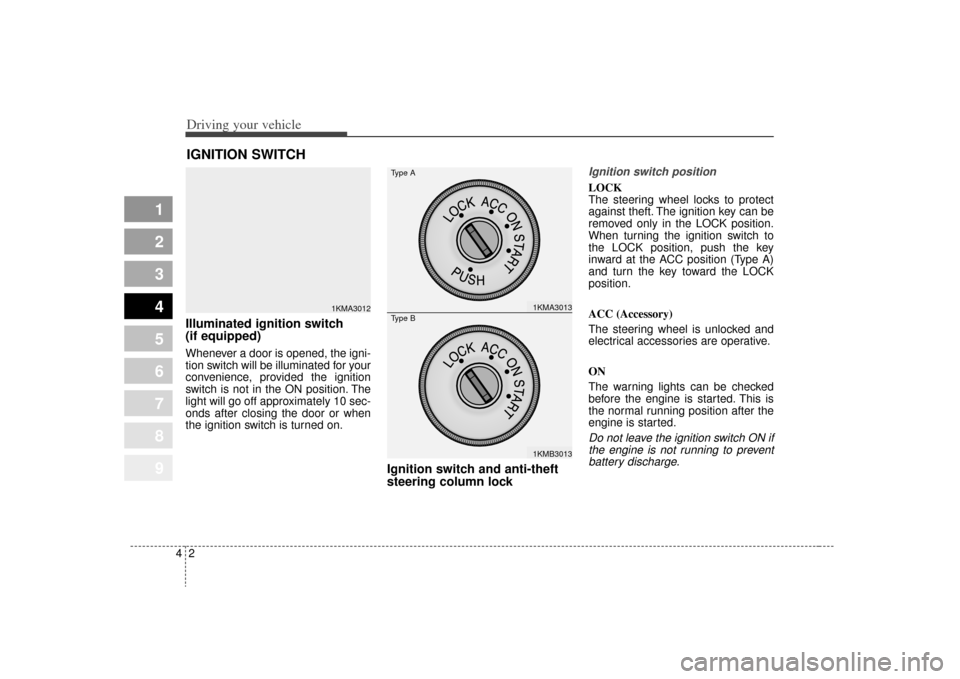
Illuminated ignition switch
(if equipped)Whenever a door is opened, the igni-
tion switch will be illuminated for your
convenience, provided the ignition
switch is not in the ON position. The
light will go off approximately 10 sec-
onds after closing the door or when
the ignition switch is turned on.
Ignition switch and anti-theft
steering column lock
Ignition switch positionLOCK
The steering wheel locks to protect
against theft. The ignition key can be
removed only in the LOCK position.
When turning the ignition switch to
the LOCK position, push the key
inward at the ACC position (Type A)
and turn the key toward the LOCK
position.
ACC (Accessory)
The steering wheel is unlocked and
electrical accessories are operative.
ON
The warning lights can be checked
before the engine is started. This is
the normal running position after the
engine is started.Do not leave the ignition switch ON ifthe engine is not running to preventbattery discharge.
IGNITION SWITCH
1KMA3012
1KMA30131KMB3013
Type AType B
Page 150 of 371
43
Driving your vehicle
1
2
3
4
5
6
7
8
9
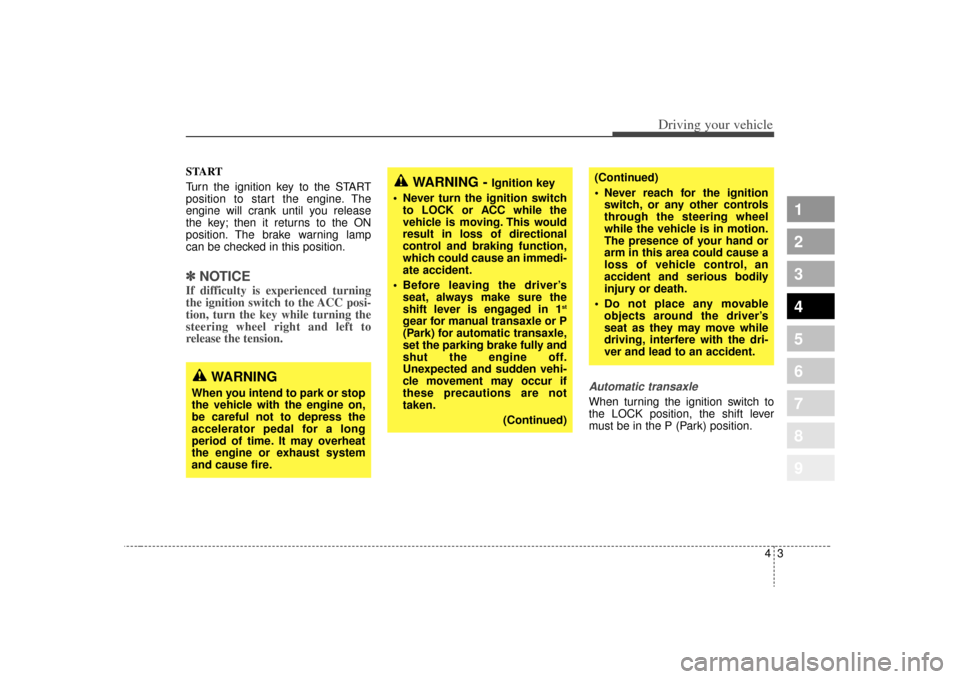
START
Turn the ignition key to the START
position to start the engine. The
engine will crank until you release
the key; then it returns to the ON
position. The brake warning lamp
can be checked in this position.✽ ✽NOTICEIf difficulty is experienced turning
the ignition switch to the ACC posi-
tion, turn the key while turning the
steering wheel right and left to
release the tension.
Automatic transaxleWhen turning the ignition switch to
the LOCK position, the shift lever
must be in the P (Park) position.
WARNING -
Ignition key
• Never turn the ignition switch to LOCK or ACC while the
vehicle is moving. This would
result in loss of directional
control and braking function,
which could cause an immedi-
ate accident.
Before leaving the driver’s seat, always make sure the
shift lever is engaged in 1
st
gear for manual transaxle or P
(Park) for automatic transaxle,
set the parking brake fully and
shut the engine off.
Unexpected and sudden vehi-
cle movement may occur if
these precautions are not
taken.
(Continued)
(Continued)
Never reach for the ignitionswitch, or any other controls
through the steering wheel
while the vehicle is in motion.
The presence of your hand or
arm in this area could cause a
loss of vehicle control, an
accident and serious bodily
injury or death.
Do not place any movable objects around the driver’s
seat as they may move while
driving, interfere with the dri-
ver and lead to an accident.
WARNING
When you intend to park or stop
the vehicle with the engine on,
be careful not to depress the
accelerator pedal for a long
period of time. It may overheat
the engine or exhaust system
and cause fire.
Page 155 of 371
Driving your vehicle84
1
2
3
4
5
6
7
8
9
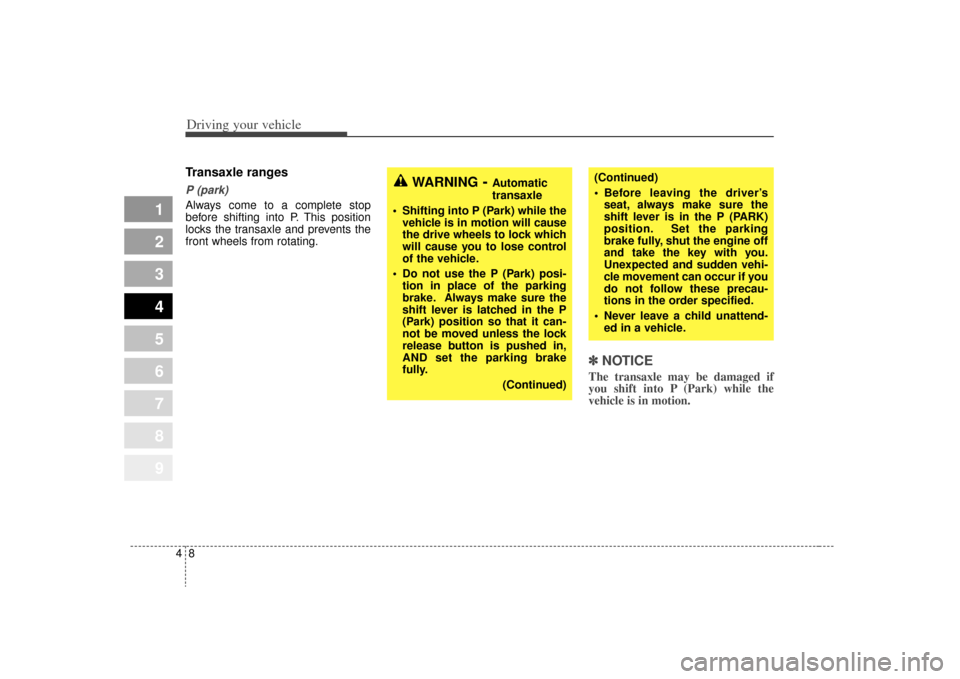
Transaxle rangesP (park)Always come to a complete stop
before shifting into P. This position
locks the transaxle and prevents the
front wheels from rotating.
✽ ✽
NOTICEThe transaxle may be damaged if
you shift into P (Park) while the
vehicle is in motion.(Continued)
Before leaving the driver’s
seat, always make sure the
shift lever is in the P (PARK)
position. Set the parking
brake fully, shut the engine off
and take the key with you.
Unexpected and sudden vehi-
cle movement can occur if you
do not follow these precau-
tions in the order specified.
Never leave a child unattend- ed in a vehicle.
WARNING
- Automatic
transaxle
Shifting into P (Park) while the vehicle is in motion will cause
the drive wheels to lock which
will cause you to lose control
of the vehicle.
Do not use the P (Park) posi- tion in place of the parking
brake. Always make sure the
shift lever is latched in the P
(Park) position so that it can-
not be moved unless the lock
release button is pushed in,
AND set the parking brake
fully.
(Continued)
Page 156 of 371
49
Driving your vehicle
1
2
3
4
5
6
7
8
9
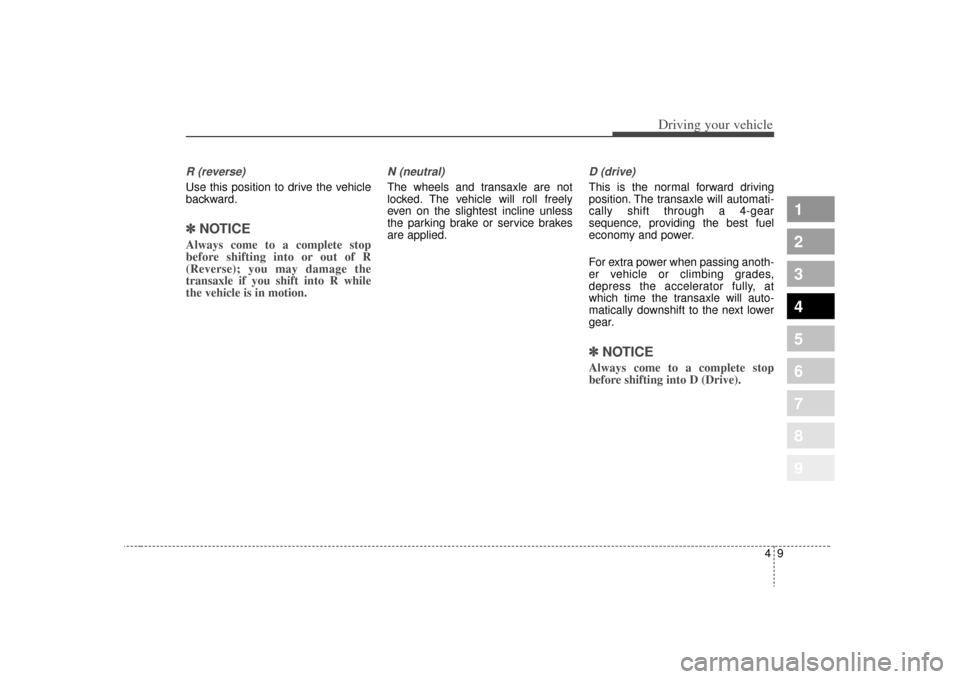
R (reverse)Use this position to drive the vehicle
backward.✽ ✽
NOTICEAlways come to a complete stop
before shifting into or out of R
(Reverse); you may damage the
transaxle if you shift into R while
the vehicle is in motion.
N (neutral)The wheels and transaxle are not
locked. The vehicle will roll freely
even on the slightest incline unless
the parking brake or service brakes
are applied.
D (drive)This is the normal forward driving
position. The transaxle will automati-
cally shift through a 4-gear
sequence, providing the best fuel
economy and power.
For extra power when passing anoth-
er vehicle or climbing grades,
depress the accelerator fully, at
which time the transaxle will auto-
matically downshift to the next lower
gear.✽ ✽
NOTICEAlways come to a complete stop
before shifting into D (Drive).
Page 159 of 371
Driving your vehicle12
4
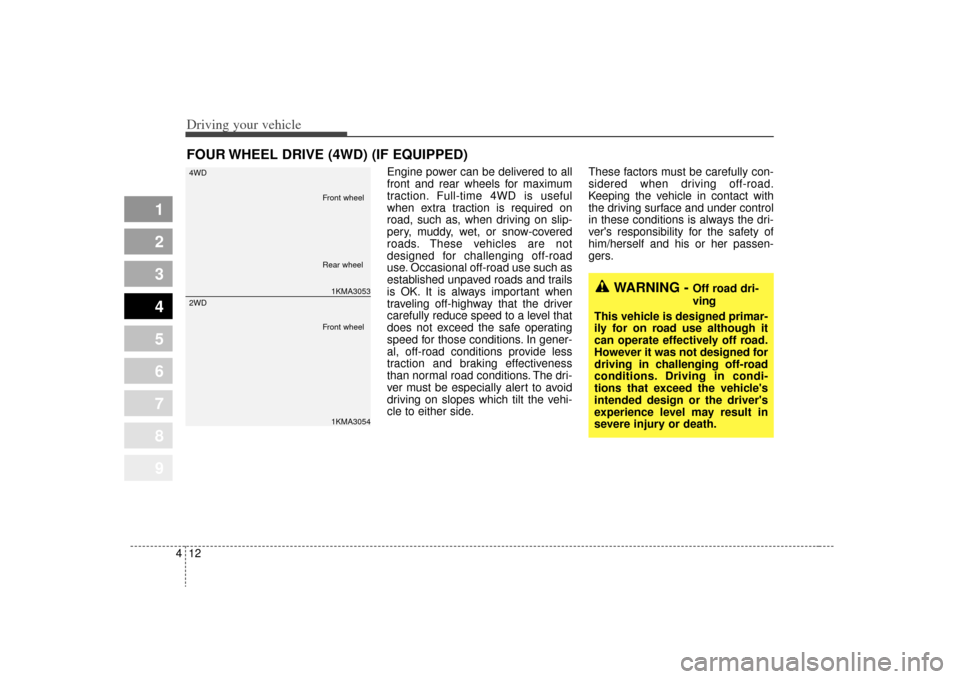
Engine power can be delivered to all
front and rear wheels for maximum
traction. Full-time 4WD is useful
when extra traction is required on
road, such as, when driving on slip-
pery, muddy, wet, or snow-covered
roads. These vehicles are not
designed for challenging off-road
use. Occasional off-road use such as
established unpaved roads and trails
is OK. It is always important when
traveling off-highway that the driver
carefully reduce speed to a level that
does not exceed the safe operating
speed for those conditions. In gener-
al, off-road conditions provide less
traction and braking effectiveness
than normal road conditions. The dri-
ver must be especially alert to avoid
driving on slopes which tilt the vehi-
cle to either side. These factors must be carefully con-
sidered when driving off-road.
Keeping the vehicle in contact with
the driving surface and under control
in these conditions is always the dri-
ver's responsibility for the safety of
him/herself and his or her passen-
gers.
FOUR WHEEL DRIVE (4WD) (IF EQUIPPED)
1
2
3
4
5
6
7
8
9
WARNING -
Off road dri-
ving
This vehicle is designed primar-
ily for on road use although it
can operate effectively off road.
However it was not designed for
driving in challenging off-road
conditions. Driving in condi-
tions that exceed the vehicle's
intended design or the driver's
experience level may result in
severe injury or death.
1KMA3053
4WD1KMA3054
2WD
Front wheel
Front wheel Rear wheel
Page 160 of 371
413
Driving your vehicle
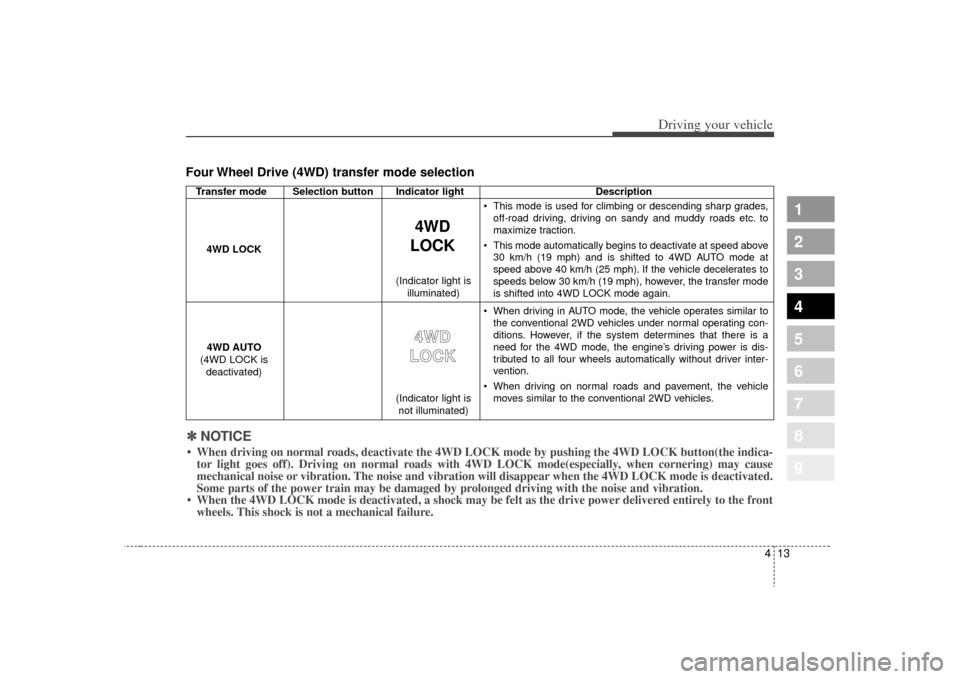
Four Wheel Drive (4WD) transfer mode selection
1
2
3
4
5
6
7
8
9
Transfer mode Selection button Indicator lightDescription
This mode is used for climbing or descending sharp grades,
off-road driving, driving on sandy and muddy roads etc. to
maximize traction.
This mode automatically begins to deactivate at speed above 30 km/h (19 mph) and is shifted to 4WD AUTO mode at
speed above 40 km/h (25 mph). If the vehicle decelerates to
speeds below 30 km/h (19 mph), however, the transfer mode
is shifted into 4WD LOCK mode again.
When driving in AUTO mode, the vehicle operates similar to the conventional 2WD vehicles under normal operating con-
ditions. However, if the system determines that there is a
need for the 4WD mode, the engine’s driving power is dis-
tributed to all four wheels automatically without driver inter-
vention.
When driving on normal roads and pavement, the vehicle moves similar to the conventional 2WD vehicles.
4WD
LOCK
4WD LOCK
4WD AUTO
(4WD LOCK is deactivated)
4 4W
W D
D
L
L O
O C
CK
K
(Indicator light is
not illuminated)
(Indicator light is
illuminated)
✽
✽
NOTICE• When driving on normal roads, deactivate the 4WD LOCK mode by pushing the 4WD LOCK button(the i\
ndica-
tor light goes off). Driving on normal roads with 4WD LOCK mode(especially, when cornering) may cause
mechanical noise or vibration. The noise and vibration will disappear when the 4WD LOCK mode is deactivated.
Some parts of the power train may be damaged by prolonged driving with the noise and vibration.
• When the 4WD LOCK mode is deactivated, a shock may be felt as the drive \
power delivered entirely to the front wheels. This shock is not a mechanical failure.
Page 161 of 371
Driving your vehicle14
4
1
2
3
4
5
6
7
8
9
For safe four-wheel drive oper-
ation Do not try to drive in deep standing
water or mud since such conditions
can stall your engine and clog your
exhaust pipes. Do not drive down
steep hills since it requires extreme
skill to maintain control of the vehi-
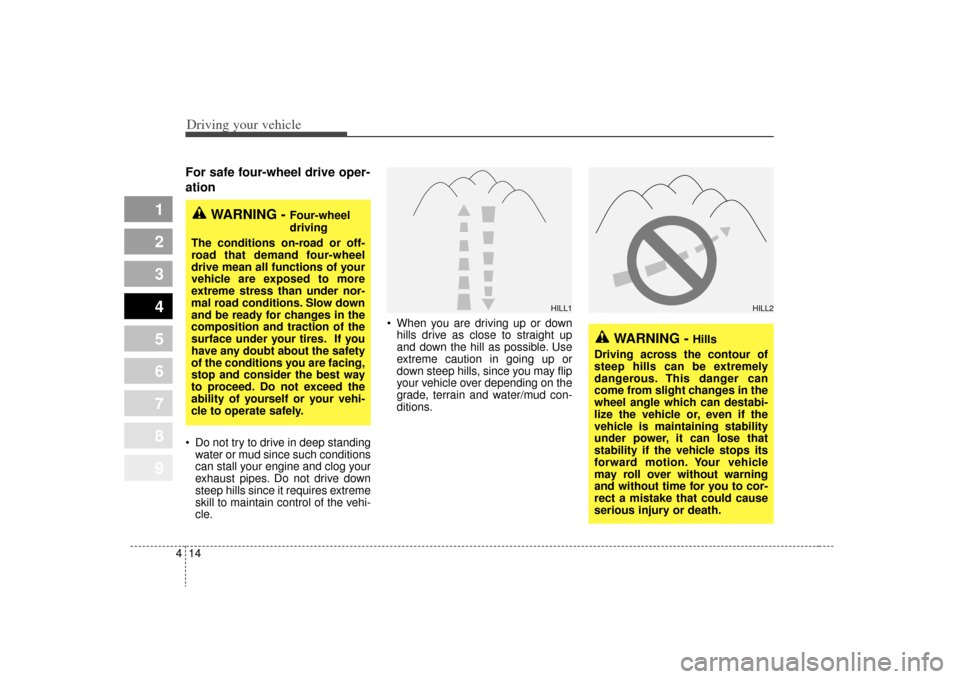
cle. When you are driving up or down
hills drive as close to straight up
and down the hill as possible. Use
extreme caution in going up or
down steep hills, since you may flip
your vehicle over depending on the
grade, terrain and water/mud con-
ditions.
WARNING -
Hills
Driving across the contour of
steep hills can be extremely
dangerous. This danger can
come from slight changes in the
wheel angle which can destabi-
lize the vehicle or, even if the
vehicle is maintaining stability
under power, it can lose that
stability if the vehicle stops its
forward motion. Your vehicle
may roll over without warning
and without time for you to cor-
rect a mistake that could cause
serious injury or death.
WARNING -
Four-wheel
driving
The conditions on-road or off-
road that demand four-wheel
drive mean all functions of your
vehicle are exposed to more
extreme stress than under nor-
mal road conditions. Slow down
and be ready for changes in the
composition and traction of the
surface under your tires. If you
have any doubt about the safety
of the conditions you are facing,
stop and consider the best way
to proceed. Do not exceed the
ability of yourself or your vehi-
cle to operate safely.
HILL1
HILL2
Page 162 of 371
415
Driving your vehicle
You must consciously take theeffort to learn how to corner in a
4WD vehicle. Do not rely on your
experience in conventional 2WD
vehicles in choosing safe cornering
speed in 4WD mode. For starters,
you must drive more slowly in
4WD.
Drive carefully off-road because your vehicle may be damaged by
rocks or roots of trees. Become
familiar with the off-road conditions
where you are going to drive
before you begin driving. Always hold the steering wheel
firmly when you are driving off-
road.
Make sure all passengers are wearing seat belts.
1
2
3
4
5
6
7
8
9
WARNING -
4WD
Reduce speed when you turn
corners. The center of gravity of
4WD vehicles is higher than that
of conventional 2WD vehicles,
making them more likely to roll
over when you turn corners too
fast.
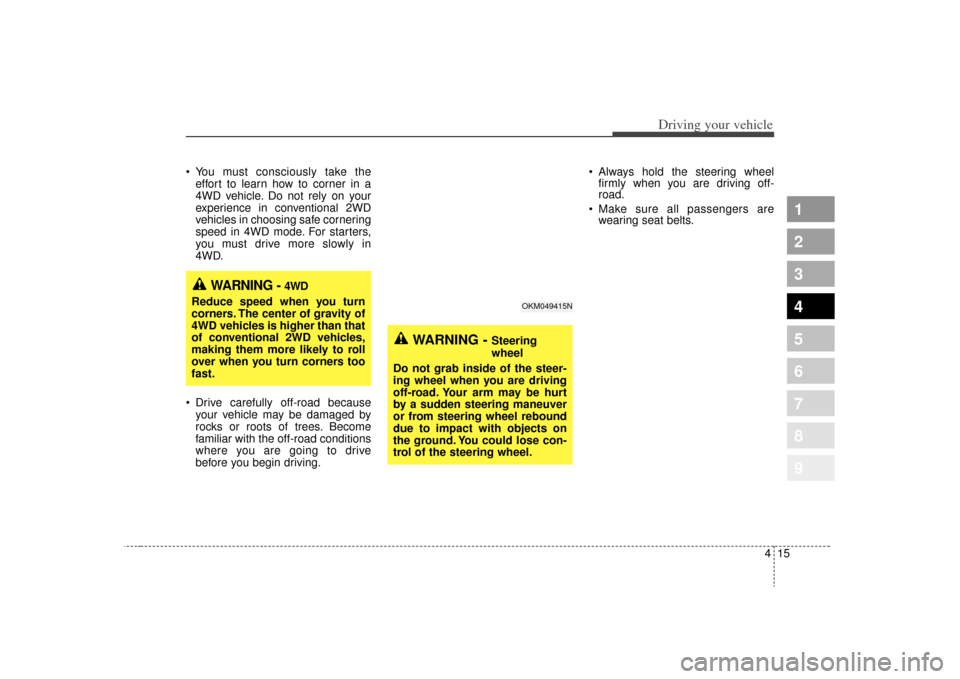
WARNING -
Steering
wheel
Do not grab inside of the steer-
ing wheel when you are driving
off-road. Your arm may be hurt
by a sudden steering maneuver
or from steering wheel rebound
due to impact with objects on
the ground. You could lose con-
trol of the steering wheel.
OKM049415N