light KIA Sportage 2009 JE_ / 2.G Owner's Manual
[x] Cancel search | Manufacturer: KIA, Model Year: 2009, Model line: Sportage, Model: KIA Sportage 2009 JE_ / 2.GPages: 371, PDF Size: 3.5 MB
Page 9 of 371
23
1
2
3
4
5
6
7
8
9
Your vehicle at a glance
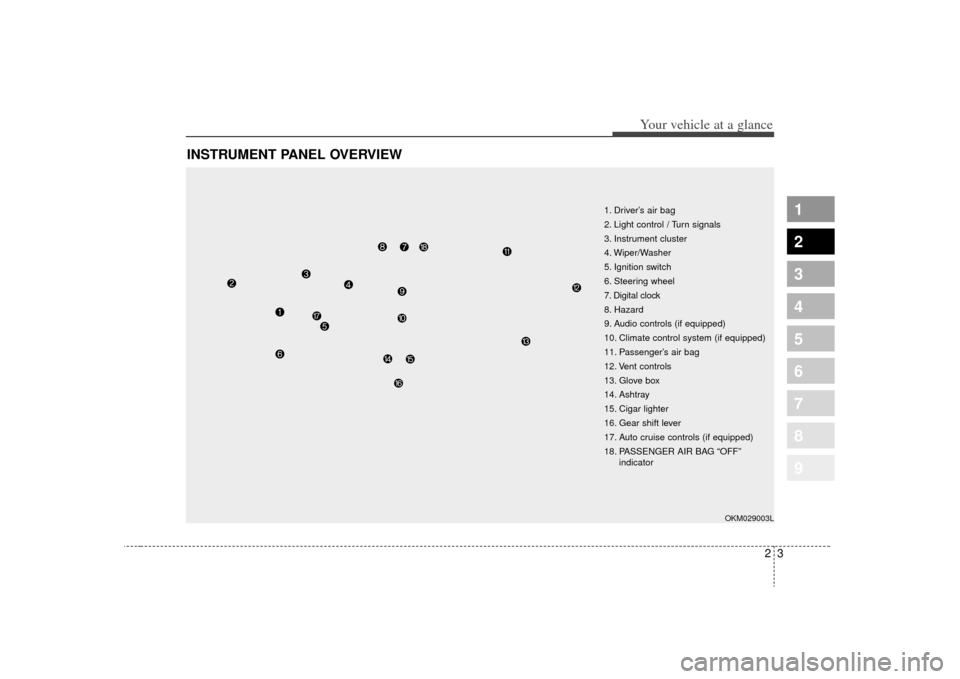
INSTRUMENT PANEL OVERVIEW
1. Driver’s air bag
2. Light control / Turn signals
3. Instrument cluster
4. Wiper/Washer
5. Ignition switch
6. Steering wheel
7. Digital clock
8. Hazard
9. Audio controls (if equipped)
10. Climate control system (if equipped)
11. Passenger’s air bag
12. Vent controls
13. Glove box
14. Ashtray
15. Cigar lighter
16. Gear shift lever
17. Auto cruise controls (if equipped)
18. PASSENGER AIR BAG “OFF”indicator
OKM029003L
Page 10 of 371
1
2
3
4
5
6
7
8
9
Keys / 3-2
Remote keyless entry / 3-3
Theft-alarm system / 3-5
Immobilizer system / 3-6
Door locks / 3-9
Window / 3-16
Seat / 3-19
Safety belts / 3-31
Airbags - advanced supplemental restraint system / 3-55
Hood / 3-80
Fuel filler lid / 3-81
Mirrors / 3-84
Interior lights / 3-88
Storage compartment / 3-89
Interior features / 3-92
Sunroof / 3-97
Luggage net / 3-101
Tonneau cover / 3-102
Luggage center box / 3-104
Roof rack / 3-105
Audio system / 3-106
Knowing your vehicle
Page 12 of 371
33
Knowing your vehicle
1
2
3
4
5
6
7
8
9
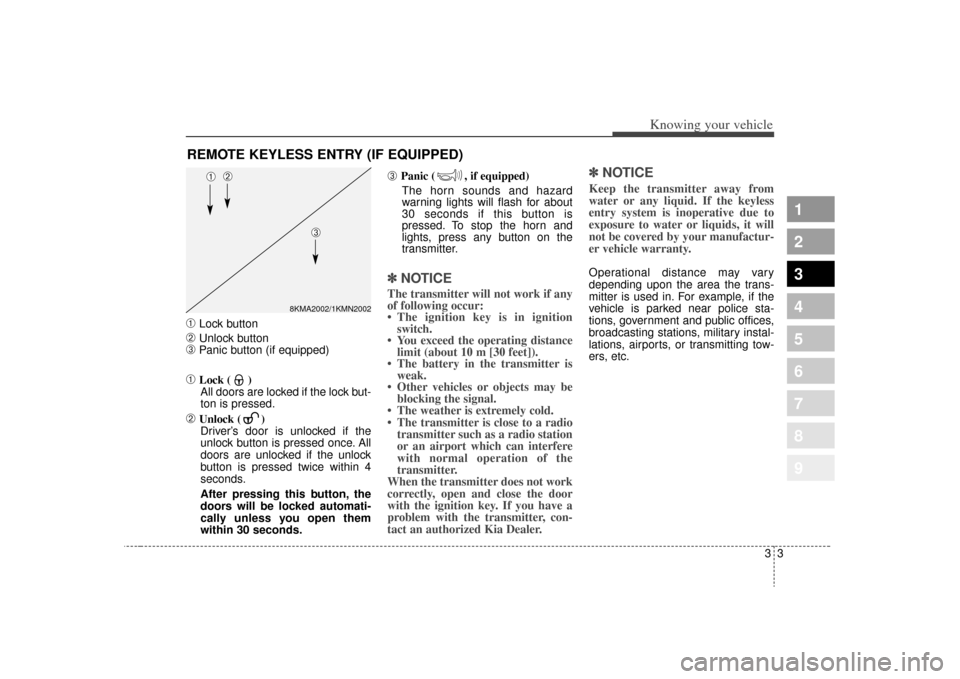
➀
Lock button
➁
Unlock button
➂
Panic button (if equipped)
➀
Lock ( )All doors are locked if the lock but-
ton is pressed.
➁
Unlock ( ) Driver’s door is unlocked if the
unlock button is pressed once. All
doors are unlocked if the unlock
button is pressed twice within 4
seconds.
After pressing this button, the
doors will be locked automati-
cally unless you open them
within 30 seconds.
➂
Panic ( , if equipped)
The horn sounds and hazard
warning lights will flash for about
30 seconds if this button is
pressed. To stop the horn and
lights, press any button on the
transmitter.
✽ ✽ NOTICEThe transmitter will not work if any
of following occur:
• The ignition key is in ignition
switch.
• You exceed the operating distance limit (about 10 m [30 feet]).
• The battery in the transmitter is weak.
• Other vehicles or objects may be blocking the signal.
• The weather is extremely cold.
• The transmitter is close to a radio transmitter such as a radio station
or an airport which can interfere
with normal operation of the
transmitter.
When the transmitter does not work
correctly, open and close the door
with the ignition key. If you have a
problem with the transmitter, con-
tact an authorized Kia Dealer.
✽ ✽ NOTICEKeep the transmitter away from
water or any liquid. If the keyless
entry system is inoperative due to
exposure to water or liquids, it will
not be covered by your manufactur-
er vehicle warranty. Operational distance may vary
depending upon the area the trans-
mitter is used in. For example, if the
vehicle is parked near police sta-
tions, government and public offices,
broadcasting stations, military instal-
lations, airports, or transmitting tow-
ers, etc.
REMOTE KEYLESS ENTRY (IF EQUIPPED)
8KMA2002/1KMN2002
➀
➁
➂
Page 13 of 371

Knowing your vehicle43
1
2
3
4
5
6
7
8
9
This device complies with
Industry Canada Standard RSS-
210.Operation is subject to the fol-
lowing two conditions:
1. This device may not cause inter- ference, and
2. This device must accept any inter- ference, including interference that
may cause undesired operation of
the device.
Battery replacementTransmitter uses a 3 volt lithium bat-
tery which will normally last for sev-
eral years. When replacement is nec-
essary, use the following procedure.
1. Insert a slim tool into the slot andgently pry open the transmitter
center cover (
➀).
2. Replace the battery with new one. When replacing the battery, make
sure the battery positive “+” sym-
bol faces up as indicated in the
illustration.
3. Install the battery in the reverse order of removal. For replacement transmitters, see an
Authorized Kia dealer for reprogram-
ming.
✽ ✽
NOTICEThe keyless entry system transmit-
ter is designed to give you years of
troublefree use, however it can mal-
function if exposed to moisture or
static electricity. If you are unsure
how to use your transmitter or
replace the battery, contact an
authorized Kia dealer. ✽ ✽NOTICE• Using the wrong battery can cause
the transmitter to malfunction. Be
sure to use the correct battery.
• To avoid damaging the transmit- ter, don't drop it, get it wet, or
expose it to heat or sunlight.
1KMA2003
➀
WARNING
Changes or modifications not
expressly approved by the party
responsible for compliance
could void the user's authority
to operate the equipment.
CAUTION
An inappropriately disposed
battery can be harmful to theenvironment and human health.Dispose the battery according toyour local law(s) or regulation.
Page 14 of 371
35
Knowing your vehicle
1
2
3
4
5
6
7
8
9
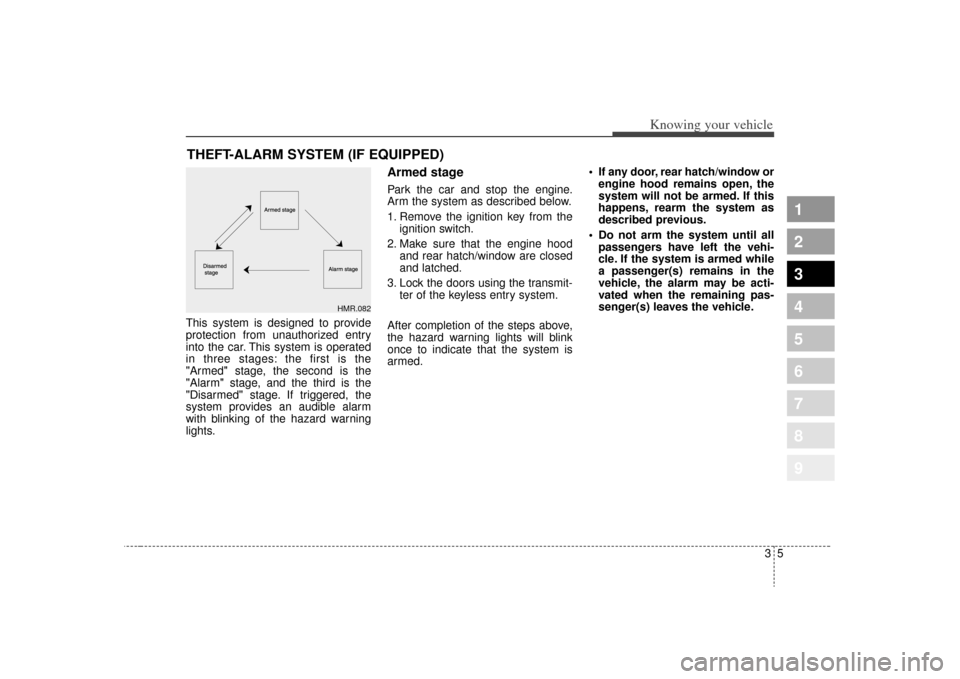
This system is designed to provide
protection from unauthorized entry
into the car. This system is operated
in three stages: the first is the
"Armed" stage, the second is the
"Alarm" stage, and the third is the
"Disarmed" stage. If triggered, the
system provides an audible alarm
with blinking of the hazard warning
lights.
Armed stagePark the car and stop the engine.
Arm the system as described below.
1. Remove the ignition key from theignition switch.
2. Make sure that the engine hood and rear hatch/window are closed
and latched.
3. Lock the doors using the transmit- ter of the keyless entry system.
After completion of the steps above,
the hazard warning lights will blink
once to indicate that the system is
armed. • If any door, rear hatch/window or
engine hood remains open, the
system will not be armed. If this
happens, rearm the system as
described previous.
Do not arm the system until all passengers have left the vehi-
cle. If the system is armed while
a passenger(s) remains in the
vehicle, the alarm may be acti-
vated when the remaining pas-
senger(s) leaves the vehicle.
THEFT-ALARM SYSTEM (IF EQUIPPED)
HMR.082
Page 15 of 371
Knowing your vehicle63
1
2
3
4
5
6
7
8
9
Alarm stageThe alarm will be activated if any of
the following occurs while the system
is armed.
A front or rear door is opened with-out using the ignition key or trans-
mitter.
The rear hatch/window is opened without using the ignition key or
transmitter.
The engine hood is opened.
The siren will sound and the hazard
warning lights will blink continuously
for 27 seconds, and repeat the alarm
3 times unless the system is dis-
armed. To turn off the system, unlock
the doors with the ignition key or
transmitter.✽ ✽ NOTICEAvoid trying to start the engine
while the alarm is activated. The
vehicle starting motor is disabled
during the alarm stage.
Disarmed stageThe system will be disarmed when
the doors are unlocked by depress-
ing the unlock button on the transmit-
ter or unlocked with the ignition key.
After depressing unlock button, the
hazard warning lights will blink twice
to indicate that the system is dis-
armed.
After depressing unlock button, if any
door is not opened within 30 sec-
onds, the system will be rearmed.
If the system is not disarmed with the
ignition key or transmitter, insert the
key in the ignition switch, turn the key
to the ON position and wait for 30
seconds. Then the system will be dis-
armed. Your vehicle is equipped with an elec-
tronic engine immobilizer system to
reduce the risk of unauthorized vehi-
cle use.
Your immobilizer system is comprised
of a small transponder in the ignition
key, and antenna coil in the key cylin-
der and Immobilizer Control Unit (or
Smartra Unit).
With this system, whenever you insert
your ignition key into the ignition
switch and turn it to ON, the antenna
coil in the ignition switch receives a
signal from the transponder in the
ignition key and then sends the signal
to the ECU (Engine Control Unit).
The ECU checks the signal whether
the ignition key is valid.
If the key is determined to be valid,
the engine will start.
If the key is determined to be invalid,
the engine will not start.
IMMOBILIZER SYSTEM
(IF EQUIPPED)
Page 26 of 371
317
Knowing your vehicle
1
2
3
4
5
6
7
8
9
The ignition switch must be in the ON
position for power windows to oper-
ate. Each door has a power window
switch that controls that door’s win-
dow. However, the driver has a power
window lock switch which can block
the operation of passenger windows.
The power windows can be operated
for approximately 30 seconds after
the ignition key is removed or turned
to the ACC or LOCK position.
However, if the front doors are
opened, the power windows cannot
be operated even within the 30 sec-
onds after the ignition key removal.
✽ ✽NOTICEWhile driving with the rear windows
down or with the sunroof (if
equipped) in an open (or partially
open) position, your vehicle may
demonstrate a wind buffeting or
pulsation noise. This noise is a nor-
mal occurrence and can be reduced
or eliminated by taking the follow-
ing actions. If the noise occurs with
one or both of the rear windows
down, partially lower both front
windows approximately one inch. If
you experience the noise with the
sunroof open, slightly reduce the
size of the sunroof opening. ✽ ✽NOTICE• To prevent the power window sys-
tem from the possibility of dam-
age, do not open or close two win-
dows at the same time. This will
also ensure the longevity of the
fuse. (Continued)(Continued)
• Never try to operate the main
switch on the driver's door and the
individual door window switch in
opposing directions at the same
time. If this is done, the window
will stop and cannot be opened or
closed.
CAUTION -
Windows
Always double check to make
sure all arms, hands, head andother obstructions are safelyout of the way before closing awindow.
Do not allow children to play with the power windows. Keepthe driver’s door power win-dow lock switch in the LOCKposition (depressed). Seriousinjury can result from uninten-tional window operation bythe child.
Do not extend face or arms outside through the windowopening while driving.
Page 30 of 371
321
Knowing your vehicle
1
2
3
4
5
6
7
8
9
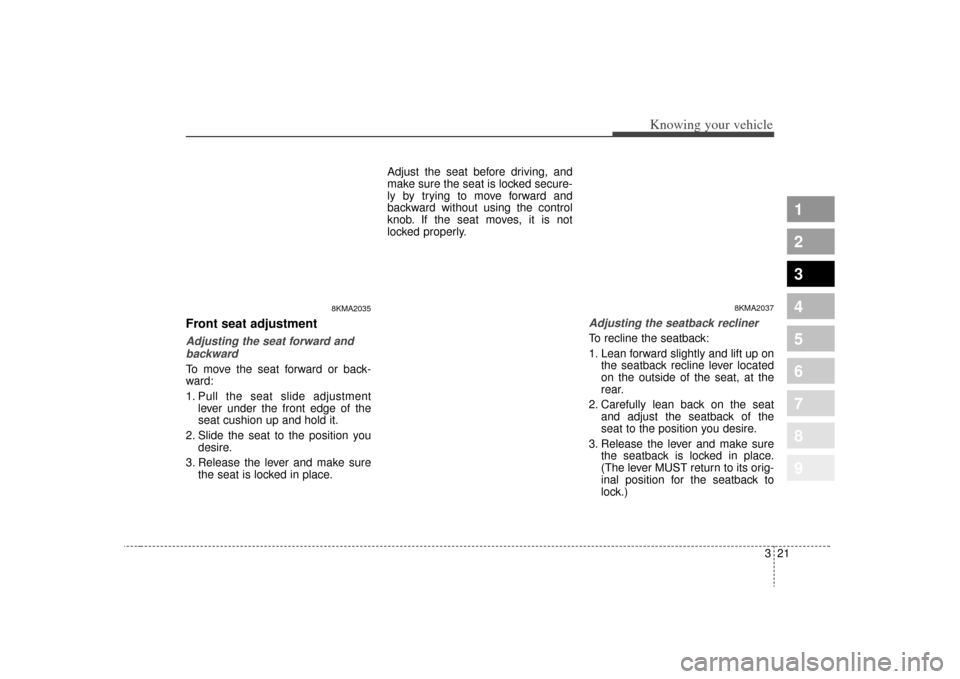
Front seat adjustmentAdjusting the seat forward andbackwardTo move the seat forward or back-
ward:
1. Pull the seat slide adjustment lever under the front edge of the
seat cushion up and hold it.
2. Slide the seat to the position you desire.
3. Release the lever and make sure the seat is locked in place. Adjust the seat before driving, and
make sure the seat is locked secure-
ly by trying to move forward and
backward without using the control
knob. If the seat moves, it is not
locked properly.
Adjusting the seatback reclinerTo recline the seatback:
1. Lean forward slightly and lift up on
the seatback recline lever located
on the outside of the seat, at the
rear.
2. Carefully lean back on the seat and adjust the seatback of the
seat to the position you desire.
3. Release the lever and make sure the seatback is locked in place.
(The lever MUST return to its orig-
inal position for the seatback to
lock.)
8KMA2035
8KMA2037
Page 40 of 371
331
Knowing your vehicle
1
2
3
4
5
6
7
8
9
Pre-tensioner safety belt Your vehicle is equipped with driver's
and front passenger's pre-tensioner
safety belts. The purpose of the pre-
tensioner is to make sure that excess
slack is taken up in certain frontal
collisions. The pre-tensioners may
activate along with the front airbags
in frontal collisions based on angle of
impact, seat belt usage and impact
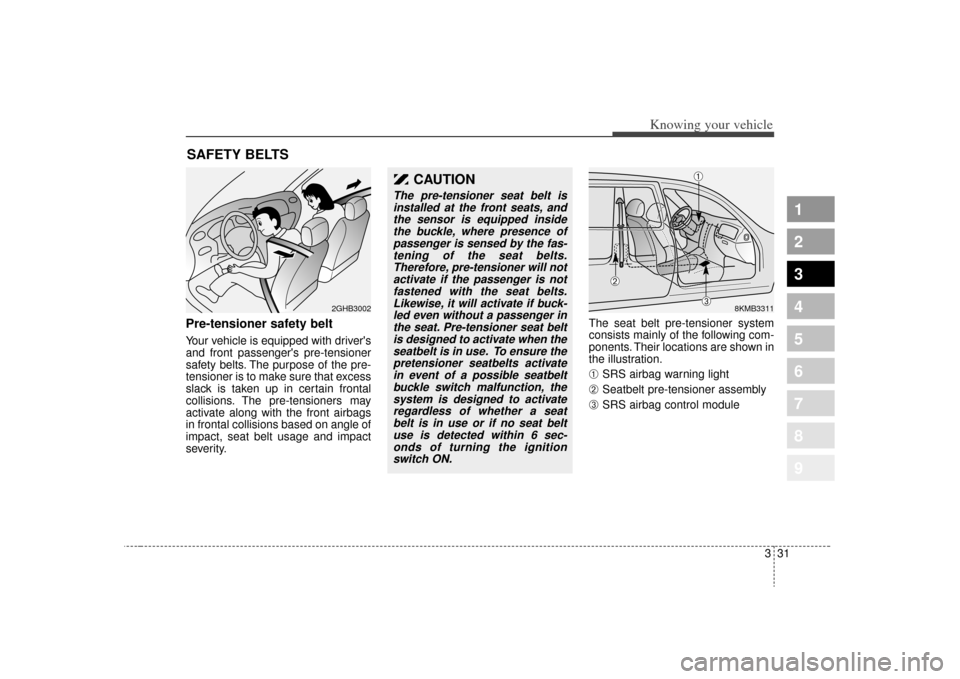
severity.The seat belt pre-tensioner system
consists mainly of the following com-
ponents. Their locations are shown in
the illustration.
➀
SRS airbag warning light
➁
Seatbelt pre-tensioner assembly
➂
SRS airbag control module
SAFETY BELTS
2GHB3002
CAUTION
The pre-tensioner seat belt is
installed at the front seats, andthe sensor is equipped insidethe buckle, where presence ofpassenger is sensed by the fas-tening of the seat belts.Therefore, pre-tensioner will notactivate if the passenger is notfastened with the seat belts.Likewise, it will activate if buck-led even without a passenger inthe seat. Pre-tensioner seat beltis designed to activate when theseatbelt is in use. To ensure thepretensioner seatbelts activatein event of a possible seatbeltbuckle switch malfunction, thesystem is designed to activateregardless of whether a seatbelt is in use or if no seat beltuse is detected within 6 sec-onds of turning the ignitionswitch ON.
8KMB3311
➀
➁
➂
Page 41 of 371
Knowing your vehicle32
3
1
2
3
4
5
6
7
8
9
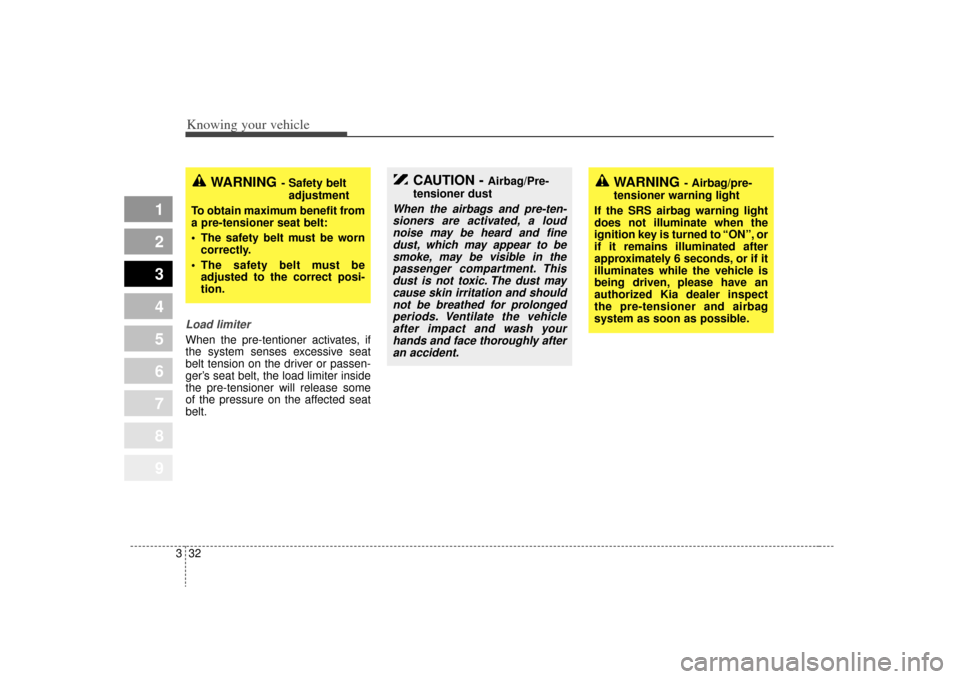
Load limiterWhen the pre-tentioner activates, if
the system senses excessive seat
belt tension on the driver or passen-
ger’s seat belt, the load limiter inside
the pre-tensioner will release some
of the pressure on the affected seat
belt.
CAUTION -
Airbag/Pre-
tensioner dust
When the airbags and pre-ten- sioners are activated, a loudnoise may be heard and finedust, which may appear to besmoke, may be visible in thepassenger compartment. Thisdust is not toxic. The dust maycause skin irritation and shouldnot be breathed for prolongedperiods. Ventilate the vehicleafter impact and wash yourhands and face thoroughly afteran accident.
WARNING
- Airbag/pre-
tensioner warning light
If the SRS airbag warning light
does not illuminate when the
ignition key is turned to “ON”, or
if it remains illuminated after
approximately 6 seconds, or if it
illuminates while the vehicle is
being driven, please have an
authorized Kia dealer inspect
the pre-tensioner and airbag
system as soon as possible.
WARNING
- Safety belt adjustment
To obtain maximum benefit from
a pre-tensioner seat belt:
The safety belt must be worn correctly.
The safety belt must be adjusted to the correct posi-
tion.