tow KIA Sportage 2009 JE_ / 2.G Owner's Manual
[x] Cancel search | Manufacturer: KIA, Model Year: 2009, Model line: Sportage, Model: KIA Sportage 2009 JE_ / 2.GPages: 371, PDF Size: 3.5 MB
Page 12 of 371
33
Knowing your vehicle
1
2
3
4
5
6
7
8
9
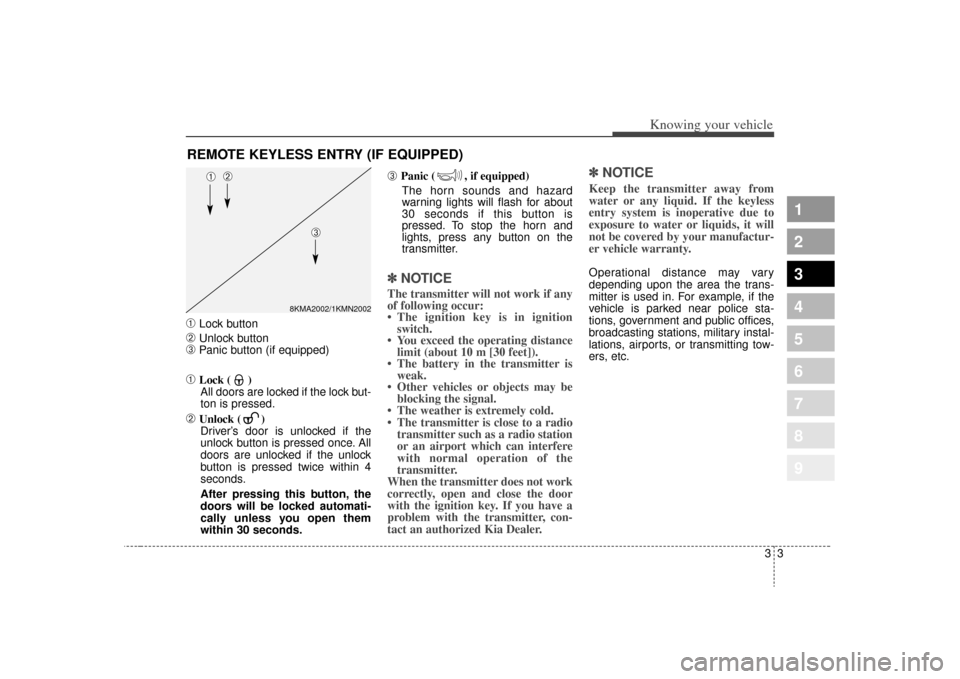
➀
Lock button
➁
Unlock button
➂
Panic button (if equipped)
➀
Lock ( )All doors are locked if the lock but-
ton is pressed.
➁
Unlock ( ) Driver’s door is unlocked if the
unlock button is pressed once. All
doors are unlocked if the unlock
button is pressed twice within 4
seconds.
After pressing this button, the
doors will be locked automati-
cally unless you open them
within 30 seconds.
➂
Panic ( , if equipped)
The horn sounds and hazard
warning lights will flash for about
30 seconds if this button is
pressed. To stop the horn and
lights, press any button on the
transmitter.
✽ ✽ NOTICEThe transmitter will not work if any
of following occur:
• The ignition key is in ignition
switch.
• You exceed the operating distance limit (about 10 m [30 feet]).
• The battery in the transmitter is weak.
• Other vehicles or objects may be blocking the signal.
• The weather is extremely cold.
• The transmitter is close to a radio transmitter such as a radio station
or an airport which can interfere
with normal operation of the
transmitter.
When the transmitter does not work
correctly, open and close the door
with the ignition key. If you have a
problem with the transmitter, con-
tact an authorized Kia Dealer.
✽ ✽ NOTICEKeep the transmitter away from
water or any liquid. If the keyless
entry system is inoperative due to
exposure to water or liquids, it will
not be covered by your manufactur-
er vehicle warranty. Operational distance may vary
depending upon the area the trans-
mitter is used in. For example, if the
vehicle is parked near police sta-
tions, government and public offices,
broadcasting stations, military instal-
lations, airports, or transmitting tow-
ers, etc.
REMOTE KEYLESS ENTRY (IF EQUIPPED)
8KMA2002/1KMN2002
➀
➁
➂
Page 17 of 371
Knowing your vehicle83
1
2
3
4
5
6
7
8
9
4. If all of the digits have been inputsuccessfully, you have to start the
engine within 30 seconds. If you
attempt to start the engine after 30
seconds, the engine will not start
and you will have to input your
password again.
After performing the limp home pro-
cedure, you have to see an autho-
rized Kia dealer immediately to
inspect and repair your ignition key
or immobilizer system.✽ ✽ NOTICEIf you cannot start your engine in
spite of limp home procedure, have
your vehicle towed by an authorized
Kia dealer for inspection and neces-
sary repairs.
✽ ✽NOTICEThe transponder in your ignition
key is an important part of the
immobilizer system. It is designed to
give years of troublefree service,
however you should avoid exposure
to moisture, static electricity and
rough handling. Immobilizer sys-
tem malfunction could occur.✽ ✽NOTICEDo not change, alter or adjust the
immobilizer system because it could
cause the immobilizer system to
malfunction and should only be ser-
viced by an authorized Kia dealer.
Malfunctions caused by improper
alterations, adjustments or modifi-
cations to the immobilizer system
are not covered by your vehicle
manufacturer warranty.
This device complies with
Industry Canada Standard RSS-
210. Operation is subject to the fol-
lowing two conditions:
1. This device may not cause inter- ference, and
2. This device must accept any inter- ference, including interference that
may cause undesired operation of
the device.
WARNING
Changes or modifications not
expressly approved by the party
responsible for compliance
could void the user's authority
to operate the equipment.
Page 18 of 371
39
Knowing your vehicle
1
2
3
4
5
6
7
8
9
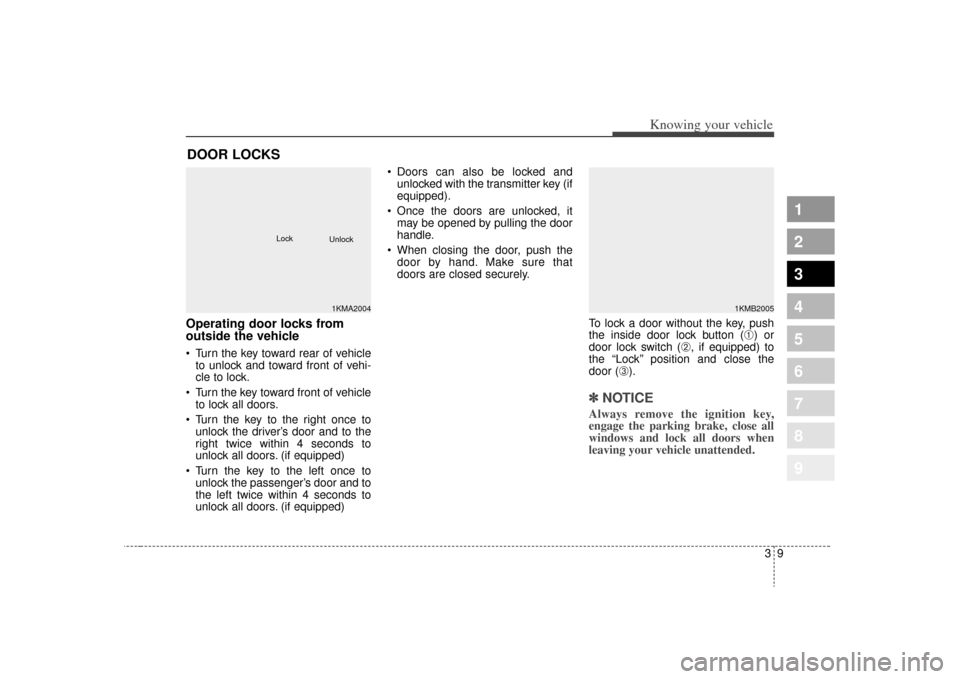
Operating door locks from
outside the vehicle Turn the key toward rear of vehicleto unlock and toward front of vehi-
cle to lock.
Turn the key toward front of vehicle to lock all doors.
Turn the key to the right once to unlock the driver’s door and to the
right twice within 4 seconds to
unlock all doors. (if equipped)
Turn the key to the left once to unlock the passenger’s door and to
the left twice within 4 seconds to
unlock all doors. (if equipped) Doors can also be locked and
unlocked with the transmitter key (if
equipped).
Once the doors are unlocked, it may be opened by pulling the door
handle.
When closing the door, push the door by hand. Make sure that
doors are closed securely.
To lock a door without the key, push
the inside door lock button (
➀) or
door lock switch (
➁, if equipped) to
the “Lock” position and close the
door (
➂).
✽ ✽ NOTICEAlways remove the ignition key,
engage the parking brake, close all
windows and lock all doors when
leaving your vehicle unattended.
DOOR LOCKS
1KMA2004
Lock
Unlock
1KMB2005
Page 31 of 371
Knowing your vehicle22
3
1
2
3
4
5
6
7
8
9
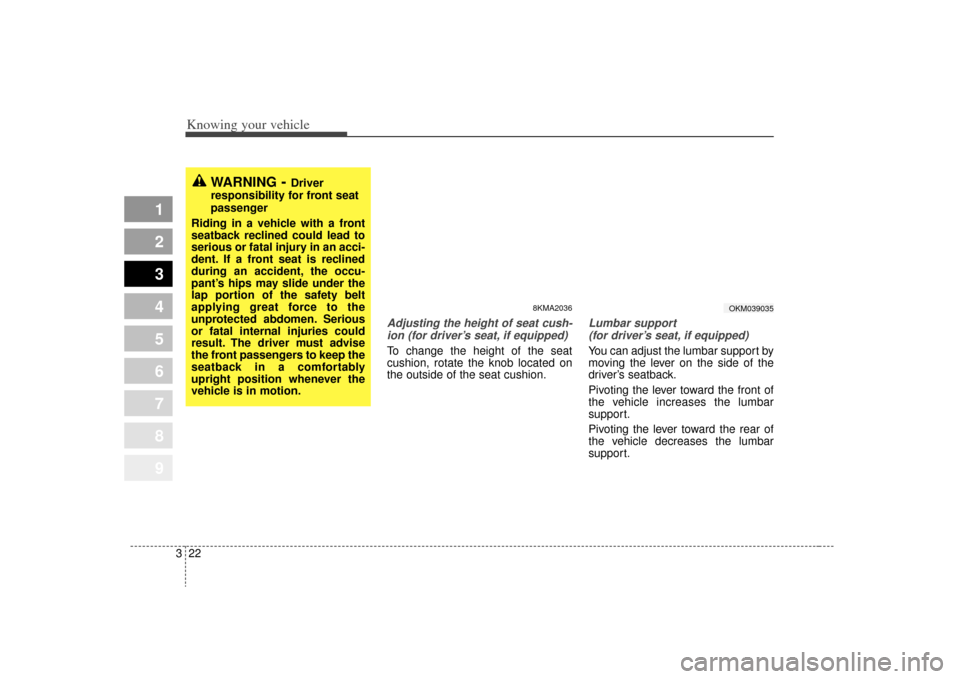
Adjusting the height of seat cush-
ion (for driver’s seat, if equipped)To change the height of the seat
cushion, rotate the knob located on
the outside of the seat cushion.
Lumbar support (for driver’s seat, if equipped) You can adjust the lumbar support by
moving the lever on the side of the
driver’s seatback.
Pivoting the lever toward the front of
the vehicle increases the lumbar
support.
Pivoting the lever toward the rear of
the vehicle decreases the lumbar
support.
WARNING
- Driver
responsibility for front seat
passenger
Riding in a vehicle with a front
seatback reclined could lead to
serious or fatal injury in an acci-
dent. If a front seat is reclined
during an accident, the occu-
pant’s hips may slide under the
lap portion of the safety belt
applying great force to the
unprotected abdomen. Serious
or fatal internal injuries could
result. The driver must advise
the front passengers to keep the
seatback in a comfortably
upright position whenever the
vehicle is in motion.
8KMA2036
OKM039035
Page 52 of 371
343
Knowing your vehicle
1
2
3
4
5
6
7
8
9
When using the rear center seat belt,
the buckle with the “CENTER” mark
must be used.
Proper use and care of the
safety belt system To ensure that the safety belts pro-
vide the maximum protection, please
follow these instructions:
Use the belts at all times - even onshort trips.
If the safety belt is twisted, straight- en it prior to use.
Keep sharp edges and damaging objects away from the belts.
Periodically inspect belt webbing, anchors, buckles and all other
parts for signs of wear and dam-
age. Replace damaged, excessive-
ly worn or questionable parts
immediately. To clean the belt webbing, use a
mild soap solution recommended
for cleaning upholstery or carpets.
Follow the instructions provided
with the soap.
Do not make modifications or addi- tions to the safety belt.
After wearing a safety belt, make sure it fully retracts to the stowed
position. Do not allow the belt to
get caught in the door when you
close it.
WARNING -
Belt cleaning
Do not bleach or dye the web-
bing because this may weaken
the webbing fibers and allow
them to fail when restraining an
occupant in a collision.
1KMB2051
Page 60 of 371
351
Knowing your vehicle
1
2
3
4
5
6
7
8
9
7. Double check that the retractor isin the “Auto Lock” mode by
attempting to pull more of the safe-
ty belt out of the retractor. If you
cannot, the retractor is in the “Auto
Lock” mode.
To remove the child restraint, press
the release button on the buckle and
then pull the lap/shoulder belt out of
the restraint and allow the safety belt
to retract fully.
When the safety belt is allowed to
retract to its fully stowed position,
the retractor will automatically
switch from the “Auto Lock” mode
to the emergency lock mode for
normal adult usage.
Securing a child restraint seatwith “Tether Anchor” system Child restraint hook holders are
located on the floor behind the rear
seats.
1. Open the tether anchor cover on the floor behind the rear seats.
WARNING
- Auto lock
mode
The lap/shoulder belt automati-
cally returns to the “emergency
lock mode” whenever the belt is
allowed to retract fully.
Therefore, the preceding seven
steps must be followed each
time a child restraint is
installed.
If the safety belt is not placed in
the “Auto lock” mode, severe
injury or death could occur to
the child and/or other occupants
in the vehicle in a collision,
since the child restraint will not
be effectively held in place.
8KMB3533
Page 67 of 371
Knowing your vehicle58
3
1
2
3
4
5
6
7
8
9
The SRS uses a collection of sen-
sors to gather information about the
driver’s and front passenger’s seat
position, the driver’s and front pas-
senger’s safety belt usage and
impact severity.
The driver's and front passenger's
seat position sensors, which are
installed on the seat track let the
airbag control module know where
the seats are positioned. Similarly,
the safety belt usage sensors mea-
sure if the driver and front passen-
ger’s safety belts are fastened. These
sensors provide the ability to control
the SRS deployment based on how
close the driver’s seat is to the steer-
ing wheel, how close the passen-
ger’s seat is to the instrument panel,
whether or not the safety belts are
fastened, and the severity of the
impact.
(Continued)
If your vehicle has been sub-
jected to flood conditions (e.g.
soaked carpeting/standing
water on the floor of the vehi-
cle, etc.) or if your vehicle has
become flood damaged in any
way, do not attempt to start
the vehicle or put the key in
the ignition. Have the vehicle
towed to an authorized Kia
dealer for inspection and nec-
essary repairs.
Disregarding this precaution
may cause an unexpected
airbag deployment, which
could result in serious per-
sonal injury or death.
(Continued)
If occupants are not wearingsafety belts or correctly seat-
ed, they cannot be fully pro-
tected, and thus face a greater
risk of serious injury or death.
Driver’s and front passenger’s airbag are designed to inflate
only in certain frontal colli-
sion, and side and curtain
airbags are designed to inflate
in certain side impacts.
Frontal airbags are not
designed to provide protec-
tion in side impacts, rear
impacts, rollovers, or less
severe frontal collisions. They
will not provide protection
from later impacts in a multi-
impact collision.
(Continued)
Page 71 of 371
Knowing your vehicle62
3
1
2
3
4
5
6
7
8
9
Main components of occupant
classification system A detection device located within
the front passenger seat cushion.
Electronic system to determine whether passenger air bag sys-
tems (both front and side) should
be activated or deactivated.
A warning light located on the instrument panel which illuminates
the words PASSENGER AIR BAG
“OFF” indicating the front passen-
ger air bag system is deactivated.
The instrument panel air bag warn- ing light is interconnected with the
occupant classification system. Always be sure that you and all vehi-
cle occupants are seated and
restrained properly (sitting upright
with the seat in an upright position,
centered on the seat cushion, with
the person’s legs comfortably
extended, feet on the floor, and wear-
ing the safety belt properly) for the
most effective protection by the air
bag and the safety belt.
The OCS may not function proper-
ly if the passenger takes actions
which can defeat the detection sys-
tem. These include:
(1) Failing to sit in an upright posi- tion.
(2) Leaning against the door or cen- ter console.
(3) Sitting towards the sides or the front of the seat.
(4) Putting legs on the dashboard or resting them on other locations
which reduce the passenger
weight on the front seat.
(5) Improperly wearing the safety belt.
(6) Reclining the seat back. The PASSENGER AIR BAG “OFF”
indicator illuminates after the igni-
tion key is turned to the “ON” posi-
tion or after the engine is started. If
the front passenger’s seat is occu-
pied by very small person, the
PASSENGER AIR BAG “OFF” indi-
cator will remain illuminated. If the
front passenger’s seat is occupied
by a person of adult size, the PAS-
SENGER AIR BAG “OFF” indicator
will turn off after 4 seconds.
If the front passenger's seat is unoccupied, the PASSENGER AIR
BAG “OFF” indicator will turn on,
and the front passenger's airbag
will not deploy in frontal crashes.
If the PASSENGER AIR BAG “OFF” indicator illuminates, the
front passenger’s airbag will not
deploy in frontal crashes.
If the front passenger’s seat is occupied by a person of adult size,
the PASSENGER AIR BAG “OFF”
indicator is not illuminated and the
front passenger’s airbag will deploy
in frontal crashes.
Page 74 of 371
365
1
2
3
4
5
6
7
8
9
Knowing your vehicle
(Continued)
If the front seat passengerchanges their seating position
(for example, by not sitting
upright, by sitting on the edge
of the seat, or by otherwise
being out of position), the
PASSENGER AIR BAG “OFF”
indicator may be turned on,
and the passenger's airbag
may not deploy in a collision.
Always be sure to sit properly
in the front passenger’s seat
and wear the safety belt prop-
erly and do not do any of the
following.
(Continued)
(Continued)
- Put a heavy load in the frontpassenger seat.
- Excessively recline the front passenger seatback.
(Continued)
1KMN36611KMN3662
(Continued)
- Sit with hips shifted towardsthe front of the seat.
- Lean on the center console.
- Sit on one side of the front passenger seat. (Continued)
1KMN36631KMN3664
Page 94 of 371
385
1
2
3
4
5
6
7
8
9
Knowing your vehicle
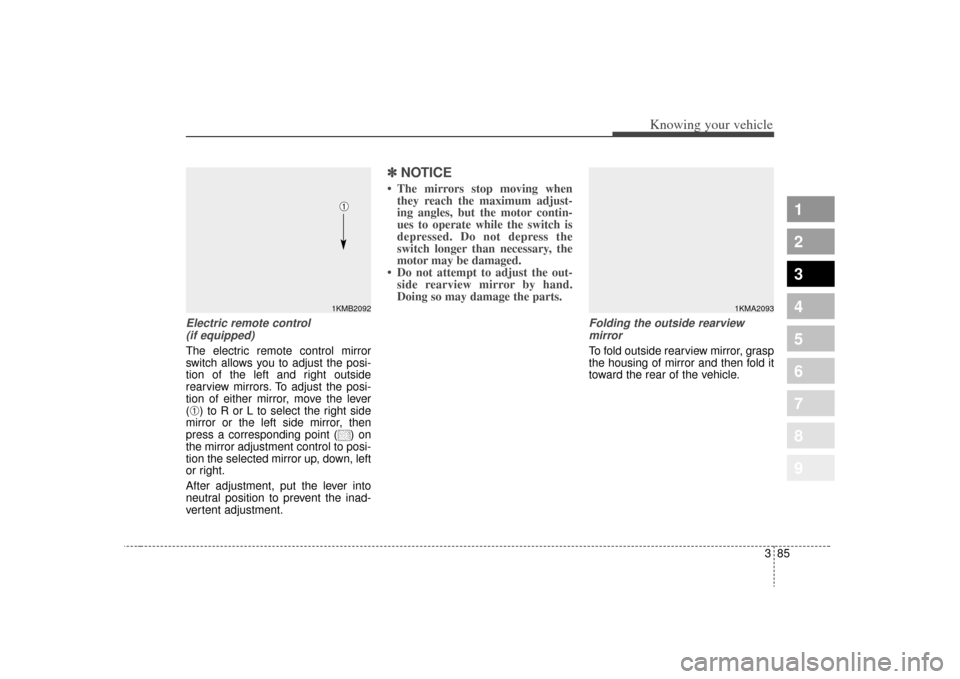
Electric remote control (if equipped)The electric remote control mirror
switch allows you to adjust the posi-
tion of the left and right outside
rearview mirrors. To adjust the posi-
tion of either mirror, move the lever
(➀) to R or L to select the right side
mirror or the left side mirror, then
press a corresponding point ( ) on
the mirror adjustment control to posi-
tion the selected mirror up, down, left
or right.
After adjustment, put the lever into
neutral position to prevent the inad-
vertent adjustment.
✽ ✽ NOTICE• The mirrors stop moving when
they reach the maximum adjust-
ing angles, but the motor contin-
ues to operate while the switch is
depressed. Do not depress the
switch longer than necessary, the
motor may be damaged.
• Do not attempt to adjust the out- side rearview mirror by hand.
Doing so may damage the parts.
Folding the outside rearview
mirrorTo fold outside rearview mirror, grasp
the housing of mirror and then fold it
toward the rear of the vehicle.
1KMB2092➀
1KMA2093