rear view mirror Lancia Delta 2012 Owner handbook (in English)
[x] Cancel search | Manufacturer: LANCIA, Model Year: 2012, Model line: Delta, Model: Lancia Delta 2012Pages: 295, PDF Size: 8.29 MB
Page 9 of 295

KNOWING YOUR CAR7
1
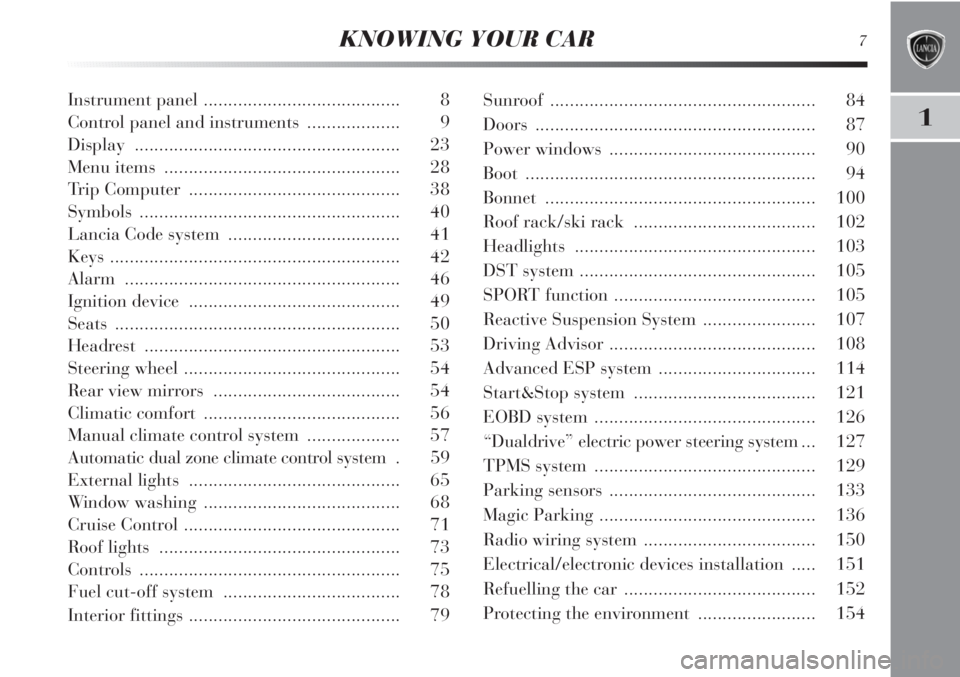
Instrument panel ........................................ 8
Control panel and instruments ................... 9
Display ...................................................... 23
Menu items ................................................ 28
Trip Computer ........................................... 38
Symbols ..................................................... 40
Lancia Code system ................................... 41
Keys ........................................................... 42
Alarm ........................................................ 46
Ignition device ........................................... 49
Seats .......................................................... 50
Headrest .................................................... 53
Steering wheel ............................................ 54
Rear view mirrors ...................................... 54
Climatic comfort ........................................ 56
Manual climate control system ................... 57
Automatic dual zone climate control system . 59
External lights ........................................... 65
Window washing ........................................ 68
Cruise Control ............................................ 71
Roof lights ................................................. 73
Controls ..................................................... 75
Fuel cut-off system .................................... 78
Interior fittings ........................................... 79Sunroof ...................................................... 84
Doors ......................................................... 87
Power windows .......................................... 90
Boot ........................................................... 94
Bonnet ....................................................... 100
Roof rack/ski rack ..................................... 102
Headlights ................................................. 103
DST system ................................................ 105
SPORT function ......................................... 105
Reactive Suspension System ....................... 107
Driving Advisor .......................................... 108
Advanced ESP system ................................ 114
Start&Stop system ..................................... 121
EOBD system ............................................. 126
“Dualdrive” electric power steering system ... 127
TPMS system ............................................. 129
Parking sensors .......................................... 133
Magic Parking ............................................ 136
Radio wiring system ................................... 150
Electrical/electronic devices installation ..... 151
Refuelling the car ....................................... 152
Protecting the environment ........................ 154
Page 56 of 295

54KNOWING YOUR CAR
STEERING WHEEL
It can be adjusted vertically (and axially).
To adjust the steering wheel, move the lever fig. 20 up-
wards to position 1. Adjust the steering wheel into the
most suitable position and lock it in this position by mov-
ing the lever to position 2.
REAR VIEW MIRRORS
INTERIOR REAR VIEW MIRROR fig. 21
The mirror is fitted with a safety device that causes its re-
lease in the event of a violent impact with the passenger.
Lever A can be used to move the mirror to two different
positions: normal or antiglare.
INTERIOR ELECTROCHROMIC
REAR VIEW MIRROR
(for versions/markets where provided)
Some versions have an electrochromic mirror with auto-
matic antiglare function.
Engaging reverse gear, the mirror is automatically set for
daytime use.
Any adjustments must be carried out only
with the car stationary and engine off.
fig. 21L0E0013mfig. 20L0E0012m
Page 57 of 295

1
KNOWING YOUR CAR55
DOOR MIRRORS
Rearview mirror electric folding fig. 22
(for versions/markets where provided)
Proceed as follows to adjust the position of the door mir-
rors:
❍select the mirror using selector B;
❍adjust the mirror using the controls A, in all four di-
rections.Manual rearview mirror folding fig. 23
When required (for example when the mirror causes dif-
ficulty in narrow spaces) it is possible to fold the mirror
by moving it from position 1 (open), to position 2 (closed).
On some versions the door mirrors can be folded back
electrically by operating a dedicated control.
fig. 22L0E0014mfig. 23L0E0015m
When driving, the mirrors should always
be in position 1. As the door mirrors are
curved, they may slightly alter the percep-
tion of distance.
Page 72 of 295

70KNOWING YOUR CAR
The rear window wiper stops operating a few strokes af-
ter releasing the stalk; a further “cleaning stroke”, after
a few seconds, completes the wiping operation.
RAIN SENSOR
(for versions/markets where provided)
The rain sensor A-fig. 30 is located behind the interior
rear-view mirror in contact with the windscreen and au-
tomatically adjusts the frequency of the windscreen wiper
strokes according to the rain intensity during intermit-
tent operation.
The sensor has an adjustment range that varies progres-
sively from wiper still (no stroke) when the windscreen is
dry, to wiper at first continuous speed (slow continuous
operation) with intense rain.
fig. 30L0E0023m
Activation
Move the right lever down by one click.
The activation of the sensor is signalled by a “stroke”
to show the command has been acquired.
IMPORTANT Keep the glass in the sensor area clean.
By turning ring nut F-fig. 29 is it possible to increase the
sensitivity of the rain sensor to obtain a more rapid vari-
ation between wiper still (no stroke) when the windscreen
is dry, to wiper at first continuous speed (slow continu-
ous operation).
The increasing of the rain sensor sensitivity is signalled
by a “stroke” to show the command has been acquired.
When the windscreen washer is operated with the rain
sensor activated, the normal washing cycle is performed,
at the end of which the rain sensor resumes its normal
automatic function.
Page 81 of 295

1
KNOWING YOUR CAR79
INTERIOR FITTINGS
SUN VISORS fig. 39
They are located at the sides of the internal rear view
mirror.
They can be adjusted forwards and sideways.
A mirror is provided on the back of the sun visors. This
is illuminated by roof light A. The driver and passenger-
side sun visors also feature a document holder.
fig. 39L0E0032m
FRONT ARMREST WITH STORAGE
COMPARTMENT
This is located between the front seats. A storage com-
partment and cooled drinks compartment is located in-
side the armrest (for versions/markets, where provided)
(see following sections). The armrest can be moved back-
wards and forwards by operating the cover A-fig. 40.
Glove compartment
Lift up cover A-fig. 40: you can thus access the storage
compartment B-fig. 40.
fig. 40L0E0033m
Page 110 of 295

108KNOWING YOUR CAR
DRIVING ADVISOR
(Lane crossing warning )
(for versions/markets, where provided)
The Driving Advisor is a warning system that notifies
the driver if he/she crosses the lane because he/she
has been distracted.A video sensor, fitted on the wind-
screen near the interior rear view mirror, detects the lane
demarcation lines and the position of the car in relation
to them.
IMPORTANT If the windscreen needs replacing on cars
fitted with a Driving Advisor system, it is advisable to go
to a Lancia Dealership. If the repair is being carried out
at a specialist window replacement centre, it is still nec-
essary to go to a Lancia Dealership to have the TV cam-
era calibrated. OPERATION
The system is not active when the vehicle is started. It is
only activated when button A-fig. 68 in the dashboard
is pressed. The LED in the button lights up to confirm
that the system has been switched on plus a dedicated
warning message in the instrument panel display. Once it
is turned on the system will recognise the operating con-
ditions and this is signalled to the driver by the LED lo-
cated in the button flashing and the symbol
ein the am-
ber coloured panel in the instrument panel display
flashing too. Once the system has recognised the operat-
ing conditions, it becomes active. Therefore: the
eicon
in the display switches off and the LED on the button
remains on constantly.
IMPORTANT If the operating conditions are no longer
present then the system will deactivate. This is signalled
to the driver by the LED on the button flashing and the
amber
eicon on the display flashing.
Page 187 of 295

3
STARTING AND DRIVING185
TOWING TRAILERS
IMPORTANT NOTES
For towing caravans or trailers the car must be fitted with
a certified tow hook and an adequate electric system. In-
stallation should be carried out by specialised personnel
who will issue the required papers for travelling on roads.
Install any specific and/or additional rear view mirrors as
specified by the Highway Code.
Remember that when towing a trailer, steep hills are
harder to climb, braking spaces increase and overtaking
takes longer depending on the overall weight.
Engage a low gear when driving downhill, rather than
constantly using the brake.
The weight the trailer exerts on the car tow hook reduces
the car’s loading capacity by the same amount. To make
sure the maximum towable weight is not exceeded (given
in the car registration document) account should be
taken of the fully laden trailer, including accessories and
luggage.
Do not exceed the speed limits specific to each country
you are driving in, in the case of vehicles towing trailers.
In any case, the top speed must not exceed 100 km/h.
The ABS system with which the vehicle may
be equipped does not control the braking
system of the trailer. Take special care when
travelling on slippery surfaces.
Under no circumstances should the car brak-
ing system be modified to control the trailer
brake. The trailer braking system must be
fully independent of the car’s hydraulic system.