Lancia Delta 2013 Owner handbook (in English)
Manufacturer: LANCIA, Model Year: 2013, Model line: Delta, Model: Lancia Delta 2013Pages: 295, PDF Size: 8.29 MB
Page 21 of 295

1
KNOWING YOUR CAR19
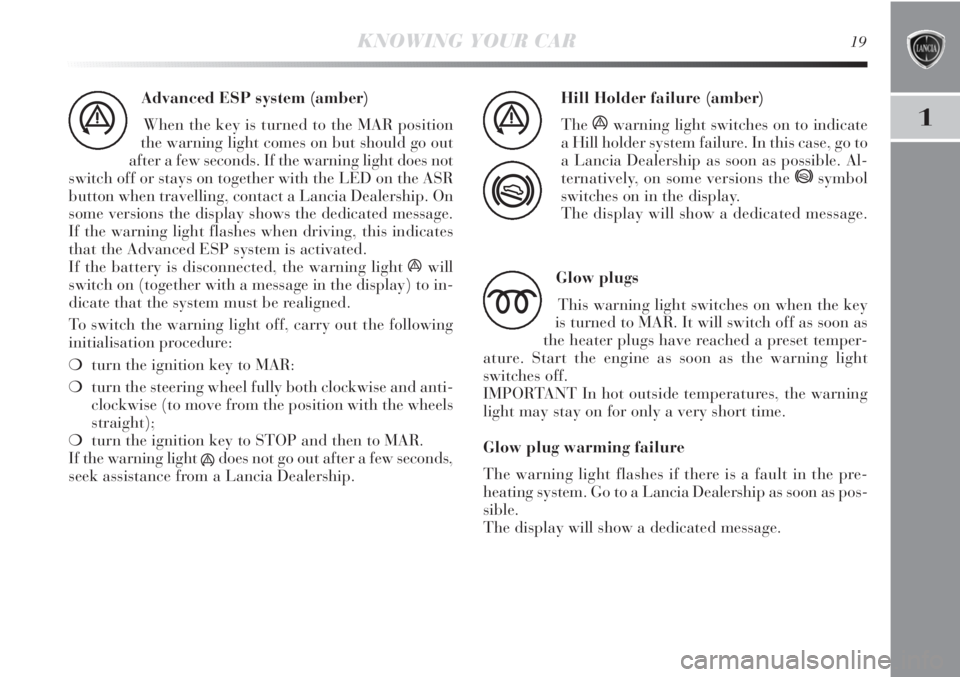
Advanced ESP system (amber)
When the key is turned to the MAR position
the warning light comes on but should go out
after a few seconds. If the warning light does not
switch off or stays on together with the LED on the ASR
button when travelling, contact a Lancia Dealership. On
some versions the display shows the dedicated message.
If the warning light flashes when driving, this indicates
that the Advanced ESP system is activated.
If the battery is disconnected, the warning light áwill
switch on (together with a message in the display) to in-
dicate that the system must be realigned.
To switch the warning light off, carry out the following
initialisation procedure:
❍turn the ignition key to MAR:
❍turn the steering wheel fully both clockwise and anti-
clockwise (to move from the position with the wheels
straight);
❍turn the ignition key to STOP and then to MAR.
If the warning light
ádoes not go out after a few seconds,
seek assistance from a Lancia Dealership.
á
Hill Holder failure (amber)
The
áwarning light switches on to indicate
a Hill holder system failure. In this case, go to
a Lancia Dealership as soon as possible. Al-
ternatively, on some versions the
*symbol
switches on in the display.
The display will show a dedicated message.
á
*
Glow plugs
This warning light switches on when the key
is turned to MAR. It will switch off as soon as
the heater plugs have reached a preset temper-
ature. Start the engine as soon as the warning light
switches off.
IMPORTANT In hot outside temperatures, the warning
light may stay on for only a very short time.
Glow plug warming failure
The warning light flashes if there is a fault in the pre-
heating system. Go to a Lancia Dealership as soon as pos-
sible.
The display will show a dedicated message.
m
Page 22 of 295

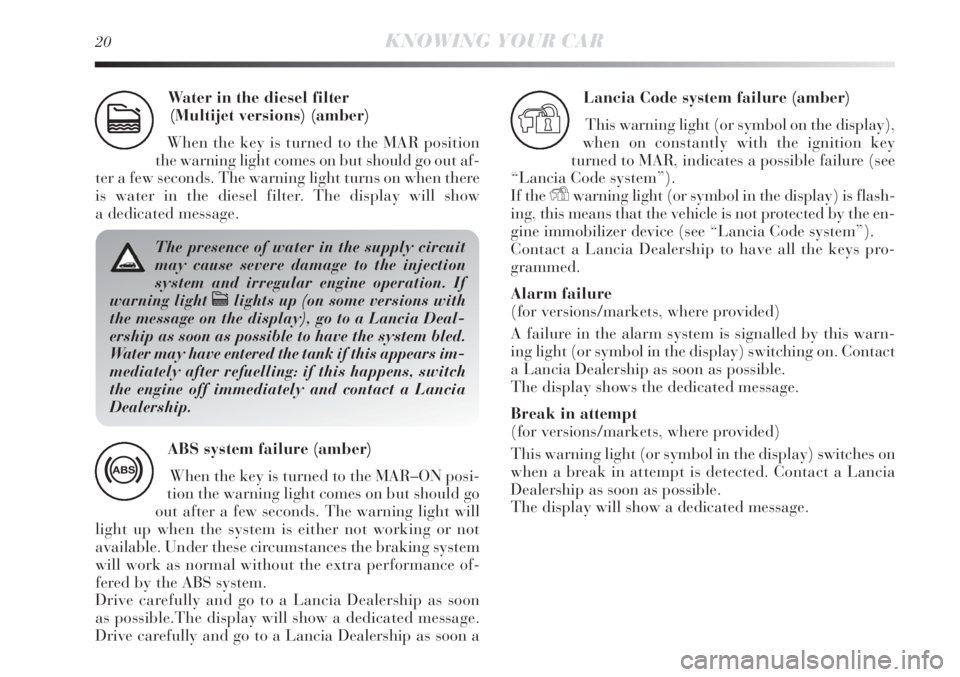
Lancia Code system failure (amber)
This warning light (or symbol on the display),
when on constantly with the ignition key
turned to MAR, indicates a possible failure (see
“Lancia Code system”).
If the
Ywarning light (or symbol in the display) is flash-
ing, this means that the vehicle is not protected by the en-
gine immobilizer device (see “Lancia Code system”).
Contact a Lancia Dealership to have all the keys pro-
grammed.
Alarm failure
(for versions/markets, where provided)
A failure in the alarm system is signalled by this warn-
ing light (or symbol in the display) switching on. Contact
a Lancia Dealership as soon as possible.
The display shows the dedicated message.
Break in attempt
(for versions/markets, where provided)
This warning light (or symbol in the display) switches on
when a break in attempt is detected. Contact a Lancia
Dealership as soon as possible.
The display will show a dedicated message. ABS system failure (amber)
When the key is turned to the MAR–ON posi-
tion the warning light comes on but should go
out after a few seconds. The warning light will
light up when the system is either not working or not
available. Under these circumstances the braking system
will work as normal without the extra performance of-
fered by the ABS system.
Drive carefully and go to a Lancia Dealership as soon
as possible.The display will show a dedicated message.
Drive carefully and go to a Lancia Dealership as soon a
>
20KNOWING YOUR CAR
Water in the diesel filter
(Multijet versions) (amber)
When the key is turned to the MAR position
the warning light comes on but should go out af-
ter a few seconds. The warning light turns on when there
is water in the diesel filter. The display will show
a dedicated message.
c
The presence of water in the supply circuit
may cause severe damage to the injection
system and irregular engine operation. If
warning light
clights up (on some versions with
the message on the display), go to a Lancia Deal-
ership as soon as possible to have the system bled.
Water may have entered the tank if this appears im-
mediately after refuelling: if this happens, switch
the engine off immediately and contact a Lancia
Dealership.
Y
Page 23 of 295

1
KNOWING YOUR CAR21
Insufficient tyre pressure
(for versions/markets where provided)
This warning light switches on when the igni-
tion key is turned to MAR, but it should switch
off after a few seconds. The warning light (amber), or
symbol in the display (red), switch on when the inflation
pressure of one or more tyres falls below a preset level.
In this way the T.P.M.S. warns the driver and signals the
possibility of the tyre being dangerously deflated and a
probable puncture (see paragraph “T.P.M.S.” in this
chapter).
IMPORTANT Do not continue driving with one or more
flat tyres as handling may be compromised. Stop the car,
avoiding harsh braking or steering manoeuvres. Replace
the wheel immediately with the space-saver wheel (for
versions/markets where provided) or carry out a repair
using the dedicated kit (see “Changing a wheel” in the
chapter “4”) and contact a Lancia Dealership as soon as
possible.
Check tyre pressures
This warning light (for versions/markets where provided)
switches on when the ignition key is turned to MAR, but
it should switch off after a few seconds.
The warning light (or symbol in the display) switches on
to show the flat tyre (see “T.P.M.S.” paragraph in this
chapter).
n
Should two or more tyres be flat, the display will show
the indications corresponding to each tyre in sequence.
Restore the correct inflation pressure values as soon as
possible (see paragraph “Cold tyre pressures” in chap-
ter “6”).
Tyre pressure unsuitable for speed
This warning light (for versions/markets where provided)
switches on when the ignition key is turned to MAR, but
it should switch off after a few seconds.
Should it be necessary to travel at a speed higher than
160 km/h, inflate the tyres more than the pressure value
specified in paragraph “Cold tyre pressures” in chapter
“6”.
If the T.P.M.S. system (for versions/markets where pro-
vided) detects that the pressure of one or more tyres is
unsuitable for the current speed, the warning light or
symbol will switch on (together with the message on the
display) (see “Tyre pressure low” in this chapter) and
it will stay on until the car slows down to a speed below
the preset threshold (see “T.P.M.S.” paragraph in this
chapter).
IMPORTANT In this case, slow down immediately be-
cause tyre overheating could damage tyre performance
and durability beyond repair, and may even make the
tyre explode.
Page 24 of 295

22KNOWING YOUR CAR
Particularly strong radio frequency interfer-
ence may cause the T.P.M.S. system to func-
tion incorrectly. This condition is indicated
to the driver by a message (for versions/markets
where provided).
The message will disappear automatically as soon
as the interference ceases to disturb the system.
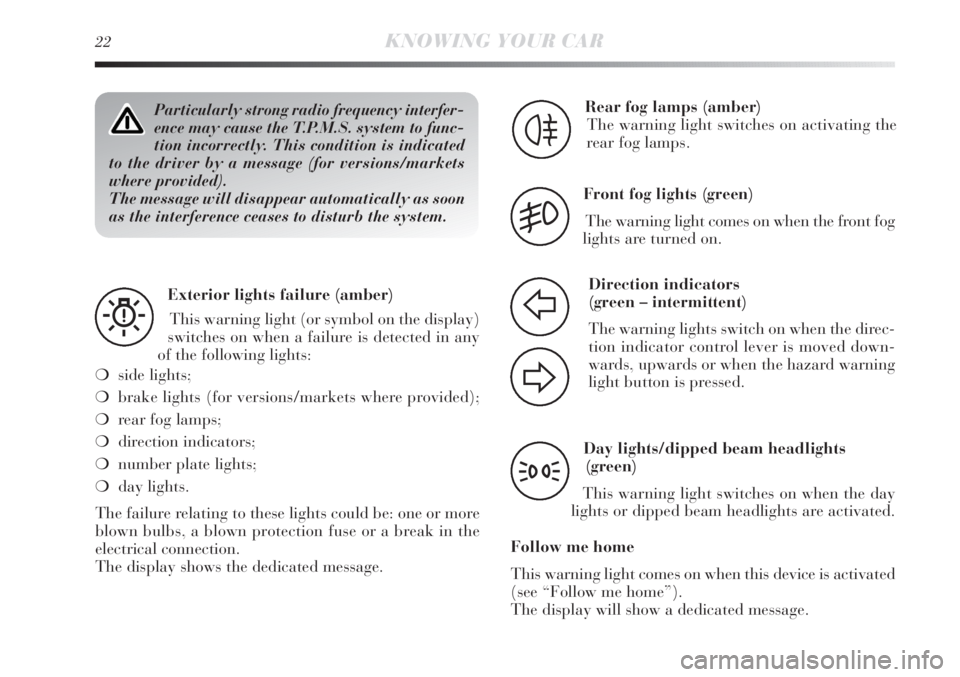
Exterior lights failure (amber)
This warning light (or symbol on the display)
switches on when a failure is detected in any
of the following lights:
❍side lights;
❍brake lights (for versions/markets where provided);
❍rear fog lamps;
❍direction indicators;
❍number plate lights;
❍day lights.
The failure relating to these lights could be: one or more
blown bulbs, a blown protection fuse or a break in the
electrical connection.
The display shows the dedicated message.
W
Rear fog lamps (amber)
The warning light switches on activating the
rear fog lamps.
4
Front fog lights (green)
The warning light comes on when the front fog
lights are turned on.
5
Direction indicators
(green – intermittent)
The warning lights switch on when the direc-
tion indicator control lever is moved down-
wards, upwards or when the hazard warning
light button is pressed.
F
D
Day lights/dipped beam headlights
(green)
This warning light switches on when the day
lights or dipped beam headlights are activated.
Follow me home
This warning light comes on when this device is activated
(see “Follow me home”).
The display will show a dedicated message.
3
Page 25 of 295

1
KNOWING YOUR CAR23
Main beam headlights (blue)
The warning light switches on when the main
beams are turned on.
1
Cruise Control (green)
(for versions/markets where provided)
When the key is turned to the MAR position
the warning light comes on but should go out af-
ter a few seconds. The warning light is lit up on the dis-
play by rotating the Cruise Control ring nut to ON.
The display will show a dedicated message.
Ü
DISPLAY
The car may be provided with a multifunction/recon -
figurable multifunction display that shows useful infor-
mation, according to the previous settings, when driving.
MULTIFUNCTION DISPLAY “STANDARD” SCREEN
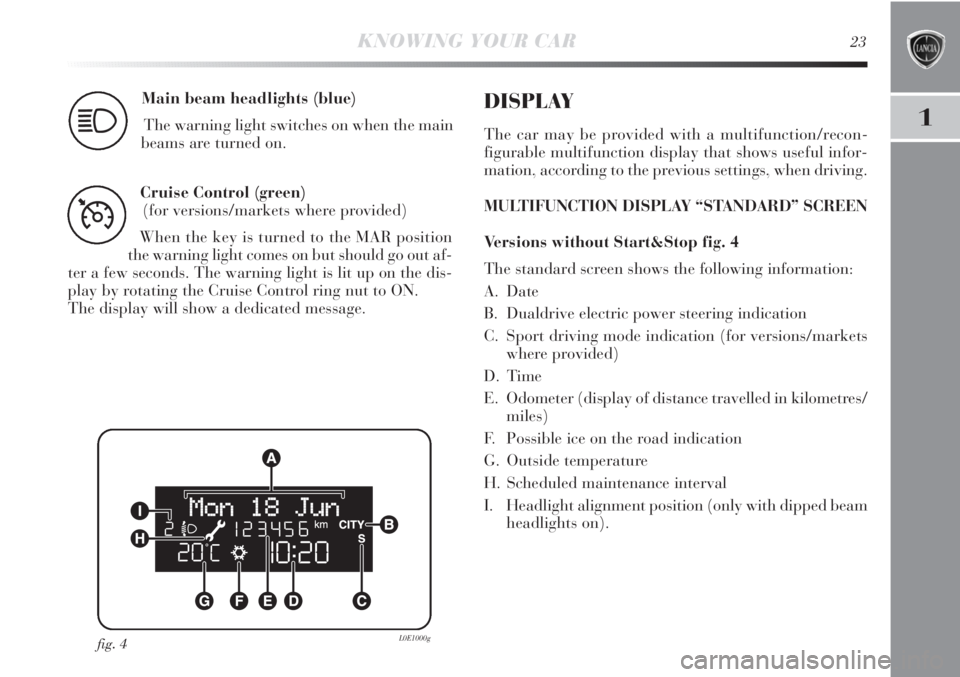
Versions without Start&Stop fig. 4
The standard screen shows the following information:
A. Date
B. Dualdrive electric power steering indication
C. Sport driving mode indication (for versions/markets
where provided)
D. Time
E. Odometer (display of distance travelled in kilometres/
miles)
F. Possible ice on the road indication
G. Outside temperature
H. Scheduled maintenance interval
I. Headlight alignment position (only with dipped beam
headlights on).
fig. 4L0E1000g
Page 26 of 295

24KNOWING YOUR CAR
Versions with Start&Stop fig. 4a
(for versions/markets, where provided)
The standard screen shows the following information:
A Date
B Gear Shift Indicator (for versions/markets where pro-
vided)
C Start&Stop function indication
DTimeE Odometer (display of distance travelled in kilometres/
miles)
F Outside temperature
G Headlamp alignment position (only with dipped
headlamps on)
H Dualdrive electric power steering indication
fig. 4aL0E1032g
Page 27 of 295

1
E. Car status indications (e.g. doors open, possible ice on
road, etc.)/Start&Stop function indicator (for versions/
markets where provided)/Gear Shift Indicator (for ver-
sions/markets where provided)
F. Headlamp alignment position (only with dipped
headlamps on)
G. Outside temperature
On some versions, when the “Engine info” menu item is
selected, the display shows the turbine pressure when the
ignition is turned to the MAR position, fig. 6.
fig. 6L0E0004mfig. 5L0E1033g
RECONFIGURABLE MULTIFUNCTION
“STANDARD” DISPLAY fig. 5
The standard screen shows the following information:
A. Time
B. Date
C. Sport driving mode indication (for versions/markets
where provided)
D. Odometer (display of distance travelled in kilometres/
miles)
KNOWING YOUR CAR25
Page 28 of 295

26KNOWING YOUR CAR
GEAR SHIFT INDICATOR
The “GSI” system (Gear Shift Indicator) advises the dri-
ver to change gear via an indication on the instrument
panel (see fig. 6a).
Shifting when indicated by GSI will help the driver save
fuel.
When the SHIFT UP icon (NSHIFT) is shown on the
display, the GSI is advising the driver to select a higher
gear, while the SHIFT DOWN (OSHIFT) icon suggests
that a lower gear should be engaged.
NOTE The indication on the instrument panel remains
on until the driver changes gear or until the driving con-
ditions return to a situation where a gear change is not
required to reduce consumption.
fig. 6aL0E1025gmfig. 7L0E0005m
CONTROL BUTTONS fig. 7
Õ: To scroll upwards through the displayed menu and
the related options or to increase the displayed value.
SET: press to access the menu and/or go to the next
screen or confirm your choice. Hold down to go
back to the standard screen.
Ô: to scroll downwards through the displayed menu and
the related options or to decrease the displayed value.
Page 29 of 295

1
KNOWING YOUR CAR27
IMPORTANT Buttons ÕandÔactivate different func-
tions according to the following situations:
– within the menu, they allow you to scroll up and down
through the options;
– during setting operations they increase or decrease
the value.
IMPORTANT When one of the front doors is opened,
the display will switch on and show the clock and km or
miles covered for a few seconds.SETUP MENU
The menu comprises a series of items which can be selected
using the
ÕandÔbuttons to access the different selection
and setting operations (set up) described in the following
paragraphs. Some items also have a sub-menu. The Set up
Menu is activated by briefly pressing the SET button.
The menu includes the following items:
– MENU
– LIGHTING
– SPEED BEEP
– LIGHT SENSOR (for versions/markets where provided)
– CORNER LIGHTS
(for versions/markets where provided)
– TRIP B ACTIVATION/DATA
– SET TIME
– SET DATE
– FIRST PAGE (for versions/markets where provided)
– SEE RADIO
– AUTOCLOSE
– UNIT OF MEASUREMENT
– LANGUAGE
– WARNING VOLUME
– BUTTON VOLUME
– SEAT BELT BEEP/BUZZ.
– SERVICE
– AIR BAG/PASSENGER BAG
– DAYTIME RUNNING LIGHTS
– EXIT MENU
Page 30 of 295

28KNOWING YOUR CAR
Selection of an option from main menu
without submenu:
– briefly press the SET button to select the main menu
option to be set;
– press
ÕorÔ(with single presses) to select the new set-
ting;
– briefly press the SET button to store the new setting and
to go back to the main menu option selected previously.
Selecting an option from the main menu with
a submenu:
– briefly press the SET button to display the first sub-
menu option;
– press
ÕorÔ(with single presses) to scroll through all
the submenu options;
– briefly press the SET button to select the displayed sub-
menu option and to open the relevant set-up menu;
– press
ÕorÔto select the new setting for this submenu
option;
– a short press on the button SET will store the setting
and, at the same time, return to the same submenu op-
tion that was first selected.
MENU ITEMS
Lighting (Adjusting lighting inside the car)
This function is used to set the brightness of the instru-
ment panel, sound system controls and automatic climate
control system controls (for versions/markets where pro-
vided) to 8 levels.
Proceed as follows to adjust the brightness:
– press the SET button briefly to make the display flash
the previously set level;
press button
ÕorÔto adjust the brightness level;
– briefly press SET to go back to the menu screen or hold
the button down to go back to the standard screen with-
out saving.
Speed Beep (Speed limit)
This function allows the car speed limit to be set (km/h
or mph) and the driver will be notified when it is ex-
ceeded (see “Warning lights in panel section” in chapter
1). To set the desired speed limit, proceed as follows:
– press the SET button briefly, the display will show the
dedicated message;
– press the
ÕorÔbutton or to select speed limit On or
Off;
– when the function is activated (On), press the
ÕorÔ
button to select the desired speed limit and press SET
to confirm the choice.