jump start Lancia Thesis 2007 Owner handbook (in English)
[x] Cancel search | Manufacturer: LANCIA, Model Year: 2007, Model line: Thesis, Model: Lancia Thesis 2007Pages: 386, PDF Size: 8.69 MB
Page 26 of 386

25
Steering column lock always off
The user can set the condition
“Steering column lock always off”
by means of the CONNECT menu.
To set this mode, refer to the CON-
NECT supplement provided with
the car.
In an emergency
The steering column lock cannot be
disengaged when the battery is run
down. In this case, open the bonnet
with the emergency key and connect
an auxiliary battery to the car bat-
tery.Do not carry out this
procedure if you lack
experience; if it is not
done correctly it can cause very
intense electrical discharges and
the battery might even explode.
Contact a Lancia Dealership. In
any case, refer to paragraph
“Jump starting”. The steering column
lock is not engaged if cen-
tral door locking is actu-
ated by means of the emergency
key or if central locking is acti-
vated automatically (“Autoclose”
function).
The steering column lock is disen-
gaged automatically when depress-
ing the clutch pedal (versions with
manual gearbox) or brake pedal
(versions with automatic transmis-
sion).
Before opening the lug-
gage compartment bonnet
to reload the battery or to
connect an auxiliary battery, care-
fully read and comply with the in-
structions contained in the para-
graph “If battery is to be discon-
nected” in the chapter “In an
emergency”.
Page 50 of 386

49
– CID device inside the car
– clutch pedal depressed (brake
pedal on versions with automatic
transmission).
IMPORTANTIf the car battery is
run down, the steering column can-
not be unlocked and the car cannot
be started. In this case, an auxiliary
battery must be connected, in order
to unlock the steering column and
start the engine (see paragraph
“Jump starting”); then, contact a
Lancia Dealershipto have the bat-
tery recharged.DOOR UNLOCKING
TO ACCESS CAR
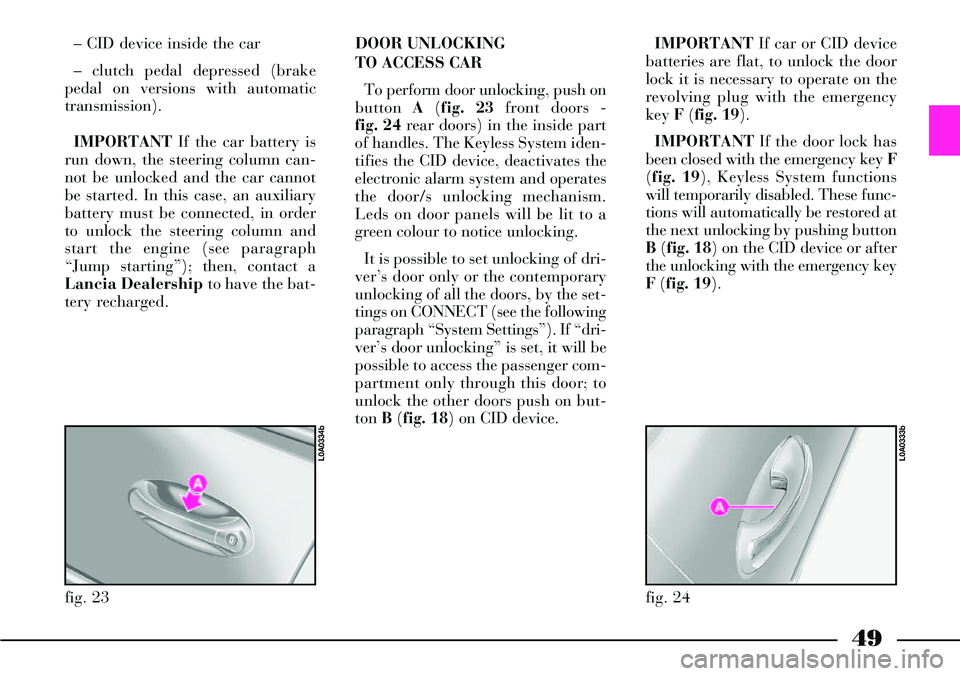
To perform door unlocking, push on
button A(fig. 23front doors -
fig. 24rear doors) in the inside part
of handles. The Keyless System iden-
tifies the CID device, deactivates the
electronic alarm system and operates
the door/s unlocking mechanism.
Leds on door panels will be lit to a
green colour to notice unlocking.
It is possible to set unlocking of dri-
ver’s door only or the contemporary
unlocking of all the doors, by the set-
tings on CONNECT (see the following
paragraph “System Settings”). If “dri-
ver’s door unlocking” is set, it will be
possible to access the passenger com-
partment only through this door; to
unlock the other doors push on but-
ton B(fig. 18) on CID device.
fig. 23
L0A0334b
IMPORTANTIf car or CID device
batteries are flat, to unlock the door
lock it is necessary to operate on the
revolving plug with the emergency
key F (fig. 19).
IMPORTANTIf the door lock has
been closed with the emergency key F
(fig. 19), Keyless System functions
will temporarily disabled. These func-
tions will automatically be restored at
the next unlocking by pushing button
B(fig. 18) on the CID device or after
the unlocking with the emergency key
F(fig. 19).
fig. 24
L0A0333b
Page 177 of 386

176
Automatic engagement
The parking brake is automatically
engaged whenever the engine is
turned off and afterwards it cannot
be disengaged even if button Ais
pressed. Only after turning the igni-
tion key to MARit is possible to dis-
engage the parking brake by press-
ing the same button.
The EPB will also engage automat-
ically when opening the driver’s door
with the engine running. In this way
the car is completely safe even when
the driver leaves it with the engine
running (to open the gate, the garage
etc.
The operation of the automatic
handbrake function procedure when
the engine stops or when the driver’s
side door is open, is disabled when
the car is running; should hence the
engine be stopped or the driver’s side
door be opened when the car is not at
a full standstill, to operate the hand-
brake, it is necessary to perform the
operation manually.Automatic disengagement
If a gear is engaged, the parking
brake is released automatically
when pressing the accelerator pedal
and (for manual transmission ver-
sions) releasing the clutch pedal at
the same time. The control unit with
built-in gradient sensor, will release
the brake gradually according to the
road slope, thus preventing jumping
or unrequired reverse movements.
This is very useful during uphill
starting: simply engage the parking
brake (if not previously engaged
automatically as described before)
and press the accelerator pedal
(releasing the clutch pedal at the
same time, for manual transmission
versions) without having to gradual-
ly release the lever as required with
traditional parking brakes.IMPORTANTIn certain cases, e.g.
the car is approaching an obstacle, it
could be necessary to disengage the
parking brake manually without
making use of the automatic func-
tion and to brake the car by the ser-
vice brake, as it is usually done on
cars equipped with the traditional
parking brake lever.
Deactivating the automatic
operation
When it is required to leave the car
parked with engine running and
parking brake on (e.g. in car wash
tunnels), press button Aafter open-
ing the driver’s door.
If it is necessary to deactivate the
parking brake automatic engage-
ment with the engine off in order to
move the car manually (e.g. in the
garage or in car wash tunnels), it is
possible to deactivate the related
function through the CONNECT
menu. Deactivation of automatic
operation must be made with the
key at MARand only with the car
stationary. Press the SETUP key,
select “Other setting”, deactivate the In order to guarantee the
automatic operation of the
handbrake, cut off the en-
gine or open the driver’s side door
only when the car is at a standstill.
Page 273 of 386

272
JUMP STARTING
If the battery is flat, you can use
another battery to start the engine.
Its capacity must be the same or
slightly greater than the flat battery
(see the “Technical Specification”
chapter).
The battery is placed on the left
side of the boot, protected by a
cover.Before opening the lug-
gage compartment bonnet
to reload the battery or to
connect an auxiliary battery,
carefully read and comply with
the instructions contained in the
paragraph “If battery is to be dis-
connected” in the chapter “In an
emergency”.
Jump starting does not damage the
Lancia CODE system. Proceed as
follows:
1) Disconnect all electrical devices
that are not strictly useful.
2) Lift the boot tailgate by turning
the key metal insert clockwise in the
latch.3) Loosen the knob A(fig. 1) and
remove the protective cover B.
4) Press flanges A(fig. 2) and
remove the cover B.
5) Connect the positive terminals
(+) A(fig. 3) and Bof the two bat-
teries with a jump lead.
6) With a second lead connect first
the negative terminal (–) Cof the
auxiliary battery and then the earth
braid Dof the car to be started.
fig. 1
L0A0030b
fig. 2
L0A0031b
fig. 3
L0A0032b
Page 274 of 386

273
7) Start the engine.
8) When the engine has started,
remove the leads in the reverse order
to before: D, C, Band finally A.
IMPORTANT If the engine fails to
start after a few attempts, do not keep
turning the key but have the car seen
to at a Lancia Dealership.
9) Put the cover back on the bat-
tery positive terminal by fitting the
lock flanges in.
10) Put the cover back and retight-
en the knob.
11) Close the boot tailgate.IMPORTANTWhen the tailgate is
closed, the boot latch is not locked.
To lock it, turn the metal insert of
the key anticlockwise in the latch.
Do not carry out this
procedure if you lack
experience: if it is not
done correctly it can cause very
intense electrical discharges and
the battery might even explode.
Do not to put naked flames or
lighted cigarettes near the battery
and do not cause sparks: risk of
explosion and fire.
Never use a battery
charger to jump start the
engine: you could damage
the electronic system, with spe-
cial reference to ignition and
injection control unit.
BUMP STARTING
Do not bump start by pushing,
towing or coasting downhill. This
way of starting could cause a rush of
fuel into the catalytic converter and
damage it beyond repair.
Remember that ifthe engine is not
running, the brake booster and the
power steering will not work. You
therefore have to use considerably
more effort on both the brake pedal
and the steering wheel.
Never connect the nega-
tive terminals of the two
batteries directly: sparks
could ignite the flammable gas
from the battery. If the auxiliary
battery is installed on another
car, prevent accidental contact
between the metal parts of the
two vehicles.
Page 305 of 386

304
IF THE BATTERY
IS FLAT
First of all, read the “Car mainte-
nance” chapter for the steps to be
taken to avoid the battery running
down and to ensure it has a long life.
RECHARGING THE BATTERY
IMPORTANTThe description of
the battery recharging procedure is
just for information. To carry out
this procedure go to a Lancia
Dealership.
You are advised to recharge the
battery slowly for a period of
approximately 24 hours at a low
amperage. Charging for too long
could damage the battery.Before reloading, care-
fully read and comply with
the instructions contained
in the previous paragraph “If bat-
tery is to be disconnected”.
Proceed as follows:
– Disconnect the terminal from the
battery negative pole (-).
– Connect the charger cables to the
battery terminals (observe polarity).
– Turn on the charger.
– When you have finished, turn the
charger off before disconnecting the
battery.
– Reconnect the terminal to the
battery negative pole (-).The liquid in the battery
is poisonous and corro-
sive. Do not let it touch
the skin or eyes. Recharging the
battery should be done in a well-
ventilated area and away from
naked flames or possible sources
of sparks: explosion and fire risk.
JUMP STARTING
See “Jump starting” in this chap-
ter.
Page 371 of 386

370
Battery
- checking the battery
charge ................................ 327
- disconnecting the loaded
battery ............................... 302
- disconnecting the
unloaded battery................ 303
- initialising the control
units of the door locks,
air conditioner and ESP
system................................ 303
- jump starting ............. 272-304
- maintenance ..................... 326
- recharging the
battery ...................... 304-328
- replacement ...................... 328
- useful advice ..................... 329
Bodywork
- maintenance ..................... 337
- version code ...................... 343Bodywork paint
identification plate .............. 342
Bodywork versions (codes) ..... 343
Bonnet .................................... 237
Boot
- anchoring the load ............ 232
- ceiling light ........................ 231
- closing the boot.................. 231
- functions that can be
modified by the
CONNECT menu ............... 229
- luggage nets ....................... 231
- luggage transport -
important notes ................. 233
- opening by remote
control ............................... 228
- opening from the inside .... 227
- opening from the outside
with the key ....................... 228
- power socket ..................... 234
Boot light
- bulb replacement ............... 290Bose HI-FI audio system ........ 248
Bottle/can holder
- front ................................. 217
- rear ................................... 219
Brake and hydraulic
clutch fluid .......................... 323
Brakes
- fluid level ......................... 323
- technical specifications ...... 348
Bulbs (replacing) .................... 281
- bulbs ................................. 283
- front light cluster ............... 284
- general instructions ........... 282
- rear light cluster ................ 286
- replacing an exterior light .. 284
- types of bulbs ................... 282
Capacities ............................. 362
Car maintenance .................. 309
- additional checks .............. 314
Page 379 of 386

378
Ski tunnel ................................. 234
Snow chains ............................. 268
Solar cell operated sunroof ....... 222
- central locking/opening ....... 225
- emergency manoeuvre......... 226
- opening/closing .................. 223
- pivoting .............................. 223
- solar cells ........................... 226
Sound system ........................... 247
- Bose HI-FI sound system .... 248
- speakers ............................. 247
Spark plugs
- maintenance ....................... 330
- type .................................... 346
Speakers ................................... 247
Speedometer ............................ 107
Starting the engine ................... 250
- bump starting ..................... 273
- emergency start-up ..... 253-271
- engine stopping ................... 252
- engine warming up ............. 252
- ignition switch ..................... 24- JTD versions ...................... 251
- jump starting....................... 272
- petrol versions ..................... 251
Steering
- technical specifications ........ 352
Steering column lock ............... 24
Steering wheel........................... 70
- controls .............................. 18
- electric adjustment .............. 70
- manual adjustment ............ 70
Steering wheel stalks ............... 97
- left-hand stalk .................... 100
- right-hand stalk ................. 101
Stopping the engine ................. 252
Storing the car ......................... 269
- using the car again .............. 269
Sun visors ................................ 214
Supplementary heater ............... 162
- operation with engine
running .............................. 169
- operation with engine
stationary ............................ 163- technical specifications ....... 170
Suspensions
- technical specifications ........ 350
Symbols ................................... 9
Technical specifications..... 341
Third brake light ..................... 287
Tools ........................................ 275
Towing a trailer ....................... 264
- important ........................... 264
- installation diagram ........... 265
- tow hitch installation ......... 265
Towing the car ......................... 305
Transmission
- technical specifications ........ 348
Twilight sensor ........................ 99
Tyre inflation pressure .... 354-384
- important ........................... 331
Tyres
- changing a wheel ............... 274
- correct tyre reading ............ 356
- important .................. 332-356