service Lancia Thesis 2007 Owner handbook (in English)
[x] Cancel search | Manufacturer: LANCIA, Model Year: 2007, Model line: Thesis, Model: Lancia Thesis 2007Pages: 386, PDF Size: 8.69 MB
Page 2 of 386
Dear customer,
Congratulations and thank you for choosing LANCIA.
We wrote this handbook to help you get the most out of your car’s outstanding qualities.
We advise to read it right through before taking to the road for the first time.
You will find information, tips and important warnings regarding the driving of your car to help
you derive the maximum from your LANCIA’s technological features. You will discover unique fea-
tures and details; you will also find essential information for car care and servicing as well as driving
and operating safety not to mention the long-term wellbeing of your LANCIA.
The enclosed Warranty Booklet lists the services you have acquired and contains details relating to
the following:
• the Warranty Certificate, with terms and conditions for maintaining it
• the range of services offered to LANCIA owners.
We are sure that these instruments will help you easily attune to and appreciate both your new car
and the LANCIA team that will be on hand to provide you with any help you may require.
Best regards and have a great trip!
This Owner Handbook describes all the THESIS versions. You should therefore consider only the
information concerning the engine and bodywork version of the car you have bought.
Page 14 of 386
13
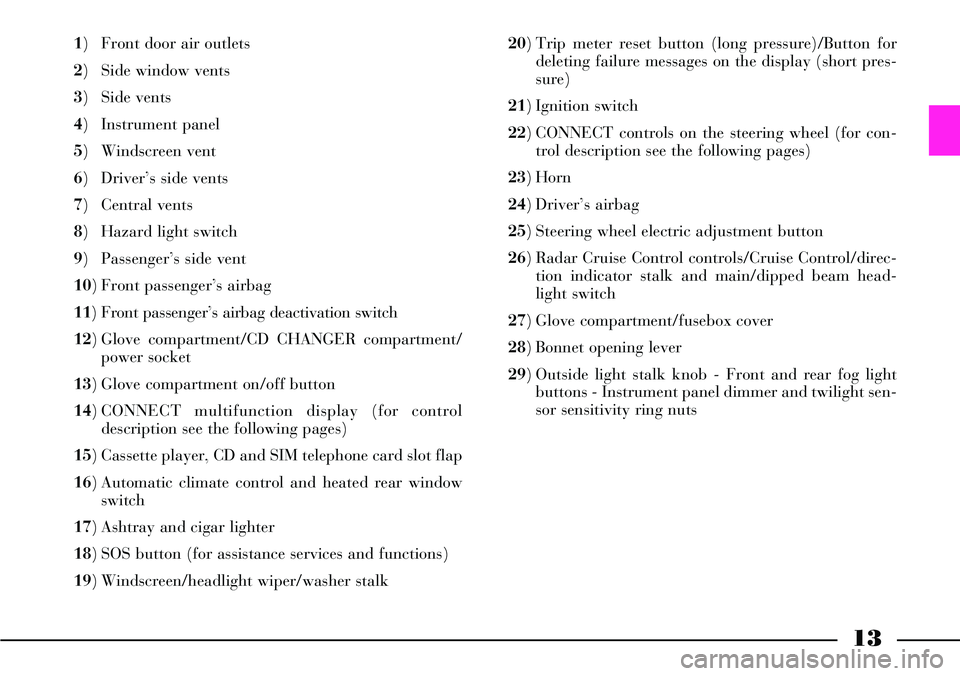
1) Front door air outlets
2) Side window vents
3) Side vents
4) Instrument panel
5) Windscreen vent
6) Driver’s side vents
7) Central vents
8) Hazard light switch
9) Passenger’s side vent
10) Front passenger’s airbag
11) Front passenger’s airbag deactivation switch
12) Glove compartment/CD CHANGER compartment/
power socket
13) Glove compartment on/off button
14) CONNECT multifunction display (for control
description see the following pages)
15) Cassette player, CD and SIM telephone card slot flap
16) Automatic climate control and heated rear window
switch
17) Ashtray and cigar lighter
18) SOS button (for assistance services and functions)
19) Windscreen/headlight wiper/washer stalk 20) Trip meter reset button (long pressure)/Button for
deleting failure messages on the display (short pres-
sure)
21) Ignition switch
22) CONNECT controls on the steering wheel (for con-
trol description see the following pages)
23) Horn
24) Driver’s airbag
25) Steering wheel electric adjustment button
26) Radar Cruise Control controls/Cruise Control/direc-
tion indicator stalk and main/dipped beam head-
light switch
27) Glove compartment/fusebox cover
28) Bonnet opening lever
29) Outside light stalk knob - Front and rear fog light
buttons - Instrument panel dimmer and twilight sen-
sor sensitivity ring nuts
Page 17 of 386
16
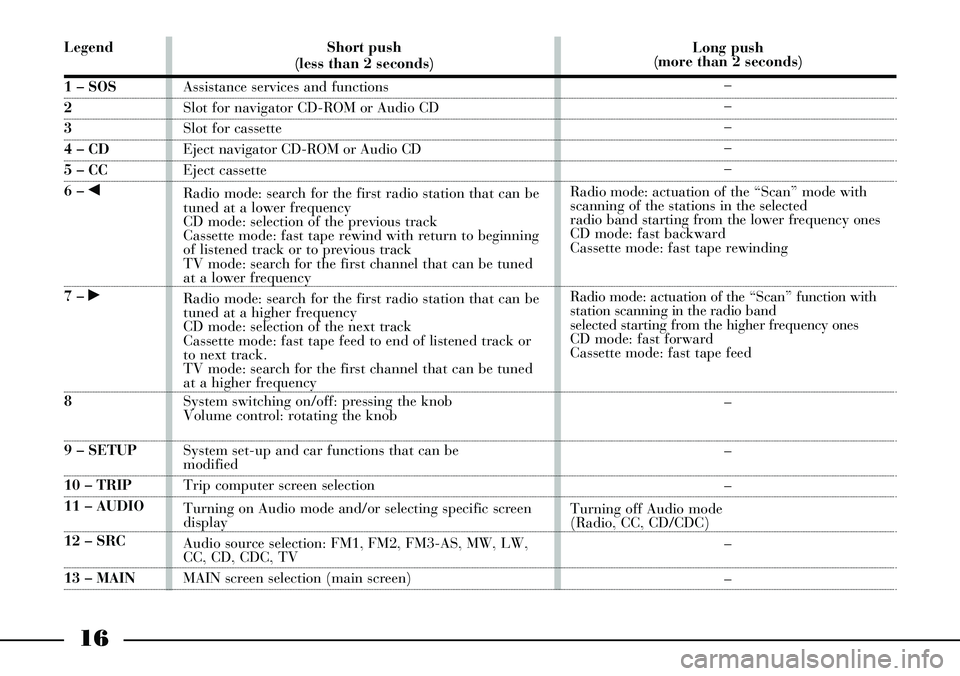
Legend
1 – SOS
2
3
4 – CD
5 – CC
6 – ¯
7 – ˙
8
9 – SETUP
10 – TRIP
11 – AUDIO
12 – SRC
13 – MAINShort push
(less than 2 seconds)
Assistance services and functions
Slot for navigator CD-ROM or Audio CD
Slot for cassette
Eject navigator CD-ROM or Audio CD
Eject cassette
Radio mode: search for the first radio station that can be
tuned at a lower frequency
CD mode: selection of the previous track
Cassette mode: fast tape rewind with return to beginning
of listened track or to previous track
TV mode: search for the first channel that can be tuned
at a lower frequency
Radio mode: search for the first radio station that can be
tuned at a higher frequency
CD mode: selection of the next track
Cassette mode: fast tape feed to end of listened track or
to next track.
TV mode: search for the first channel that can be tuned
at a higher frequency
System switching on/off: pressing the knob
Volume control: rotating the knob
System set-up and car functions that can be
modified
Trip computer screen selection
Turning on Audio mode and/or selecting specific screen
display
Audio source selection: FM1, FM2, FM3-AS, MW, LW,
CC, CD, CDC, TV
MAIN screen selection (main screen)Long push
(more than 2 seconds)
–
–
–
–
–
Radio mode: actuation of the “Scan” mode with
scanning of the stations in the selected
radio band starting from the lower frequency ones
CD mode: fast backward
Cassette mode: fast tape rewinding
Radio mode: actuation of the “Scan” function with
station scanning in the radio band
selected starting from the higher frequency ones
CD mode: fast forward
Cassette mode: fast tape feed
–
–
–
Turning off Audio mode
(Radio, CC, CD/CDC)
–
–
Page 18 of 386
17
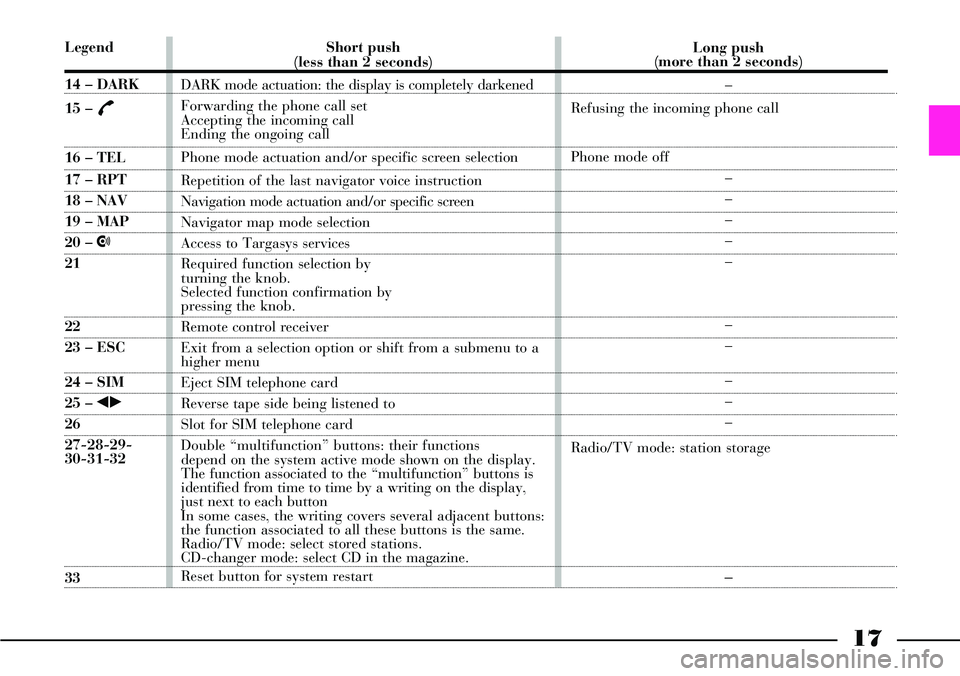
Legend
14 – DARK
15 –
£
16 – TEL
17 – RPT
18 – NAV
19 – MAP
20 – •
21
22
23 – ESC
24 – SIM
25 – ¯˙
26
27-28-29-
30-31-32
33Short push
(less than 2 seconds)
DARK mode actuation: the display is completely darkened
Forwarding the phone call set
Accepting the incoming call
Ending the ongoing call
Phone mode actuation and/or specific screen selection
Repetition of the last navigator voice instruction
Navigation mode actuation and/or specific screen
Navigator map mode selection
Access to Targasys services
Required function selection by
turning the knob.
Selected function confirmation by
pressing the knob.
Remote control receiver
Exit from a selection option or shift from a submenu to a
higher menu
Eject SIM telephone card
Reverse tape side being listened to
Slot for SIM telephone card
Double “multifunction” buttons: their functions
depend on the system active mode shown on the display.
The function associated to the “multifunction” buttons is
identified from time to time by a writing on the display,
just next to each button
In some cases, the writing covers several adjacent buttons:
the function associated to all these buttons is the same.
Radio/TV mode: select stored stations.
CD-changer mode: select CD in the magazine.
Reset button for system restart Long push
(more than 2 seconds)
–
Refusing the incoming phone call
Phone mode off
–
–
–
–
–
–
–
–
–
–
Radio/TV mode: station storage–
Page 19 of 386
18
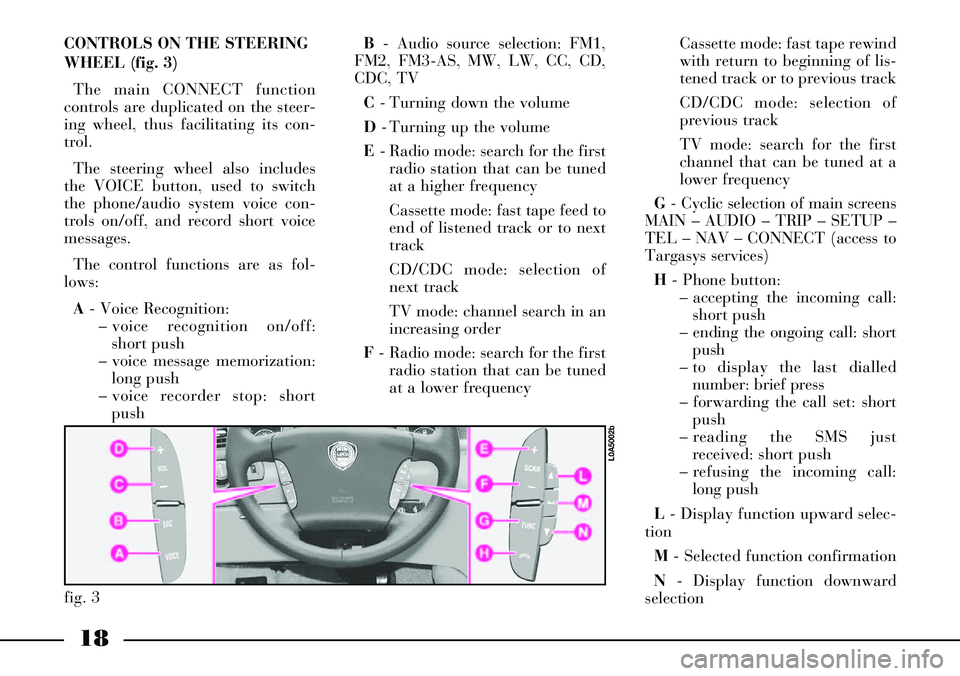
CONTROLS ON THE STEERING
WHEEL (fig. 3)
The main CONNECT function
controls are duplicated on the steer-
ing wheel, thus facilitating its con-
trol.
The steering wheel also includes
the VOICE button, used to switch
the phone/audio system voice con-
trols on/off, and record short voice
messages.
The control functions are as fol-
lows:
A- Voice Recognition:
– voice recognition on/off:
short push
– voice message memorization:
long push
– voice recorder stop: short
pushB- Audio source selection: FM1,
FM2, FM3-AS, MW, LW, CC, CD,
CDC, TV
C- Turning down the volume
D- Turning up the volume
E- Radio mode: search for the first
radio station that can be tuned
at a higher frequency
Cassette mode: fast tape feed to
end of listened track or to next
track
CD/CDC mode: selection of
next track
TV mode: channel search in an
increasing order
F- Radio mode: search for the first
radio station that can be tuned
at a lower frequencyCassette mode: fast tape rewind
with return to beginning of lis-
tened track or to previous track
CD/CDC mode: selection of
previous track
TV mode: search for the first
channel that can be tuned at a
lower frequency
G- Cyclic selection of main screens
MAIN – AUDIO – TRIP – SETUP –
TEL – NAV – CONNECT (access to
Targasys services)
H- Phone button:
– accepting the incoming call:
short push
– ending the ongoing call: short
push
– to display the last dialled
number: brief press
– forwarding the call set: short
push
– reading the SMS just
received: short push
– refusing the incoming call:
long push
L- Display function upward selec-
tion
M- Selected function confirmation
N- Display function downward
selection
fig. 3
L0A5002b
Page 38 of 386
37
OPENING THE TAILGATE
The tailgate can be opened from
the outside by pressing the remote
control button E (fig. 9), even when
the electronic alarm is on.
One single short pressure of the
button will switch the boot alarm
system off and release the lock: the
tailgate can therefore be opened
from the outside by pressing the
boot button. A prolonged pressure
(more than 1 second) of the button
will switch the boot alarm system off
and open the tailgate, which will
partially lift.
The opening of the tailgate is
accompanied by two direction indi-
cator flashes.When tailgate opening is actuated,
the alarm system disconnects the
boot sensor and the direction indica-
tors flash twice (except for the ver-
sions of certain markets).
When the tailgate is closed again,
press button D(fig. 9) to restore
locking and control functions; the
direction indicators will flash twice
(except for the versions of certain
markets).
If the tailgate is not open within 30
seconds after actuating the boot
unlock control, the tailgate lock will
be re-locked and the alarm system
will be reactivated.AUTOMATICALLY ACTUATED
FUNCTIONS
The system automatically controls
the following functions (settings that
cannot be modified):
– boot locking if, within 30 seconds
after boot unlocking, it will not be
opened;
– possible unlocking of all the door
locks, in case of impact with actua-
tion of the inertia switch;
– lock release and tailgate opening
(actuated by the button inside the
car);
– door opening/closing by the but-
tons inside the car;
– disconnection of all services when
the key is turned to STOP, exclud-
ing sound system, window regula-
tors, sunroof and internal lighting
until doors are opened;
– progressive switching on/off of
internal lights;
– light indication of boot open/
closed.
Page 49 of 386
48
Before leaving the car in
a car-wash tunnel, disen-
gage the parking brake by
following the instructions
described in the relevant para-
graph, and leave the CID device
inside the passenger compart-
ment, to avoid automatic steering
column lock.IMPORTANTUser is not authorised
to move the car if the start-up knob is
not turned to the position MAR.
Should it be necessary to tow the car,
it is advised to turn the knob to the
MARposition before moving the car.
Steering column unlocking
The steering column is automati-
cally switched off, and the instru-
ment panel and electrical services
switched on, when the system
detects the simultaneous presence of
the following conditions:
cessive rotation of knob A(fig. 22)
to the STOPposition, and it will not
be possible to restart the car until a
valid CID device is identified inside
the passenger compartment.
IMPORTANTMake sure the CID
device is not positioned in places dif-
ficult to be accessed by the identifi-
cation system, such as the instru-
ment panel, the car floor or the shelf
below the rear window. Some elec-
tronic devices (e. g. mobile phones,
PDA, etc.) can moreover influence
the CID device identification. In the
case where, after a start-up opera-
tion, the message “ELECTRONIC
KEY NOT IDENTIFIED” should be
displayed, on the instrument panel,
make sure make sure whether the
CID is present into the passenger
compartment and it is located in
places tat can be reached by identi-
fication system.
IMPORTANTIf the CID device is
inside the luggage compartment, it is
possible that the engine could not be
started.Engine stop
To switch the engine off, turn the
knob from MARto STOP: the
engine will stop and the instrument
panel will display the message
“STEERING LOCKED WHEN
DOORS CLOSED”.
Steering column locking
The steering column lock is auto-
matically switched on by actuating
door closing by means of the remote
control, if the system has detected
the simultaneous presence of the fol-
lowing conditions:
– engine off (knob rotation to
STOPwith the car at a standstill)
– clutch pedal released (brake pedal
released on versions with automatic
transmission).
IMPORTANTThe steering column
lock is not switched on when the
door locks are actuated by means of
the emergency key in the CID
device, or automatically when the
CID device is taken away from the
car.
Page 98 of 386

97
LIGHT SWITCH
AND STEERING
COLUMN STALKS
The devices and services controlled
by light switch and steering column
stalks can only be activated with the
ignition key at MAR, excluding the
parking lights that are switched on
only with key at STOPor removed.
Outside lights can be switched on
manually or automatically accord-
ing to daylight intensity.LIGHT SWITCH (fig. 94)
It has 5 positions:
0- outside lights off
6- side/taillights
2- dipped beam headlights
F- parking lights
AUTO- automatic outside light
switching on/off according to set
sensitivity level.
Outside lights off
Outside lights are off when ring A
is turned to 0.
Side/taillights and number plate
lights
To switch these lights on, turn ring
Ato 6.
When these lights are on, instru-
ment panel warning light 3lights
up.
When the outside lights are turned
on, the instrument panel and the
various controls and displays located
on the dashboard and central con-
sole light up.Dipped beam headlights
These lights come on when you
turn ring Ato 2.
Parking lights
With ignition key at STOPor
removed, turn ring Ato Fto switch
the parking lights on (side/tail-
lights), the relevant instrument
panel warning light will come on.
When parking lights are on, move
the left stalk downwards to switch
on only the left side lights and move
it upwards to switch on only the
right side lights. In this case the
number plate lights and the instru-
ment panel warning light will not
come on.
When parking lights are on, a
buzzer will sound when opening the
driver’s door. Buzzer sound will stop
when closing the door or switching
the lights off.
fig. 94
L0A0199b
Page 105 of 386
104
Rain sensor failure
In case of sensor malfunctioning,
intermittent wiping is activated with
the sensitivity level set manually,
regardless of the rain.
In this case it is recommended to
deactivate the rain sensor and acti-
vate continuous wiping (1
stor
2ndspeed); contact a Lancia
Dealership as soon as possible. The rain sensor must be
deactivated (or key at
STOP) when cleaning the
windscreen (e.g. at service sta-
tions). The rain sensor must be
deactivated also when washing
the car manually or at automatic
washing stations.
The sensor rain is able to recognize
and automatically adjust itself in
the presence of the following partic-
ular conditions, which need a differ-
ent intervention sensitivity:
– impurities on the control surface
(salt, dirt, etc.)
– straks of water caused by worn
wiper blades
– difference between day and
night(the human eye is more dis-
turbed at night by the wet surface of
the glass).
In the event of ice on the
windscreen, make sure to
have disconnected the
device to prevent wiper motor
damages.
Page 115 of 386
114
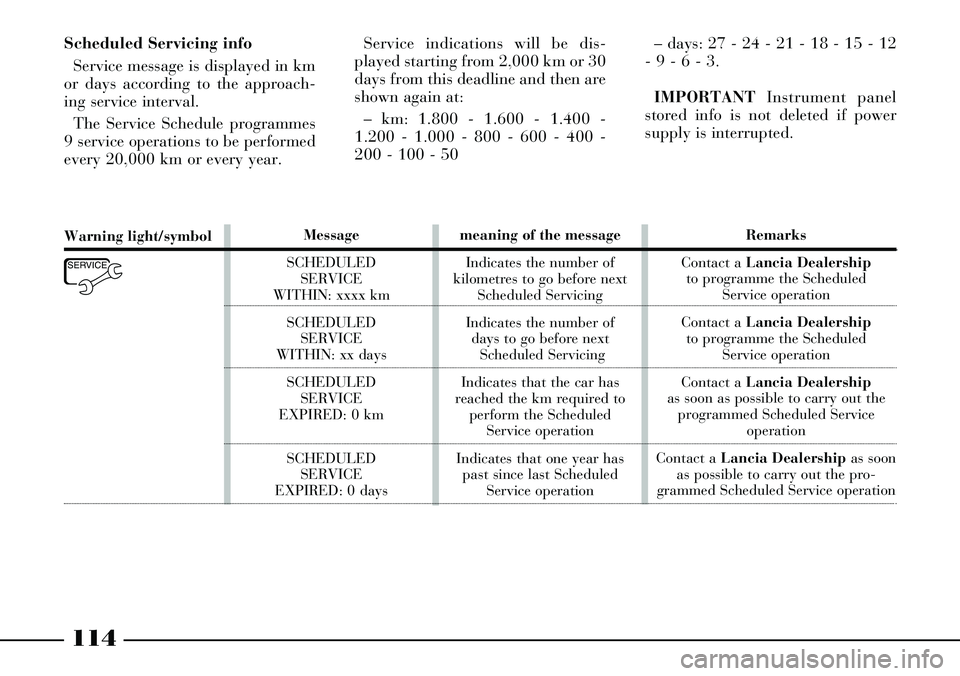
Scheduled Servicing info
Service message is displayed in km
or days according to the approach-
ing service interval.
The Service Schedule programmes
9 service operations to be performed
every 20,000 km or every year. – days: 27 - 24 - 21 - 18 - 15 - 12
- 9 - 6 - 3.
IMPORTANTInstrument panel
stored info is not deleted if power
supply is interrupted. Service indications will be dis-
played starting from 2,000 km or 30
days from this deadline and then are
shown again at:
– km: 1.800 - 1.600 - 1.400 -
1.200 - 1.000 - 800 - 600 - 400 -
200 - 100 - 50
Warning light/symbol
É
Message
SCHEDULED
SERVICE
WITHIN: xxxx km
SCHEDULED
SERVICE
WITHIN: xx days
SCHEDULED
SERVICE
EXPIRED: 0 km
SCHEDULED
SERVICE
EXPIRED: 0 daysmeaning of the message
Indicates the number of
kilometres to go before next
Scheduled Servicing
Indicates the number of
days to go before next
Scheduled Servicing
Indicates that the car has
reached the km required to
perform the Scheduled
Service operation
Indicates that one year has
past since last Scheduled
Service operationRemarks
Contact a Lancia Dealership
to programme the Scheduled
Service operation
Contact a Lancia Dealership
to programme the Scheduled
Service operation
Contact a Lancia Dealership
as soon as possible to carry out the
programmed Scheduled Service
operation
Contact a Lancia Dealershipas soon
as possible to carry out the pro-
grammed Scheduled Service operation