change time Lexus CT200h 2013 (in English) User Guide
[x] Cancel search | Manufacturer: LEXUS, Model Year: 2013, Model line: CT200h, Model: Lexus CT200h 2013Pages: 688
Page 233 of 688

2334-5. Using the driving support systems
4
Driving
CT200h_OM_OM76102E_(EE)
To change the set speed, operate the lever until the desired set speed is
displayed.
Increases the speed
Decreases the speed
Fine adjustment: Momentarily move
the lever in the desired direction.
Large adjustment: Hold the lever in
the desired direction.
In the vehicle-to-vehicle distance control mode, the set speed will be
increased or decreased as follows:
For Europe
• When the set speed is shown in “km/h”
Fine adjustment: By approximately 5 km/h (3.1 mph) each time the lever is
operated
Large adjustment: By approximately 5 km/h (3.1 mph) for each 0.75 sec-
onds the lever is held
• When the set speed is shown in “MPH”
Fine adjustment: By approximately 5 mph (8 km/h) each time the lever is
operated
Large adjustment: By approximately 5 mph (8 km/h) for each 0.75 seconds
the lever is held
For Ukraine and Israel
• When the set speed is shown in “km/h”
Fine adjustment: By approximately 1 km/h (0.6 mph) each time the lever is
operated
Large adjustment: By approximately 5 km/h (3.1 mph) for each 0.75 sec-
onds the lever is held
• When the set speed is shown in “MPH”
Fine adjustment: By approximately 1 mph (1.6 km/h) each time the lever is
operated
Large adjustment: By approximately 5 mph (8 km/h) for each 0.75 seconds
the lever is held
In the constant speed control mode (P. 238), the set speed will be increased
or decreased as follows:
Fine adjustment: By approximately 1.6 km/h (1 mph) each time the lever is
operated
Large adjustment: The set speed can be increased or decreased continually
until the lever is released.
Adjusting the set speed
1
2
Page 256 of 688

2564-5. Using the driving support systems
CT200h_OM_OM76102E_(EE)
Display mode
The rear view monitor display mode can be adjusted when the power
switch is in ON mode and the shift position is in R.
To select a display language (English, French or Spanish).
Push and hold the “AUTO” button for 6 to 12 seconds.
The monitor should turn on and the indicator should turn green.
Push the “AUTO” button.
Each time the “AUTO” button is pushed and released, the lan-
guage will change.
The warning message should flash 5 seconds after the button is
released, indicating that the change has been completed.
To permanently disable the monitor.
Push and hold the “AUTO” button for 12 to 15 seconds.
The monitor will turn off and on after 6 seconds. Continue holding
the button down until the display turns back off.
The indicator should flash orange.
The monitor will not automatically turn on again after the power
switch is turned off and ON mode.
To manually turn on the monitor when it is turned off.
Push the “AUTO” button. The indicator should turn green.
1
2
3
Page 301 of 688
2985-3. Using the radio
CT200h_OM_OM76102E_(EE)
Manually operation
Search for the desired stations by turning the “TUNE•SEL” knob or
pressing “”or “” on the “SEEK•TRACK” button.
Press and hold the button (from the “1” button to the “6” button) the
station is to be set to until you hear a beep.
Automatically operation
Press and hold the “AST” button until you hear a beep.
Up to 6 stations are set in order of reception quality. When the set-
ting is complete, 2 beeps will be heard.
This feature allows your radio to receive station and program information
(classical, news, etc.) from radio stations which broadcast this informa-
tion.
Listening to stations of the same network
Press the “AF” button.
“AF-ON”, “REG-OFF” modes:
A station among those of the same network with strong reception is
selected.
“AF-ON”, “REG-ON” modes:
A station among those of the same network with strong reception and
broadcasting the same program is selected.
Each time the “AF” button is pressed, the mode changes in the following
order:
“AF-ON”, “REG-OFF” “AF-ON”, “REG-ON” “AF-OFF”, “REG-
OFF”.
Setting station presets
RDS (Radio Data System)
1
2
Page 302 of 688

2995-3. Using the radio
5
Audio system
CT200h_OM_OM76102E_(EE)
Traffic information
Press the “TA” button.
TP mode:
The system automatically switches to traffic information when a
broadcast with a traffic information signal is received.
The station returns to the previous one when the traffic information ends.
TA m o d e :
Traffic information can be heard only when a signal is received. The sys-
tem switches to the mute mode when a signal is not received. In CD or
MP3/WMA mode, the system automatically switches to traffic informa-
tion when a signal is received.
The audio system returns to the mute, CD or MP3/WMA mode when the
traffic information ends.
Audio system mode changes as follows each time the “TA” button is
pressed:
FM modes: “TP” “TA” off
Modes other than the radio modes: “TA” off
Emergency broadcast reception mode
“ALARM” appears in the display in the event that an emergency
broadcast is received, and the emergency broadcast is aired.
Page 305 of 688
3025-4. Playing audio CDs and MP3/WMA discs
CT200h_OM_OM76102E_(EE)
Insert a CD.
Press and remove the CD.
Selecting a track
Press “” to move up or “” to move down using the “SEEK•TRACK”
button until the desired track number appears on the displayed.
Fast-forwarding and reversing tracks
To fast-forward or reverse, press and hold “”or “” on the
“SEEK•TRACK” button until you hear a beep.
Random play
Press the “1” button.
Songs are played in random order.
To cancel, press the button again.
Repeat play
Press the “2” button.
To cancel, press the button again.
Switching the display
Press the “TEXT” button.
Each time the button is pressed, the display changes in the following order:
Elapsed time CD title Track title
Loading CDs or MP3 and WMA discs
Ejecting CDs or MP3 and WMA discs
Using the CD player
Page 307 of 688

3045-4. Playing audio CDs and MP3/WMA discs
CT200h_OM_OM76102E_(EE)
Switching the display
Press the “TEXT” button.
Each time the button is pressed, the display changes in the following order:
Folder no./File no./Elapsed time Folder name File name
Album title (MP3 only) Track title Artist name
CD player protection feature
To protect the internal components, playback is automatically stopped when a
problem is detected.
Display
Up to 12 characters can be displayed at a time.
If there are 13 or more characters, pressing and holding the “TEXT” button for 1
second or more enables to display the remaining characters.
A maximum of 24 characters can be displayed.
If the “TEXT” button is pressed for more than 1 second again or has not been
operated for more than 6 seconds, the display will return to the first 12 charac-
ters.
Depending on the contents recorded, the characters may not be displayed prop-
erly or may not be displayed at all.
When “ERROR”, “WAIT” or “NO MUSIC” is shown on the display
“ERROR”:
This indicates a trouble either in the CD or inside the player. The CD may be
dirty, damaged, or inserted up-side down.
“WAIT”:
This indicates that operation is stopped due to a high temperature inside the
player. Wait for a while and then press the “CD” button. If the CD still cannot be
played back, contact any authorized Lexus dealer or repairer, or another duly
qualified and equipped professional.
“NO MUSIC”:
This indicates that an MP3/WMA file is not included in the CD.
Discs that can be used
Discs with the marks shown below can be used.
Playback may not be possible depending on recording format or disc features, or
due to scratches, dirt or deterioration.
CDs with copy-protection features may not be used.
Page 314 of 688
3115-5. Using an external device
5
Audio system
CT200h_OM_OM76102E_(EE)
Turn the “TUNE•SEL” knob or press “”or “” on the “SEEK•TRACK”
button to select the desired song.
To play or pause a song, press the “3” button.
To fast-forward or rewind, press and hold “”or “” on the
“SEEK•TRACK” button until you hear a beep.
Playing songs from one playlist or album in random order
Press the “1” button.
To cancel, press the button again.
Playing songs from all the playlists or albums in random order
Press and hold the “1” button until you hear a beep.
To cancel, press the button again.
Press the “2” button.
To cancel, press the button again.
Press the “TEXT” button.
Each time the button is pressed, the display changes in the following order:
Elapsed time Album title Track title Artist name
Press the “TUNE•SEL” knob to enter iPod menu mode.
Pressing the knob changes sound modes. (P. 295)
Selecting songs
Playing and pausing songs
Fast-forwarding and rewinding songs
Shuffle playback
Repeat play
Switching the display
Adjusting sound quality and volume balance
1
2
Page 320 of 688
3175-5. Using an external device
5
Audio system
CT200h_OM_OM76102E_(EE)
Press the “TEXT” button.
Each time the button is pressed, the display changes in the following order:
Elapsed time Folder name File name Album title Track title
Artist name
USB memory functions
Depending on the USB memory that is connected to the system, certain functions
may not be available. Disconnecting the device and reconnecting it once again
may resolve some malfunctions.
Display
P. 304
Error messages
“ERROR”:
This indicates a problem in the USB memory or its connection.
“NO MUSIC”:
This indicates that no MP3/WMA files are included in the USB memory.
USB memory
Compatible devices
USB memory that can be used for MP3 and WMA playback
Compatible device formats
The following device formats can be used:
• USB communication formats: USB2.0 FS (12mbps)
• File formats: FAT16/32 (Windows)
• Correspondence class: Mass storage class
MP3 and WMA files written in any format other than those listed above may
not play correctly, and their file names and folder names may not be displayed
correctly.
Items related to standards and limitations are as follows:
• Maximum directory hierarchy: 8 levels
• Maximum number of folders in a device: 999 (including the root)
• Maximum number of files in a device: 65025
• Maximum number of files per folder: 255
Switching the display
Page 333 of 688
3305-7. Setup menu
CT200h_OM_OM76102E_(EE)
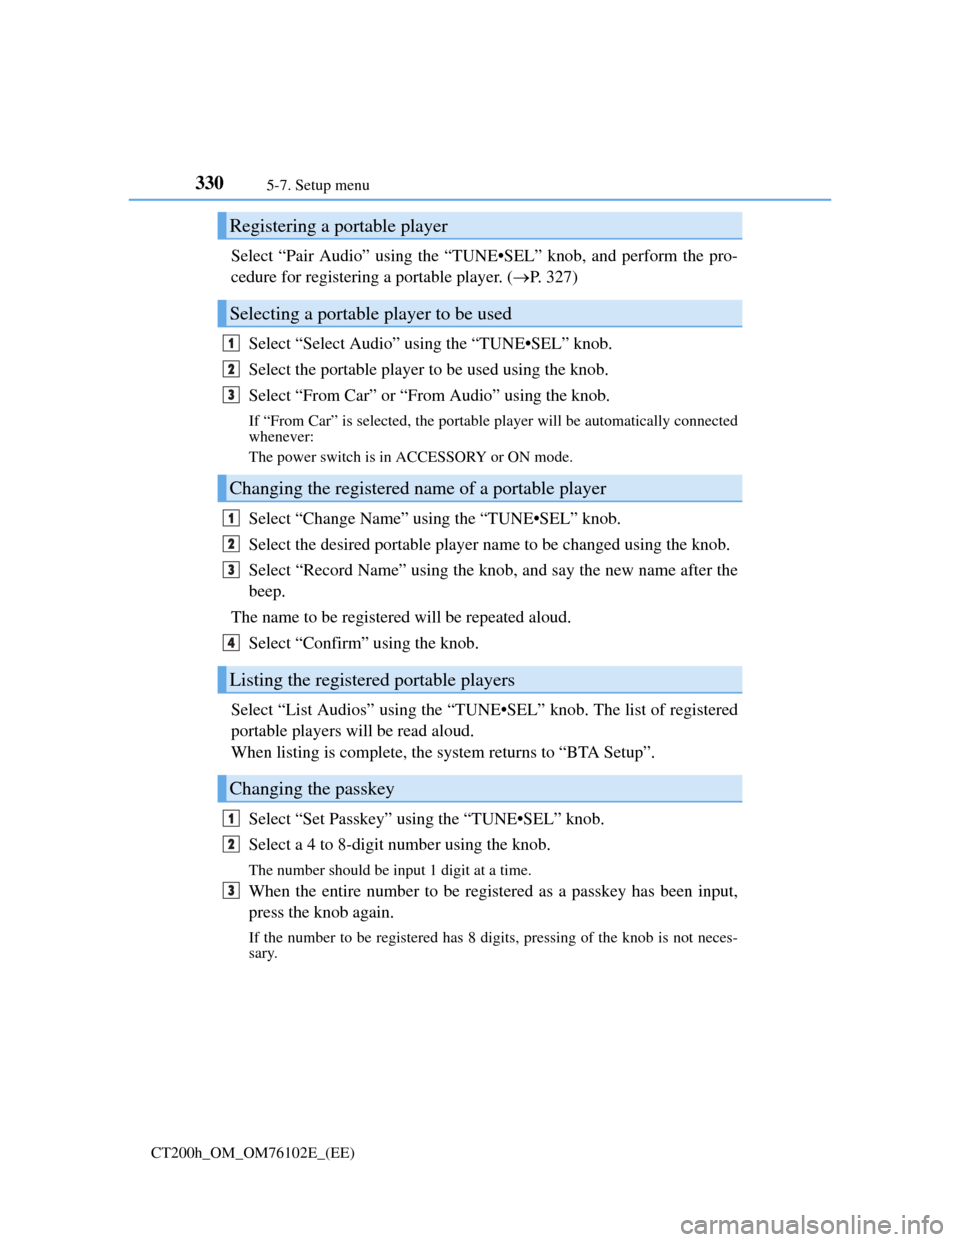
Select “Pair Audio” using the “TUNE•SEL” knob, and perform the pro-
cedure for registering a portable player. (P. 327)
Select “Select Audio” using the “TUNE•SEL” knob.
Select the portable player to be used using the knob.
Select “From Car” or “From Audio” using the knob.
If “From Car” is selected, the portable player will be automatically connected
whenever:
The power switch is in ACCESSORY or ON mode.
Select “Change Name” using the “TUNE•SEL” knob.
Select the desired portable player name to be changed using the knob.
Select “Record Name” using the knob, and say the new name after the
beep.
The name to be registered will be repeated aloud.
Select “Confirm” using the knob.
Select “List Audios” using the “TUNE•SEL” knob. The list of registered
portable players will be read aloud.
When listing is complete, the system returns to “BTA Setup”.
Select “Set Passkey” using the “TUNE•SEL” knob.
Select a 4 to 8-digit number using the knob.
The number should be input 1 digit at a time.
When the entire number to be registered as a passkey has been input,
press the knob again.
If the number to be registered has 8 digits, pressing of the knob is not neces-
sary.
Registering a portable player
Selecting a portable player to be used
Changing the registered name of a portable player
Listing the registered portable players
Changing the passkey
1
2
3
1
2
3
4
1
2
3
Page 337 of 688
3345-7. Setup menu
CT200h_OM_OM76102E_(EE)
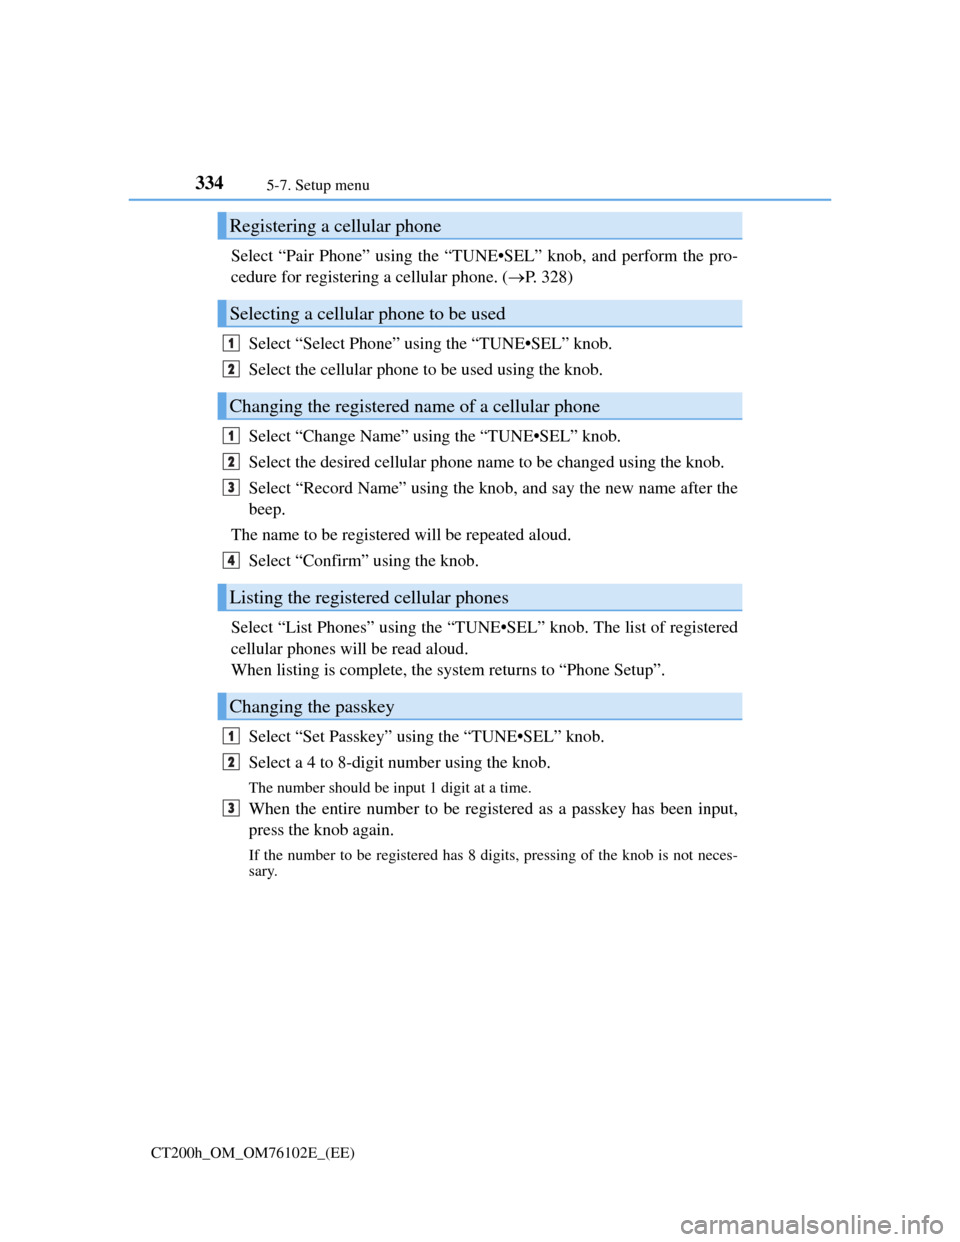
Select “Pair Phone” using the “TUNE•SEL” knob, and perform the pro-
cedure for registering a cellular phone. (P. 328)
Select “Select Phone” using the “TUNE•SEL” knob.
Select the cellular phone to be used using the knob.
Select “Change Name” using the “TUNE•SEL” knob.
Select the desired cellular phone name to be changed using the knob.
Select “Record Name” using the knob, and say the new name after the
beep.
The name to be registered will be repeated aloud.
Select “Confirm” using the knob.
Select “List Phones” using the “TUNE•SEL” knob. The list of registered
cellular phones will be read aloud.
When listing is complete, the system returns to “Phone Setup”.
Select “Set Passkey” using the “TUNE•SEL” knob.
Select a 4 to 8-digit number using the knob.
The number should be input 1 digit at a time.
When the entire number to be registered as a passkey has been input,
press the knob again.
If the number to be registered has 8 digits, pressing of the knob is not neces-
sary.
Registering a cellular phone
Selecting a cellular phone to be used
Changing the registered name of a cellular phone
Listing the registered cellular phones
Changing the passkey
1
2
1
2
3
4
1
2
3